
Home>Home & Furniture>Doors & Windows>How to Replace Garage Door Spring
Doors & Windows
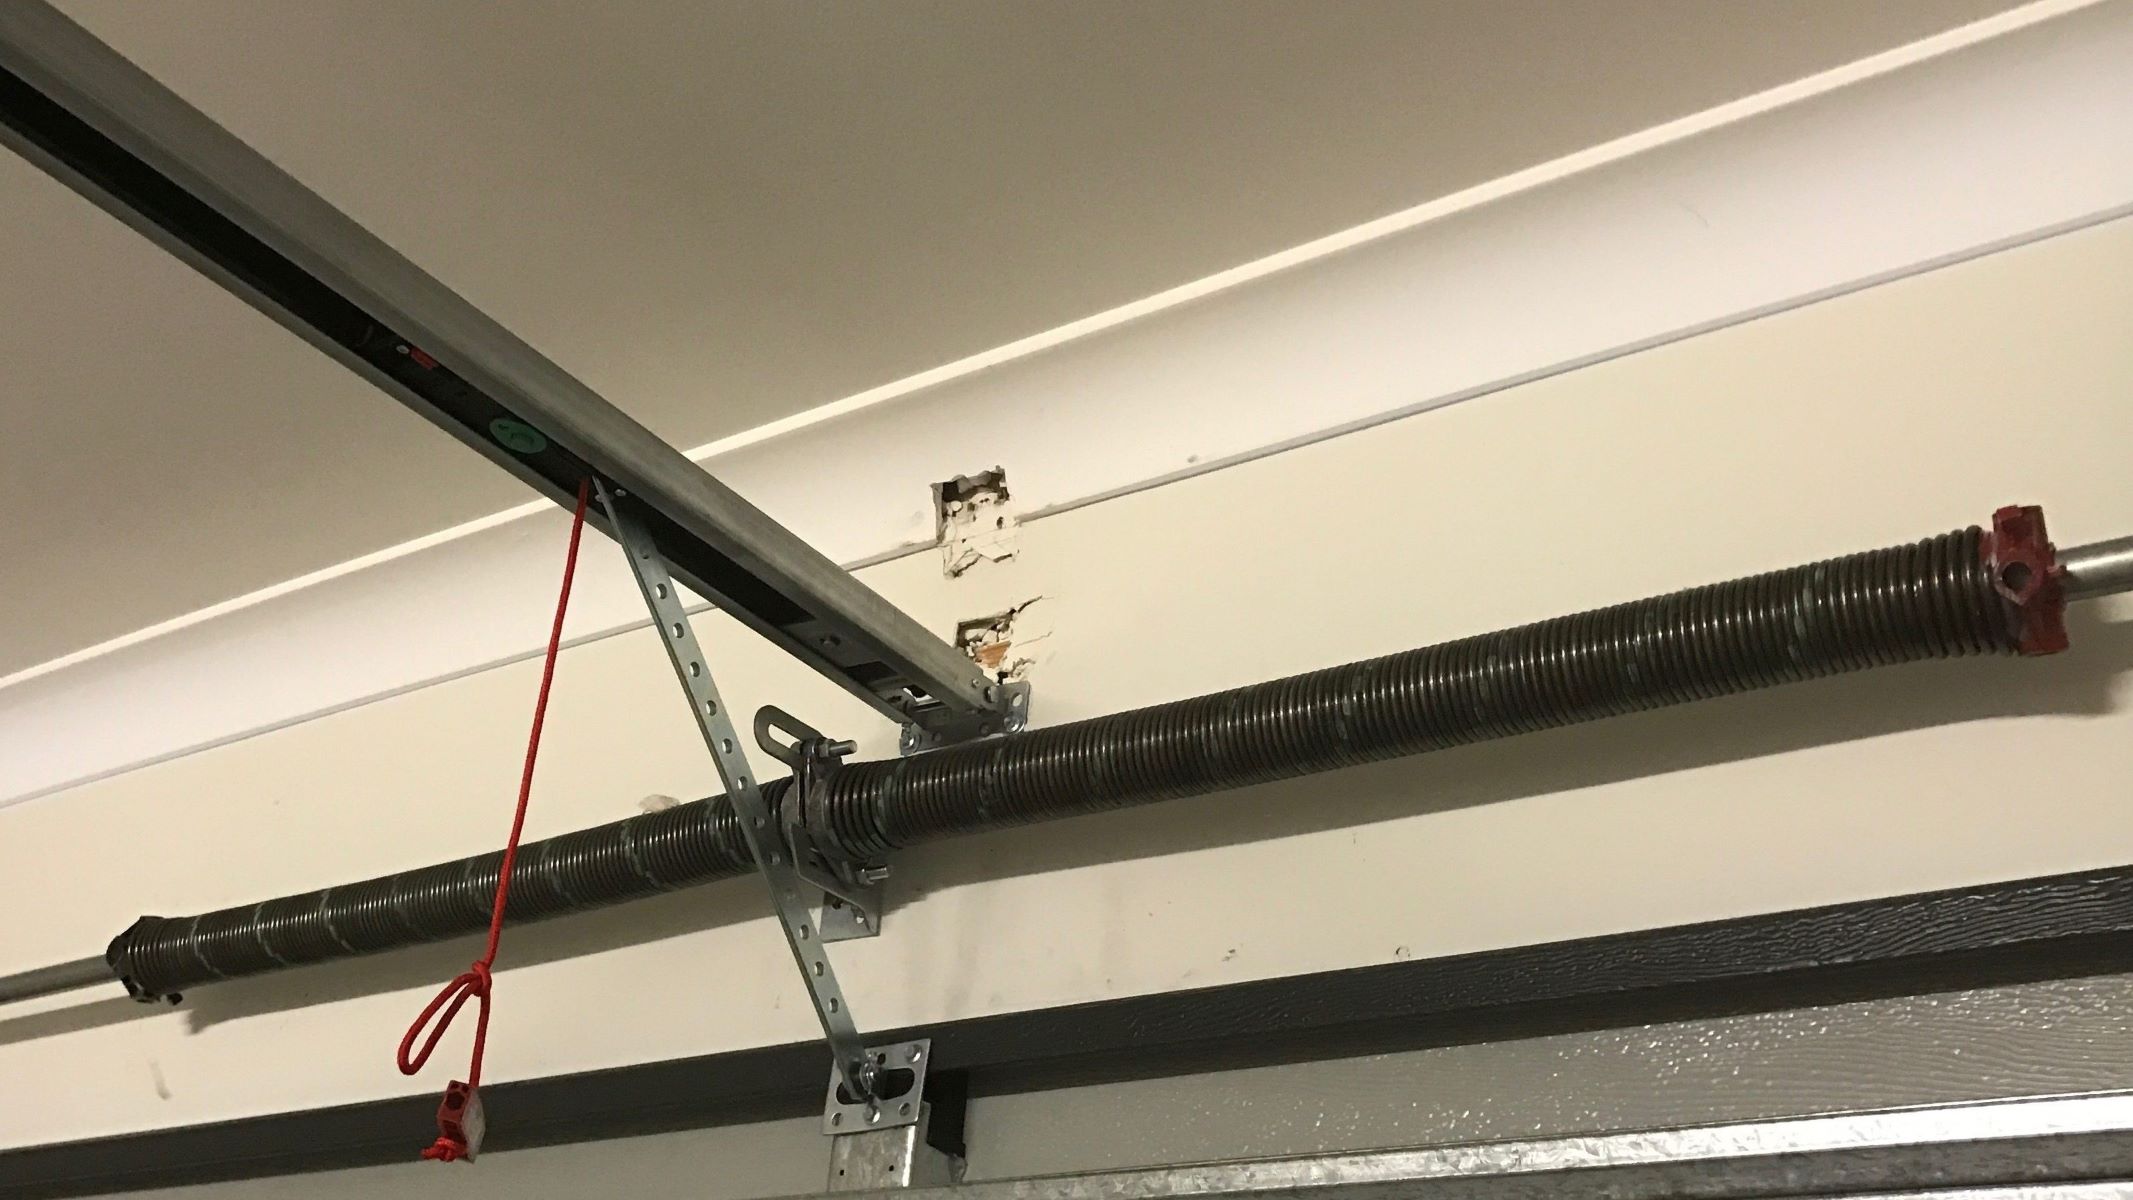
How to Replace Garage Door Spring
Published: September 19, 2024
Learn how to safely replace your garage door spring with our step-by-step guide. Ensure smooth operation and avoid potential hazards with expert tips and advice.
(Many of the links in this article redirect to a specific reviewed product. Your purchase of these products through affiliate links helps to generate commission for Twigandthistle.com, at no extra cost. Learn more)
Replacing a garage door spring might seem tricky, but with some tools and patience, you can do it yourself. Garage door springs play a crucial role in making sure the door opens and closes smoothly. When they break, the door becomes heavy and hard to lift. Before you start, gather all necessary tools and make sure the garage door is fully closed. This task involves handling tension-loaded springs, so safety measures are a must. Follow these steps carefully, and you’ll have a safely working garage door in no time. Ready to get started? Let’s dive in!
Getting Ready for the Job
Gather Tools and Materials: Wrenches, winding bars, safety glasses, gloves, and a new garage door spring.
Clear the Workspace: Remove any obstacles around the garage door. Ensure you have enough room to move freely.
Disconnect Power: Unplug the garage door opener to prevent accidental activation.
Release Tension: Use winding bars to carefully release tension from the old spring. This step is crucial for safety.
Wear Safety Gear: Put on safety glasses and gloves to protect your eyes and hands.
Mark Components: Mark the position of the old spring and other components to ensure proper alignment during reassembly.
Secure the Door: Clamp the garage door to the track to prevent it from moving while you work.
Double-Check Instructions: Review the manufacturer’s instructions for your specific garage door model to avoid mistakes.
Gather Your Materials and Tools
- Replacement Springs: Choose the correct size and type for your garage door.
- Winding Bars: Used to wind and unwind the torsion springs safely.
- Adjustable Wrench: Helps in loosening and tightening nuts and bolts.
- Socket Wrench Set: Needed for various nuts and bolts on the garage door assembly.
- Clamps: Secure the garage door in place while working.
- Safety Glasses: Protect your eyes from debris and potential spring snaps.
- Gloves: Protect your hands from sharp edges and provide a better grip.
- Ladder: Reach the garage door springs easily.
- Tape Measure: Measure the springs and other components accurately.
- Marker: Mark positions and measurements on the door and springs.
- Lubricant: Reduce friction on moving parts after installation.
- C-Clamps: Hold the door tracks in place during the replacement process.
- Pliers: Grip and manipulate wires and small parts.
- Drill: Make holes or drive screws if needed.
- Screwdrivers: Tighten or loosen screws on the door assembly.
Skill Level and Time Commitment
Skill Level: Advanced
Time Required: 3-4 hours
- Safety Gear: 10 minutes
- Disconnecting the Garage Door Opener: 5 minutes
- Clamping the Door: 10 minutes
- Unwinding the Broken Spring: 30 minutes
- Removing the Old Spring: 20 minutes
- Installing the New Spring: 30 minutes
- Winding the New Spring: 30 minutes
- Testing the Door: 15 minutes
- Reconnecting the Opener: 10 minutes
- Cleanup: 10 minutes
Follow These Steps
Gather Tools and Materials
- Winding bars
- Wrenches
- Clamps
- Safety glasses
- Replacement spring
Ensure Safety
- Disconnect the garage door opener.
- Clamp the door to the track to prevent movement.
Release Tension
- Insert a winding bar into the winding cone.
- Loosen the set screws with a wrench.
- Carefully unwind the spring using the winding bars.
Remove Old Spring
- Disconnect the spring from the center bracket.
- Slide the spring off the torsion bar.
Install New Spring
- Slide the new spring onto the torsion bar.
- Attach the spring to the center bracket.
Wind the New Spring
- Use winding bars to wind the spring.
- Tighten the set screws with a wrench.
Test the Door
- Remove the clamps from the track.
- Reconnect the garage door opener.
- Test the door to ensure it opens and closes smoothly.
Adjust if Necessary
- If the door doesn’t balance, adjust the tension by winding or unwinding the spring slightly.
Clean Up
- Gather all tools.
- Dispose of the old spring properly.
Helpful Tips and Tricks
Safety first: Always disconnect the garage door opener before starting. Wear safety glasses and gloves to protect yourself from any sudden releases of tension.
Use the right tools: A set of winding bars, a wrench set, and a sturdy ladder are essential. Avoid using screwdrivers or other makeshift tools, as they can slip and cause injury.
Mark the position: Before removing the old spring, mark the current position of the torsion spring with chalk or a marker. This helps ensure the new spring is installed correctly.
Measure accurately: Measure the length, inside diameter, and wire size of the old spring. These measurements are crucial for purchasing the correct replacement spring.
Work in pairs: If possible, have someone assist you. Handling the spring alone can be dangerous due to its tension.
Lubricate the new spring: Apply a garage door lubricant to the new spring. This reduces friction and helps the door operate smoothly.
Check balance: After installing the new spring, test the door balance. Lift the door halfway and let go. If it stays in place, the spring tension is correct. If it moves, adjust the tension accordingly.
Common mistakes to avoid:
- Not releasing the tension on the old spring before removal can cause serious injury.
- Using the wrong tools can lead to accidents.
- Incorrectly measuring the old spring can result in buying the wrong replacement.
- Forgetting to mark the position of the old spring can make installation difficult.
Alternatives:
- Extension springs: If torsion springs seem too complicated, consider using extension springs. They are easier to install but may not last as long.
- Professional help: If unsure about handling the task, hiring a professional can save time and ensure safety.
How Much Will It Cost?
Garage door springs cost around $30 to $100 each. Torsion springs are more expensive than extension springs.
Winding bars for torsion springs cost about $10 to $20.
Safety cables for extension springs cost around $10 to $15.
C-clamps or locking pliers cost about $10 to $15.
Socket wrench set costs around $20 to $50.
Ladder costs about $50 to $100.
Gloves and safety glasses cost around $10 to $20.
Total cost ranges from $140 to $320.
Budget-friendly alternatives include borrowing tools from friends or renting them from a local hardware store.
Different Ways to Customize
Materials: Instead of standard steel springs, consider using galvanized springs. They resist rust better. For a quieter operation, oil-tempered springs can be a good choice.
Colors: Most springs come in basic metal colors, but you can paint them with rust-resistant spray paint. Choose a color that matches your garage door or trim.
Styles: If you want a more modern look, consider powder-coated springs. They come in various colors and offer a sleek finish. For a more industrial style, black oxide springs provide a rugged appearance.
Safety Features: Add safety cables to your springs. These cables prevent the spring from flying off if it breaks. You can also install spring covers for added protection.
Tools: Use winding bars instead of standard tools. They provide better control and safety. For a more professional approach, consider using a spring winding tool kit.
Installation: If you prefer not to handle the heavy lifting, use a spring installation bracket. This bracket holds the spring in place, making the process easier and safer.
Maintenance: Apply lubricant to your springs regularly. Use a silicone-based spray for smoother operation and longer life. For a more eco-friendly option, try biodegradable lubricants.
Customization: If you have a unique garage door setup, consider custom-made springs. These can be tailored to fit your specific door dimensions and weight.
Upgrades: Upgrade to torsion springs if you currently have extension springs. Torsion springs last longer and provide smoother operation. For a high-end option, consider dual spring systems. They offer better balance and reliability.
Safety Precautions: Always wear safety goggles and gloves. Use a sturdy ladder and have a partner assist you. For added safety, consider using a spring safety tool that locks the spring in place during installation.
Eco-Friendly Tips
Safety first: Always wear gloves and safety glasses. Use a sturdy ladder to avoid accidents.
Choose eco-friendly materials: Opt for recycled steel springs. They are durable and reduce waste.
Reuse parts: If the brackets and cables are in good condition, keep them. This cuts down on waste and saves money.
Recycle old springs: Take the old springs to a metal recycling center. This keeps them out of landfills.
Use manual tools: Whenever possible, use hand tools instead of power tools. This saves energy and reduces your carbon footprint.
Lubricate with eco-friendly products: Choose biodegradable lubricants for the springs. They are better for the environment.
Proper disposal: Dispose of any packaging or unusable parts responsibly. Recycle cardboard and plastic.
Regular maintenance: Keep your garage door in good shape to extend its life. This reduces the need for frequent replacements.
Buy local: Purchase materials from local suppliers to cut down on transportation emissions.
Finishing Touches
Replacing a garage door spring isn't a walk in the park, but it's doable with the right tools and a bit of patience. Remember to always prioritize safety. Double-check your work, ensuring the spring is properly tensioned and the door operates smoothly. If something feels off, don't hesitate to call a professional. It's better to be safe than sorry. Keep your workspace tidy to avoid any accidents. With these tips, you'll have a smoothly functioning garage door in no time. Happy DIYing!
How do I know if my garage door spring is broken?
If your garage door won't open or closes too quickly, the spring might be broken. You might also hear a loud bang when it snaps.
Can I replace the garage door spring myself?
Yes, you can, but be careful! Garage door springs are under high tension and can be dangerous. Make sure to follow safety guidelines.
What tools will I need to replace the spring?
You'll need a winding bar, wrench set, safety glasses, and a sturdy ladder. Having a friend to help is also a good idea.
How long does it take to replace a garage door spring?
It usually takes about 1-2 hours, depending on your experience and the type of spring.
How much does it cost to replace a garage door spring?
If you do it yourself, the cost of the spring is around $30-$100. Hiring a professional can cost $200-$300.
Are there different types of garage door springs?
Yes, there are torsion springs and extension springs. Torsion springs are mounted above the door, while extension springs are on the sides.
How often should I replace my garage door spring?
Typically, garage door springs last about 7-9 years with regular use. If you use your garage door frequently, you might need to replace it sooner.