
Home>Home & Furniture>Doors & Windows>How to Replace a Dining Room Door Frame
Doors & Windows
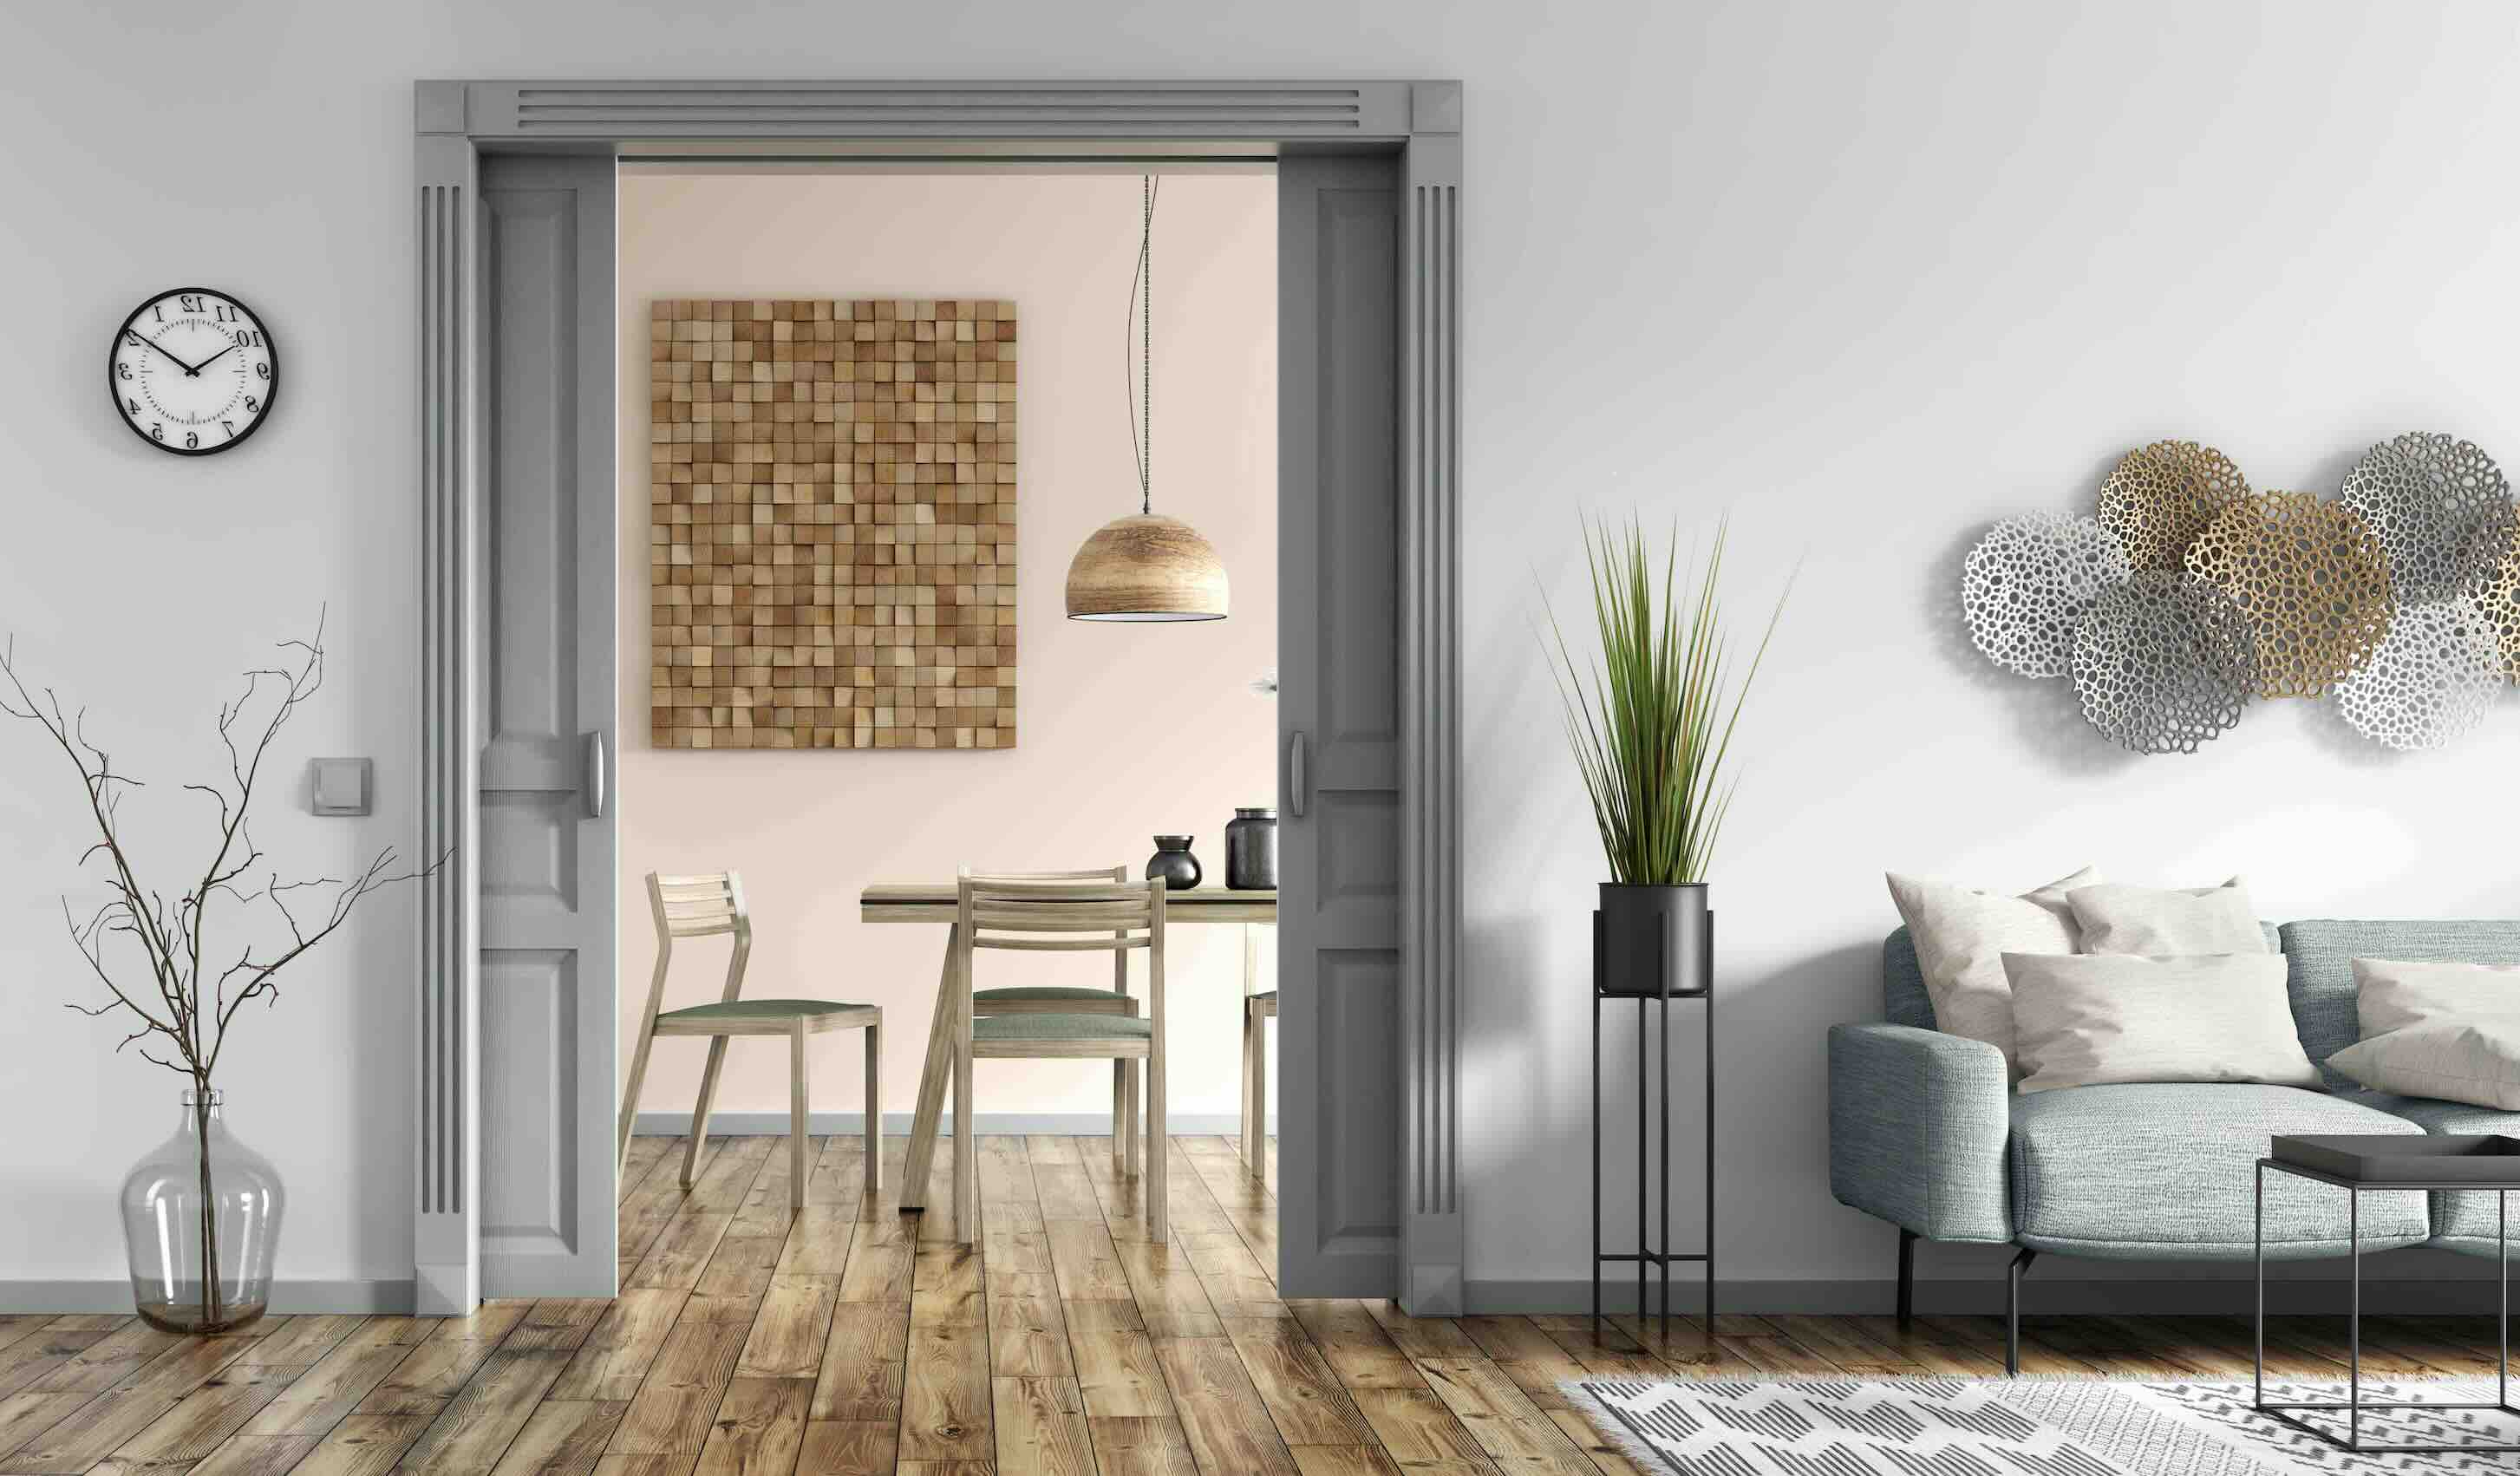
How to Replace a Dining Room Door Frame
Published: September 10, 2024
Learn how to replace a dining room door frame with our step-by-step guide. Enhance your home's aesthetics and functionality with these expert tips and tricks.
(Many of the links in this article redirect to a specific reviewed product. Your purchase of these products through affiliate links helps to generate commission for Twigandthistle.com, at no extra cost. Learn more)
Got an old, damaged door frame in your dining room? Time to roll up those sleeves and fix it yourself! Replacing a door frame might sound tricky, but with a bit of patience, anyone can do it. Whether it's wear and tear, or you're just ready for an upgrade, a new frame can give your dining area a fresh look. This guide will walk you through the process, step by step. From gathering tools to final touches, you'll learn everything needed to tackle this project. Ready to get started? Let's dive in and make your dining room shine!
Getting Ready for the Project
Gather Tools and Materials: Collect a hammer, nails, screws, screwdriver, pry bar, measuring tape, level, saw, wood filler, sandpaper, and paint or stain.
Safety Gear: Wear safety goggles, gloves, and a dust mask to protect yourself from debris and dust.
Clear the Area: Remove furniture and decorations near the door. Ensure you have enough space to work comfortably.
Turn Off Power: If there are any electrical outlets or switches near the door, turn off the power to avoid accidents.
Remove the Door: Take the door off its hinges using a screwdriver. Set it aside in a safe place.
Inspect the Frame: Check the existing frame for any damage or rot. This will help you understand how much needs replacing.
Measure the Opening: Use a measuring tape to get the dimensions of the door frame. This ensures you cut the new frame pieces accurately.
Prepare New Frame Pieces: Cut the new frame pieces to size using a saw. Sand the edges to smooth them out.
Workspace Setup: Lay down a drop cloth or old sheet to catch debris and protect your floor.
Ventilation: Ensure the room is well-ventilated, especially if you plan to use paint or stain.
Test Fit: Before securing anything, place the new frame pieces in the opening to ensure they fit properly.
Gather Fasteners: Have nails, screws, and wood filler ready for the installation process.
Check for Level: Use a level to ensure the new frame will be straight and even.
Plan for Disposal: Have a plan for disposing of the old frame and any debris. A trash bag or bin nearby can be helpful.
Review Instructions: If using a pre-made frame kit, review the manufacturer's instructions for any specific steps or tips.
What You Need: Materials and Tools
New Door Frame: The replacement frame that fits the dimensions of your existing door.
Measuring Tape: Used to measure the dimensions of the door frame and ensure accurate cuts.
Pry Bar: Helps remove the old door frame without damaging the surrounding wall.
Hammer: Essential for driving nails into the new frame and removing old nails.
Nails or Screws: Used to secure the new door frame in place.
Screwdriver or Drill: Needed for driving screws into the frame. A drill makes the job faster.
Level: Ensures the new frame is perfectly vertical and horizontal.
Saw: Used to cut the new door frame to the correct size.
Wood Shims: Small pieces of wood that help level and secure the frame.
Caulk and Caulk Gun: Seals gaps around the frame to prevent drafts and improve insulation.
Wood Putty: Fills any holes or gaps in the frame for a smooth finish.
Sandpaper: Smooths out any rough edges on the frame.
Paint or Stain: Matches the new frame to the existing decor.
Safety Glasses: Protects your eyes from debris while cutting or hammering.
Work Gloves: Keeps your hands safe from splinters and sharp edges.
Skill Level and Time Commitment
Skill Level: Intermediate
Estimated Time Required: 4-6 hours
- Remove the Old Frame: 1 hour
- Prepare the Opening: 30 minutes
- Measure and Cut the New Frame: 1 hour
- Install the New Frame: 1.5 hours
- Secure and Finish: 1 hour
Instructions: A Step-by-Step Guide
Gather Materials and Tools
- New door frame
- Hammer
- Nails
- Screwdriver
- Screws
- Pry bar
- Measuring tape
- Level
- Wood shims
- Saw
Remove the Old Door Frame
- Use the pry bar to carefully remove the trim around the door.
- Unscrew and remove the door from its hinges.
- Pry off the old door frame from the wall.
Measure the Opening
- Measure the height and width of the door opening.
- Ensure the new frame matches these measurements.
Prepare the New Frame
- Cut the new frame to fit the measured dimensions.
- Assemble the frame using nails or screws.
Install the New Frame
- Place the new frame into the door opening.
- Use a level to ensure the frame is straight.
- Insert wood shims between the frame and wall to keep it in place.
Secure the Frame
- Nail or screw the frame into the wall studs.
- Double-check that the frame remains level and plumb.
Reattach the Door
- Rehang the door on its hinges.
- Ensure the door opens and closes smoothly.
Replace the Trim
- Reattach the trim around the door frame.
- Use nails to secure the trim in place.
Final Adjustments
- Check for any gaps or uneven areas.
- Make any necessary adjustments to ensure a snug fit.
Helpful Tips and Tricks
Measure the existing door frame carefully before buying a new one. Use a level to ensure the frame is straight. If the frame is not level, use shims to adjust it. When removing the old frame, cut the caulk around it with a utility knife to avoid damaging the wall.
Common mistakes include not measuring correctly, which can lead to buying the wrong size frame. Another mistake is not checking for plumb and level, causing the door to hang improperly. Avoid using too many shims, as this can weaken the frame.
For materials, consider composite frames instead of wood for better durability and resistance to moisture. If you don't have a nail gun, use screws for a more secure fit. Instead of traditional wood filler, use epoxy for filling gaps, as it is stronger and more durable.
Estimating the Cost
Materials:
- Door frame: $50-$100
- Wood screws: $5-$10
- Wood filler: $5-$10
- Sandpaper: $5-$10
- Paint or stain: $15-$30
- Primer: $10-$20
- Caulk: $5-$10
Tools:
- Hammer: $10-$20
- Screwdriver: $5-$15
- Saw: $20-$50
- Level: $10-$20
- Measuring tape: $5-$15
- Paintbrushes: $5-$15
- Caulk gun: $5-$10
Total Cost: $155-$355
Budget-Friendly Alternatives:
- Reuse old screws if in good condition.
- Borrow tools from friends or family.
- Buy used tools from thrift stores or online marketplaces.
- Opt for cheaper paint or stain brands.
- Use leftover paint from previous projects.
Different Ways to Customize
Materials: Instead of traditional wood, consider using metal or fiberglass for a modern look. Reclaimed wood offers a rustic charm, while composite materials provide durability and low maintenance.
Colors: Paint the frame in bold colors like navy blue or emerald green for a statement piece. For a more subtle approach, use neutral tones such as beige or gray. Staining the wood can highlight its natural grain and add warmth.
Styles: Opt for a shaker style frame for a clean, simple look. Victorian-style frames with intricate carvings add elegance. For a contemporary feel, choose a minimalist design with straight lines and no embellishments.
Hardware: Swap out standard hinges and handles for decorative hardware in brass, chrome, or matte black. Antique hardware can give a vintage touch, while sleek, modern handles offer a more updated appearance.
Trim: Add crown molding or wainscoting around the door frame for extra detail. Beveled edges can create a more polished look, while flat trim keeps it simple and modern.
Glass Panels: Incorporate glass panels into the door frame for added light and a touch of elegance. Frosted glass provides privacy, while clear glass opens up the space visually.
Decorative Elements: Use corbels or brackets for added architectural interest. Stenciling or woodburning designs onto the frame can personalize it further.
Finishes: Choose a high-gloss finish for a sleek, modern look or a matte finish for a more understated appearance. Distressed finishes can add a vintage or farmhouse feel.
Eco-Friendly Tips
Start by removing the old door frame carefully to reuse or recycle parts. Use a crowbar and hammer to gently pry the frame away from the wall.
For the new frame, consider reclaimed wood. This wood comes from old buildings or furniture, reducing the need for new lumber. It adds character and is eco-friendly.
Choose low-VOC (volatile organic compounds) paints or stains. These products release fewer harmful chemicals into the air, making them better for your health and the environment.
Use natural insulation like sheep wool or cotton. These materials are biodegradable and have excellent insulating properties.
Opt for screws and nails made from recycled metal. These fasteners are just as strong as new ones but have a smaller environmental footprint.
Consider installing a door sweep or weatherstripping. These additions improve energy efficiency by keeping drafts out, reducing the need for heating or cooling.
Finally, dispose of any waste responsibly. Take leftover materials to a recycling center or donate them to a local reuse store. This way, nothing goes to waste.
Your Doorway to Success
Replacing a dining room door frame isn't as tough as it seems. With the right tools, a bit of patience, and some elbow grease, you can tackle this project like a pro. Measure twice, cut once, and make sure everything's level. Don't rush the process; taking your time ensures a sturdy, long-lasting frame. If you hit a snag, don't hesitate to ask for help or look up additional resources. Remember, practice makes perfect. Each project you complete builds your confidence and skills. So, roll up your sleeves, gather your materials, and get started. Before you know it, you'll have a brand-new door frame that not only looks great but also adds value to your home. Happy building!
How do I remove the old door frame?
Use a utility knife to cut through any caulk or paint sealing the frame. Then, use a pry bar to carefully remove the trim and frame pieces. Be gentle to avoid damaging the surrounding wall.
What tools will I need for this project?
You’ll need a utility knife, pry bar, hammer, measuring tape, level, screws, drill, and a new door frame. A saw might be necessary if you need to trim the new frame.
How do I measure for a new door frame?
Measure the height and width of the door opening. Also, measure the thickness of the wall. These measurements will help you buy a frame that fits perfectly.
Can I reuse the old door with the new frame?
Yes, you can reuse the old door if it’s still in good condition. Just make sure the new frame matches the door’s dimensions.
How do I ensure the new frame is level?
Use a level to check both the vertical and horizontal alignment of the frame. Adjust as needed before securing it with screws.
What type of screws should I use?
Use wood screws that are long enough to go through the frame and into the wall studs. This ensures a sturdy installation.
How do I finish the new door frame?
Once the frame is installed, fill any gaps with caulk. Then, sand any rough spots and paint or stain the frame to match your decor.