
Home>Home & Furniture>Doors & Windows>How to Make Reflectix Window Covers
Doors & Windows
How to Make Reflectix Window Covers
Published: August 18, 2024
Learn how to make Reflectix window covers with our step-by-step guide. Improve insulation, reduce energy costs, and enhance comfort in your home with this DIY project.
(Many of the links in this article redirect to a specific reviewed product. Your purchase of these products through affiliate links helps to generate commission for Twigandthistle.com, at no extra cost. Learn more)
Making Reflectix window covers is a simple DIY project with significant benefits for your home. Reflectix, a reflective insulation material, helps keep your home cool in the summer and warm in the winter by reflecting heat away or back inside. This project is relatively inexpensive, easy to complete, and doesn't require many tools. Whether you're looking to save money on energy bills or just make your living space more comfortable, Reflectix window covers can be a great solution. Follow these steps to create effective window covers tailored to fit your windows perfectly. Ready to get started? Let's dive in!
Getting Ready for the Project
Measure Windows: Use a tape measure to get the exact dimensions of each window you want to cover. Write down the measurements.
Gather Materials: You'll need Reflectix insulation, a utility knife or scissors, a straight edge, and double-sided tape or Velcro.
Safety Gear: Wear gloves to protect your hands from sharp edges. Safety glasses can prevent any debris from getting into your eyes.
Prepare Workspace: Clear a large, flat surface to work on. Ensure good lighting so you can see your measurements and cuts clearly.
Cut Reflectix: Lay out the Reflectix on your workspace. Use the straight edge and utility knife to cut the Reflectix to the size of your window measurements.
Attach Fasteners: Apply double-sided tape or Velcro around the edges of the Reflectix. This will help secure the covers to your windows.
Test Fit: Place the Reflectix cover on the window to ensure it fits properly. Make any necessary adjustments.
Clean Windows: Wipe down the window surfaces to remove any dust or grime. This helps the tape or Velcro stick better.
Install Covers: Attach the Reflectix covers to your windows using the tape or Velcro. Press firmly to ensure a good seal.
Check for Gaps: Inspect the edges for any gaps where air might leak through. Adjust as needed to ensure a snug fit.
What You Need to Get Started
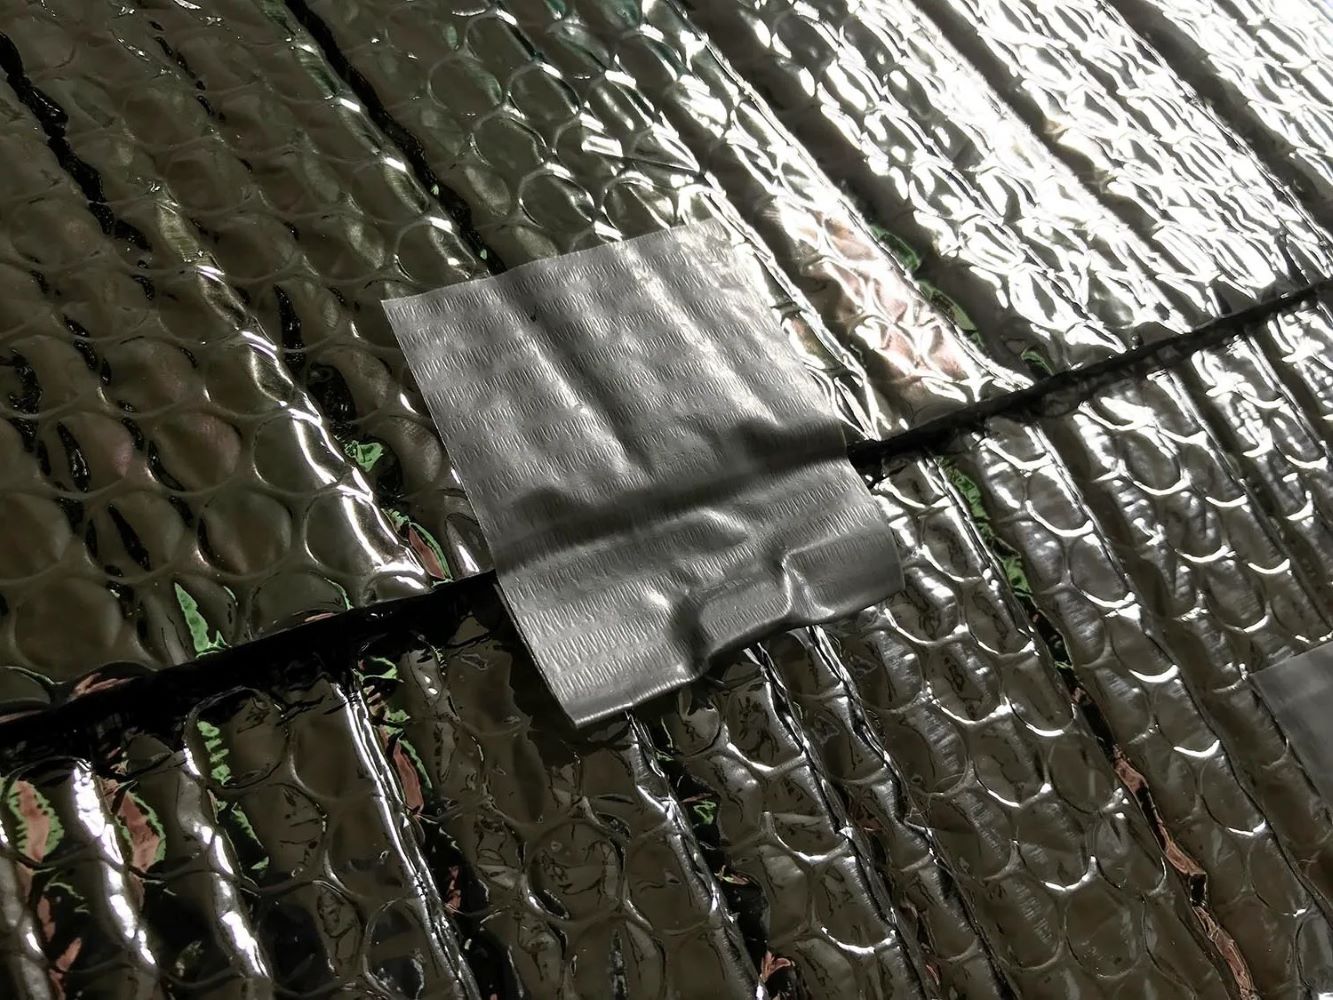
Reflectix Insulation: This shiny, bubble-wrap-like material reflects heat, keeping your space cooler in summer and warmer in winter.
Measuring Tape: Essential for measuring your windows accurately to ensure a snug fit for the covers.
Scissors: Used to cut the Reflectix to the correct size. Make sure they are sharp to get clean edges.
Marker: Helps mark the measurements on the Reflectix before cutting.
Adhesive Velcro Strips: These strips will attach the Reflectix covers to the window frames. Velcro makes it easy to remove and reattach the covers as needed.
Ruler or Straight Edge: Ensures straight cuts and accurate measurements.
Utility Knife: Useful for making precise cuts, especially around corners or tight spots.
Spray Adhesive: Optional but can help secure the Reflectix to the window frame more permanently if desired.
Cloth Tape: This can be used to reinforce the edges of the Reflectix, preventing fraying and adding durability.
Safety Glasses: Protect your eyes when cutting or using adhesive sprays.
How Much Time and Skill Is Needed
Skill Level: Beginner
Time Required: 1-2 hours
- Measure your windows.
- Cut Reflectix to fit.
- Attach Velcro or magnets.
- Install covers on windows.
Follow These Steps
Gather Materials:
- Reflectix insulation
- Scissors
- Measuring tape
- Marker
- Velcro strips or double-sided tape
Measure Windows:
- Use the measuring tape to find the height and width of each window.
- Write down the measurements.
Cut Reflectix:
- Lay out the Reflectix on a flat surface.
- Mark the measurements on the Reflectix using the marker.
- Cut the Reflectix to match the window sizes.
Test Fit:
- Place the cut Reflectix pieces against the windows to ensure they fit properly.
- Trim any excess if needed.
Attach Velcro or Tape:
- Stick Velcro strips or double-sided tape around the edges of the Reflectix.
- Make sure the adhesive side is facing out.
Install Covers:
- Press the Reflectix covers onto the windows, ensuring the Velcro or tape sticks securely.
- Smooth out any wrinkles or bubbles.
Check for Gaps:
- Inspect the edges for any gaps where light or air might seep through.
- Adjust the covers or add more Velcro/tape if necessary.
Remove and Store:
- When not in use, gently peel the Reflectix covers off the windows.
- Roll them up for easy storage.
Helpful Tips and Tricks
Measure accurately before cutting Reflectix. Use a sharp utility knife or scissors for clean edges. Add Velcro strips to the edges for easy attachment and removal. Double-layer Reflectix for better insulation. Use a marker to label each cover for specific windows.
Common mistakes include cutting too small or too large pieces, which can lead to poor fit and reduced effectiveness. Skipping the use of Velcro can make installation difficult. Not sealing edges properly can allow air leaks.
Instead of Reflectix, consider using foam board insulation for a sturdier option. Bubble wrap can also work in a pinch but offers less insulation. For a more eco-friendly choice, recycled cardboard covered with aluminum foil can be used.
How Much Will It Cost
Reflectix: $25 for a 25-foot roll.
Double-sided tape: $5 for a roll.
Velcro strips: $10 for a pack.
Scissors: $10 if you don't already have them.
Marker: $2 for marking measurements.
Ruler or measuring tape: $5 if you need one.
Total cost: Around $57.
Budget-friendly alternatives:
Reflectix: Use bubble wrap ($10 for a large roll) instead.
Double-sided tape: Regular tape ($2) can work, but may not stick as well.
Velcro strips: Use magnets ($5 for a pack) if your window frames are metal.
Scissors: Borrow from a friend or use any sharp knife you have.
Marker: Use any pen or pencil you already own.
Ruler or measuring tape: Use a string and measure it against a standard ruler.
Different Ways to Customize
Alternative Materials: Instead of Reflectix, try using foam board or insulated fabric. Foam board provides sturdiness, while insulated fabric offers flexibility and can be easier to store.
Colors: Reflectix typically comes in silver, but you can cover it with fabric or contact paper in various colors or patterns. This adds a decorative touch to your window covers.
Styles: Add a border of fabric or ribbon around the edges for a polished look. You can also sew or glue Velcro strips to the edges for easy attachment and removal.
Shapes: Customize the shape to fit different window styles. For arched or circular windows, cut the Reflectix to match the window's shape.
Additional Features: Attach suction cups or magnets for a more secure fit. You can also add a layer of blackout fabric on one side to block more light.
Storage Solutions: Create a fabric sleeve or pouch to store the covers when not in use. This keeps them clean and easy to find.
Edge Finishing: Use bias tape or binding tape to finish the edges. This prevents fraying and gives a neat appearance.
Layering: Combine Reflectix with other materials like bubble wrap or thermal curtains for extra insulation. This can be especially useful in extreme weather conditions.
Personalization: Add stickers or decals to the Reflectix for a fun, personalized touch. This is a great way to involve kids in the project.
Functionality: Incorporate pockets or loops to hold small items like remotes or keys. This adds functionality to your window covers.
Eco-Friendly Tips
Reflectix is a great material for making window covers because it reflects heat and light, helping to keep your home cool in summer and warm in winter. To make these covers more eco-friendly, consider using recycled materials and sustainable methods.
Gather Materials: Use leftover Reflectix from previous projects or ask friends if they have any extra. You can also find Reflectix at recycling centers or online marketplaces.
Measure Windows: Measure the dimensions of your windows. Add a bit extra to ensure a snug fit.
Cut Reflectix: Use a utility knife or scissors to cut the Reflectix to the measured size. Be careful to cut straight lines for a better fit.
Reuse Old Fabric: Instead of buying new fabric, use old bedsheets, curtains, or clothing to cover the Reflectix. This adds an extra layer of insulation and makes the covers look nicer.
Attach Fabric: Use eco-friendly glue or sewing to attach the fabric to the Reflectix. If sewing, use a needle and thread to stitch the edges.
Velcro or Magnets: Attach reusable Velcro strips or magnets to the edges of the Reflectix covers. This makes it easy to put them on and take them off without damaging the window frames.
Label and Store: Label each cover with the corresponding window. Store them flat or rolled up when not in use to extend their lifespan.
By using recycled materials and sustainable methods, you can make Reflectix window covers that are both effective and environmentally friendly.
Your DIY Project is Complete
Making Reflectix window covers is a simple and effective way to improve your home's energy efficiency. With just a few materials and tools, you can create custom-fit covers that will help keep your home cooler in the summer and warmer in the winter. Plus, you'll save on energy bills and reduce your carbon footprint. Remember to measure your windows accurately, cut the Reflectix to the right size, and secure it properly. If you follow these steps, you'll have durable and functional window covers in no time. So, grab your supplies, get to work, and enjoy the benefits of your new Reflectix window covers. Happy DIYing!
What materials do I need to make Reflectix window covers?
You'll need Reflectix insulation, scissors, a measuring tape, a marker, and some Velcro strips or double-sided tape.
How do I measure my windows for the covers?
Measure the height and width of each window. Add an extra inch to each measurement to ensure a snug fit.
Can I cut Reflectix with regular scissors?
Yes, regular scissors work just fine. Just make sure they're sharp to get clean cuts.
How do I attach the Reflectix to my windows?
Use Velcro strips or double-sided tape to attach the Reflectix to the window frame. This makes it easy to remove when needed.
Will Reflectix covers block out all light?
Reflectix will block most light, but some might still get through the edges. For complete darkness, consider adding blackout curtains.
Are Reflectix window covers reusable?
Absolutely! You can remove and reattach them as needed. Just be gentle to avoid tearing the material.
Do Reflectix window covers help with insulation?
Yes, they help keep your home cooler in summer and warmer in winter by reflecting heat away or back into the room.