
Home>Home & Furniture>Doors & Windows>How to Make DIY Exterior Window Shades
Doors & Windows
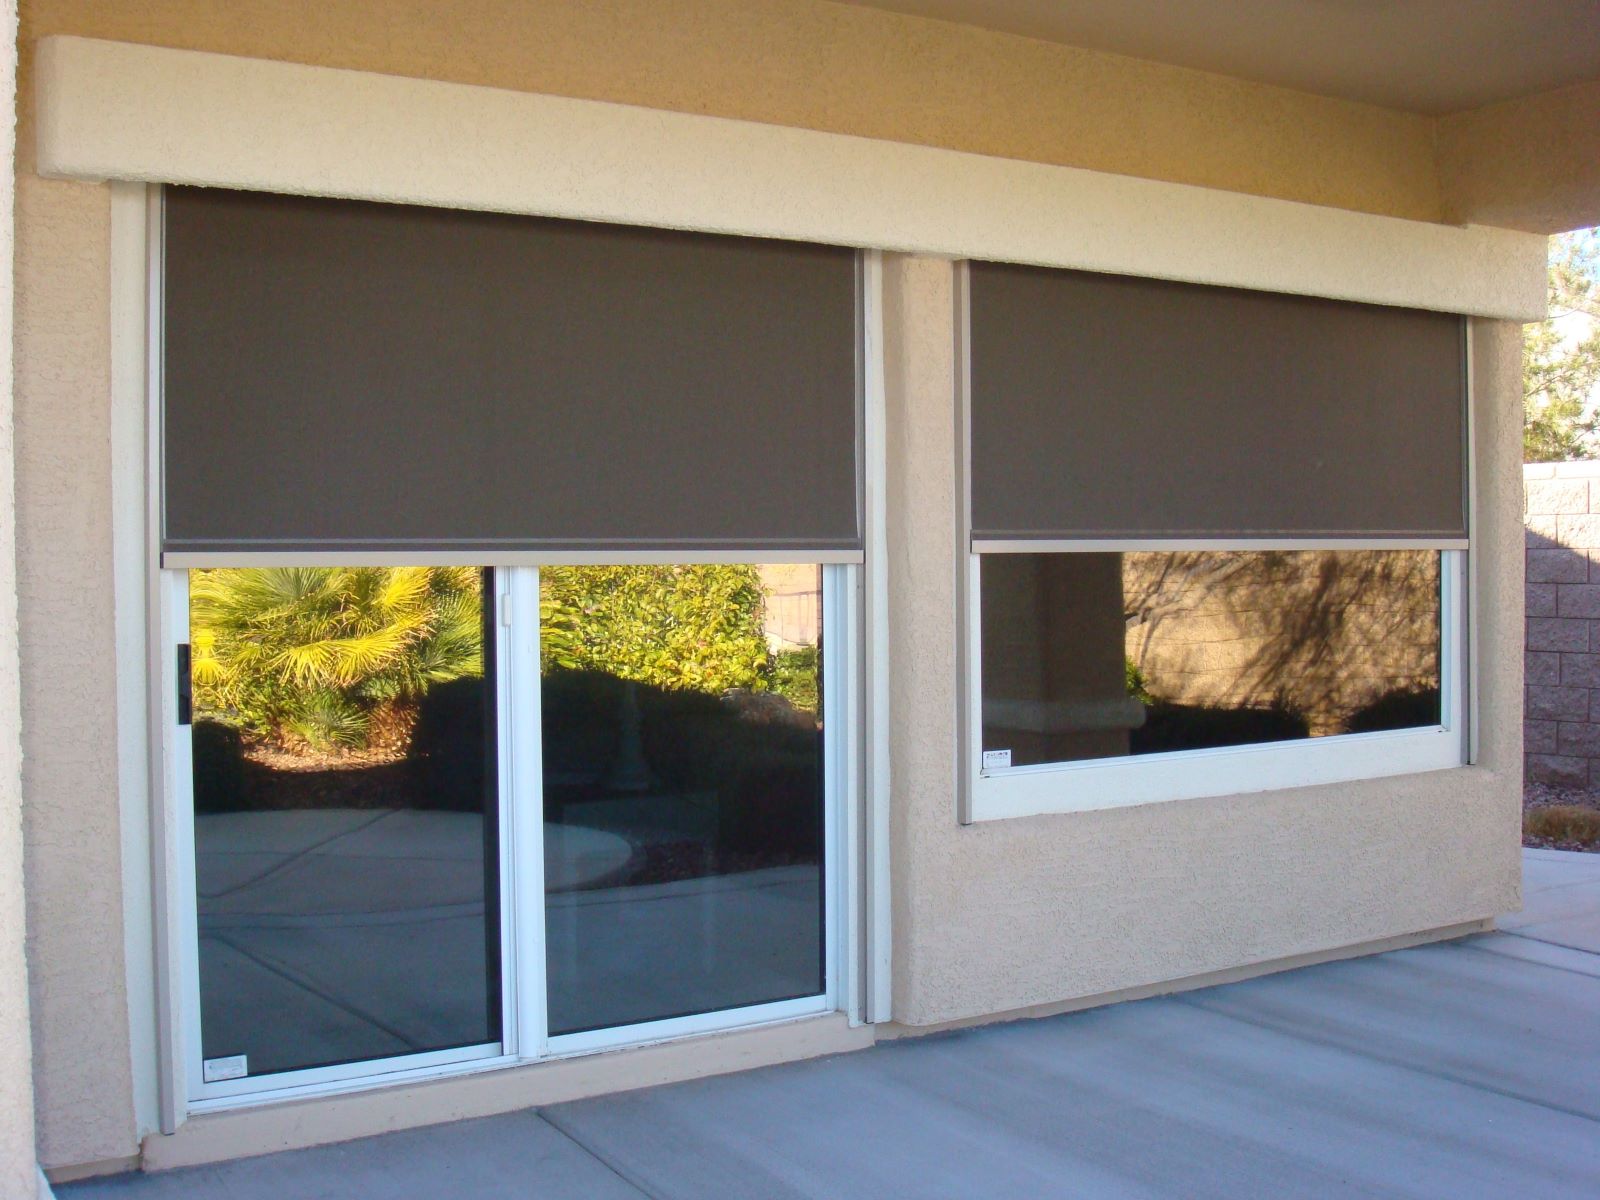
How to Make DIY Exterior Window Shades
Published: August 24, 2024
Learn how to create DIY exterior window shades with our step-by-step guide. Enhance your home's curb appeal and energy efficiency with these easy, budget-friendly projects.
(Many of the links in this article redirect to a specific reviewed product. Your purchase of these products through affiliate links helps to generate commission for Twigandthistle.com, at no extra cost. Learn more)
Looking to spruce up your home's exterior while keeping it cool? Exterior window shades might be just what you need. Not only do they add a stylish touch, but they also block out the sun, making your space more comfortable. Even better, you can make them yourself with a few materials and some basic tools. This project is easier than you might think, and it's a great way to add a personal touch to your home. Get ready to learn how to create your own DIY exterior window shades and transform your outdoor space into a cozy retreat.
Getting Ready for Your Project
Measure Your Windows: Use a tape measure to get the exact dimensions of your windows. Write down the width and height.
Choose Materials: Decide on the fabric or material for your shades. Outdoor fabrics are best because they are weather-resistant.
Gather Tools: Collect necessary tools like a drill, screws, brackets, scissors, and a staple gun.
Safety Gear: Wear safety goggles and gloves to protect your eyes and hands.
Prepare Workspace: Set up a clean, flat workspace. Make sure you have enough room to spread out the fabric and cut it.
Cut Fabric: Cut the fabric to match the window measurements, adding a few extra inches on each side for hemming.
Hem Edges: Use a sewing machine or fabric glue to hem the edges of the fabric. This prevents fraying.
Attach Brackets: Drill holes and attach brackets above the window frame. Ensure they are level.
Install Shade: Attach the fabric to a wooden dowel or rod using a staple gun. Then, place the rod into the brackets.
Test: Pull the shade up and down to ensure it functions smoothly. Adjust if necessary.
What You Need: Materials and Tools
Materials:
- Fabric: Choose outdoor fabric resistant to weather and UV rays.
- Grommets: Metal rings to reinforce holes in the fabric.
- Rope or Cord: For hanging the shades.
- Wooden Dowels: To provide structure and weight to the bottom of the shades.
- Screws and Hooks: For attaching the shades to the exterior of your house.
- Thread: Strong, outdoor thread for sewing the fabric.
Tools:
- Measuring Tape: To measure the fabric and window dimensions.
- Scissors: For cutting the fabric.
- Sewing Machine: To sew the fabric and attach the grommets.
- Grommet Tool Kit: To install the grommets.
- Drill: For making holes to attach the hooks.
- Screwdriver: To secure the screws and hooks.
- Marker or Chalk: For marking measurements on the fabric.
Fabric: Outdoor fabric resists weather and UV rays, ensuring durability. Grommets: Metal rings reinforce holes, preventing fraying. Rope or Cord: Used for hanging, providing flexibility in adjusting shade height. Wooden Dowels: Add structure and weight, keeping shades straight. Screws and Hooks: Secure shades to the house exterior. Thread: Strong, outdoor thread ensures seams hold up against elements.
Measuring Tape: Ensures accurate fabric and window measurements. Scissors: Cuts fabric to the required size. Sewing Machine: Stitches fabric and attaches grommets efficiently. Grommet Tool Kit: Installs grommets securely. Drill: Creates holes for hooks. Screwdriver: Tightens screws and hooks. Marker or Chalk: Marks measurements on fabric for precise cutting and sewing.
Skill Level and Time Commitment
Skill Level: Intermediate
Time Required: 4-6 hours
- Measure Windows: 30 minutes
- Cut Materials: 1 hour
- Assemble Frame: 1 hour
- Attach Fabric: 1 hour
- Install Shades: 1-2 hours
Instructions: Step-by-Step Guide
Measure the Windows
- Use a tape measure to get the width and height of each window.
- Write down the measurements.
Choose the Fabric
- Pick a durable, weather-resistant fabric.
- Cut the fabric to match the window measurements, adding 2 inches to each side for hems.
Hem the Edges
- Fold the edges of the fabric over by 1 inch.
- Use a sewing machine or fabric glue to secure the hems.
Attach Grommets
- Mark spots for grommets along the top edge of the fabric, spacing them about 6 inches apart.
- Use a grommet kit to install the grommets.
Install Hooks Above Windows
- Drill holes above each window where the grommets will align.
- Screw in hooks or eye bolts.
Hang the Shades
- Thread a strong rope or cord through the grommets.
- Tie the ends of the rope to the hooks or eye bolts.
Secure the Bottom
- Attach weights or tie-downs to the bottom of the shades to prevent them from flapping in the wind.
- Use small hooks or stakes to secure the bottom if needed.
Test the Shades
- Pull the shades up and down to ensure they move smoothly.
- Adjust the tension of the ropes if necessary.
Helpful Tips and Tricks
Measure accurately before cutting any materials. Use a metal tape measure for precision. Choose durable fabric like canvas or outdoor polyester to withstand weather. Pre-drill holes for screws to prevent wood from splitting. Use a level to ensure the shade hangs straight. Reinforce corners with brackets for added stability.
Common mistakes include not measuring properly, leading to ill-fitting shades. Avoid using indoor fabric which can deteriorate quickly outside. Skipping pre-drilling can cause wood to crack. Ignoring weatherproofing can result in mold or mildew.
For materials, consider bamboo shades as an eco-friendly alternative. Instead of screws, use heavy-duty adhesive for a cleaner look. PVC pipes can replace wooden rods for a lighter, rust-resistant option.
Estimating the Cost
Materials:
- Fabric (Outdoor): $30-$50 per yard
- Wooden Dowels: $5-$10 each
- Screws and Anchors: $5-$10 per pack
- Rope or Cord: $10-$15
- Eye Hooks: $5-$10 per pack
- Staples: $3-$5 per pack
Tools:
- Drill: $40-$60
- Staple Gun: $10-$20
- Measuring Tape: $5-$10
- Scissors: $5-$10
- Screwdriver: $5-$10
Total Cost: $123-$220
Budget-Friendly Alternatives:
- Fabric: Use old bedsheets or tablecloths instead of buying new fabric.
- Wooden Dowels: PVC pipes can be cheaper and work just as well.
- Rope or Cord: Use leftover string or twine from other projects.
- Tools: Borrow tools from friends or family to save money.
Different Ways to Customize
Materials: Instead of using traditional fabric, try bamboo or reed shades for a natural look. Canvas or outdoor fabric can provide durability against weather.
Colors: Choose bright colors like yellow or turquoise for a cheerful vibe. Neutral tones such as beige or gray offer a more classic appearance. Patterned fabrics with stripes or floral designs can add visual interest.
Styles: For a rustic feel, use wooden slats or pallet wood. Roll-up shades can be made with ropes and pulleys for easy adjustment. Roman shades give a more tailored, elegant look.
Mounting Options: Install shades with brackets for a sturdy hold. Tension rods can be used for a no-drill option. Velcro strips offer a quick and removable solution.
Finishing Touches: Add trim or fringe to the bottom edge for a decorative touch. Use grommets and hooks for a more industrial look. Tiebacks made from rope or ribbon can keep shades open when not in use.
Eco-Friendly Tips
Use bamboo or reclaimed wood for the frame. These materials are strong and sustainable. Old bedsheets or canvas drop cloths can be repurposed for the shade fabric. Natural dyes like coffee or tea can color the fabric without harmful chemicals. Recycled metal or plastic can be used for brackets and hooks. Solar-powered lights can be added for evening use, reducing electricity consumption. Cotton rope or jute twine can replace synthetic cords for a more eco-friendly option. Upcycled materials not only save money but also reduce waste.
Your DIY Project Awaits
You've got all the tools and know-how to make your own exterior window shades. With some basic materials like fabric, wood, and screws, you can create something both functional and stylish. Just follow the steps: measure your windows, cut the fabric, attach it to the frame, and secure it to your house.
Don't forget to double-check your measurements and use weather-resistant materials. This project not only saves you money but also gives you a sense of accomplishment. Plus, you'll have a unique touch to your home that you can proudly say you made yourself.
So, grab your tools and get started. Your windows will thank you, and you'll enjoy the shade and privacy you've created. Happy DIY-ing!
How do I measure my windows for exterior shades?
Measure the width and height of the window frame. Add a few inches to each side for better coverage. This ensures the shade blocks more sunlight.
What materials work best for DIY exterior window shades?
Canvas, bamboo, and outdoor fabric are great choices. They’re durable and can withstand weather changes.
Can I install these shades by myself?
Absolutely! With basic tools like a drill, screws, and a measuring tape, you can easily install them. Just follow the instructions carefully.
How do I secure the shades to the window frame?
Use brackets or hooks to attach the shades. Make sure they’re tightly secured to prevent them from blowing away in strong winds.
How do I clean and maintain my exterior window shades?
Regularly brush off dust and debris. For deeper cleaning, use a mild soap and water solution. Rinse thoroughly and let them air dry.
Will these shades help reduce my energy bills?
Yes, they can! By blocking out the sun’s heat, your home stays cooler, reducing the need for air conditioning.