
Home>Home & Furniture>Doors & Windows>How to Make Custom Door Cards
Doors & Windows
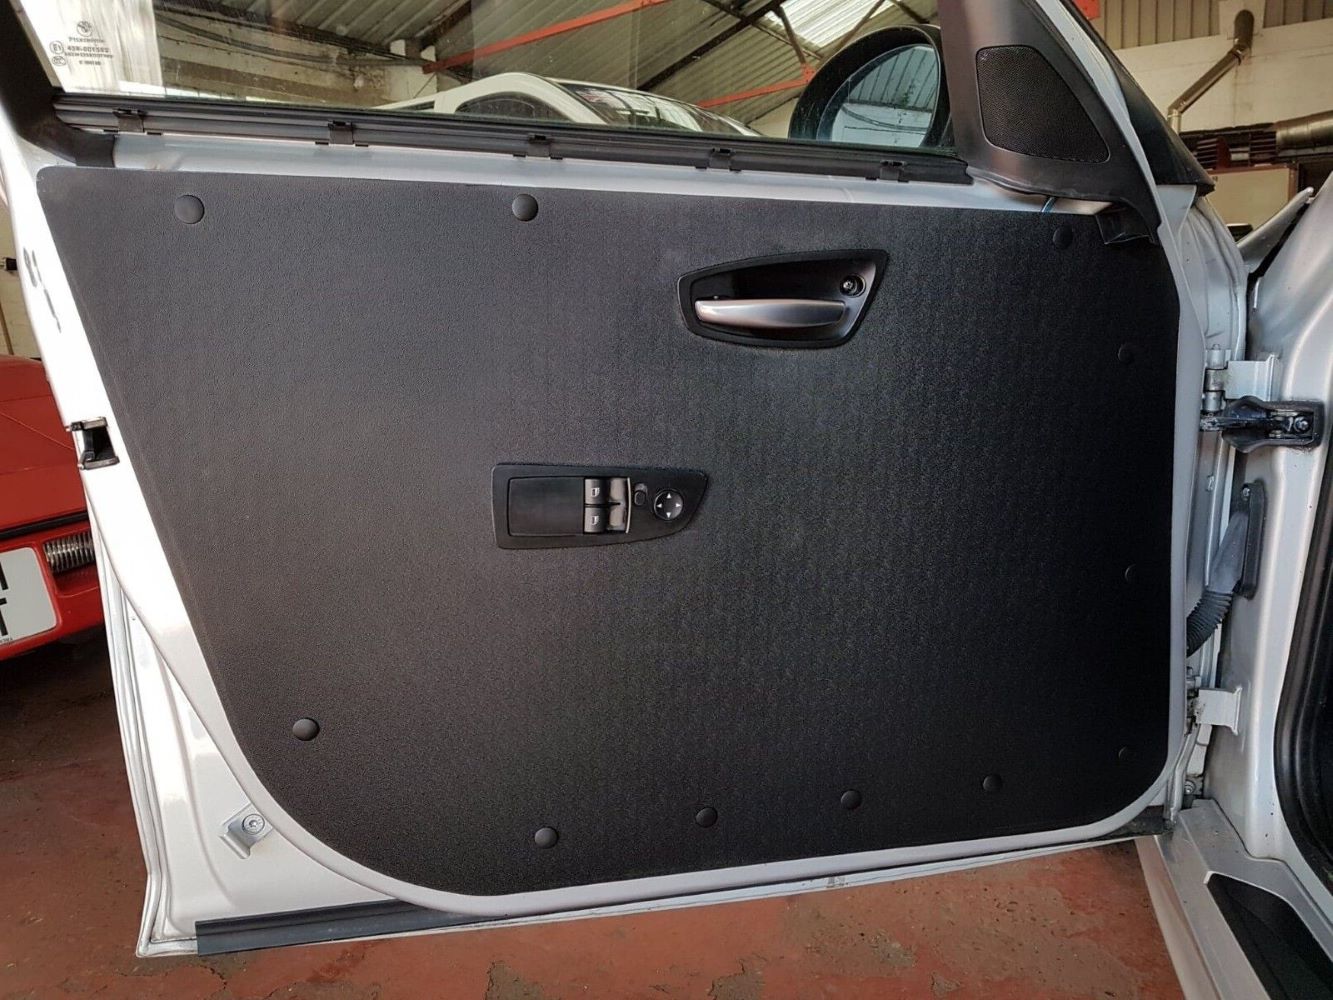
How to Make Custom Door Cards
Published: September 9, 2024
Learn how to make custom door cards with our step-by-step guide. Enhance your home's aesthetic with personalized designs. Perfect for DIY enthusiasts and home improvement lovers!
(Many of the links in this article redirect to a specific reviewed product. Your purchase of these products through affiliate links helps to generate commission for Twigandthistle.com, at no extra cost. Learn more)
Making custom door cards can be a fun and rewarding DIY project. Whether you want to give your car's interior a fresh look or replace worn-out panels, creating your own door cards allows for personalization and creativity. With some basic materials and tools, you can craft door cards that reflect your style. This project does not require advanced skills, just some patience and attention to detail. Follow these steps to make custom door cards that will impress and add a unique touch to your vehicle's interior. Let’s dive into this exciting DIY task together!
Getting Ready for the Project
Gather Materials: Get MDF board, upholstery fabric, adhesive spray, utility knife, measuring tape, screws, and screwdriver.
Safety Gear: Wear safety goggles and gloves to protect your eyes and hands.
Workspace Setup: Clear a large, flat surface to work on. Ensure good lighting and ventilation.
Measure Door: Use a measuring tape to get the exact dimensions of your car door. Write these down.
Cut MDF Board: Mark the measurements on the MDF board. Use a utility knife to cut it to size.
Test Fit: Place the cut board against the door to ensure it fits properly. Trim if necessary.
Cut Fabric: Lay the upholstery fabric flat. Cut it, leaving extra fabric around the edges to wrap around the board.
Apply Adhesive: Spray adhesive on the board. Carefully place the fabric on top, smoothing out any wrinkles.
Wrap Edges: Fold the extra fabric over the edges of the board. Secure with more adhesive or staples.
Install: Use screws and a screwdriver to attach the custom door card to the car door.
Essential Materials and Tools
Materials:
- MDF Board: Medium-density fiberboard for the base of the door card.
- Foam Padding: Adds cushioning and comfort.
- Vinyl or Fabric: Covers the foam and MDF for a finished look.
- Spray Adhesive: Bonds the foam and fabric to the MDF.
- Trim Clips: Secures the door card to the door frame.
- Screws and Washers: Additional securing elements.
- Contact Cement: Provides a strong bond for edges and corners.
Tools:
- Jigsaw: Cuts the MDF to the desired shape.
- Utility Knife: Trims foam and fabric.
- Staple Gun: Secures fabric to the MDF.
- Drill: Creates holes for screws and trim clips.
- Measuring Tape: Ensures accurate dimensions.
- Pencil: Marks cutting lines.
- Sandpaper: Smooths edges of the MDF.
- Clamps: Holds materials in place while adhesive sets.
Required Skills and Time Commitment
Skill Level: Intermediate
Time Required: 4-6 hours
- Remove Old Door Cards: 30 minutes
- Measure and Cut New Panels: 1 hour
- Apply Foam Padding: 30 minutes
- Upholster with Fabric or Vinyl: 2 hours
- Reinstall New Door Cards: 1 hour
Detailed Step-by-Step Guide
Gather Materials:
- Plywood or MDF board
- Fabric or vinyl
- Spray adhesive
- Utility knife
- Measuring tape
- Pencil
- Scissors
- Screwdriver
- Screws or clips
Remove Old Door Cards:
- Use a screwdriver to remove screws or clips holding the old door cards.
- Carefully pull the old door cards off.
Measure and Cut New Base:
- Measure the dimensions of the old door cards.
- Transfer measurements to the plywood or MDF board.
- Cut the board to size using a utility knife or saw.
Cut Openings:
- Mark locations for door handles, window cranks, and other fixtures.
- Cut out these openings with a utility knife.
Attach Fabric or Vinyl:
- Lay the fabric or vinyl flat on a clean surface.
- Place the cut board on top of the fabric.
- Cut the fabric, leaving extra material around the edges.
- Spray adhesive on the board and back of the fabric.
- Press the fabric onto the board, smoothing out wrinkles.
Trim Excess Fabric:
- Fold the extra fabric over the edges of the board.
- Secure it with more adhesive.
- Trim any excess fabric with scissors.
Reinstall Door Cards:
- Align the new door cards with the door.
- Secure them using screws or clips.
- Ensure all fixtures fit through the openings.
Final Adjustments:
- Check for any loose edges or wrinkles.
- Make necessary adjustments to ensure a snug fit.
Helpful Tips and Tricks
Measure your door accurately before cutting any materials. Use cardboard templates to test fit before cutting the final material. Choose durable materials like marine-grade plywood or MDF for the base. Use spray adhesive for a smooth, even application when attaching fabric or vinyl. Pre-drill holes for mounting hardware to avoid splitting the material.
Common mistakes include not measuring correctly, leading to poor fitment, and using weak adhesives that can cause the fabric to peel. Avoid rushing the process; take your time to ensure precision.
For alternatives, consider using aluminum sheets for a more industrial look or acrylic panels for a modern touch. Instead of fabric, use leather or faux leather for a more luxurious feel.
Estimating the Costs
Materials:
- Plywood (4x8 sheet): $20-$30
- Foam padding (1-inch thick, 2x6 feet): $10-$15
- Upholstery fabric (2 yards): $20-$40
- Spray adhesive: $5-$10
- Trim screws: $5-$10
- Vinyl or leather (optional): $30-$50
Tools:
- Jigsaw: $30-$50
- Drill: $40-$60
- Staple gun: $10-$20
- Measuring tape: $5-$10
- Utility knife: $5-$10
- Screwdriver set: $10-$20
Total Cost: $160-$325
Budget-Friendly Alternatives:
- Use MDF instead of plywood: $10-$15
- Opt for cheaper fabric or repurpose old fabric: $10-$20
- Borrow tools from friends or family to save money
Alternative Total Cost: $100-$200
Creative Variations and Customizations
Materials: Instead of using MDF (medium-density fiberboard), try plywood for a sturdier feel or acrylic sheets for a modern look. Leather or vinyl can add a touch of luxury, while fabric offers a softer, more customizable option.
Colors: Paint or stain the door cards in bold colors like red, blue, or green for a vibrant look. For a more subtle appearance, use neutral tones like beige, gray, or white. Metallic paints can give a sleek, futuristic vibe.
Styles: Add stitching patterns to fabric or leather door cards for a custom, high-end look. Use laser-cut designs on acrylic sheets for intricate patterns. Embossed or debossed designs on leather or vinyl can add texture and depth.
Hardware: Swap out standard screws for decorative bolts or rivets to add a unique touch. Use magnetic closures instead of traditional latches for a cleaner look.
Additional Features: Integrate LED lighting strips around the edges for a modern, illuminated effect. Add pockets or compartments for extra storage. Install speakers directly into the door cards for an integrated audio system.
Eco-Friendly Tips
Reclaimed wood can be a great choice for the base of your door cards. It’s sturdy and gives a rustic look. Recycled plastic panels are another option. They are durable and come in various colors and textures.
For padding, use old fabric or recycled foam. These materials can be sourced from old cushions or mattresses. They provide comfort and insulation.
When attaching the door cards, opt for eco-friendly adhesives. These glues are made from natural ingredients and are less harmful to the environment.
Natural dyes can be used to color your door cards. They are made from plants and are non-toxic. This makes them safe for both you and the planet.
For a finishing touch, consider using bamboo trim. Bamboo grows quickly and is a renewable resource. It adds a sleek, modern look to your custom door cards.
By using these eco-friendly materials, you can create custom door cards that are both stylish and sustainable.
Your Custom Door Cards Are Ready
You've got the know-how to create custom door cards. With the right materials, a bit of patience, and some creativity, you can transform your car's interior. Remember, measure twice, cut once. Don't rush the process. Take your time to ensure everything fits perfectly. If you hit a snag, don't sweat it. DIY projects often come with a learning curve. Just keep at it. The satisfaction of seeing your handiwork in your car is worth the effort. Plus, you'll have a unique touch that stands out. So, gather your tools, pick your materials, and get started. Your car's interior is about to get a serious upgrade. Happy crafting!
What materials do I need to make custom door cards?
You’ll need MDF board, fabric or vinyl, spray adhesive, foam padding, scissors, utility knife, staple gun, and screws.
How do I remove the old door cards?
First, unscrew any visible screws. Then, use a trim removal tool to gently pry off the old door card. Be careful not to break any clips.
How do I cut the MDF board to fit my door?
Trace the outline of the old door card onto the MDF board. Use a jigsaw or utility knife to cut along the traced lines. Sand the edges for a smooth finish.
What’s the best way to attach the fabric or vinyl to the MDF board?
Spray the adhesive evenly on the MDF board and the back of the fabric or vinyl. Press the fabric or vinyl onto the board, smoothing out any wrinkles. Use a staple gun to secure the edges.
How do I add foam padding to the door card?
Cut the foam padding to the same size as the MDF board. Glue it to the board before attaching the fabric or vinyl. This adds a cushioned feel.
Can I add pockets or compartments to my custom door cards?
Yes, you can! Use extra pieces of MDF or plastic to create pockets. Attach them with screws or strong adhesive before covering with fabric or vinyl.
How do I install the new custom door cards?
Line up the new door card with the door. Use the screws and clips from the old door card to attach it. Make sure everything is secure and fits snugly.