
Home>Home & Furniture>Doors & Windows>How to DIY Window Tinting
Doors & Windows
How to DIY Window Tinting
Published: August 27, 2024
Learn how to DIY window tinting with our step-by-step guide. Discover tips, tools, and techniques to achieve professional results and enhance your home's privacy and energy efficiency.
(Many of the links in this article redirect to a specific reviewed product. Your purchase of these products through affiliate links helps to generate commission for Twigandthistle.com, at no extra cost. Learn more)
Window tinting can be a cool and practical project to tackle on your own. Not only does it give your home or car a sleek look, but it also provides privacy and helps block out harmful UV rays. The best part? You don’t need to be a professional to do it. With some basic tools and a little patience, you can achieve impressive results. Ready to get started? In this guide, we'll go through the steps you need to know, from picking the right tint to applying it like a pro. Get your tools ready, and let's dive in!
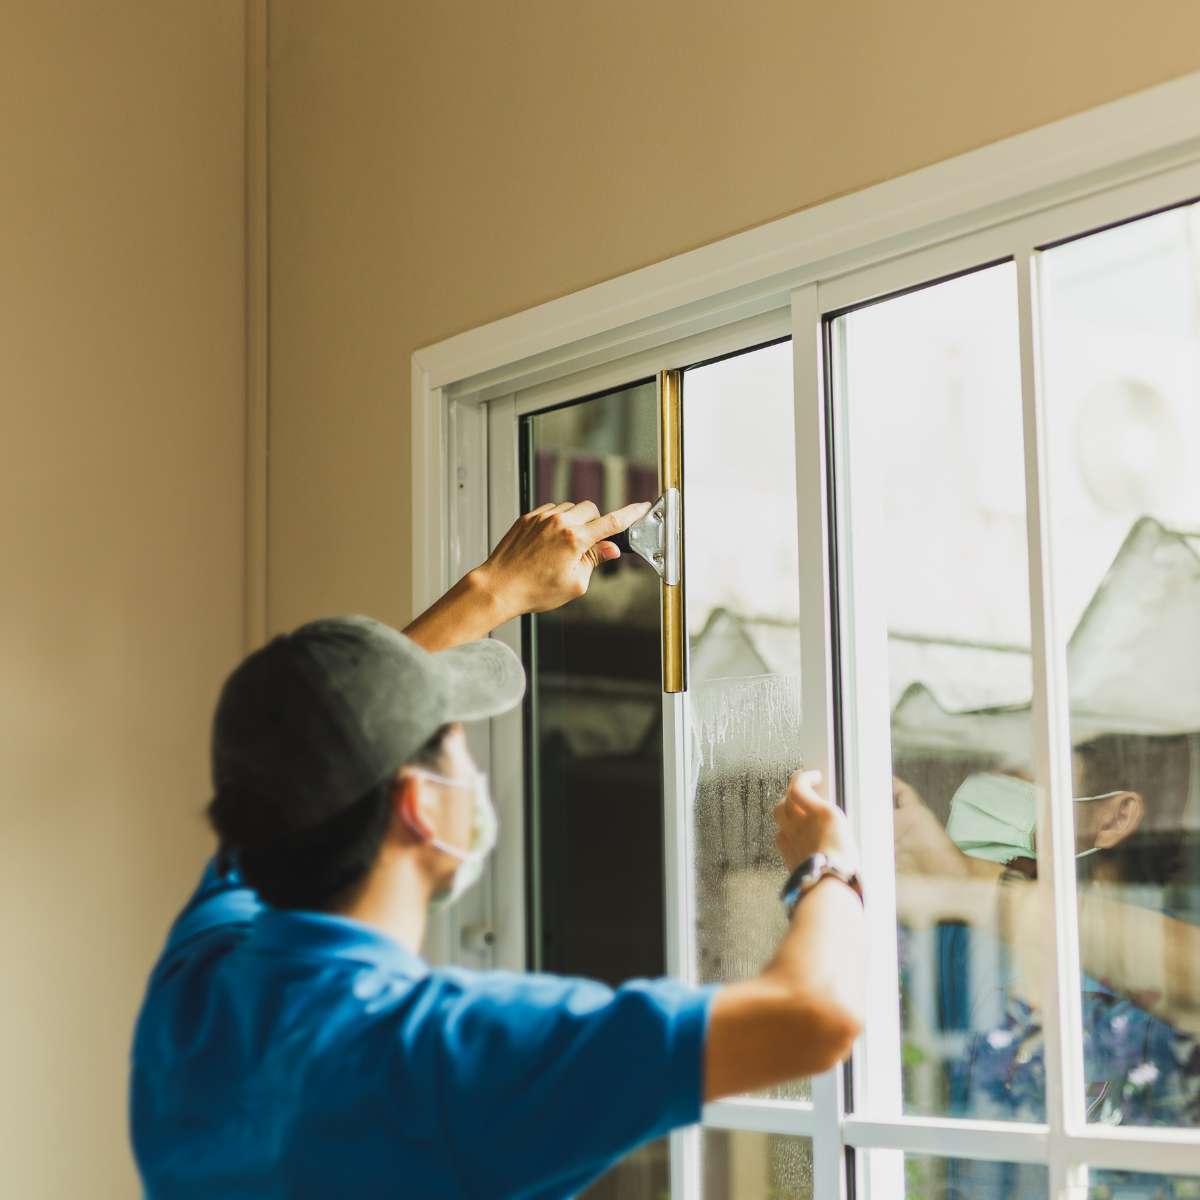
Getting Ready for Window Tinting
- Gather Materials: Get window film, a spray bottle, squeegee, utility knife, and a lint-free cloth.
- Clean Windows: Use a glass cleaner to remove dirt and grime. Make sure the surface is spotless.
- Measure and Cut Film: Measure the window dimensions. Cut the film slightly larger than the window.
- Prepare Solution: Mix water with a few drops of baby shampoo in a spray bottle.
- Set Up Workspace: Work in a dust-free area. Lay out all tools within reach.
- Safety Gear: Wear gloves to avoid fingerprints on the film. Use safety glasses when cutting.
- Wet Window: Spray the window generously with the solution.
- Apply Film: Peel the backing off the film. Place it on the wet window.
- Smooth Out Bubbles: Use the squeegee to remove air bubbles and excess solution.
- Trim Excess Film: Use the utility knife to trim the edges for a perfect fit.
Essential Materials and Tools
- Window Tint Film: Special film that blocks UV rays and reduces glare. Comes in various shades.
- Spray Bottle: Filled with soapy water to help position the tint film on the window.
- Squeegee: Removes air bubbles and smooths the film onto the glass.
- Utility Knife: Cuts excess film for a perfect fit.
- Lint-Free Cloth: Cleans the window before applying the film.
- Heat Gun: Helps shrink the film to fit curved windows.
- Tape Measure: Ensures accurate measurements of the window.
- Razor Blade: Scrapes off any dirt or old adhesive from the window.
- Cardboard or Paper: Used to create a template for cutting the film.
- Masking Tape: Holds the template in place while cutting the film.
Required Skills and Time Commitment
Skill Level: Intermediate
Time Required: 2-4 hours
Steps:
- Clean the Window: Ensure the window is spotless. Any dirt or dust can cause bubbles.
- Measure and Cut the Tint: Measure the window and cut the tint film slightly larger than needed.
- Apply the Tint: Use a spray bottle with soapy water to wet the window. Peel the backing off the tint and apply it to the wet window.
- Smooth Out Bubbles: Use a squeegee to smooth out any bubbles or wrinkles.
- Trim Excess Film: Carefully trim the excess film with a sharp utility knife.
Tips:
- Work in a dust-free environment.
- Take your time to avoid mistakes.
- Have a friend help for larger windows.
Detailed Step-by-Step Guide
Gather Materials:
- Window tint film
- Spray bottle with soapy water
- Squeegee
- Utility knife
- Measuring tape
- Lint-free cloth
Clean the Window:
- Spray soapy water on the window.
- Wipe with a lint-free cloth until spotless.
Measure and Cut Film:
- Measure the window dimensions.
- Cut the tint film slightly larger than the window.
Peel Film Backing:
- Peel off the backing from the tint film.
- Spray the adhesive side with soapy water.
Apply Film to Window:
- Place the adhesive side of the film on the wet window.
- Align the film with the window edges.
Smooth Out Bubbles:
- Use a squeegee to smooth out air bubbles.
- Start from the center, moving towards the edges.
Trim Excess Film:
- Use a utility knife to trim excess film around the window edges.
Final Smoothing:
- Spray the film with soapy water again.
- Squeegee out any remaining bubbles.
Dry and Set:
- Allow the film to dry for 24 hours.
- Avoid rolling down the window during this time.
Helpful Tips and Tricks
Clean the windows thoroughly before starting. Any dirt or dust can cause bubbles under the tint.
Use a spray bottle with soapy water to keep the window wet while applying the tint. This helps you slide the film into place.
Cut the tint slightly larger than the window. Trim the excess after application for a perfect fit.
Use a squeegee to remove air bubbles and excess water. Start from the center and work your way out.
Work in a dust-free environment. Dust can get trapped under the tint and ruin the finish.
Common mistakes to avoid:
- Not cleaning the window properly. Even tiny specks can cause issues.
- Applying the tint dry. Always use soapy water to help position the film.
- Rushing the process. Take your time to avoid bubbles and creases.
Alternatives:
- Pre-cut tint kits. These are cut to fit your specific car model, saving you trimming time.
- Static cling window film. Easier to apply and remove, but may not last as long as adhesive tint.
Estimating the Costs
Window tint film: $20-$100 depending on quality and size.
Application solution: $5-$10.
Squeegee: $5-$10.
Utility knife: $5-$15.
Lint-free cloth: $2-$5.
Spray bottle: $1-$3.
Tape measure: $3-$10.
Razor blade: $1-$5.
Total cost: $42-$158.
Budget-friendly alternatives:
Window tint film: Use lower-cost brands, $20-$40.
Application solution: Mix water with a few drops of baby shampoo, under $1.
Squeegee: Use a credit card wrapped in a soft cloth, free if you have these items.
Utility knife: Use a sharp kitchen knife, free if available.
Lint-free cloth: Use an old t-shirt, free if you have one.
Spray bottle: Reuse an old cleaning spray bottle, free if available.
Tape measure: Borrow from a friend or use a ruler, free if accessible.
Razor blade: Use a spare one from home, free if you have it.
Total budget-friendly cost: $20-$41.
Different Variations and Customizations
Alternative materials can change the look and function of your window tinting project. Instead of standard tint film, try ceramic film for better heat reduction or metalized film for added durability. Decorative films with patterns or frosted finishes can add privacy and style.
Colors can also make a big difference. Traditional tints come in shades of black and gray, but you can opt for bronze, blue, or green to match your home’s decor. Gradient tints offer a modern look by transitioning from dark to light.
Styles vary from reflective to non-reflective. Reflective tints give a mirror-like finish, adding privacy and reducing glare. Non-reflective tints provide a more natural look while still blocking UV rays. Dual-reflective films offer the best of both worlds, with a reflective exterior and non-reflective interior.
Application techniques can also be customized. Use pre-cut kits for a precise fit or bulk rolls for larger projects. Static cling films are easier to apply and remove, making them perfect for renters. For a professional touch, consider using a heat gun to smooth out bubbles and wrinkles.
Layering different films can create unique effects. Combine a privacy film with a decorative film for a stylish yet functional window. Tint strips at the top of windows can reduce glare without darkening the entire window.
Tools can be upgraded for better results. Instead of a basic squeegee, use a professional-grade squeegee for smoother application. Precision knives can help with detailed cuts, and spray bottles with a fine mist setting ensure even application of the soapy water solution.
Maintenance is another area for customization. Choose easy-to-clean films if you have kids or pets. Some films are scratch-resistant, making them more durable in high-traffic areas. Anti-graffiti films can be a good choice for exterior windows.
Safety features can be added with security films that hold glass together if it breaks. UV-blocking films protect your furniture and floors from fading. Energy-efficient films can help reduce your cooling costs in the summer.
Eco-friendly options include films made from recycled materials or those that are biodegradable. These choices can help reduce your environmental footprint while still providing the benefits of window tinting.
Eco-Friendly Tinting Tips
Eco-friendly materials for window tinting include recycled film and natural adhesives. Recycled film reduces waste and can be found at many home improvement stores. Natural adhesives, like those made from plant-based materials, are less harmful to the environment compared to synthetic ones.
Methods to make window tinting more sustainable involve reusing old window film. If you have old film in good condition, carefully remove it and apply it to another window. This reduces waste and saves money.
When cutting the film, use scrap pieces for smaller windows or other projects. This minimizes waste and makes the most out of the material.
For cleaning windows before applying the film, use a vinegar-water solution instead of chemical cleaners. Vinegar is natural and effective, reducing the use of harmful chemicals.
After applying the tint, recycle any leftover backing paper and packaging. Many recycling centers accept these materials, helping keep them out of landfills.
By using these eco-friendly materials and methods, you can tint your windows while being kind to the planet.
Your Windows, Your Way
Tinting your windows yourself can be a rewarding project. With the right tools and a bit of patience, you can achieve professional-looking results. Remember to clean the windows thoroughly before starting, measure accurately, and take your time applying the film. If you make a mistake, don’t stress—just peel it off and try again. Practice makes perfect. Once you’ve finished, you’ll enjoy the benefits of reduced glare, increased privacy, and improved energy efficiency. Plus, you’ll have the satisfaction of knowing you did it yourself. So grab your tools, roll up your sleeves, and get tinting. Your windows will thank you.
What tools do I need for DIY window tinting?
You'll need window film, a squeegee, a spray bottle with soapy water, a utility knife, a heat gun, and a lint-free cloth.
How do I clean the windows before tinting?
Use a lint-free cloth and a spray bottle filled with soapy water. Make sure to remove all dirt, dust, and grease. Clean edges and corners thoroughly.
Can I tint my windows by myself?
Absolutely! With the right tools and patience, you can achieve a professional look. Just follow the steps carefully and take your time.
How do I apply the window film?
Spray the window with soapy water, peel the backing off the film, and place it on the window. Use the squeegee to remove bubbles and wrinkles. Trim the edges with a utility knife.
How long does it take for the tint to dry?
It usually takes about 7 to 10 days for the tint to fully dry. Avoid rolling down the windows during this period to ensure the film adheres properly.
What if I mess up while applying the tint?
Don’t worry! You can peel off the film and reapply it. Just make sure to keep the film and window wet with soapy water to avoid tears and creases.
Is window tinting legal everywhere?
No, tinting laws vary by location. Check your local regulations to ensure your tint meets the legal requirements for darkness and reflectivity.