
Home>Home & Furniture>Doors & Windows>How to Build Your Own DIY Shower Door
Doors & Windows
How to Build Your Own DIY Shower Door
Published: September 21, 2024
Learn how to build your own DIY shower door with our step-by-step guide. Save money, customize your bathroom, and enjoy a rewarding project. Get started today!
(Many of the links in this article redirect to a specific reviewed product. Your purchase of these products through affiliate links helps to generate commission for Twigandthistle.com, at no extra cost. Learn more)
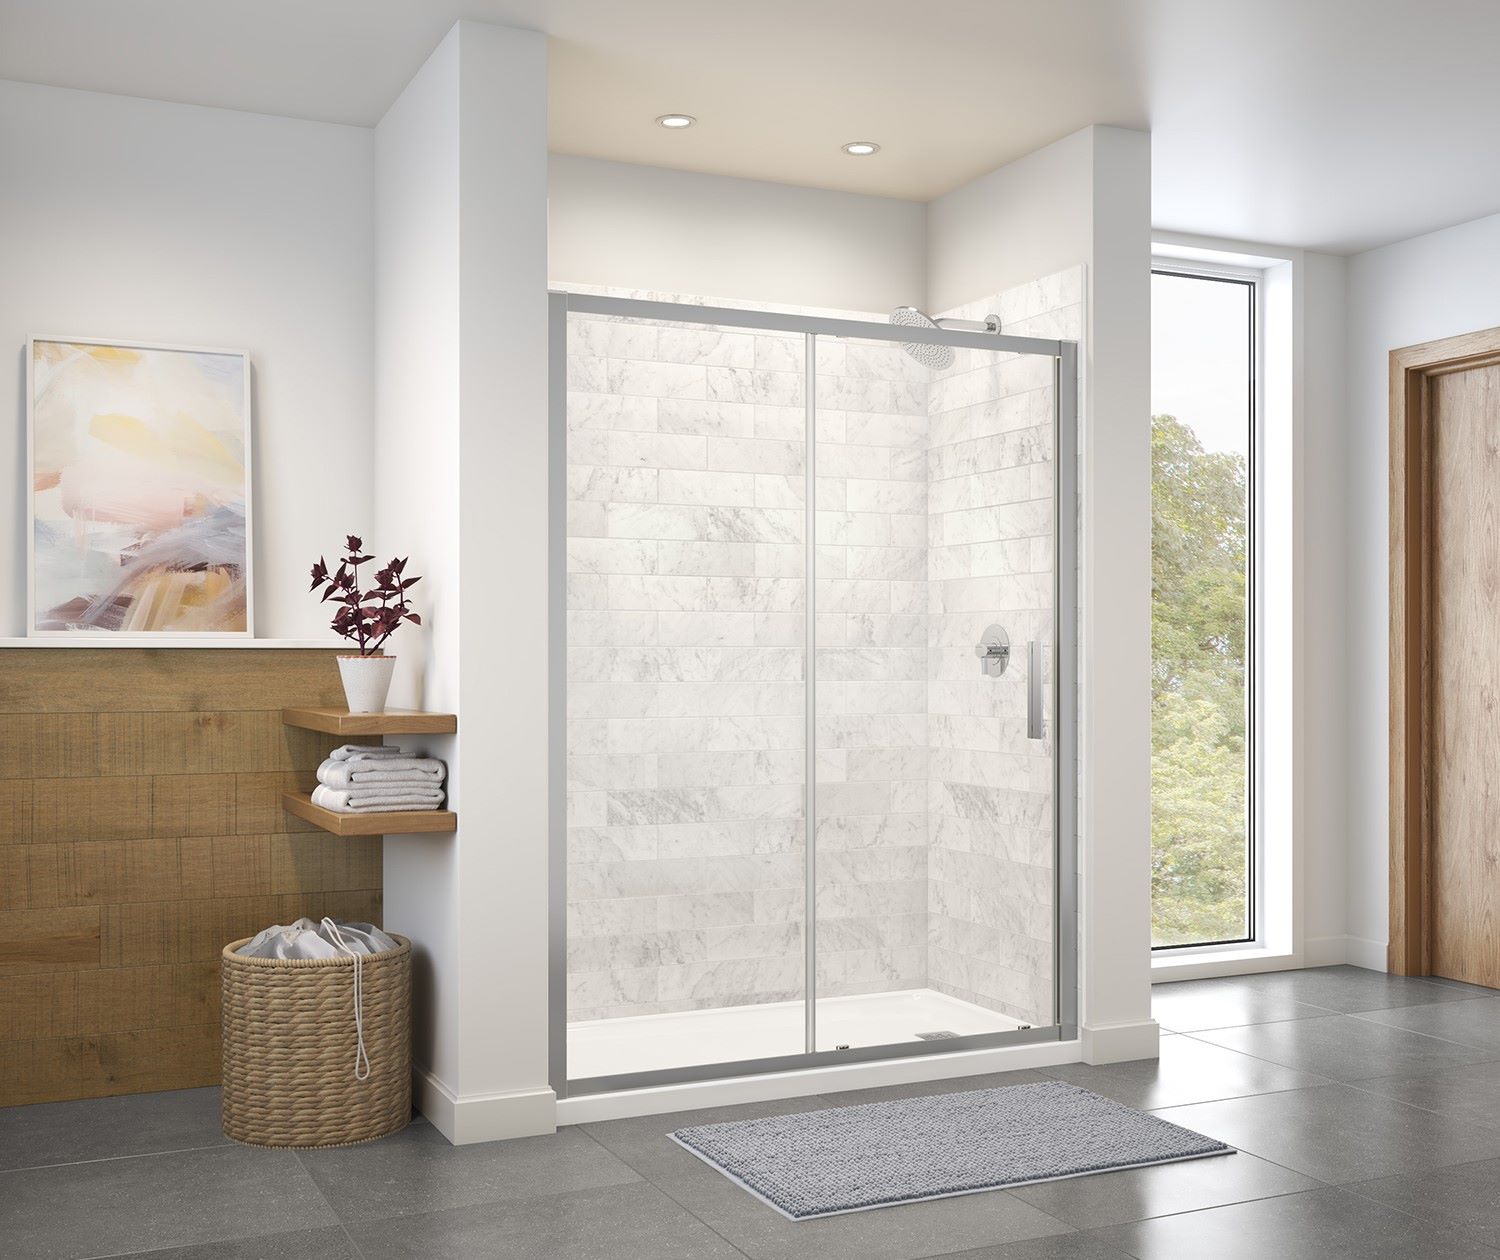
Building your own shower door might seem challenging, but it's easier than you think. With some basic tools and a bit of patience, you can create a custom shower door that fits your space perfectly. This project not only saves money but also gives you a sense of accomplishment. Plus, you get to design something that suits your style. Whether you're looking to replace an old door or install one in a new bathroom, this guide will walk you through the steps. Ready to transform your bathroom? Let's get started on this DIY adventure!
Getting Ready for the Project
Measure the Space: Use a tape measure to get the exact height and width of the shower opening. Write these measurements down.
Choose Materials: Decide on the type of glass and frame. Tempered glass is a safe choice. Pick a frame that matches your bathroom decor.
Gather Tools: Collect a drill, level, screwdriver, measuring tape, and safety gear like gloves and goggles.
Prepare the Workspace: Clear the bathroom area. Lay down a drop cloth to protect the floor. Make sure the space is well-lit.
Check for Studs: Use a stud finder to locate wall studs. Mark these spots; they will help secure the door frame.
Safety First: Wear gloves to protect your hands from sharp edges. Goggles will shield your eyes from dust and debris.
Clean the Area: Ensure the shower area is clean and dry. This helps the door frame adhere better.
Read Instructions: Go through the installation manual that comes with the shower door. Familiarize yourself with each step.
Mark Drill Points: Use a pencil to mark where you will drill holes for the frame. Double-check measurements to avoid mistakes.
Pre-Drill Holes: Drill pilot holes at the marked points. This makes it easier to screw in the frame later.
Have a Helper: Ask someone to assist you. Holding the glass and frame can be tricky alone.
Test Fit: Before final installation, place the frame and glass in the opening to ensure everything fits correctly.
Materials and Tools Checklist
- Shower Door Kit: Contains the glass panels, frame, and hardware needed for the door.
- Measuring Tape: Ensures accurate measurements of the shower space.
- Level: Helps keep everything straight and even.
- Drill: Used for making holes in the wall for mounting the frame.
- Screwdriver: Tightens screws and secures the frame and door.
- Silicone Sealant: Seals gaps to prevent water leaks.
- Caulking Gun: Applies the silicone sealant smoothly.
- Masking Tape: Holds parts in place temporarily and protects surfaces.
- Pencil: Marks measurements and drill points.
- Safety Glasses: Protects eyes from debris while drilling.
- Gloves: Protects hands from sharp edges and tools.
- Utility Knife: Cuts through packaging and trims excess sealant.
- Rubber Mallet: Gently taps parts into place without damaging them.
- Cleaning Cloth: Wipes away dust and excess sealant for a clean finish.
Required Skills and Time Commitment
Skill Level: Intermediate
Time Required: Approximately 4-6 hours
- Measure and Plan: 30 minutes
- Gather Materials and Tools: 30 minutes
- Remove Old Door (if applicable): 1 hour
- Install Frame: 1 hour
- Attach Door Panels: 1 hour
- Seal and Finish: 1 hour
Detailed Step-by-Step Guide
Gather Materials and Tools
- Shower door kit
- Measuring tape
- Level
- Drill
- Screws
- Screwdriver
- Silicone sealant
- Safety glasses
- Gloves
Measure the Shower Opening
- Use a measuring tape to measure the width and height of the shower opening.
- Double-check measurements to ensure accuracy.
Prepare the Area
- Clean the shower area where the door will be installed.
- Remove any old caulk or debris.
Install the Bottom Track
- Place the bottom track on the shower threshold.
- Use a level to ensure it is straight.
- Mark the drill holes with a pencil.
- Drill holes where marked.
- Secure the bottom track with screws.
Attach the Side Rails
- Position the side rails on the walls.
- Use a level to ensure they are vertical.
- Mark the drill holes.
- Drill holes and secure the side rails with screws.
Install the Top Track
- Place the top track on top of the side rails.
- Ensure it fits snugly.
- Secure the top track with screws.
Hang the Door Panels
- Lift the door panels and place them onto the bottom track.
- Slide the panels into the side rails.
- Ensure the panels move smoothly.
Secure the Door Panels
- Attach the door handles according to the manufacturer's instructions.
- Check that the doors open and close properly.
Seal the Edges
- Apply silicone sealant along the edges of the tracks and panels.
- Smooth the sealant with a finger or tool.
- Allow the sealant to dry according to the manufacturer's instructions.
Final Check
- Inspect the door for any gaps or misalignments.
- Make any necessary adjustments.
- Clean the door and surrounding area.
Your DIY shower door is now installed!
Helpful Tips and Tricks
Measure Twice, Cut Once: Accurate measurements are key. Measure the width and height of the shower opening at different points to ensure consistency.
Use a Level: Ensure the door frame is perfectly vertical and horizontal. A slightly tilted frame can cause the door to not close properly.
Choose the Right Glass: Tempered glass is safer and stronger. It shatters into small, less harmful pieces if broken.
Seal Properly: Use silicone sealant to prevent water from leaking out. Apply it along the edges where the frame meets the wall and floor.
Pre-Drill Holes: When attaching the frame to the wall, pre-drill holes to avoid cracking tiles.
Use Quality Hardware: Invest in good-quality hinges, handles, and screws. Cheap hardware can rust or break easily.
Clean the Glass: Before installing, clean the glass thoroughly to remove any fingerprints or dust.
Check for Obstructions: Ensure there are no pipes or wires where you plan to drill.
Common Mistakes to Avoid:
Rushing the Job: Take your time to ensure everything is aligned and secure.
Ignoring Manufacturer Instructions: Follow the instructions that come with your shower door kit.
Not Leveling the Frame: An uneven frame can cause the door to swing open or closed on its own.
Over-Tightening Screws: This can crack the glass or damage the frame.
Alternatives:
Frameless Doors: These give a modern look but require precise installation.
Sliding Doors: Ideal for small bathrooms where a swinging door might not fit.
Acrylic Panels: Cheaper and lighter than glass, but less durable.
Shower Curtains: A budget-friendly and easy-to-install option.
Budgeting for Your DIY Shower Door
Glass Panel: $150 - $300. Look for tempered glass for safety.
Shower Door Frame Kit: $100 - $200. Includes tracks, handles, and seals.
Silicone Sealant: $5 - $10. Needed to waterproof edges.
Screws and Anchors: $5 - $10. Ensure they are rust-resistant.
Measuring Tape: $10 - $15. Accurate measurements are crucial.
Drill: $50 - $100. A basic cordless drill will work.
Glass Cutter: $20 - $40. Only if you need to cut the glass yourself.
Level: $10 - $20. Ensures everything is straight.
Safety Gear: $15 - $30. Includes gloves and safety glasses.
Total Cost: $365 - $725.
Budget-Friendly Alternatives:
- Glass Panel: Use acrylic panels ($50 - $100).
- Shower Door Frame Kit: Opt for a basic frame ($50 - $100).
- Drill: Borrow from a friend or rent ($10 - $20).
- Glass Cutter: Rent or borrow ($5 - $10).
Total Cost with Alternatives: $180 - $370.
Creative Variations and Customizations
Materials: Instead of using standard glass, consider acrylic or polycarbonate. These materials are lighter and more shatter-resistant. For a rustic look, reclaimed wood panels can be used, but ensure they are properly sealed to prevent water damage.
Colors: Customize the frame by painting it with waterproof paint. Choose bold colors like navy blue or forest green for a modern touch. For a more classic look, black or white frames work well.
Styles: Opt for a frameless design for a sleek, contemporary appearance. For a vintage vibe, use frosted glass or stained glass panels. Adding etched designs or patterns to the glass can also enhance the aesthetic.
Hardware: Swap out standard handles for decorative knobs or pulls. Choose materials like brushed nickel, bronze, or matte black to match your bathroom fixtures. Consider using barn door hardware for a sliding door effect.
Seals and Tracks: Use magnetic seals for a tighter closure. For the track, consider a low-profile or hidden track system to maintain a clean look.
Additional Features: Install a towel bar on the door for added functionality. Add LED strip lights along the frame for a modern, illuminated effect. Consider incorporating built-in shelves or niches within the door for storage.
Eco-Friendly Building Tips
Reclaimed Wood: Use old barn wood or pallets. Sand and seal them to make them water-resistant.
Recycled Glass: Find old windows or glass doors. Cut them to fit your shower space.
Eco-Friendly Paints: Choose low-VOC or zero-VOC paints. These are better for the environment and your health.
Bamboo: This fast-growing plant makes a great, sustainable option. Use bamboo panels or trim for a natural look.
Recycled Metal: Look for scrap metal at salvage yards. Use it for handles, hinges, or frames.
Natural Sealants: Opt for sealants made from natural ingredients like beeswax or linseed oil. These are less harmful than chemical-based sealants.
Upcycled Materials: Get creative with what you already have. Old doors, windows, or even shower curtains can be repurposed.
Energy-Efficient Tools: Use hand tools or energy-efficient power tools. This reduces your carbon footprint.
Water-Based Adhesives: Choose adhesives that are water-based. They emit fewer harmful chemicals.
Insulation: Use eco-friendly insulation like sheep's wool or recycled denim. This helps keep your bathroom warm and reduces energy use.
Your DIY Shower Door Awaits
Building your own DIY shower door isn't just about saving money. It's about learning, creating, and personalizing your space. You've got the tools, the materials, and the know-how. Now, it's time to put it all together. Measure twice, cut once, and don't rush the process. Each step, from measuring to installing, brings you closer to a bathroom that reflects your style. If you hit a snag, remember, every problem has a solution. Use your resources, ask for help if needed, and keep going. When you finally step back and admire your work, you'll feel a sense of accomplishment that's hard to beat. So, grab your tools, roll up your sleeves, and get started. Your new shower door is just a few steps away. Happy building!
How hard is it to install a DIY shower door?
Installing a DIY shower door isn't too tough if you've got basic tools and some patience. Just follow the instructions carefully, measure twice, and take your time.
What tools will I need?
You'll need a drill, screwdriver, measuring tape, level, caulk gun, and safety glasses. Having a helper can also make things easier.
Can I install a shower door on my own?
Yes, you can! But having a friend to help hold things steady and double-check measurements can make the job smoother and safer.
How do I measure for a shower door?
Measure the width and height of your shower opening. Make sure to measure at the top, middle, and bottom for width, and use the smallest measurement to ensure a good fit.
What type of shower door should I choose?
It depends on your space and style. Sliding doors are great for tight spaces, while hinged doors offer a more classic look. Frameless doors give a sleek, modern vibe.
How do I maintain my new shower door?
Clean it regularly with a non-abrasive cleaner and a soft cloth. Avoid harsh chemicals that can damage the glass or metal. Also, check the seals and hinges periodically to ensure everything stays in good shape.
What if my shower walls aren't perfectly straight?
Many shower doors come with adjustable features to accommodate slight irregularities. If your walls are very uneven, you might need to do some extra prep work or consider a custom door.