
Home>Home & Furniture>Doors & Windows>How to Build DIY Closet Doors
Doors & Windows
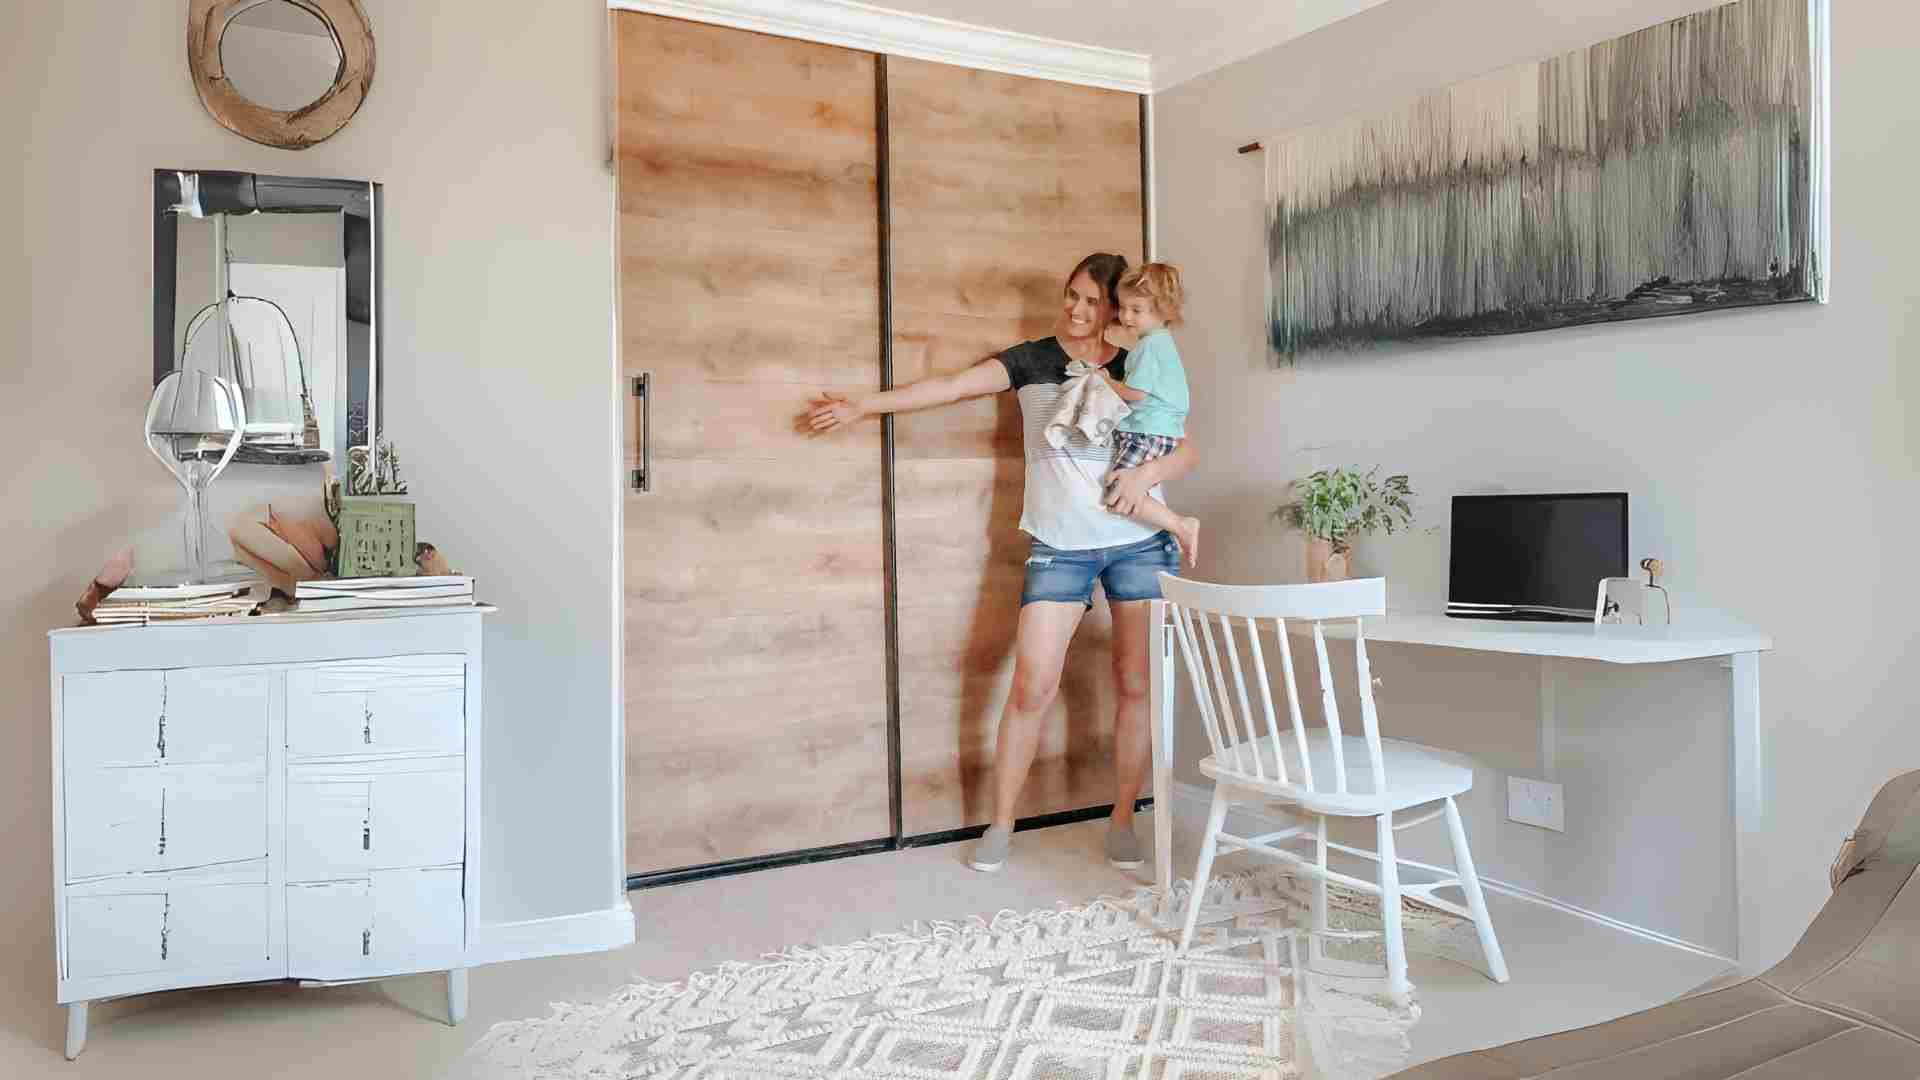
How to Build DIY Closet Doors
Published: September 8, 2024
Learn how to build DIY closet doors with our step-by-step guide. Transform your space with custom, stylish doors that are easy to create and install. Perfect for any skill level!
(Many of the links in this article redirect to a specific reviewed product. Your purchase of these products through affiliate links helps to generate commission for Twigandthistle.com, at no extra cost. Learn more)
Building your own closet doors might seem tricky but is manageable with patience. Whether replacing old doors or adding new ones, creating custom closet doors allows personal style to shine. You can choose materials and finishes that fit your space perfectly. This project doesn’t require advanced carpentry skills, making it accessible for many DIY enthusiasts. With the right tools, clear instructions, and some effort, you can create beautiful, functional doors. This introduction walks you through the basics before diving into the steps and tips to get started. Ready to transform your closet? Let’s begin the journey.
Preparation Steps
Measure the Space: Use a tape measure to get the height and width of the closet opening. Write down these measurements.
Choose Materials: Decide on the type of wood or other materials for the doors. Plywood or MDF are good options.
Gather Tools: Collect all necessary tools like a saw, drill, screws, hinges, and a level.
Safety Gear: Wear safety goggles, gloves, and a dust mask to protect yourself.
Clear the Area: Make sure the workspace is clean and free of clutter. This helps avoid accidents.
Cut the Wood: Using the measurements, cut the wood to the correct size. Double-check measurements before cutting.
Sand the Edges: Smooth out any rough edges with sandpaper to prevent splinters.
Pre-drill Holes: Mark where the hinges will go and pre-drill holes to make attaching them easier.
Paint or Stain: Apply paint or stain to the wood if desired. Let it dry completely before moving on.
Attach Hinges: Secure the hinges to the doors and then to the closet frame. Use a level to ensure they are straight.
Install Handles: Attach handles or knobs to the doors for easy opening and closing.
Test the Doors: Open and close the doors to make sure they work smoothly. Adjust if necessary.
Materials and Tools Needed
Plywood Sheets: These will form the main structure of the doors. Choose a thickness that suits your design, typically 3/4 inch.
Wood Screws: Essential for securing the plywood pieces together. Make sure they are long enough to hold the pieces firmly.
Hinges: These allow the doors to swing open and closed. Choose sturdy ones that can support the weight of the doors.
Door Handles or Knobs: These make it easy to open and close the doors. Pick a style that matches your room decor.
Paint or Stain: Adds color and protects the wood. Choose based on whether you want a painted or natural wood finish.
Sandpaper: Smooths out rough edges and surfaces. Use different grits, starting with coarse and finishing with fine.
Wood Glue: Provides extra strength to the joints. Use it along with screws for a more secure hold.
Measuring Tape: Ensures accurate measurements for cutting and fitting the plywood.
Circular Saw or Table Saw: Cuts the plywood to the required sizes. A circular saw is more portable, while a table saw offers more precision.
Drill and Drill Bits: Makes holes for screws and handles. Ensure you have bits that match the size of your screws.
Clamps: Holds pieces together while the glue dries. They help keep everything aligned.
Level: Ensures your doors are straight and even. This is crucial for proper alignment.
Pencil: Marks measurements and cutting lines. Always have one handy for quick adjustments.
Safety Gear: Includes gloves, safety glasses, and ear protection. Keeps you safe while working with tools.
Putty or Wood Filler: Fills any gaps or holes. Provides a smooth surface for painting or staining.
Skill Level and Time Required
Skill Level: Intermediate
Time Required: 6-8 hours
- Measure and Plan: 1 hour
- Cut Materials: 2 hours
- Assemble Frame: 1.5 hours
- Install Panels: 1 hour
- Sand and Paint: 1.5 hours
Step-by-Step Instructions
Measure the Closet Opening
- Use a tape measure to get the height and width of the closet opening.
- Write down the measurements.
Choose Your Materials
- Pick wood or MDF for the door panels.
- Decide on hinges, handles, and paint or stain.
Cut the Panels
- Cut the wood or MDF to the size of the closet opening.
- Use a circular saw for straight cuts.
Sand the Panels
- Sand the edges and surfaces of the panels.
- Use medium-grit sandpaper for smoothness.
Assemble the Frame
- Cut pieces for the door frame.
- Attach the frame pieces to the panels using wood glue and screws.
Attach Hinges
- Mark where the hinges will go on the door and the closet frame.
- Screw the hinges into place.
Install the Doors
- Hold the door in place and mark where the hinges meet the closet frame.
- Screw the hinges into the closet frame.
Add Handles
- Decide where you want the handles.
- Drill holes and attach the handles with screws.
Paint or Stain
- Apply primer if painting.
- Paint or stain the doors, letting each coat dry.
Final Touches
- Check that the doors open and close smoothly.
- Make any necessary adjustments.
Helpful Tips and Tricks
Measure twice, cut once. Always double-check measurements before cutting materials. This saves time and reduces waste.
Use a level. Ensure doors hang straight by using a level during installation. Crooked doors look unprofessional and may not close properly.
Pre-drill holes. Prevent wood from splitting by pre-drilling holes for screws. This makes assembly easier and cleaner.
Sand edges. Smooth out rough edges after cutting wood. This gives a polished look and prevents splinters.
Paint or stain before assembly. It's easier to paint or stain individual pieces before putting the door together. This avoids messy drips and ensures even coverage.
Use quality hinges. Invest in sturdy hinges to support the weight of the doors. Flimsy hinges can cause sagging or misalignment.
Common mistakes to avoid:
Skipping the primer. Always use primer before painting. It helps paint adhere better and last longer.
Ignoring door weight. Make sure the door frame can support the weight of the doors. Overloading can cause structural issues.
Not allowing for expansion. Wood expands and contracts with humidity. Leave a small gap between the door and frame to prevent sticking.
Alternatives for materials or methods:
Plywood instead of solid wood. Plywood is often cheaper and more stable than solid wood. It’s less likely to warp over time.
Pocket doors. If space is tight, consider pocket doors that slide into the wall instead of swinging open.
Bi-fold doors. These save space and are easier to install than traditional swinging doors.
Reclaimed wood. For a rustic look, use reclaimed wood. It’s eco-friendly and adds character.
Estimating the Cost
Plywood: $50-$100 per sheet (depends on quality)
Wood Screws: $5-$10 per box
Hinges: $10-$20 for a set of 4
Door Handles: $10-$30 for a pair
Wood Glue: $5-$10 per bottle
Sandpaper: $5-$10 per pack
Paint or Stain: $20-$40 per can
Paint Brushes or Rollers: $10-$20
Measuring Tape: $5-$15
Circular Saw: $50-$100 (if not already owned)
Drill: $40-$100 (if not already owned)
Budget-friendly alternatives:
MDF (Medium Density Fiberboard): $30-$50 per sheet (cheaper than plywood)
Recycled or Upcycled Wood: Free or low cost (check local classifieds or recycling centers)
Basic Handles: $5-$10 for a pair
Second-hand Tools: Check thrift stores or online marketplaces for cheaper options
Different Variations and Customizations
Materials: Instead of traditional wood, consider using bamboo for a more eco-friendly option. Plywood can be a budget-friendly alternative. For a modern look, try metal or glass panels.
Colors: Paint the doors in bold colors like navy blue or forest green for a statement piece. For a more subtle look, use neutral tones such as beige or gray. You can also try a two-tone design, with one color on the top half and another on the bottom.
Styles: Add mirrors to the doors to make the room feel larger. Use sliding doors instead of hinged ones for a space-saving solution. Incorporate shiplap or beadboard for a rustic or farmhouse style. For a more contemporary look, consider frameless doors.
Hardware: Swap out standard handles for decorative knobs or pulls. Use barn door hardware for a unique, rustic touch. Consider soft-close hinges to prevent slamming.
Finishes: Apply a stain to highlight the natural wood grain. Use a high-gloss finish for a sleek, modern look. For a vintage feel, try a distressed or weathered finish.
Decorative Elements: Add molding or trim to give the doors a more polished look. Use stencils or decals to create patterns or designs. Attach fabric panels for a softer, more textured appearance.
Functionality: Install shelves or hooks on the inside of the doors for extra storage. Add a chalkboard or whiteboard panel for notes and reminders. Consider louvered doors for better ventilation.
Eco-Friendly Tips
Reclaimed Wood: Use old wood from barns, pallets, or other sources. Sand it down and treat it to ensure durability.
Recycled Metal: Old metal sheets or pipes can be repurposed for door frames or handles. Clean and polish them for a fresh look.
Bamboo: Fast-growing and sustainable, bamboo can be used for panels or frames. It's strong and eco-friendly.
Salvaged Doors: Find old doors at thrift stores or salvage yards. Cut them to size and repaint or refinish them.
Eco-friendly Paint: Choose low-VOC or zero-VOC paints. These reduce harmful emissions and are better for indoor air quality.
Natural Finishes: Use natural oils or waxes instead of chemical-based finishes. They protect the wood and enhance its natural beauty.
Recycled Glass: Incorporate recycled glass panels for a unique touch. They add style and reduce waste.
Fabric Panels: Use old curtains or fabric scraps to create soft, sliding panels. Attach them to a simple frame for an easy door solution.
Upcycled Hardware: Look for old hinges, knobs, or handles. Clean and refurbish them for a vintage look.
Energy-efficient Lighting: If adding lights inside the closet, choose LED bulbs. They use less energy and last longer.
Your DIY Closet Door Awaits
Building DIY closet doors might seem tricky, but with some patience and creativity, you can create something amazing. Measure your space accurately, choose the right materials, and follow the steps carefully. Don't rush; take your time to ensure everything fits perfectly. Sanding and painting add the final touches, making your doors look professional. If you hit a snag, don't stress. There are plenty of resources and communities online to help you out. Once finished, you'll have a custom piece that adds both function and style to your home. Plus, the satisfaction of knowing you built it yourself is unbeatable. So, grab your tools, roll up your sleeves, and get started. Your new closet doors are just a few steps away!
How do I measure for my DIY closet doors?
Measure the height and width of the closet opening. Make sure to measure at the top, middle, and bottom for width, and left, center, and right for height. Use the smallest measurements to ensure a proper fit.
What materials will I need?
You'll need plywood or MDF for the doors, hinges, a measuring tape, a saw, screws, a drill, sandpaper, paint or stain, and handles or knobs.
Can I use reclaimed wood?
Absolutely! Reclaimed wood adds character and can be a sustainable choice. Just make sure it's in good condition and properly treated.
How do I attach the doors to the closet?
Use hinges to attach the doors to the closet frame. Mark where the hinges will go, pre-drill holes, and then screw the hinges into place. Make sure the doors are level before securing them fully.
Should I paint or stain the doors before or after installation?
It's easier to paint or stain the doors before installation. This way, you can ensure even coverage and avoid messes on your walls or floor.
How do I ensure the doors are level?
Use a level to check the alignment of the doors during installation. Adjust the hinges as needed to make sure the doors hang straight.
What if my closet opening isn't a standard size?
Custom-sized doors can be made by cutting the plywood or MDF to fit your specific measurements. Just be sure to double-check all measurements before cutting.