
Home>Home & Furniture>Doors & Windows>How to Build Cat-Proof Window Screens
Doors & Windows
How to Build Cat-Proof Window Screens
Published: August 11, 2024
Learn how to build cat-proof window screens to keep your feline friends safe while enjoying fresh air. Follow our step-by-step guide for a secure and durable solution.
(Many of the links in this article redirect to a specific reviewed product. Your purchase of these products through affiliate links helps to generate commission for Twigandthistle.com, at no extra cost. Learn more)
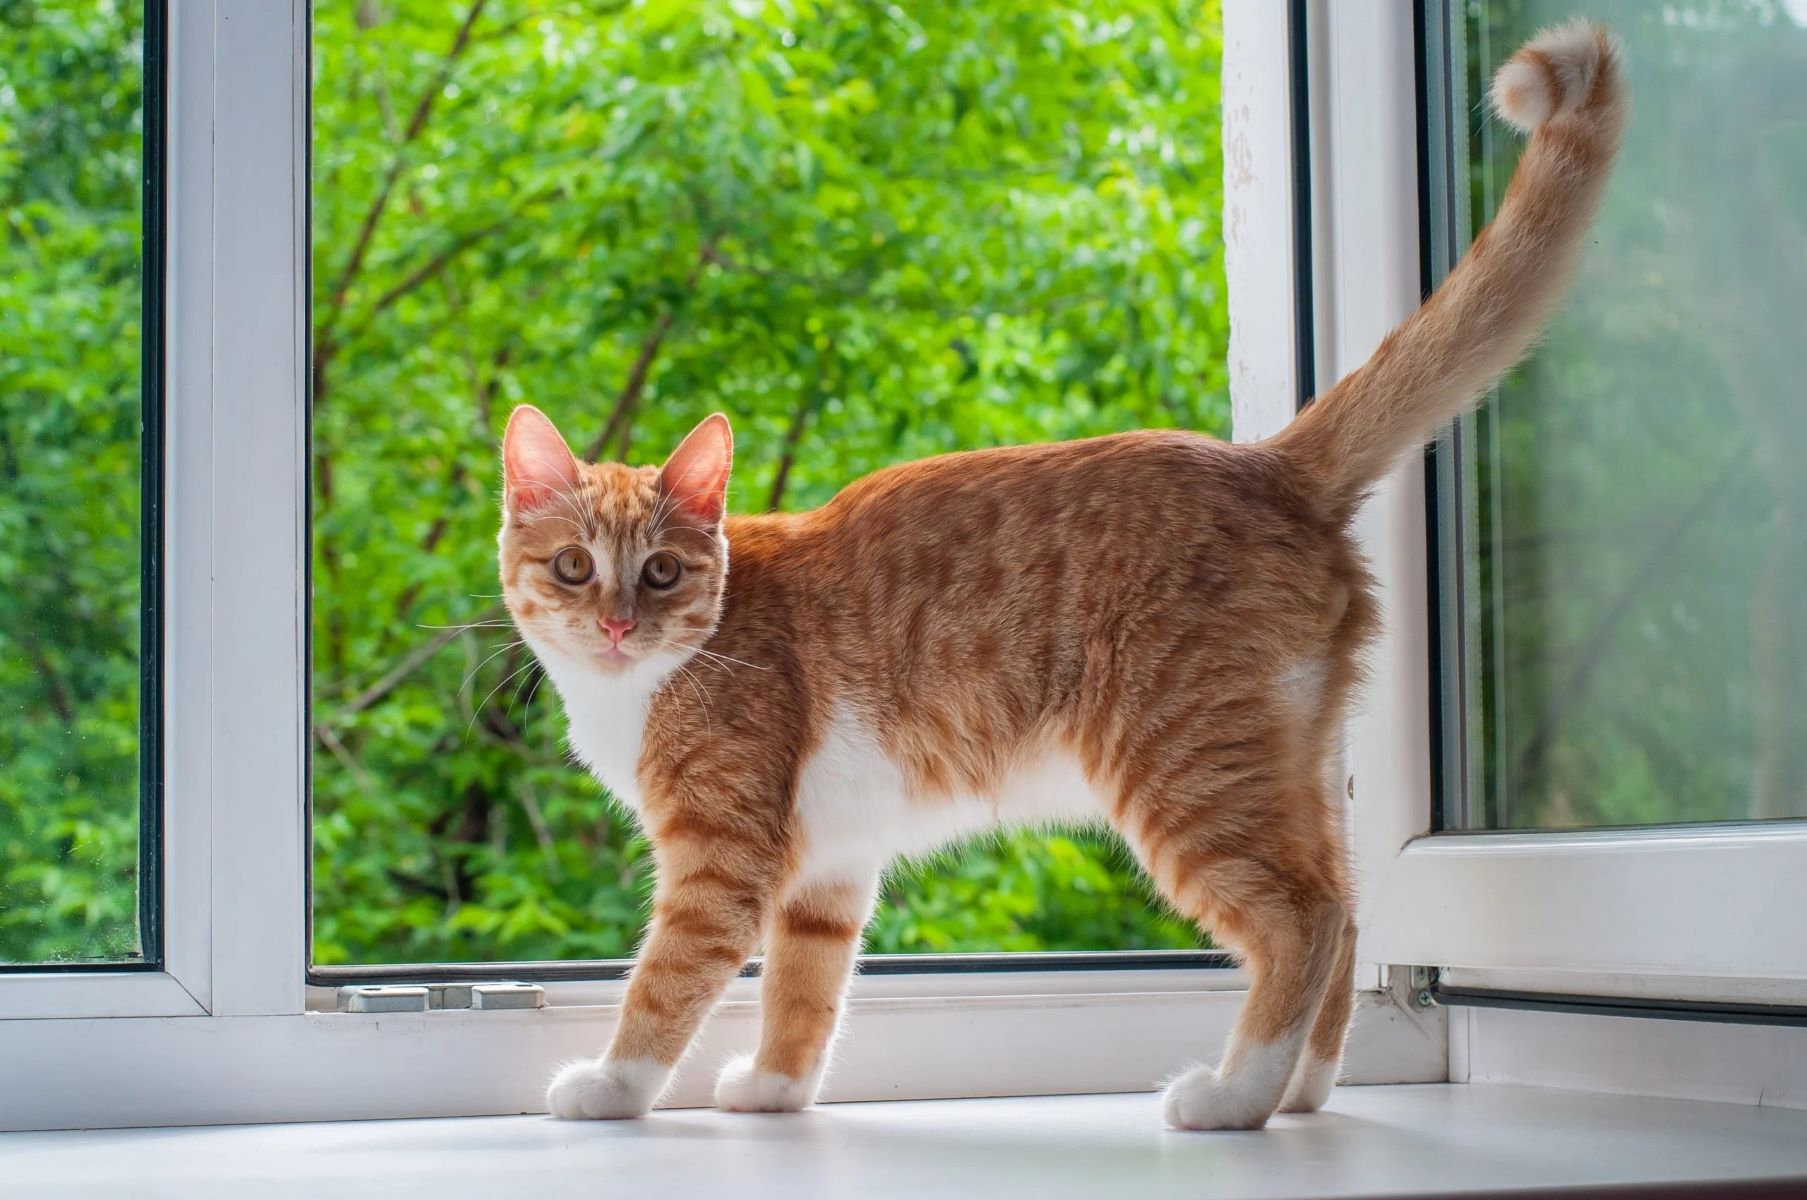
Cats love sitting by windows, watching the world. But traditional window screens might not hold up against their claws. If your cat pushes through or tears screens, it's time for a change. Building cat-proof window screens ensures safety for your pet and peace of mind for you. This guide will walk you through the process, using simple tools and materials. You don’t need advanced skills, just some patience and effort. Let's get ready to create a secure window space that can withstand even the most curious feline explorers. Get your tools, and let’s begin!
Getting Ready for the Project
Measure Windows: Use a tape measure to get the exact dimensions of your windows. Write these down.
Gather Materials: You'll need sturdy screen mesh, screen frame kits, spline, a spline roller, and utility scissors.
Set Up Workspace: Find a flat, clean surface to work on. Lay out all materials and tools within easy reach.
Safety Gear: Wear gloves to protect your hands from sharp edges. Use safety goggles when cutting the mesh.
Cut Frame Pieces: Using the measurements, cut the frame pieces to size with a hacksaw. Double-check lengths before cutting.
Assemble Frame: Connect the frame pieces using the corner connectors from the kit. Ensure the frame is square and sturdy.
Cut Screen Mesh: Lay the mesh over the frame. Cut it so there’s an extra inch on all sides.
Attach Mesh to Frame: Use the spline roller to press the spline into the groove, securing the mesh. Start at one corner and work your way around.
Trim Excess Mesh: Use utility scissors to trim any extra mesh sticking out from the frame.
Test Fit: Place the screen in the window to ensure it fits snugly. Make any adjustments if necessary.
Secure Screen: Install the screen into the window frame. Use clips or screws if needed to keep it in place.
Inspect for Gaps: Check for any gaps or loose areas where a cat might push through. Reinforce these spots if necessary.
Supplies and Equipment List
- Screen Frame Kit: Includes frame pieces, corners, and spline. Forms the structure of the screen.
- Pet-Resistant Screen Mesh: Stronger than regular mesh. Prevents cats from tearing through.
- Spline Roller: Tool for pressing spline into the frame. Secures the mesh.
- Spline: Rubber cord. Holds the mesh in place within the frame.
- Utility Knife: Cuts the mesh to size. Ensures a clean edge.
- Measuring Tape: Measures window dimensions. Ensures accurate frame size.
- Scissors: Trims excess mesh. Provides a neat finish.
- Marker: Marks measurements on the frame and mesh. Ensures precision.
- Screwdriver: Tightens screws if needed. Helps with frame assembly.
- Clamps: Holds frame pieces together during assembly. Keeps everything steady.
Required Skills and Time Commitment
Skill Level: Intermediate
Time Required: 2-4 hours
- Measure and Cut Materials: 30-45 minutes
- Assemble Screen Frame: 45-60 minutes
- Attach Pet-Resistant Mesh: 30-45 minutes
- Install Screen into Window: 30-45 minutes
Tools Needed:
- Measuring tape
- Hacksaw
- Screen spline roller
- Utility knife
- Screwdriver
Materials Needed:
- Screen frame kit
- Pet-resistant screen mesh
- Spline
- Screws
Detailed Building Instructions
Gather Materials:
- Pet-resistant screen mesh
- Screen frame kit
- Spline (rubber cord)
- Spline roller
- Utility knife
- Measuring tape
- Scissors
Measure Window:
- Measure the window frame's height and width.
- Add 2 inches to each measurement for the screen frame.
Cut Frame Pieces:
- Use the measurements to cut the frame pieces from the screen frame kit.
- Ensure corners are cut at 45-degree angles for a snug fit.
Assemble Frame:
- Connect frame pieces using corner connectors from the kit.
- Press firmly to ensure all corners are secure.
Cut Screen Mesh:
- Lay the pet-resistant screen mesh flat.
- Cut the mesh to fit the frame, leaving an extra inch on all sides.
Attach Screen Mesh:
- Place the screen mesh over the frame.
- Use the spline roller to press the spline into the frame's groove, securing the mesh.
- Start at one corner and work your way around the frame.
Trim Excess Mesh:
- Use a utility knife to trim any excess mesh from the edges.
- Ensure the mesh is taut and secure.
Install Screen:
- Place the finished screen into the window frame.
- Secure it using the window's existing hardware or additional clips if needed.
Test for Security:
- Gently push on the screen to ensure it is firmly in place.
- Check for any gaps or loose areas that a cat could exploit.
Enjoy:
- Let your cat enjoy the fresh air without worry.
Helpful Hints for Success
Measure accurately before starting. Use a tape measure to get the exact dimensions of your window frame. Add extra inches to your measurements to ensure a snug fit.
Choose strong materials. Opt for pet-resistant screen mesh instead of regular mesh. It's thicker and more durable, making it harder for cats to tear through.
Secure the frame. Use sturdy aluminum or steel frames. Wooden frames can be chewed or scratched easily.
Reinforce corners. Use metal corner braces to strengthen the frame. This prevents it from bending or breaking under pressure.
Double-check the fit. Before installing, place the screen in the window to ensure it fits perfectly. Adjust if necessary.
Use heavy-duty staples or spline. Secure the mesh to the frame with heavy-duty staples or a spline roller. This keeps the mesh tight and secure.
Install securely. Use screws or brackets to attach the screen to the window frame. This prevents it from being pushed out by a determined cat.
Common mistakes to avoid:
- Using regular mesh: Cats can easily tear through it.
- Not measuring accurately: Leads to ill-fitting screens.
- Skipping reinforcement: Weak corners can break easily.
- Using weak frames: Wooden or plastic frames can be damaged quickly.
Alternatives:
- Magnetic screens: Easy to install and remove, but ensure they are strong enough to withstand a cat's weight.
- Retractable screens: Can be pulled down when needed and retracted when not in use. Ensure they lock securely.
- Pet gates: If screens aren't an option, consider using pet gates to block window access.
Budgeting for Your Project
Materials:
- Pet-resistant screen mesh: $20-$30 per roll (enough for 2-3 windows)
- Screen frame kit: $10-$15 per window
- Spline: $5 per roll (enough for multiple windows)
- Spline roller: $5-$10
- Corner connectors: $5 per pack (enough for several windows)
Tools:
- Utility knife: $5-$10
- Measuring tape: $5-$10
- Scissors: $5-$10
Total Estimated Cost: $60-$95 for materials and tools to build cat-proof window screens for 2-3 windows.
Budget-Friendly Alternatives:
- Reuse old screen frames: Save $10-$15 per window
- Buy in bulk: Larger rolls of pet-resistant mesh can reduce cost per window
- Borrow tools: Ask friends or neighbors to borrow a utility knife, measuring tape, or scissors
Using these alternatives, the total cost could drop to around $40-$70.
Personalizing Your Window Screens
Alternative Materials:
- Pet-Resistant Mesh: Use a stronger mesh designed specifically for pets. It's more durable than regular window screen material.
- Metal Mesh: Consider using aluminum or stainless steel mesh for extra durability.
- Polycarbonate Panels: These are clear, strong plastic panels that can withstand scratching and climbing.
Colors:
- Black: Provides a sleek, modern look and reduces glare.
- Gray: A neutral option that blends well with most window frames.
- White: Brightens up the window area and matches white window frames.
Styles:
- Retractable Screens: These can be rolled up when not in use, making them convenient and less obtrusive.
- Magnetic Screens: Easy to install and remove, these screens use magnets to stay in place.
- Framed Screens: Build a sturdy frame around the screen for added stability and a polished look.
Additional Features:
- Reinforced Edges: Add extra stitching or a stronger material around the edges to prevent tearing.
- Double Layer: Use two layers of mesh for added strength.
- Decorative Grilles: Install decorative metal grilles over the screen for an extra layer of protection and style.
Eco-Friendly Building Practices
Use recycled wood for the frame. Old pallets or scrap wood work well. Bamboo is another eco-friendly option. For the screen itself, consider recycled metal mesh. It's sturdy and can withstand cat claws.
Use natural fiber ropes or twine to secure the mesh to the frame. Avoid plastic ties. Eco-friendly paint or stain can protect the wood without harmful chemicals.
Repurpose old curtain rods or metal pipes for additional support. This reduces waste and adds strength.
When attaching the screen, use recycled screws or nails. Check local hardware stores for reclaimed materials.
Consider adding a recycled rubber strip along the edges. This helps seal gaps and keeps bugs out.
Finally, if you need to replace the screen later, recycle the old materials. This keeps your project sustainable from start to finish.
Keeping Your Feline Friends Safe
Building cat-proof window screens isn't just a fun DIY project; it's a way to keep your furry pals safe while letting fresh air in. Using sturdy materials like pet-resistant mesh and reinforced frames ensures your screens can withstand curious claws. Remember to measure accurately and secure everything tightly. By following these steps, you'll create a safe environment for your cats without sacrificing ventilation. Plus, you'll save money compared to buying pre-made screens. So grab your tools, get creative, and enjoy the peace of mind that comes with knowing your windows are cat-proof. Happy building!
How do I measure my windows for new screens?
Use a tape measure to get the width and height of the window frame. Measure from the inside edges where the screen will sit. Write down the measurements.
What materials do I need to build cat-proof screens?
You’ll need screen frame kits, cat-proof screen mesh, spline, a spline roller, and corner connectors. Also, have a utility knife and scissors handy.
How do I cut the screen mesh to size?
Lay the mesh flat on a clean surface. Place the frame on top and cut the mesh, leaving an extra inch around all sides. This extra bit helps when securing the mesh to the frame.
How do I attach the mesh to the frame?
Use the spline roller to press the spline into the frame’s groove, securing the mesh. Start at one corner and work your way around. Keep the mesh taut to avoid wrinkles.
Can I use regular screen mesh instead of cat-proof mesh?
Regular mesh might not hold up against a cat’s claws. Cat-proof mesh is thicker and more durable, making it a better choice for pet owners.
How do I install the finished screen in my window?
Place the screen into the window frame, ensuring it fits snugly. Use the window’s existing clips or tabs to secure it. If your window doesn’t have these, you might need to add some.
How do I maintain my cat-proof screens?
Regularly check for any tears or loose spots. Clean the screens with a soft brush and mild soapy water. Rinse and let them air dry.