
Home>Home & Furniture>Doors & Windows>How to Build Bay Window Seating
Doors & Windows
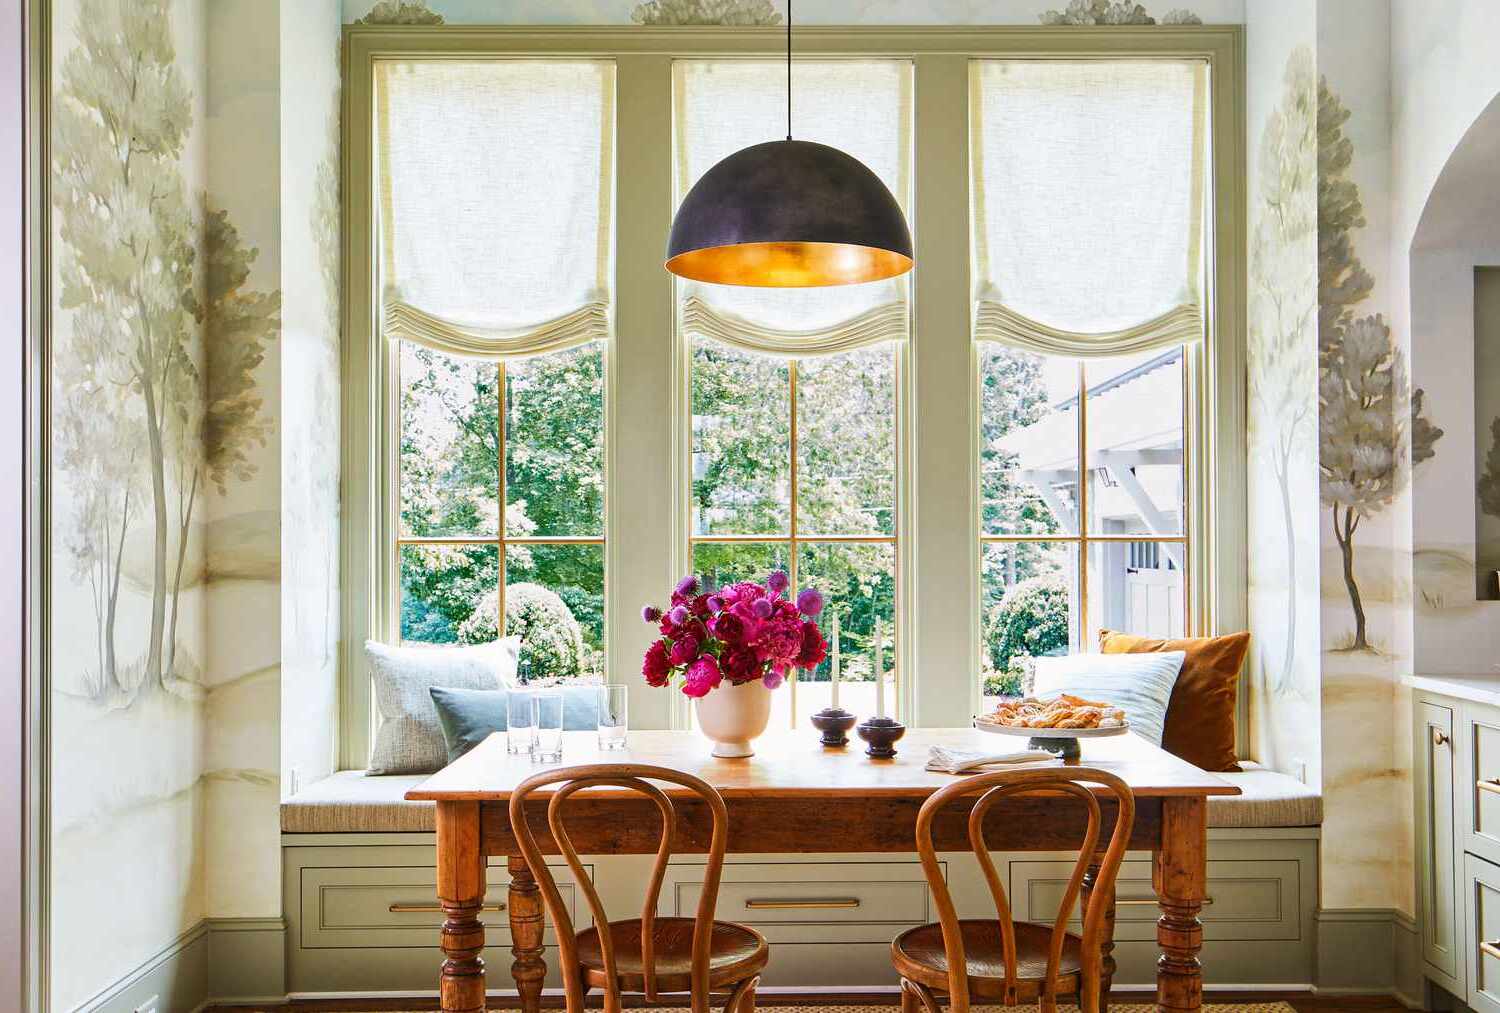
How to Build Bay Window Seating
Published: August 9, 2024
Learn how to build bay window seating with our step-by-step guide. Transform your space with this DIY project, adding both functionality and charm to your home.
(Many of the links in this article redirect to a specific reviewed product. Your purchase of these products through affiliate links helps to generate commission for Twigandthistle.com, at no extra cost. Learn more)
Creating a cozy bay window seating area can transform your home. This project offers a perfect spot for reading, relaxing, or enjoying a cup of tea. It might seem challenging initially, but with a few tools, some wood, and a bit of patience, you can build a beautiful and functional space. Imagine having a place where natural light floods in, making it the ideal nook for any time of day. Before you begin, let's break down the steps to ensure your project is a success. Ready to get started? Let's dive into the basics!
Getting Ready for Your Project
Measure the Space: Use a tape measure to get the exact dimensions of the bay window area. Write down the width, depth, and height.
Gather Materials: Collect all necessary materials like plywood, screws, wood glue, paint, and cushions. Make sure you have all tools like a saw, drill, and measuring tape.
Clear the Area: Remove any furniture or items near the bay window. Sweep and clean the space to avoid any dust or debris.
Safety Gear: Wear safety goggles and gloves. Keep a first aid kit nearby in case of minor injuries.
Cut the Wood: Use a saw to cut the plywood according to your measurements. Double-check the dimensions before cutting.
Assemble the Frame: Use screws and wood glue to put together the frame. Make sure it fits snugly in the bay window area.
Sand the Edges: Smooth out any rough edges with sandpaper to prevent splinters.
Paint or Stain: Apply paint or wood stain to the frame. Let it dry completely before moving on.
Install the Frame: Place the frame in the bay window area. Secure it with screws to ensure stability.
Add Cushions: Place cushions on top of the seating area for comfort. Make sure they fit well and are securely in place.
Gathering Materials and Tools
Materials:
- Plywood: Forms the base and sides of the seating.
- 2x4 Lumber: Provides structural support.
- Wood Screws: Holds the pieces together.
- Wood Glue: Adds extra strength to joints.
- Foam Cushion: Makes the seating comfortable.
- Fabric: Covers the foam for a finished look.
- Paint or Stain: Finishes the wood for aesthetics and protection.
- Sandpaper: Smooths the wood surfaces.
Tools:
- Tape Measure: Ensures accurate measurements.
- Circular Saw: Cuts the plywood and lumber to size.
- Drill: Makes holes for screws and drives them in.
- Screwdriver: Tightens screws.
- Hammer: Helps with nailing and adjusting pieces.
- Staple Gun: Attaches fabric to the foam and wood.
- Paintbrush or Roller: Applies paint or stain.
- Level: Ensures the seating is even and balanced.
Skill Level and Time Needed
Skill Level: Intermediate
Estimated Time Required: 2-3 days
- Planning and Measuring: 2-3 hours
- Cutting Wood and Materials: 4-5 hours
- Assembling the Frame: 3-4 hours
- Installing the Seat Base: 2-3 hours
- Adding Trim and Finishing Touches: 3-4 hours
- Painting or Staining: 4-5 hours (including drying time)
Important Keywords: Intermediate, 2-3 days, Planning, Measuring, Cutting, Assembling, Installing, Trim, Finishing, Painting, Staining
Step-by-Step Guide
Measure the Space
- Use a tape measure to find the dimensions of the bay window area.
- Write down the width, depth, and height.
Gather Materials
- Plywood sheets
- 2x4 lumber
- Screws and nails
- Wood glue
- Paint or stain
- Cushion foam and fabric (optional)
Cut the Wood
- Cut plywood for the seat base, front panel, and side panels.
- Cut 2x4s for the frame supports.
Build the Frame
- Assemble the 2x4s into a rectangular frame using screws.
- Ensure the frame fits snugly within the bay window area.
Attach the Panels
- Secure the plywood seat base to the frame with screws.
- Attach the front and side panels to the frame using nails or screws.
Add Support
- Install additional 2x4 supports under the seat base for extra strength.
- Use wood glue for added stability.
Sand and Paint
- Sand all surfaces to remove rough edges.
- Paint or stain the wood to match your room’s decor.
Install the Seat
- Place the completed seat into the bay window area.
- Secure it to the wall with screws for stability.
Add Cushioning (Optional)
- Cut foam to fit the seat dimensions.
- Cover the foam with fabric, securing it with a staple gun.
Finishing Touches
- Add decorative pillows or throws for comfort.
- Ensure everything is securely in place.
Helpful Tips and Tricks
Measure your bay window area carefully. Cut plywood to fit the base and top. Use brackets for extra support. Sand all edges to avoid splinters. Paint or stain before assembly to save time.
Avoid using cheap wood; it won't last. Don't skip measuring twice; mistakes can be costly. Avoid overloading the seat with heavy items.
For materials, MDF can replace plywood for a smoother finish. Instead of paint, consider upholstering the seat for added comfort. Use hinges to create storage space inside the seat.
Estimating the Cost
Plywood: $50-$100 for a 4x8 sheet, depending on thickness and quality.
2x4 Lumber: $3-$5 per piece. You might need about 10 pieces, so $30-$50.
Wood Screws: $5-$10 for a box.
Wood Glue: $5-$10.
Paint or Stain: $20-$40, depending on the brand and finish.
Primer: $10-$20 if you plan to paint.
Sandpaper: $5-$10 for a pack.
Cushion Foam: $30-$60, depending on size and thickness.
Fabric for Cushion: $10-$30 per yard. You might need 2-3 yards, so $20-$90.
Hinges: $10-$20 for a set if you want storage under the seat.
Tools: If you don't have them, a saw ($50-$100), drill ($50-$100), and sander ($30-$60) might be needed.
Budget-friendly alternatives:
Reclaimed Wood: Often free or very cheap. Check local listings or salvage yards.
Old Cushions: Repurpose cushions from old furniture.
Paint Samples: Use small paint samples instead of buying full cans.
Second-hand Tools: Look for used tools online or at garage sales.
Different Variations and Customizations
Materials: Instead of traditional wood, consider using plywood for a budget-friendly option or reclaimed wood for a rustic look. For a modern touch, try medium-density fiberboard (MDF).
Colors: Paint the seating in bold colors like navy blue or forest green for a statement piece. For a more subtle look, use neutral tones like beige or gray.
Styles: Add cushions with different patterns or textures to match your room's decor. Use built-in storage underneath the seating for extra functionality.
Finishes: Choose a high-gloss finish for a sleek, contemporary style or a matte finish for a more understated appearance.
Shapes: Customize the shape of the seating to fit your space. Try a curved design for a softer look or a boxy design for a more structured feel.
Extras: Incorporate built-in lighting under the seating for a cozy ambiance. Add decorative trim or molding to give the seating a more polished look.
Fabric: Use upholstery fabric for a comfortable, cushioned seat or leather for a more sophisticated appearance.
Legs: Opt for hairpin legs for a mid-century modern vibe or chunky wooden legs for a farmhouse style.
Backrests: Add a padded backrest for extra comfort or a wooden backrest for a more traditional look.
Storage: Install pull-out drawers or lift-up lids for hidden storage solutions.
Eco-Friendly Tips
Reclaimed Wood: Use old wood from barns, pallets, or furniture. It adds character and reduces waste.
Eco-friendly Paint: Choose paints with low or no VOCs (volatile organic compounds). They are better for indoor air quality.
Recycled Insulation: Use insulation made from recycled materials like denim or cellulose. It keeps the seating area cozy.
Natural Fabrics: Opt for cushions and upholstery made from organic cotton, hemp, or linen. These materials are sustainable and durable.
Non-toxic Adhesives: Use water-based or plant-based glues. They are safer for you and the environment.
Energy-efficient Lighting: Install LED lights around the seating area. They use less energy and last longer.
Upcycled Furniture: Repurpose old cabinets or benches for storage under the seating. It saves money and resources.
Sustainable Wood: If buying new wood, look for FSC-certified options. This ensures the wood comes from responsibly managed forests.
Local Materials: Source materials from local suppliers to reduce transportation emissions and support local businesses.
Compostable Materials: Use biodegradable materials for any temporary elements, like protective coverings during construction.
Enjoy Your New Bay Window Seating
You've done it! Your bay window seating is ready for use. This project not only adds extra seating but also creates a cozy nook for reading or relaxing. Remember, the key steps were measuring the space, building a sturdy frame, adding comfortable cushions, and finishing with a touch of personal style. If you ever feel like tweaking the design, don't hesitate. DIY projects are all about making things your own. Now, grab a book, a cup of tea, or just sit back and enjoy the fruits of your labor. Your new bay window seating isn't just a functional addition; it's a testament to your creativity and hard work. Happy relaxing!
What materials do I need to build bay window seating?
You’ll need plywood, 2x4 lumber, screws, wood glue, paint or stain, cushions, and fabric for upholstery. A saw, drill, measuring tape, and sander will also come in handy.
How do I measure for the seating?
Measure the width, depth, and height of your bay window area. Make sure to account for any trim or molding that might affect the fit.
Can I add storage to my bay window seating?
Absolutely! You can build cabinets or drawers into the base. Just make sure to plan for hinges or drawer slides when designing.
How do I make the seating comfortable?
Use foam cushions and cover them with durable fabric. Adding throw pillows can also make the seating cozier.
What kind of paint or stain should I use?
Choose a high-quality paint or stain that matches your room’s decor. Water-based options are easier to clean up, while oil-based ones are more durable.
How long will this project take?
Depending on your skill level and the complexity, it could take a weekend or a few days. Plan for prep time, construction, and finishing touches.
Do I need any special tools?
Basic tools like a saw, drill, measuring tape, and sander should suffice. If you’re adding storage, a jigsaw might be useful for cutting out openings.