
Home>Home & Furniture>Doors & Windows>How to Build an Aluminum Awning for Your Mobile Home
Doors & Windows
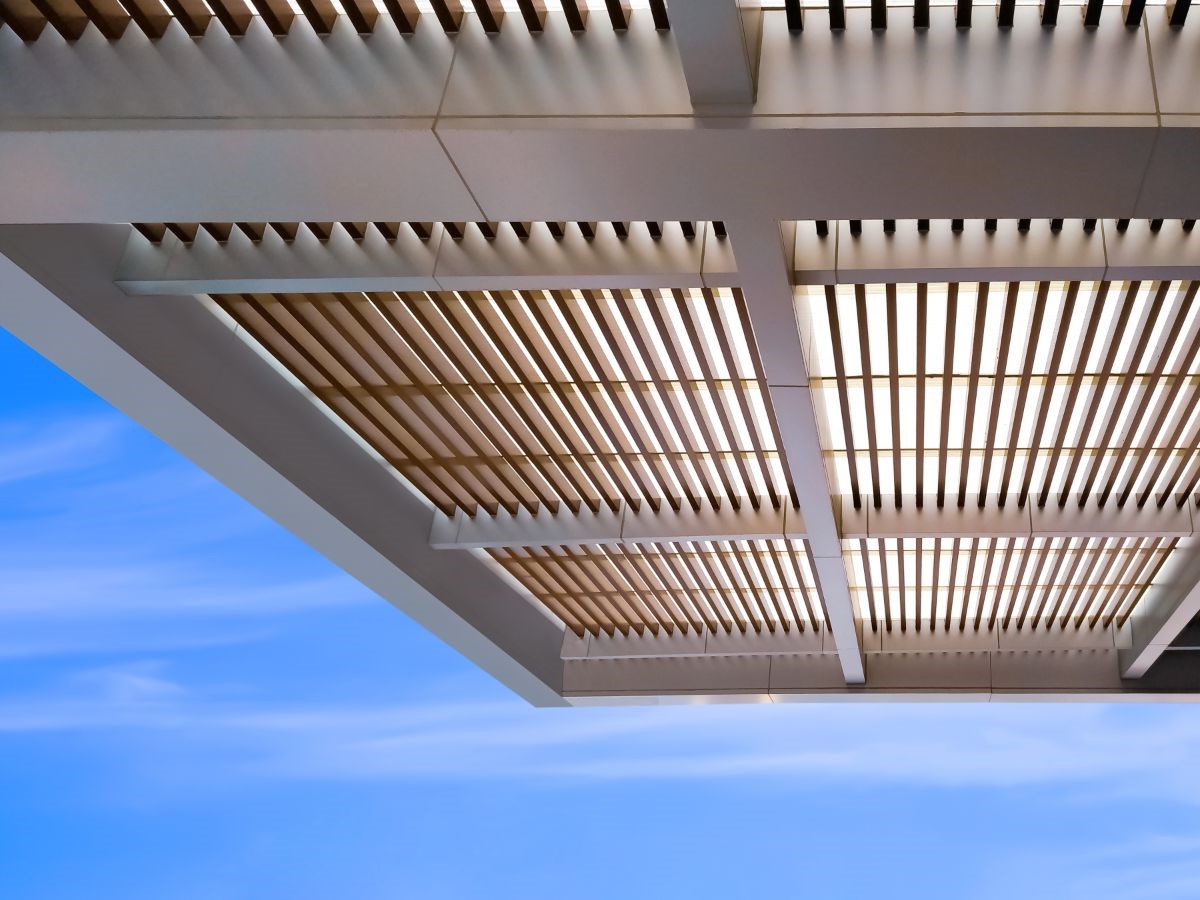
How to Build an Aluminum Awning for Your Mobile Home
Published: August 9, 2024
Learn how to build a durable aluminum awning for your mobile home with our step-by-step guide. Enhance your outdoor space with this practical and stylish addition.
(Many of the links in this article redirect to a specific reviewed product. Your purchase of these products through affiliate links helps to generate commission for Twigandthistle.com, at no extra cost. Learn more)
Building an aluminum awning for your mobile home can be a rewarding project. It provides shade, protects from rain, and adds a touch of style. You don't need to be an expert builder to get started. With some basic tools and clear instructions, you can create a sturdy, attractive awning. This guide will walk you through the steps needed to complete this project, from gathering materials to final installation. By following these steps, you'll have a functional addition to your home that enhances both comfort and appearance. Ready to dive in? Let's get started!
Getting Ready for Your Project
Gather Materials: Aluminum sheets, support brackets, screws, drill, measuring tape, level, ladder, safety goggles, gloves.
Check Local Regulations: Ensure compliance with any local building codes or regulations.
Measure the Area: Determine the dimensions of the awning. Measure the width and length of the space where the awning will be installed.
Clear the Workspace: Remove any obstacles or debris from the area. Ensure there is enough space to move around safely.
Safety Gear: Wear safety goggles and gloves to protect your eyes and hands.
Set Up Ladder: Place the ladder on a stable surface. Ensure it is secure before climbing.
Mark Drill Points: Use a pencil to mark where the support brackets will be attached to the mobile home.
Pre-Drill Holes: Drill pilot holes at the marked points to make it easier to insert screws.
Install Support Brackets: Attach the brackets to the mobile home using screws. Ensure they are level and securely fastened.
Cut Aluminum Sheets: Measure and cut the aluminum sheets to the desired size using a saw or metal cutter.
Attach Aluminum Sheets: Secure the aluminum sheets to the support brackets using screws. Ensure they are evenly spaced and aligned.
Check Stability: Ensure the awning is stable and securely attached. Make any necessary adjustments.
Clean Up: Remove any leftover materials or debris from the workspace. Store tools and equipment properly.
Gathering Materials and Tools
Aluminum Sheets: These will form the main structure of the awning. Choose sheets that are durable and weather-resistant.
Aluminum Support Beams: Provide the framework and support for the awning. Ensure they are strong enough to hold the weight of the aluminum sheets.
Screws and Bolts: Essential for securing the aluminum sheets and support beams together. Use rust-resistant types for longevity.
Drill: Needed for creating holes in the aluminum sheets and beams for screws and bolts.
Measuring Tape: Ensures accurate measurements of the area where the awning will be installed.
Level: Helps in making sure the awning is installed evenly and correctly.
Saw: Used for cutting aluminum sheets and beams to the required size. A hacksaw or circular saw with a metal-cutting blade works best.
Ladder: Necessary for reaching higher areas during installation.
Safety Gear: Includes gloves, safety glasses, and ear protection to keep you safe while working with tools and materials.
Sealant: Applied to joints and seams to prevent water leakage and ensure a weather-tight seal.
Pencil or Marker: For marking measurements and cutting lines on the aluminum sheets and beams.
Wrench Set: Needed for tightening bolts and screws securely.
Rubber Mallet: Useful for gently tapping pieces into place without damaging the aluminum.
Caulking Gun: Used to apply sealant smoothly and evenly.
Brackets: Provide additional support and stability to the awning structure.
Required Skills and Time Commitment
Skill Level: Intermediate
Time Required: 1-2 days
Steps:
- Measure and Plan: 1-2 hours
- Gather Materials: 1-2 hours
- Prepare the Site: 2-3 hours
- Assemble Frame: 4-6 hours
- Attach Aluminum Panels: 3-4 hours
- Finish and Inspect: 1-2 hours
Building Your Aluminum Awning: Step-by-Step
Gather Materials:
- Aluminum sheets
- Support brackets
- Screws and bolts
- Drill
- Measuring tape
- Level
- Ladder
- Safety goggles and gloves
Measure the Area:
- Use the measuring tape to determine the length and width of the area where the awning will be installed.
- Mark these measurements on the aluminum sheets.
Cut Aluminum Sheets:
- Wear safety goggles and gloves.
- Cut the aluminum sheets to the measured size using appropriate cutting tools.
Install Support Brackets:
- Use the drill to attach support brackets to the side of the mobile home.
- Ensure brackets are level and evenly spaced.
Attach Aluminum Sheets:
- Place the cut aluminum sheets onto the support brackets.
- Secure sheets with screws and bolts, ensuring they are tightly fastened.
Check Stability:
- Ensure all screws and bolts are secure.
- Test the stability of the awning by gently applying pressure.
Seal Edges:
- Apply a weatherproof sealant to the edges of the aluminum sheets.
- This prevents water from seeping through.
Final Inspection:
- Double-check all connections and seals.
- Make any necessary adjustments to ensure the awning is secure and level.
Helpful Tips and Tricks
Measure twice, cut once. Always double-check measurements before cutting aluminum. This prevents waste and ensures pieces fit perfectly.
Use self-tapping screws. These make attaching aluminum sheets to the frame easier and more secure.
Pre-drill holes. Pre-drilling helps avoid bending or damaging aluminum sheets when inserting screws.
Seal edges with silicone. This keeps water from seeping through gaps, protecting your mobile home from leaks.
Wear safety gear. Gloves and goggles protect from sharp edges and metal shavings.
Common mistakes to avoid include:
Skipping the primer. Aluminum needs a primer before painting to ensure paint adheres properly.
Ignoring local codes. Some areas have specific regulations for awnings. Check these before starting.
Over-tightening screws. This can warp aluminum sheets. Tighten screws just enough to hold securely.
Using the wrong tools. Use metal-specific tools like tin snips or a metal saw for cutting aluminum.
Alternatives for materials or methods:
Polycarbonate panels. These are lightweight, durable, and provide UV protection.
Wooden frame. If aluminum framing feels too tricky, a wooden frame can offer a sturdy base for aluminum sheets.
Canvas awning. For a more temporary solution, consider a canvas awning. Easier to install and remove, though less durable.
Estimating the Cost
Aluminum Sheets: $200-$300 for a 10x10 foot area.
Support Beams: $50-$100 depending on length and thickness.
Screws and Bolts: $20-$30 for a pack.
Brackets: $15-$25 for a set.
Sealant: $10-$15 per tube.
Paint or Finish: $20-$40 if you want to coat the aluminum.
Tools:
- Drill: $50-$100 if you don't already have one.
- Saw: $30-$60 for a basic one.
- Measuring Tape: $5-$10.
- Level: $10-$20.
Total Cost: Around $410-$700.
Budget-Friendly Alternatives:
- Recycled Aluminum Sheets: Check local scrap yards, could save $100-$150.
- Second-hand Tools: Look for used tools online or at garage sales, could save $50-$100.
- DIY Brackets: Make your own from leftover metal, saving $10-$20.
Personalizing Your Awning
Materials: Instead of aluminum, consider using wood for a rustic look or steel for added durability. Polycarbonate panels can replace aluminum sheets for a modern, translucent effect.
Colors: Paint the awning in bright colors like blue or yellow for a cheerful vibe. For a more classic look, use neutral tones like beige or gray. Metallic finishes like bronze or copper can add a touch of elegance.
Styles: Add decorative trim or scrollwork to the edges for a Victorian feel. Use straight lines and minimalist designs for a contemporary look. Incorporate curved elements for a more organic, flowing style.
Roofing Options: Instead of a flat roof, try a gabled or hipped roof for better water drainage. A retractable awning can offer flexibility, allowing you to enjoy the sun when you want and shade when you need it.
Lighting: Integrate LED strip lights along the edges for nighttime illumination. Solar-powered lights can be an eco-friendly option. Hanging lanterns or string lights can add a cozy, inviting atmosphere.
Additional Features: Install side panels or curtains for extra privacy and protection from the elements. Add planter boxes along the sides for a touch of greenery. Consider a built-in bench or seating area for added functionality.
Eco-Friendly Building Tips
Reusing old aluminum sheets from previous projects or scrap yards can save money and reduce waste. Recycling materials like wood or metal from other parts of your home can also be beneficial. Use eco-friendly paint or sealant to protect the aluminum without harming the environment. Opt for solar-powered lights if you need illumination under the awning. Consider using reclaimed wood for any support structures. Rainwater collection systems can be integrated into the awning design to conserve water. Always choose sustainable fasteners like stainless steel or recycled metal screws.
Your DIY Awning Awaits
Building an aluminum awning for your mobile home isn't just about adding shade. It's about creating a space that feels more like home. With some basic tools, a bit of patience, and a clear plan, you can tackle this project. Remember to measure twice, cut once. Safety first, always wear protective gear. Don't rush the process; take your time to ensure everything is secure and sturdy. Once it's up, you'll have a functional and stylish addition to your home. Plus, you'll have the satisfaction of knowing you built it yourself. So grab those tools, get out there, and start building. Your new awning is just a few steps away. Happy building!
What tools will I need to build an aluminum awning?
You’ll need a drill, screwdriver, measuring tape, level, saw, and safety gear like gloves and goggles. A ladder will also come in handy.
How do I measure for the awning?
Measure the width and height of the area you want to cover. Make sure to account for any overhang you want on the sides.
Can I install the awning by myself?
It’s possible, but having a helper makes it easier and safer. Some parts can be heavy or awkward to handle alone.
What type of aluminum should I use?
Use rust-resistant aluminum. Look for pre-treated or coated options to ensure durability and longevity.
How do I attach the awning to my mobile home?
Use brackets and screws designed for metal. Make sure to secure them into the studs or frame of your mobile home for stability.
Do I need a permit to build an awning?
Check with your local building authority. Some places require permits for structures like awnings, while others don’t.
How do I maintain my aluminum awning?
Regularly clean it with mild soap and water. Inspect for any damage or loose screws and tighten or repair as needed.