
Home>Home & Furniture>Doors & Windows>How to Build a Frameless Shower Door
Doors & Windows
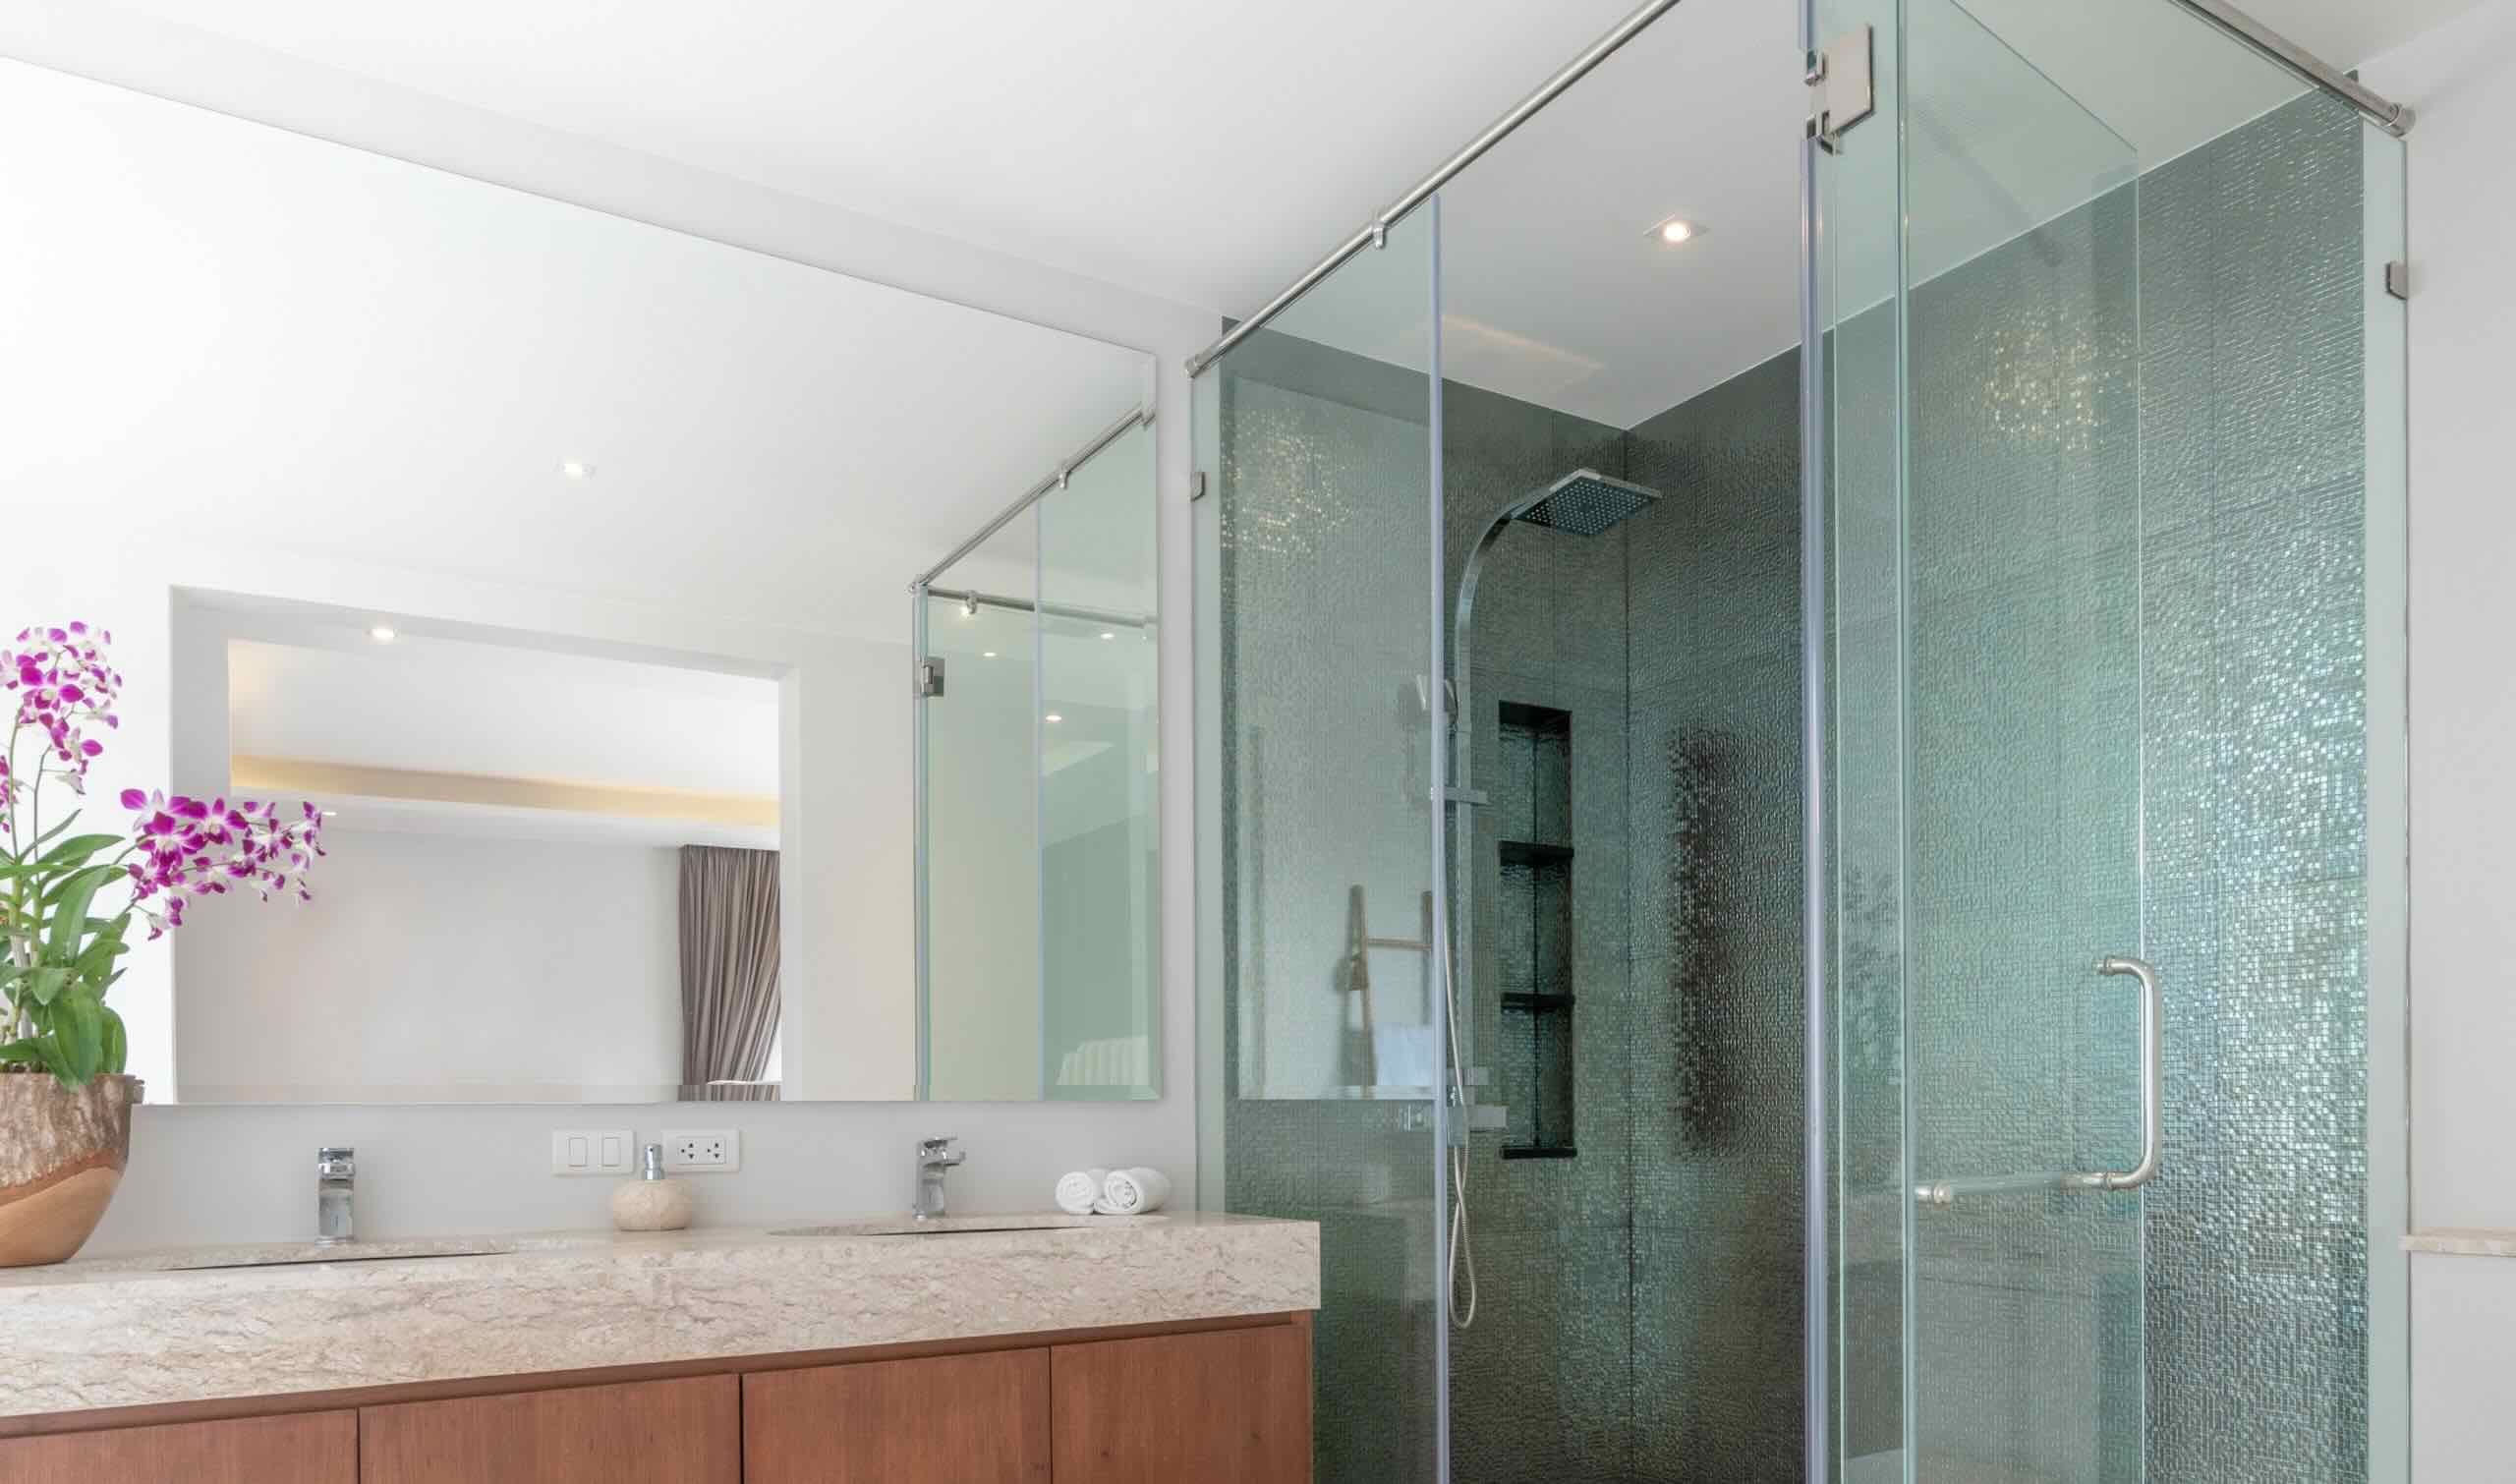
How to Build a Frameless Shower Door
Published: September 13, 2024
Learn how to build a frameless shower door with our step-by-step guide. Discover essential tools, materials, and expert tips for a sleek, modern bathroom upgrade.
(Many of the links in this article redirect to a specific reviewed product. Your purchase of these products through affiliate links helps to generate commission for Twigandthistle.com, at no extra cost. Learn more)
Installing a frameless shower door can transform your bathroom into an open, modern space. While professionals often handle this task, you can do it yourself with careful planning and the right tools. This project requires patience, precision, and a steady hand. You'll need to measure accurately, choose appropriate materials, and follow step-by-step instructions to achieve a sleek, polished look. Not only will you save money, but you'll also gain the satisfaction of completing a rewarding DIY project. Let’s break down the process so you can confidently tackle building your frameless shower door.
Getting Ready for Your Project
Measure the Space: Use a tape measure to get the exact dimensions of the shower opening. Write down the height and width.
Gather Materials: Collect all necessary tools and materials. This includes glass panels, hinges, handles, a level, a drill, screws, and silicone sealant.
Safety Gear: Wear safety glasses and gloves to protect your eyes and hands from glass shards and sharp edges.
Clear the Area: Remove any obstacles from the workspace. Ensure the floor is dry to avoid slipping.
Check for Studs: Use a stud finder to locate wall studs where the hinges will be mounted. Mark these spots with a pencil.
Prepare the Glass: Clean the glass panels with a glass cleaner to remove any dust or fingerprints.
Mark Drill Holes: Hold the glass panel in place and mark where the hinges will be attached. Double-check measurements to ensure accuracy.
Drill Pilot Holes: Use a drill to create pilot holes for the screws. This makes it easier to attach the hinges without cracking the tiles.
Install Hinges: Attach the hinges to the glass panel first, then secure them to the wall using screws. Make sure they are level.
Seal Edges: Apply silicone sealant along the edges of the glass to prevent water leaks. Allow it to dry according to the manufacturer's instructions.
Test the Door: Open and close the door several times to ensure it moves smoothly and is securely attached. Adjust if necessary.
Essential Materials and Tools
- Glass Panels: These are the main components of the shower door. Make sure they are tempered for safety.
- Hinges: Used to attach the glass panels to the wall. Choose stainless steel for durability.
- Handles: These provide a grip to open and close the door. Match them with the hinges for a cohesive look.
- U-Channel or Clips: Secure the glass panels to the floor and walls. U-channels offer more support, while clips give a cleaner look.
- Shims: Small pieces used to level the glass panels during installation.
- Silicone Sealant: Waterproofs the edges of the glass panels to prevent leaks.
- Screws and Anchors: Fasten the hinges and U-channel or clips to the wall. Ensure they are suitable for your wall type.
- Measuring Tape: Measures the dimensions of the shower space accurately.
- Level: Ensures the glass panels are installed straight.
- Drill: Makes holes in the wall for screws and anchors.
- Glass Suction Cups: Help lift and position the heavy glass panels safely.
- Rubber Mallet: Gently taps the glass panels into place without breaking them.
- Safety Gear: Includes gloves and safety glasses to protect yourself during installation.
Required Skills and Time Commitment
Skill Level: Advanced
Time Required: 6-8 hours
- Measuring and Planning: 1-2 hours
- Cutting and Preparing Glass: 1-2 hours
- Installing Hinges and Handles: 1 hour
- Mounting the Door: 1-2 hours
- Sealing and Finishing Touches: 1 hour
Detailed Step-by-Step Guide
Measure the Space
- Use a tape measure to get the height and width of the shower opening.
- Write down the measurements.
Purchase Materials
- Buy a frameless shower door kit.
- Ensure it includes glass panels, hinges, handles, and seals.
Prepare the Area
- Clean the shower opening.
- Remove any old caulk or debris.
Install Hinges
- Mark the hinge locations on the wall.
- Drill holes for the hinges.
- Attach hinges to the wall using screws.
Attach Handles
- Mark handle locations on the glass door.
- Drill holes carefully.
- Attach handles using provided hardware.
Install Glass Panels
- Lift the glass panel into place.
- Align it with the hinges.
- Secure the glass to the hinges.
Add Seals
- Attach seals to the edges of the glass door.
- Ensure they are snug to prevent water leaks.
Check Alignment
- Open and close the door to ensure it moves smoothly.
- Adjust hinges if necessary.
Seal Edges
- Apply silicone caulk along the edges where the glass meets the wall.
- Let it dry for 24 hours.
Final Inspection
- Check for any gaps or loose parts.
- Make any final adjustments.
Helpful Tips and Tricks
Measure Twice, Cut Once: Accurate measurements are crucial. Double-check dimensions before cutting glass or drilling holes.
Use Quality Materials: Invest in tempered glass and stainless steel hardware. These materials ensure durability and safety.
Seal Properly: Apply a high-quality silicone sealant around edges to prevent water leaks. Ensure the sealant is evenly spread.
Leveling is Key: Use a spirit level to make sure the door is perfectly vertical. An uneven door can cause it to swing open or closed on its own.
Pre-drill Holes: When attaching hardware, pre-drill holes to avoid cracking tiles or glass. Use a diamond drill bit for tiles.
Use Suction Cups: Handling large glass panels can be tricky. Use suction cups to move and position the glass safely.
Common Mistakes to Avoid:
- Rushing Measurements: Inaccurate measurements can lead to gaps or misalignment.
- Skipping Sealant: Not sealing edges properly can cause water damage.
- Ignoring Weight: Frameless doors are heavy. Ensure the wall can support the weight.
Alternatives:
- Acrylic Panels: If glass is too costly, consider acrylic panels. They are lighter and easier to handle.
- Sliding Doors: Instead of a hinged door, use sliding doors to save space.
- Pre-fabricated Kits: For simplicity, use a pre-fabricated frameless shower door kit. These kits come with all necessary components and instructions.
Budgeting Your Frameless Shower Door
Glass Panels: $300-$700 each, depending on size and thickness.
Hinges: $50-$100 for a set of two.
Handles: $20-$50.
Seal Strips: $10-$20.
Silicone Sealant: $5-$10.
Drill: $50-$100 (if you don't already have one).
Glass Cutter: $20-$40 (if you need to cut the glass yourself).
Measuring Tape: $5-$15.
Level: $10-$20.
Safety Gear: $10-$30 (gloves, goggles).
Budget-Friendly Alternatives:
- Glass Panels: Consider thinner glass or pre-cut panels to save money.
- Handles: Use basic handles instead of designer options.
- Drill: Borrow from a friend or rent from a hardware store.
- Safety Gear: Use what you already have at home or buy in bulk for savings.
Creative Variations and Customizations
Glass Types: Use frosted glass for privacy or tinted glass for a modern look. Textured glass adds a unique touch.
Hardware Finishes: Choose from chrome, brushed nickel, or oil-rubbed bronze for hinges and handles. Matte black offers a sleek, contemporary style.
Handles: Opt for bar handles for a minimalist look or knob handles for a classic feel. Square handles provide a modern twist.
Seals: Use clear seals for an invisible barrier or colored seals to match your bathroom decor.
Glass Thickness: Thicker glass, like 3/8 inch or 1/2 inch, offers more durability and a premium feel. Thinner glass, such as 1/4 inch, is lighter and easier to install.
Shapes: Customize the door shape to fit your space. Rectangular doors are standard, but curved or angled doors can add a unique touch.
Etching: Add custom etching or sandblasting designs for a personalized look. Patterns like geometric shapes or floral designs can make your shower door stand out.
Frameless vs. Semi-Frameless: For a slight variation, consider a semi-frameless door, which has minimal framing around the edges but still offers a sleek look.
Sliding vs. Hinged: Choose a sliding door for tight spaces or a hinged door for a more traditional look. Bi-fold doors can also be an option for compact areas.
Color Accents: Add colored glass panels or stained glass for a vibrant touch. Colored hardware can also add a pop of color.
Integrated Shelves: Incorporate built-in shelves or niches within the shower door for added storage and functionality.
Lighting: Install LED strips along the edges of the glass for a modern, illuminated effect. Backlit mirrors can also complement the frameless shower door.
Water Repellent Coating: Apply a water repellent coating to the glass to reduce water spots and make cleaning easier. Hydrophobic coatings can also enhance the longevity of the glass.
Custom Sizes: Tailor the door size to fit your specific shower space. Oversized doors can create a luxurious feel, while smaller doors are perfect for compact bathrooms.
Decorative Hinges: Use decorative hinges with intricate designs for an elegant touch. Invisible hinges can provide a seamless look.
Magnetic Strips: Incorporate magnetic strips for a tighter seal and easier closing. Soft-close mechanisms can also add a touch of luxury.
Eco-Friendly Options: Choose recycled glass or sustainable materials for an eco-friendly option. Low-VOC adhesives can also be used for a greener approach.
Eco-Friendly Project Tips
Use recycled glass for the door panels. This reduces waste and gives a sleek look. Opt for stainless steel hardware, which is durable and recyclable. Choose low-VOC sealants to minimize harmful emissions. Reuse old glass panels if available. For the frame, consider bamboo or reclaimed wood for a natural touch. Install a water-saving showerhead to conserve water. Use LED lighting around the shower area to save energy. Finally, recycle any leftover materials to keep the project eco-friendly.
Your Frameless Shower Door Awaits
Building a frameless shower door isn't as tough as it seems. With the right tools, some patience, and a bit of elbow grease, you can transform your bathroom into a sleek, modern space. Remember to measure twice, cut once, and always double-check your work. Safety first, so wear those goggles and gloves. If you hit a snag, don't hesitate to ask for help or consult a pro. The satisfaction of completing a DIY project like this is unmatched. Plus, you'll save some bucks and gain some serious bragging rights. So, gather your materials, clear your schedule, and dive into this rewarding project. Your new, stylish shower door is just a few steps away. Happy building!
How do I measure for a frameless shower door?
Measure the width of the shower opening at the top, middle, and bottom. Use the smallest measurement. Then, measure the height from the base to the top of the opening.
What tools will I need?
You’ll need a tape measure, level, drill, screwdriver, silicone sealant, and a glass suction cup. A friend to help with lifting the glass is also a good idea.
How do I install the hinges?
Mark where the hinges will go on the wall and door. Drill pilot holes, then attach the hinges to the wall first. Afterward, attach the door to the hinges.
Can I install a frameless shower door on my own?
Yes, but it’s a two-person job. The glass is heavy and fragile, so having someone to help will make the process safer and easier.
How do I ensure the door is level?
Use a level to check the door’s alignment before tightening the hinges completely. Adjust as needed to make sure it swings smoothly and closes properly.
What type of glass should I use?
Tempered glass is the best choice. It’s strong and, if it breaks, it shatters into small, less dangerous pieces.
How do I seal the edges?
Apply a thin bead of silicone sealant along the edges where the glass meets the wall and floor. This will keep water from leaking out.