
Home>Home & Furniture>Doors & Windows>How to Build a DIY Window Lock
Doors & Windows
How to Build a DIY Window Lock
Published: August 26, 2024
Learn how to build a DIY window lock with our step-by-step guide. Enhance your home security with easy-to-follow instructions and tips for a secure and safe living space.
(Many of the links in this article redirect to a specific reviewed product. Your purchase of these products through affiliate links helps to generate commission for Twigandthistle.com, at no extra cost. Learn more)
Keeping your home safe doesn't always require expensive gadgets or professional help. Sometimes, all it takes is a bit of creativity and some basic tools. Building a DIY window lock is one such project that can enhance security without breaking the bank. Whether you live in a bustling city or a quiet suburb, securing windows is essential. This guide will walk you through creating a simple, effective window lock using materials you might already have at home. Get ready to put your DIY skills to good use and make your home just a little bit safer.
Getting Ready for the Project
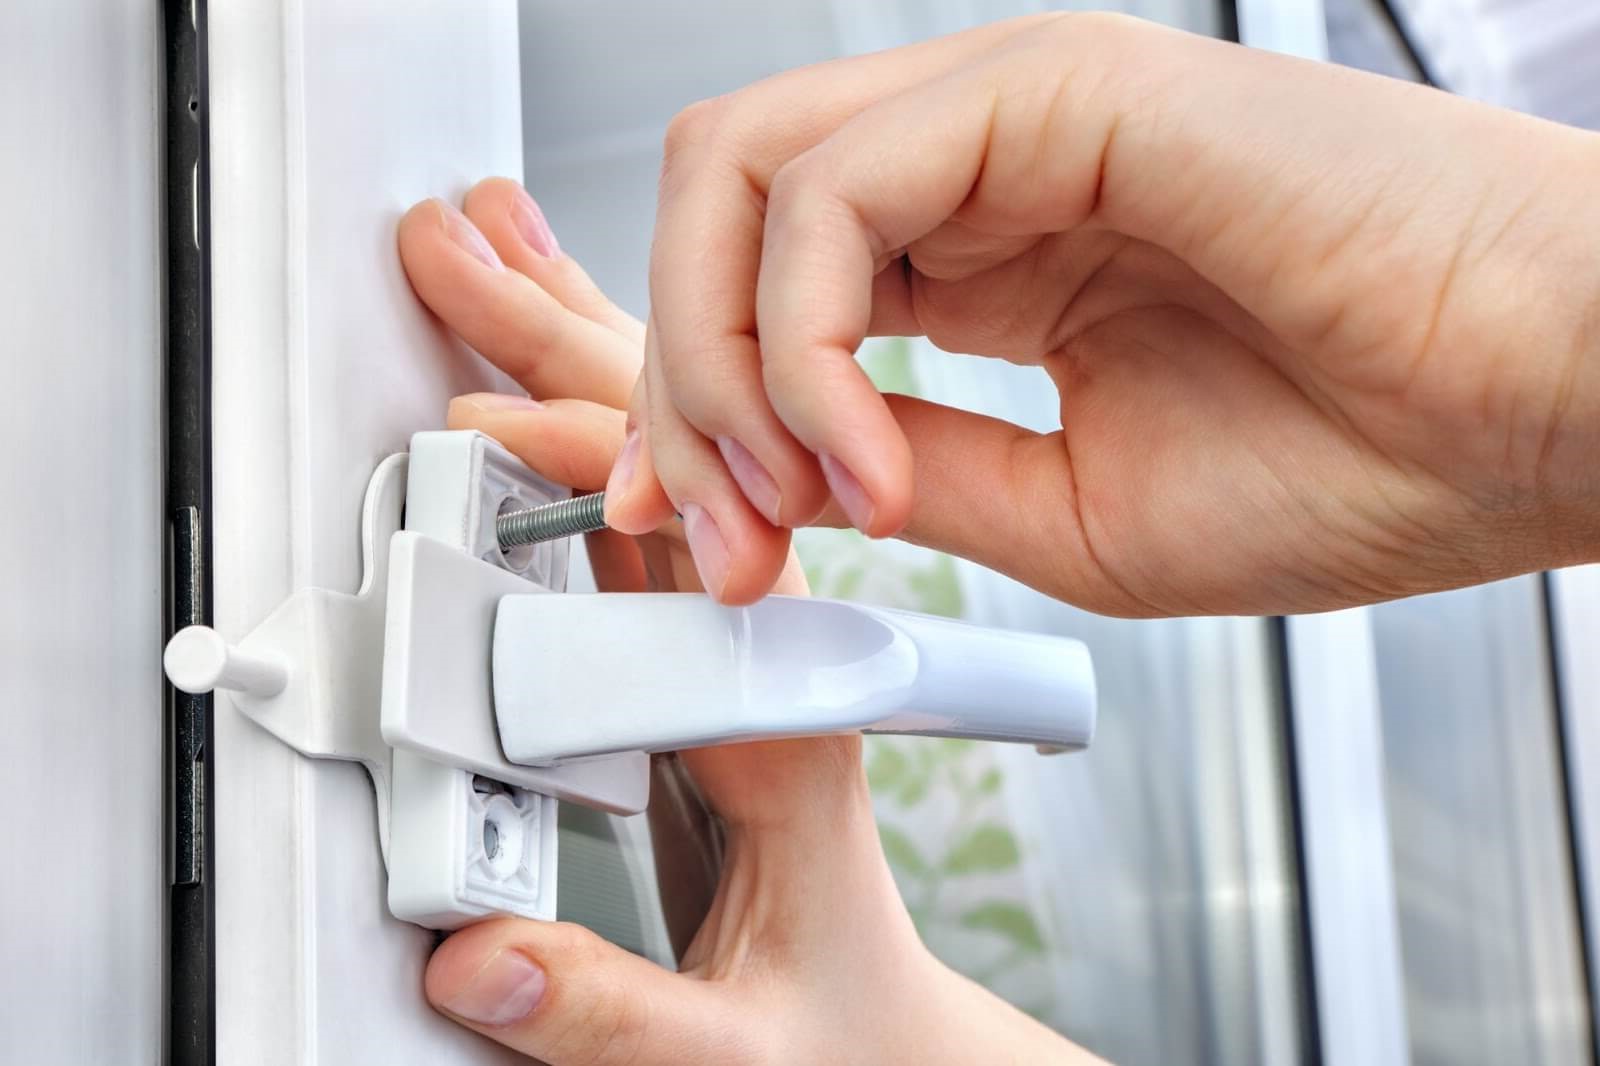
- Gather Materials: Collect screws, a drill, a metal latch, a measuring tape, a pencil, and safety goggles.
- Measure the Window: Use the measuring tape to find the exact spot where the lock will be installed.
- Mark the Spot: With a pencil, mark where the screws will go.
- Prepare the Workspace: Clear the area around the window. Ensure you have enough light and space to work comfortably.
- Wear Safety Gear: Put on safety goggles to protect your eyes from dust and debris.
- Check for Obstructions: Make sure there are no wires or pipes behind the window frame where you plan to drill.
- Test the Latch: Before drilling, hold the latch in place to ensure it fits and functions properly.
- Charge the Drill: Ensure your drill is fully charged or plugged in.
- Read Instructions: If the latch comes with instructions, read them thoroughly to avoid mistakes.
- Keep Tools Handy: Place all tools within arm’s reach to avoid unnecessary movement during the installation.
What You Need: Materials and Tools
- Measuring Tape: Used to measure the window dimensions accurately.
- Pencil: For marking measurements on the window frame.
- Drill: Needed to create holes for screws.
- Screws: Secure the lock mechanism to the window frame.
- Screwdriver: Tightens screws into place.
- Window Lock Kit: Contains the actual lock mechanism.
- Level: Ensures the lock is installed straight.
- Safety Glasses: Protects eyes while drilling.
- Work Gloves: Keeps hands safe from sharp edges.
- Sandpaper: Smooths any rough edges on the window frame.
Measuring tape helps get the right size for the lock. A pencil marks where to drill. Drills make holes for screws, which hold the lock in place. Screwdrivers tighten these screws. Window lock kits have the lock parts. Levels make sure everything is straight. Safety glasses and work gloves protect you. Sandpaper smooths rough spots.
Required Skills and Time Commitment
Skill Level: Beginner
Time Required: 1-2 hours
Steps:
- Gather Materials: Screwdriver, screws, window lock kit.
- Measure and Mark: Ensure accurate placement.
- Drill Pilot Holes: Prevent wood splitting.
- Install Lock: Secure with screws.
- Test Lock: Ensure proper function.
Follow These Steps
Gather Materials:
- Wooden dowel or metal rod
- Measuring tape
- Saw (if using a wooden dowel)
- Sandpaper
- Paint or varnish (optional)
- Screws and brackets (optional)
Measure the Window:
- Open the window fully.
- Use the measuring tape to measure the length of the window track.
Cut the Dowel or Rod:
- Mark the measured length on the dowel or rod.
- Use the saw to cut the dowel or rod to the correct length.
Smooth the Edges:
- Use sandpaper to smooth any rough edges on the cut dowel or rod.
Optional: Paint or Varnish:
- Apply paint or varnish to the dowel or rod for a finished look.
- Allow it to dry completely.
Place the Dowel or Rod:
- Insert the dowel or rod into the window track.
- Ensure it fits snugly and prevents the window from opening.
Optional: Secure with Brackets:
- If desired, use screws and brackets to secure the dowel or rod in place.
- Attach brackets to the window frame and place the dowel or rod inside.
Test the Lock:
- Try to open the window to ensure the dowel or rod effectively prevents movement.
Adjust if Necessary:
- If the dowel or rod is too loose or too tight, adjust the length or placement as needed.
Helpful Tips and Tricks
Measure Twice, Cut Once: Always double-check measurements before cutting any materials. This prevents waste and ensures a snug fit.
Use Quality Materials: Opt for sturdy metal or hardwood for the lock. Avoid softwoods or cheap metals that can easily break.
Pre-drill Holes: Pre-drilling holes where screws will go helps prevent wood from splitting and makes screwing easier.
Sand Edges: Sand any rough edges to avoid splinters and ensure a smooth finish.
Test Fit: Before final installation, test the lock to make sure it fits and works properly.
Use a Template: Create a paper template for drilling holes. This ensures all holes align perfectly.
Secure Screws Tightly: Make sure screws are tight but not over-tightened, which can strip the screw holes.
Common Mistakes to Avoid:
Incorrect Measurements: Not measuring correctly can lead to a lock that doesn’t fit or function properly.
Using Weak Materials: Using weak or inappropriate materials can compromise the lock’s effectiveness.
Skipping Pre-drilling: Not pre-drilling can cause wood to split, weakening the lock.
Alternatives for Materials or Methods:
Sliding Bolt Lock: Instead of a traditional lock, consider using a sliding bolt lock for added security.
PVC Pipe: For a simple lock, cut a piece of PVC pipe to fit the window track. This prevents the window from sliding open.
Magnetic Locks: Use magnetic locks for a less visible option. These can be installed inside the window frame.
Velcro Straps: For temporary solutions, use heavy-duty Velcro straps to secure windows.
Budgeting for Your DIY Window Lock
Materials:
- Metal bar: $10-$15
- Screws: $3-$5
- Brackets: $5-$7
- Padlock: $5-$10
Tools:
- Drill: $30-$50 (if you don't already have one)
- Screwdriver: $5-$10
- Measuring tape: $3-$5
- Hacksaw: $10-$15
Total Cost: $71-$117
Budget-Friendly Alternatives:
- Use a wooden dowel instead of a metal bar: $2-$4
- Borrow tools from a friend or neighbor
- Buy a used drill: $15-$25
New Total Cost: $30-$61
Different Ways to Customize
Materials: Instead of using metal, try wood for a rustic look. Plastic can be a lightweight option. Recycled materials like old tools or hardware can add a unique touch.
Colors: Paint the lock in bright colors to match room decor. Use metallic paints for a modern feel. Natural wood stains can give a classic appearance.
Styles: For a vintage style, use antique hardware. A modern style might include sleek, minimalist designs. Industrial styles can incorporate exposed screws and raw materials.
Mechanisms: Instead of a simple latch, consider a sliding bolt or a hook-and-eye mechanism. Magnetic locks can be an innovative choice.
Finishes: Use matte finishes for a subtle look. Glossy finishes can make the lock stand out. Textured finishes add an interesting touch.
Handles: Replace standard handles with decorative knobs or custom shapes. Leather straps can add a unique element.
Installation: Mount the lock inside the window frame for a hidden look. Install it outside for easy access. Use adjustable brackets for flexibility.
Eco-Friendly Suggestions
Materials:
- Reclaimed wood: Use old furniture or scrap wood.
- Recycled metal: Find old hinges or brackets.
- Natural oils: Use linseed oil instead of chemical sealants.
Steps:
- Measure the window frame.
- Cut the reclaimed wood to fit.
- Sand the wood to smooth rough edges.
- Apply natural oil to protect the wood.
- Attach recycled metal brackets to the wood.
- Install the lock by screwing it into the window frame.
Tips:
- Reuse screws from old projects.
- Look for metal parts at thrift stores.
- Avoid plastic components.
Lock It Down
Building a DIY window lock isn't just about saving money; it's about taking control of your home’s security. With some basic tools and materials, you can create a sturdy lock that keeps intruders out. Remember to measure twice, cut once, and test your lock before calling it a day. If something doesn’t fit right, don’t stress—adjustments are part of the process. You’ve got the skills to make it work. Plus, you’ll feel a sense of accomplishment every time you lock your window, knowing you built it yourself. Keep experimenting with different designs and materials to find what works best for your needs. Your home’s safety is in your hands, and with a little effort, you can make it as secure as possible. Happy building!
What materials do I need to build a DIY window lock?
You'll need wood, screws, a drill, a saw, sandpaper, and a measuring tape. You might also want some paint or varnish to finish it off.
How long does it take to make a window lock?
It usually takes about 1-2 hours. If you're new to DIY projects, it might take a bit longer, but it's a pretty straightforward task.
Is it safe to use a DIY window lock?
Yes, if built correctly, a DIY window lock can be very secure. Just make sure to follow the steps carefully and use sturdy materials.
Can I customize the lock to fit my window?
Absolutely! You can measure your window and adjust the size of the lock accordingly. Customizing ensures a perfect fit.
Do I need any special tools?
Not really. Basic tools like a drill, saw, and screwdriver will do the trick. If you have a sander, it can help smooth out the wood, but sandpaper works too.
What type of wood should I use?
Hardwood is best because it's more durable. However, softwood can work if that's what you have on hand. Just make sure it's sturdy enough to hold up.
Can I paint or stain the lock?
Definitely! You can paint or stain it to match your window frame or room decor. Just make sure the paint or stain is dry before installing the lock.