
Home>Home & Furniture>Doors & Windows>How to Build a DIY Vertical Sliding Door
Doors & Windows
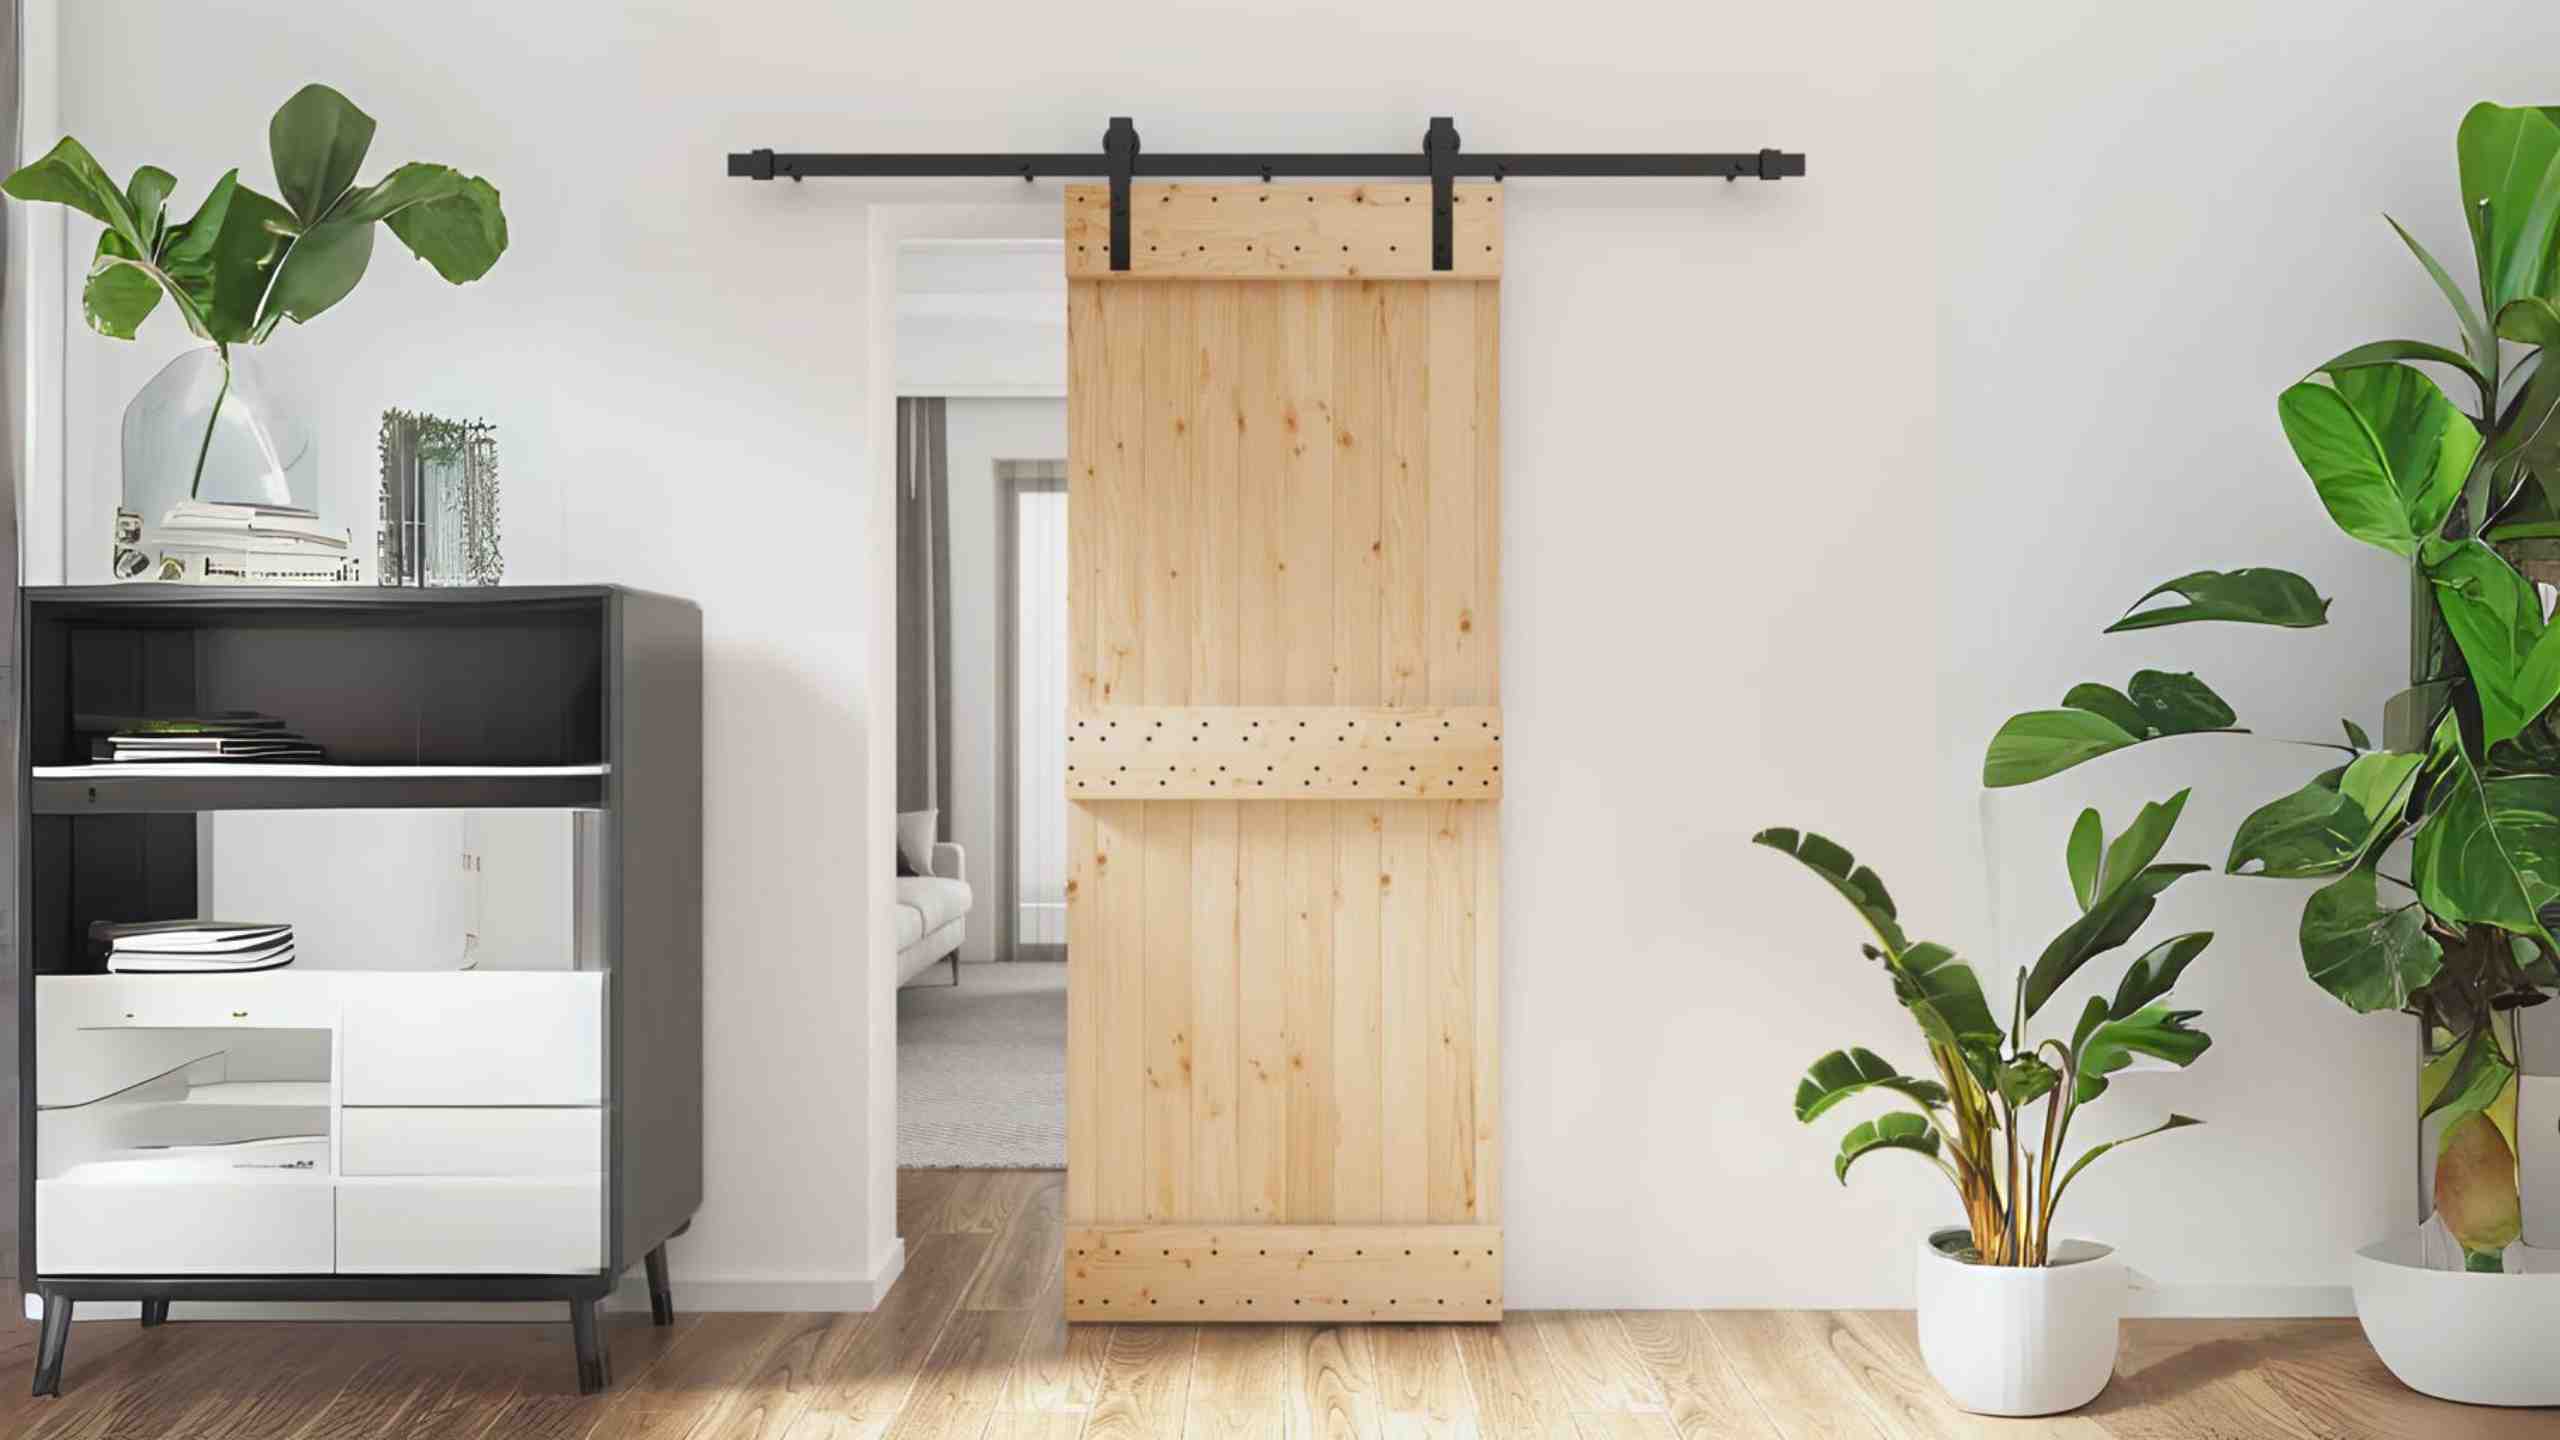
How to Build a DIY Vertical Sliding Door
Published: September 23, 2024
Learn how to build a DIY vertical sliding door with our step-by-step guide. Perfect for saving space and adding a unique touch to your home. Get started today!
(Many of the links in this article redirect to a specific reviewed product. Your purchase of these products through affiliate links helps to generate commission for Twigandthistle.com, at no extra cost. Learn more)
Building a vertical sliding door for your home can save space and add a unique touch. Whether for a closet, pantry or room divider, this project is doable with some basic tools and materials. Knowing how to handle wood, metal, and a few power tools will come in handy. By following straightforward steps, you’ll create a functional door that looks great and works smoothly. This guide simplifies the process, making it accessible even if you're new to DIY home improvement. Ready to get started? Let’s dive into this fun and practical project.
Getting Ready for Your Project
Measure the Space: Use a tape measure to get the exact dimensions of the doorway. Write down the height and width.
Gather Materials: Collect wood panels, sliding door hardware, screws, a drill, a saw, sandpaper, paint or stain, and a level.
Prepare the Workspace: Clear the area where you will work. Lay down a drop cloth to protect the floor.
Safety Gear: Wear safety goggles, gloves, and a dust mask. Keep a first aid kit nearby.
Cut the Wood: Use a saw to cut the wood panels to the measured dimensions. Sand the edges to smooth them out.
Paint or Stain: Apply paint or stain to the wood panels. Let them dry completely.
Install Hardware: Attach the sliding door hardware to the top of the door frame. Follow the manufacturer's instructions.
Mount the Door: Lift the door and place it onto the sliding hardware. Use a level to ensure it hangs straight.
Test the Door: Slide the door back and forth to make sure it moves smoothly. Adjust if necessary.
Clean Up: Remove any debris and store tools safely. Dispose of any waste materials properly.
Gather Your Materials and Tools
- Plywood Sheets: Used for the door panels. Choose a sturdy type like birch or oak.
- Wood Screws: Essential for securing the plywood and other components.
- Wood Glue: Provides extra strength to the joints.
- Sandpaper: Smooths out rough edges and surfaces.
- Paint or Stain: Adds color and protection to the wood.
- Measuring Tape: Ensures accurate measurements for cutting and fitting.
- Circular Saw: Cuts the plywood sheets to the desired size.
- Drill: Makes holes for screws and other hardware.
- Screwdriver: Tightens screws securely.
- Level: Ensures the door is installed straight.
- Sliding Door Hardware Kit: Includes tracks, rollers, and handles.
- Pencil: Marks measurements and cutting lines.
- Clamps: Holds pieces together while the glue dries.
- Safety Gear: Gloves, goggles, and a dust mask for protection.
Required Skills and Time Commitment
Skill Level: Intermediate
Time Required: 6-8 hours
- Gather Materials: 1 hour
- Measure and Cut Wood: 2 hours
- Assemble Frame: 1 hour
- Install Sliding Mechanism: 1 hour
- Attach Door to Frame: 1 hour
- Finishing Touches: 1-2 hours
Follow These Steps
Gather Materials and Tools
- Plywood or solid wood panel
- Sliding door hardware kit
- Measuring tape
- Saw
- Drill
- Screws
- Sandpaper
- Paint or stain (optional)
- Level
Measure the Door Opening
- Measure the height and width of the door opening.
- Add 1 inch to the width and 2 inches to the height for overlap.
Cut the Door Panel
- Cut the plywood or wood panel to the measured dimensions.
- Sand the edges to smooth out any rough spots.
Install the Sliding Hardware
- Follow the instructions in the sliding door hardware kit.
- Attach the track to the top of the door frame.
- Ensure the track is level.
Attach Rollers to the Door
- Secure the rollers to the top edge of the door panel.
- Make sure they are evenly spaced.
Hang the Door
- Lift the door and place the rollers onto the track.
- Check that the door slides smoothly.
Install Door Guides
- Attach guides at the bottom of the door frame.
- These keep the door from swinging out.
Test the Door
- Slide the door back and forth.
- Make adjustments if necessary.
Finish the Door (Optional)
- Paint or stain the door to match your decor.
- Allow it to dry completely before using.
Helpful Tips and Tricks
Measure Twice, Cut Once: Accurate measurements prevent mistakes. Double-check all dimensions before cutting materials.
Use Quality Materials: Opt for sturdy wood or metal for the door frame. Cheap materials can warp or break.
Smooth Sliding Mechanism: Install high-quality tracks and rollers. This ensures the door slides smoothly and lasts longer.
Balance the Door: Make sure the door is balanced. An unbalanced door can be hard to open and close.
Secure the Tracks: Firmly attach tracks to the wall. Loose tracks can cause the door to derail.
Weatherproofing: Add weatherstripping to keep out drafts and moisture. This also helps with insulation.
Safety First: Use safety goggles and gloves when cutting and installing materials. Protect yourself from injuries.
Common Mistakes to Avoid:
Skipping the Level: Always use a level to ensure tracks are straight. Crooked tracks lead to poor door function.
Ignoring Weight Limits: Check the weight limit of your sliding mechanism. Overloading can cause it to fail.
Wrong Door Size: Ensure the door fits the opening. Too big or too small will cause problems.
Alternatives for Materials or Methods:
Plywood Instead of Solid Wood: Plywood can be a cheaper, lighter alternative to solid wood.
PVC Tracks: Consider PVC tracks instead of metal. They are often easier to install and maintain.
Pre-made Kits: Use a pre-made sliding door kit if you want to save time. These kits come with all necessary parts and instructions.
Estimating the Cost
Materials:
- Wood (for the door): $50-$100
- Sliding door hardware kit: $50-$150
- Paint or stain: $20-$40
- Handles: $10-$30
- Screws and nails: $5-$10
- Sandpaper: $5-$10
Tools:
- Drill: $50-$100 (or borrow)
- Saw: $50-$100 (or borrow)
- Measuring tape: $5-$15
- Level: $10-$20
- Paintbrushes: $5-$15
Total Cost: $260-$590
Budget-Friendly Alternatives:
- Use reclaimed wood: $0-$50
- Opt for a basic hardware kit: $30-$50
- Borrow tools from friends or family: $0
- Use leftover paint from previous projects: $0
Total Cost with Alternatives: $80-$200
Different Ways to Customize
Materials: Instead of using wood, consider metal or PVC for a more modern look. Reclaimed wood can add a rustic charm.
Colors: Paint the door in bold colors like red or blue for a statement piece. For a more subtle look, use neutral tones like white, gray, or beige.
Styles: Add glass panels for a contemporary feel. Use frosted glass for privacy. Barn door hardware can give a farmhouse vibe.
Handles: Install unique handles like antique brass or sleek stainless steel.
Decorative Elements: Attach decorative trim or molding to the door. Use stencils to create patterns or designs.
Mechanism: Opt for a motorized system for ease of use. Use soft-close mechanisms to prevent slamming.
Finishes: Apply a high-gloss finish for a polished look. Use a matte finish for a more understated appearance.
Additional Features: Incorporate mirrors to make spaces feel larger. Add chalkboard paint for a functional message board.
Eco-Friendly Tips
Reclaimed Wood: Use old wood from barns or pallets. Sand and treat it to make it look new.
Recycled Metal: Find old metal parts for tracks and handles. Clean and polish them for a fresh look.
Eco-Friendly Paint: Choose non-toxic, low-VOC paint. It’s better for your health and the environment.
Insulation: Add natural wool or cotton insulation. It helps keep your home warm without harmful chemicals.
Energy-Efficient Glass: If your door has windows, use double-pane glass. It reduces energy loss.
Natural Finishes: Use beeswax or linseed oil to finish the wood. These are natural and safe.
Recycled Hardware: Look for old hinges, screws, and nails. They add character and reduce waste.
Solar-Powered Tools: Use tools powered by solar energy. It’s a greener way to build.
Local Materials: Source materials from local suppliers. It reduces the carbon footprint from transportation.
Upcycled Decor: Add decorative elements from old furniture or fixtures. It gives a unique touch and saves resources.
Your DIY Vertical Sliding Door is Ready!
You've got the know-how to build a DIY vertical sliding door. From gathering materials to measuring and cutting, each step is crucial. Remember, patience and precision are your best friends. If something doesn't fit right, don't stress. Adjust and keep going. Once installed, your door will save space and add a unique touch to your home. Plus, you can proudly say you built it yourself. So, grab your tools, follow the steps, and enjoy the process. Happy building!
What materials do I need for a DIY vertical sliding door?
You'll need wood, screws, hinges, rollers, tracks, a saw, a drill, and measuring tape.
How do I measure for the door?
Measure the height and width of the doorway. Add a few inches to each side for the frame.
Can I use any type of wood?
Yes, but hardwood like oak or maple is more durable. Pine is cheaper but softer.
How do I install the tracks?
Attach the tracks to the top and bottom of the doorway using screws. Make sure they're level.
How do I attach the rollers?
Screw the rollers into the top of the door. They should fit into the tracks smoothly.
Do I need special tools?
Basic tools like a saw, drill, and screwdriver will do. A level helps ensure everything's straight.
How do I make sure the door slides smoothly?
Keep the tracks clean and rollers well-oiled. Check for any obstructions regularly.