
Home>Home & Furniture>Doors & Windows>How to Build a DIY Sliding Patio Door
Doors & Windows
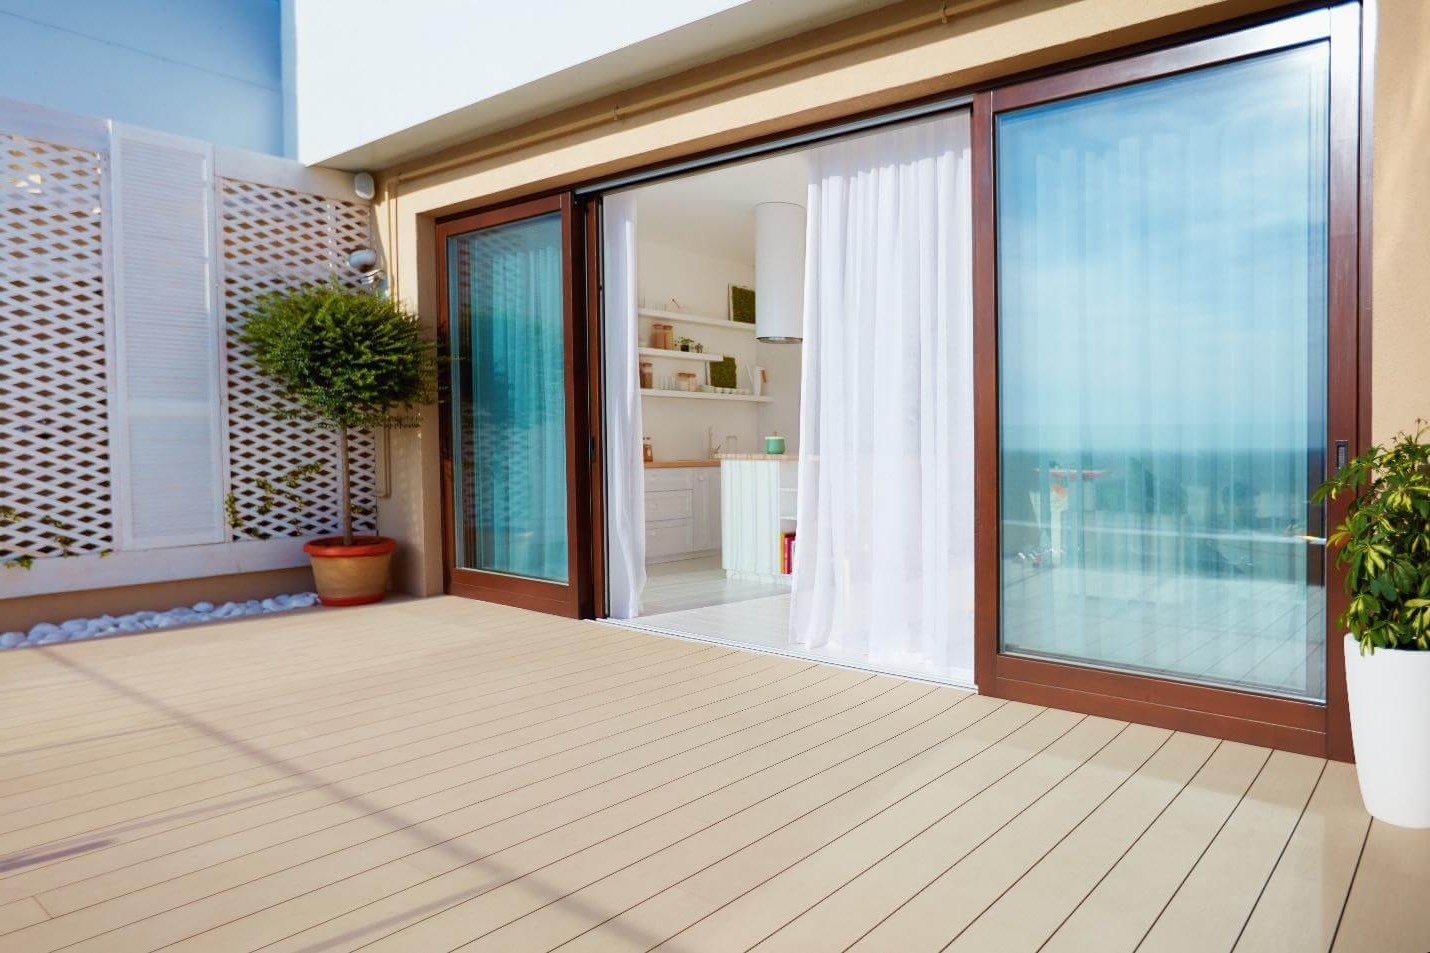
How to Build a DIY Sliding Patio Door
Published: September 21, 2024
Learn how to build a DIY sliding patio door with our step-by-step guide. Enhance your home's aesthetic and functionality with this rewarding weekend project.
(Many of the links in this article redirect to a specific reviewed product. Your purchase of these products through affiliate links helps to generate commission for Twigandthistle.com, at no extra cost. Learn more)
Building a DIY sliding patio door can be a fun project that adds value and style to your home. No need for a professional; just a few tools, materials, and some patience. This guide will walk you through each step, from gathering supplies to finishing touches. With careful planning and attention to detail, you can create a functional, attractive door that enhances your living space. Whether you're a seasoned DIYer or new to home improvement, this project is manageable and rewarding. Let's get into the details and make your sliding patio door a reality!
Getting Ready for Your Project
Measure the Opening: Ensure accurate measurements of the door frame. Write down the width and height.
Gather Materials: Collect all necessary materials like the sliding door kit, screws, a level, a drill, and a measuring tape.
Prepare the Workspace: Clear the area around the door frame. Remove any obstacles to have enough room to work.
Safety Gear: Wear safety goggles and gloves to protect your eyes and hands.
Check for Electrical Wires: Ensure no electrical wires are in the wall where you will install the door.
Remove Old Door: If replacing an old door, carefully remove it along with the frame.
Inspect the Frame: Check the door frame for any damage. Repair any issues before installing the new door.
Level the Floor: Make sure the floor where the door will slide is level. Use a level tool to check.
Mark Drill Points: Mark where you will drill holes for the door tracks. Use a pencil for this.
Pre-Drill Holes: Pre-drill holes at the marked points to make it easier to screw in the tracks.
Read Instructions: Go through the sliding door kit instructions thoroughly to understand the installation steps.
Have a Helper: Get someone to assist you, especially when lifting and positioning the door.
Essential Materials and Tools
- Sliding Door Kit: Contains the door panels, tracks, and hardware needed for installation.
- Measuring Tape: Ensures accurate measurements for fitting the door.
- Level: Checks that the door and tracks are perfectly horizontal.
- Screwdriver: Used for tightening screws in the door kit.
- Drill: Makes holes for screws and other hardware.
- Screws: Secures the door frame and tracks.
- Hammer: Useful for minor adjustments and securing nails.
- Nails: Sometimes needed for securing the frame.
- Caulk and Caulking Gun: Seals gaps to prevent drafts and water leaks.
- Shims: Small pieces of wood or plastic used to level the door frame.
- Utility Knife: Cuts through caulk, packaging, or other materials.
- Pry Bar: Helps remove old door frames or trim.
- Safety Glasses: Protects eyes from debris during installation.
- Gloves: Protects hands from sharp edges and splinters.
- Pencil: Marks measurements and placement points.
- Square: Ensures right angles for the door frame.
- Sandpaper: Smooths rough edges on the door or frame.
- Paint or Stain: Finishes the door to match your home’s decor.
- Paintbrush or Roller: Applies paint or stain evenly.
- Drop Cloth: Protects floors from paint or debris during installation.
Required Skills and Time Commitment
Skill Level: Intermediate
Time Required: Approximately 8-10 hours
- Preparation and Planning: 1-2 hours
- Removing Old Door (if applicable): 1 hour
- Framing the Opening: 2 hours
- Installing the Sliding Door: 3-4 hours
- Finishing Touches and Cleanup: 1 hour
Detailed Step-by-Step Guide
Gather Materials and Tools
- Sliding door kit
- Measuring tape
- Level
- Screwdriver
- Drill
- Screws
- Shims
- Caulk
- Caulk gun
- Utility knife
Measure the Opening
- Use a measuring tape to measure the height and width of the door opening.
- Ensure measurements are accurate for a proper fit.
Prepare the Opening
- Remove any old doors or debris from the opening.
- Clean the area thoroughly.
Install the Frame
- Place the bottom track of the sliding door frame in the opening.
- Use a level to ensure it is straight.
- Secure the track with screws using a drill.
Attach Side and Top Tracks
- Attach the side tracks to the bottom track.
- Ensure they are level and secure them with screws.
- Attach the top track, making sure it aligns with the side tracks.
Insert the Door Panels
- Lift the sliding door panels and insert them into the tracks.
- Start with the top track, then lower the panel into the bottom track.
- Repeat for the second panel.
Adjust the Rollers
- Use a screwdriver to adjust the rollers on the bottom of the door panels.
- Ensure the doors slide smoothly and are level.
Secure the Frame
- Use shims to fill any gaps between the door frame and the opening.
- Secure the frame with additional screws.
Seal the Edges
- Apply caulk around the edges of the door frame using a caulk gun.
- Smooth the caulk with a utility knife for a clean finish.
Test the Door
- Slide the door back and forth to ensure it operates smoothly.
- Make any necessary adjustments to the rollers or frame.
Install Handles and Locks
- Attach handles and locks according to the manufacturer's instructions.
- Ensure they are secure and function properly.
Helpful Tips and Tricks
Measure accurately before starting. Use a level to ensure the door frame is straight. Pre-drill holes for screws to avoid splitting the wood. Lubricate the tracks with silicone spray for smooth sliding. Use shims to adjust the door frame if it’s not perfectly square. Weatherstripping around the edges helps keep drafts out.
Common mistakes include not measuring correctly, which can lead to a poor fit. Avoid using cheap materials; they may not last. Don’t forget to check for plumb and level at each step. Skipping lubrication can make the door hard to slide.
Alternatives for materials include using vinyl instead of wood for a more weather-resistant frame. Composite materials can also be a good choice for durability. Instead of traditional glass, consider double-pane glass for better insulation. If you’re not comfortable with power tools, adhesive strips can sometimes replace screws for lighter materials.
Estimating the Costs
Sliding Patio Door: $400-$1,200
Track System: $50-$200
Handles and Locks: $20-$100
Weatherstripping: $10-$30
Screws and Fasteners: $10-$20
Shims: $5-$10
Caulk and Sealant: $5-$15
Insulation Foam: $5-$10
Level: $10-$30
Measuring Tape: $5-$15
Drill: $50-$150
Screwdriver Set: $10-$30
Hammer: $10-$20
Utility Knife: $5-$15
Safety Gear (Gloves, Goggles): $10-$30
Total Cost: $605-$1,865
Budget-Friendly Alternatives:
Sliding Patio Door: Consider second-hand options or sales at home improvement stores.
Track System: Look for basic models without extra features.
Handles and Locks: Basic models work fine.
Tools: Borrow from friends or rent from a local hardware store.
Personalizing Your Sliding Patio Door
Materials: Instead of traditional wood, consider using aluminum or vinyl for a modern look. Reclaimed wood adds a rustic charm. Fiberglass offers durability and low maintenance.
Colors: Paint the door frame in bold colors like navy blue or forest green for a statement piece. For a more subtle look, choose neutral tones like beige or gray. Staining the wood can highlight its natural beauty.
Glass Options: Use frosted glass for privacy. Tinted glass reduces glare and heat. Decorative glass with patterns or textures adds a unique touch.
Handles and Locks: Opt for sleek, modern handles in brushed nickel or matte black. For a vintage feel, choose antique brass or bronze. Consider smart locks for added security and convenience.
Track System: A barn door track gives a rustic, farmhouse vibe. Concealed tracks offer a clean, minimalist look. Soft-close tracks ensure the door closes gently and quietly.
Screens: Add a sliding screen door to keep bugs out while letting fresh air in. Retractable screens can be hidden when not in use.
Weatherproofing: Use weatherstripping to seal gaps and improve energy efficiency. Double-pane glass provides better insulation.
Decorative Elements: Add decorative trim or molding around the door frame. Install window grids for a classic look. Attach planter boxes or decorative shutters on either side of the door for added charm.
Eco-Friendly Building Tips
Reclaimed Wood: Use old barn wood or pallets. Sand and treat them to ensure durability.
Recycled Glass: For the door's glass panels, consider using recycled glass. It reduces waste and adds a unique look.
Eco-Friendly Paints: Choose low-VOC or zero-VOC paints. These paints are better for the environment and your health.
Insulation: Use natural insulation materials like wool or cotton. They provide good thermal performance and are biodegradable.
Energy-Efficient Glass: Install double-glazed or triple-glazed glass. This helps in reducing energy consumption by maintaining indoor temperatures.
Recycled Metal: For the door's hardware, look for handles and tracks made from recycled metal. It’s sturdy and sustainable.
Solar-Powered Tools: Use solar-powered tools during construction. This reduces reliance on non-renewable energy sources.
Local Sourcing: Buy materials from local suppliers. This reduces the carbon footprint associated with transportation.
Natural Finishes: Opt for natural oils or waxes to finish the wood. They are less harmful to the environment compared to synthetic finishes.
Upcycled Materials: Look for old doors or windows that can be repurposed. This saves resources and gives a unique character to your project.
Your Patio Door Awaits
Building a DIY sliding patio door isn't just about saving money. It's about creating something with your own hands. You've learned how to measure, cut, and install the door. You’ve also picked up some handy tips on handling tools and materials. Now, you can enjoy the satisfaction of a job well done every time you slide that door open. Plus, think of the stories you'll share when friends ask about your new door. So, grab your tools, get started, and make that patio door a reality. Happy building!
What tools do I need to build a DIY sliding patio door?
You'll need a tape measure, screwdriver, drill, level, saw, hammer, and screws. A caulking gun and safety gear like gloves and goggles are also important.
How do I measure for a sliding patio door?
Measure the width and height of the door opening. Measure at the top, middle, and bottom for width, and at the left, center, and right for height. Use the smallest measurements to ensure a proper fit.
What materials should I use for the frame?
Use pressure-treated wood or aluminum for durability. Vinyl is also a good option for low maintenance and weather resistance.
How do I install the track for the sliding door?
First, attach the top track to the header using screws. Then, secure the bottom track to the floor. Make sure both tracks are level and aligned.
Can I install the door by myself?
It's possible, but having a helper makes it easier. Sliding patio doors can be heavy and awkward to handle alone.
How do I ensure the door slides smoothly?
Keep the tracks clean and free of debris. Lubricate the tracks with silicone spray. Adjust the rollers if the door doesn't slide smoothly.
What kind of glass should I use?
Use tempered glass for safety and durability. Double-pane glass offers better insulation and energy efficiency.