
Home>Home & Furniture>Doors & Windows>How to Build a DIY Dutch Door
Doors & Windows
How to Build a DIY Dutch Door
Published: September 12, 2024
Learn how to build a DIY Dutch door with our step-by-step guide. Perfect for adding charm and functionality to your home. Get tips, tools, and techniques for a seamless project!
(Many of the links in this article redirect to a specific reviewed product. Your purchase of these products through affiliate links helps to generate commission for Twigandthistle.com, at no extra cost. Learn more)
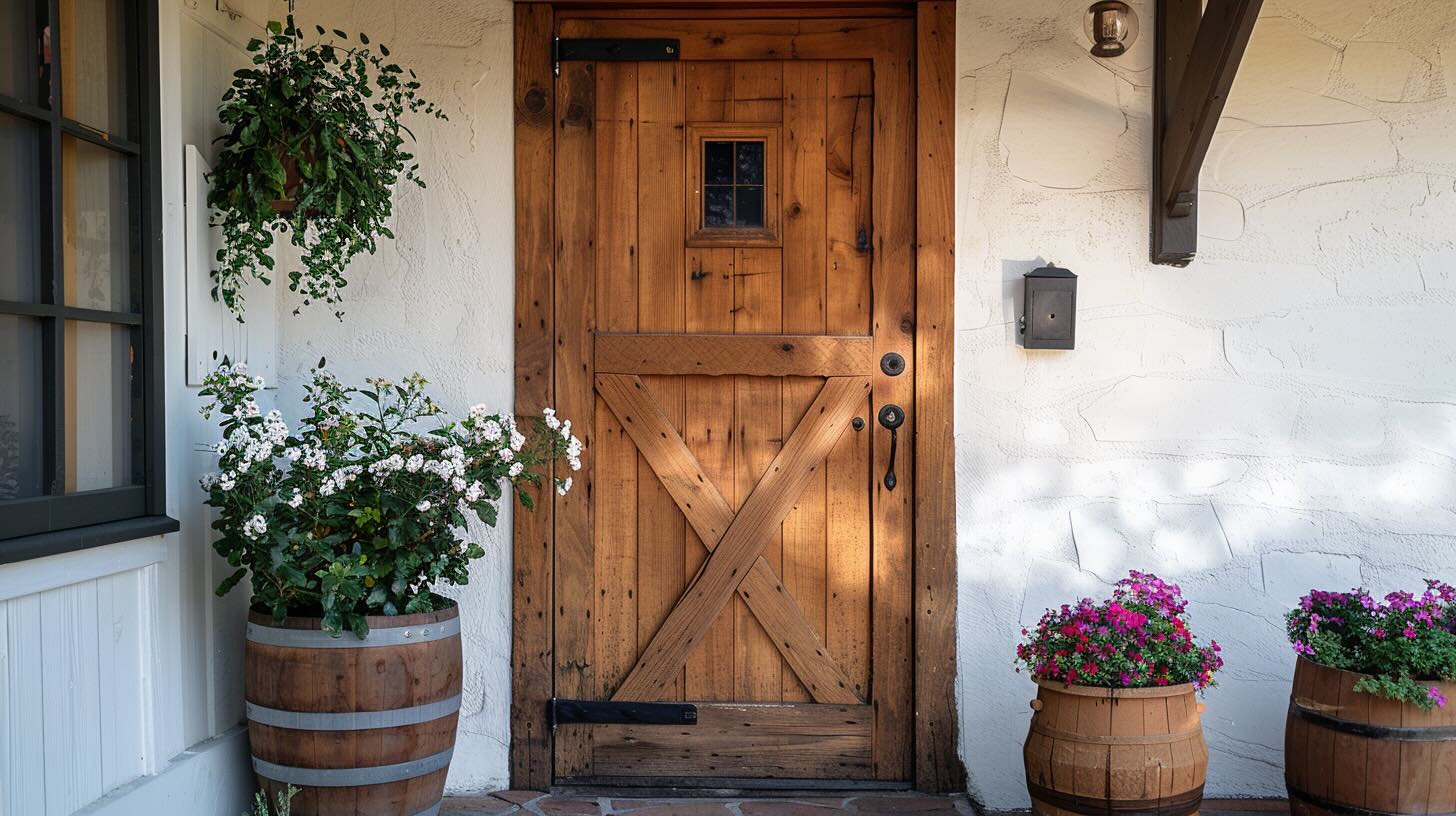
Making a DIY Dutch door is a fun project that can add charm to your home. Dutch doors, which split horizontally, allow you to open the top half while keeping the bottom closed. They're great for letting fresh air in while keeping pets or kids inside. You don’t need advanced woodworking skills, just some basic tools and materials. This guide will walk you through the process with simple steps. Whether you’re looking to add character to your entryway or just want a unique door, creating a Dutch door yourself can be a rewarding experience. Let's get started!
Getting Ready for Your Project
Gather Materials: Collect wood, hinges, screws, a saw, a drill, sandpaper, paint, and a door handle. Make sure everything is within reach.
Measure and Mark: Measure the door frame. Mark where you will cut the door in half. Double-check measurements to avoid mistakes.
Safety Gear: Wear safety goggles, gloves, and a dust mask. Protect your eyes, hands, and lungs from debris.
Prepare Workspace: Clear a large, flat area. Ensure good lighting. Lay down a drop cloth to catch sawdust and paint drips.
Cut the Door: Use a saw to cut the door along the marked line. Sand the edges to smooth any rough spots.
Install Hinges: Attach hinges to the top and bottom halves. Ensure they align perfectly for smooth opening and closing.
Paint or Stain: Apply paint or stain to the door. Let it dry completely before moving on.
Attach Hardware: Install the door handle and any additional hardware. Make sure everything is secure.
Test Fit: Place the door in the frame. Check that it opens and closes properly. Make any necessary adjustments.
Final Touches: Clean up your workspace. Remove any leftover debris. Enjoy your new Dutch door!
Gathering Materials and Tools
- Solid Wood Door: A sturdy door to cut in half.
- Hinges: Four hinges, two for each half.
- Latch: A latch to secure the top and bottom halves together.
- Door Knob: A handle for opening and closing.
- Wood Screws: To attach hinges and latch.
- Wood Glue: For extra strength at the cut edges.
- Sandpaper: To smooth cut edges.
- Paint or Stain: To finish the door.
- Circular Saw: For cutting the door in half.
- Drill: To make holes for screws.
- Screwdriver: For driving screws.
- Measuring Tape: To measure where to cut.
- Pencil: For marking measurements.
- Clamps: To hold the door steady while cutting.
- Safety Gear: Goggles and gloves for protection.
Solid Wood Door: Choose a door that fits your doorway and is solid enough to be cut in half.
Hinges: You'll need four hinges, two for the top half and two for the bottom. These allow each half to swing open independently.
Latch: This keeps the top and bottom halves together when you want them to act as a single door.
Door Knob: A handle for easy opening and closing. You can use the existing knob or get a new one.
Wood Screws: Essential for attaching the hinges and latch securely.
Wood Glue: Adds extra strength to the cut edges, ensuring the door remains sturdy.
Sandpaper: Smooths out any rough edges after cutting.
Paint or Stain: Gives the door a finished look and protects the wood.
Circular Saw: The main tool for cutting the door in half. Make sure it's sharp and in good condition.
Drill: Used to make holes for screws, ensuring they go in straight.
Screwdriver: For driving screws into the wood. A power screwdriver can make this easier.
Measuring Tape: Ensures your cuts and placements are accurate.
Pencil: For marking where to cut and where to place hinges and latch.
Clamps: Hold the door steady while you cut, making the process safer and more precise.
Safety Gear: Always wear goggles and gloves to protect your eyes and hands while working.
Required Skills and Time Commitment
Skill Level: Intermediate
Estimated Time Required: 6-8 hours
- Measure and Cut: 1 hour
- Sand and Prep: 1 hour
- Install Hinges: 1 hour
- Cut Door in Half: 1 hour
- Attach Hardware: 1 hour
- Paint or Stain: 1-2 hours
Detailed Step-by-Step Guide
Gather Materials and Tools
- Door
- Hinges (4)
- Door latch
- Saw
- Drill
- Screwdriver
- Sandpaper
- Paint or stain
- Measuring tape
- Pencil
Measure and Mark
- Measure the height of the door.
- Mark the middle point with a pencil.
Cut the Door
- Use a saw to cut the door along the marked line.
- Sand the cut edges to smooth them.
Install Hinges
- Attach two hinges to the top half of the door.
- Attach two hinges to the bottom half.
- Ensure hinges align with the door frame.
Attach Door Halves
- Secure the top half of the door to the frame using screws.
- Repeat for the bottom half.
Install Door Latch
- Attach the latch to the top half of the door.
- Ensure it aligns with the bottom half.
Paint or Stain
- Apply paint or stain to the door.
- Allow it to dry completely.
Test the Door
- Open and close both halves to ensure smooth operation.
- Adjust hinges or latch if necessary.
Helpful Tips and Tricks
Measure Twice, Cut Once: Always double-check measurements before cutting. This ensures pieces fit perfectly.
Use Quality Hinges: Invest in strong, durable hinges. They support the door's weight and ensure smooth operation.
Pre-drill Holes: Prevent wood from splitting by pre-drilling holes for screws. This makes assembly easier and cleaner.
Sand Edges Smooth: Sand all edges to avoid splinters. Smooth edges also help paint or stain adhere better.
Weatherstripping: Add weatherstripping to keep drafts out. This improves energy efficiency and comfort.
Latch Placement: Properly align latches for secure closure. Test the alignment before final installation.
Paint or Stain Before Assembly: Finish pieces before putting them together. This avoids missed spots and makes the process easier.
Common Mistakes to Avoid:
Incorrect Measurements: Misjudging dimensions can lead to gaps or misalignment. Measure carefully.
Cheap Materials: Using low-quality wood or hardware can result in a flimsy door. Opt for sturdy materials.
Skipping Sanding: Not sanding can leave rough edges and affect the finish. Always sand thoroughly.
Misaligned Hinges: Poorly aligned hinges cause the door to hang unevenly. Take time to align them correctly.
Alternatives for Materials or Methods:
Reclaimed Wood: Use reclaimed wood for a rustic look. It's eco-friendly and adds character.
Pocket Screws: Instead of traditional screws, use pocket screws for a cleaner look. They provide strong joints without visible screws.
Magnetic Latches: Consider magnetic latches for a modern touch. They offer a sleek, unobtrusive way to keep the door closed.
Paint vs. Stain: Choose paint for a colorful finish or stain for a natural wood look. Both protect the wood and enhance its appearance.
Estimating the Cost
Materials:
- Solid Wood Door: $100-$200
- Hinges (4 heavy-duty): $20-$30
- Latch (for the top half): $10-$15
- Door Knob: $15-$25
- Wood Screws: $5-$10
- Wood Glue: $5-$10
- Sandpaper: $5-$10
- Paint or Stain: $20-$40
- Weatherstripping: $10-$15
Tools:
- Circular Saw: $50-$100 (or rent for $10-$20/day)
- Drill: $40-$60
- Screwdriver: $5-$10
- Measuring Tape: $5-$10
- Clamps: $10-$20
- Paintbrushes: $5-$10
Total Cost Estimate:
- Materials: $190-$365
- Tools: $115-$210 (or $75-$130 if renting the saw)
Budget-Friendly Alternatives:
- Reclaimed Wood Door: $50-$100
- Basic Hinges: $10-$15
- Second-hand Drill: $20-$30
- Borrow Tools from friends or family: Free
Using these alternatives, the total cost can be reduced to around $130-$230.
Different Variations and Customizations
Materials: Instead of traditional wood, consider using reclaimed wood for a rustic look or composite materials for durability. Metal accents can add an industrial touch.
Colors: Paint the door in bold colors like navy blue or forest green for a statement piece. For a more subtle look, use pastel shades or neutral tones like beige or gray.
Styles: Add glass panels to the top half for more light. Use frosted glass for privacy or stained glass for a decorative touch. For a farmhouse style, incorporate crossbuck designs on the lower half.
Hardware: Choose antique brass or matte black hardware for a vintage feel. Modern stainless steel handles and hinges can give a sleek, contemporary look.
Finishes: Apply a distressed finish to give the door a weathered, aged appearance. A high-gloss finish can make the door look more polished and modern.
Additional Features: Install a shelf on the bottom half for extra functionality. Add a chalkboard panel on the top half for notes or drawings.
Eco-Friendly Tips
Reclaimed Wood: Use old doors or wood from barns. This gives character and reduces waste.
Non-Toxic Paints: Choose eco-friendly paints. These have fewer harmful chemicals.
Recycled Hardware: Find old hinges and handles. Thrift stores or salvage yards often have these.
Insulation: Use natural materials like wool or cotton. These keep your home warm without synthetic materials.
Energy-Efficient Glass: If adding a window, pick double-glazed glass. This helps with insulation.
Sealants: Opt for water-based sealants. These are better for the environment.
Local Materials: Source wood and other materials locally. This reduces transportation emissions.
Upcycling: Turn an old door into a Dutch door. Cut it in half and add hinges.
Composting: Any wood scraps can be composted if untreated. This reduces landfill waste.
Solar-Powered Tools: Use solar-powered tools for cutting and sanding. This saves electricity.
Your Dutch Door Awaits
Building a DIY Dutch door isn't just a fun project; it's a way to add charm to your home. You've got the tools, the materials, and the know-how. Measure twice, cut once, and take your time with the hinges and latches. Sand everything smooth for a professional look. Paint or stain to match your style. Installing the door might need a buddy's help, but it's worth it. Once it's up, you'll love the flexibility it offers. Keep pets in or let fresh air flow without bugs. Plus, you can always say, "I made that!" when guests admire your handiwork. So, grab your tools and get started. Your custom Dutch door is just a weekend away. Enjoy the process and the result. Happy building!
What materials do I need to build a Dutch door?
You’ll need wood, hinges, a saw, screws, a drill, sandpaper, paint or stain, and a door handle.
Can I convert an existing door into a Dutch door?
Absolutely! Just cut the door in half horizontally, then add hinges and a latch to the top and bottom sections.
How do I ensure the two halves align properly?
Use a level and clamps to keep everything straight. Measure twice, cut once!
What kind of wood is best for a Dutch door?
Hardwoods like oak or maple are sturdy and durable, but pine is a good budget-friendly option.
Do I need special hinges for a Dutch door?
Regular door hinges work fine, but you’ll need extra ones to support both halves.
How do I weatherproof a Dutch door?
Use weatherstripping around the edges and a door sweep at the bottom to keep drafts out.
Can I add a window to my Dutch door?
Sure thing! Just cut out a section and install a glass pane with trim to secure it.