
Home>Home & Furniture>Doors & Windows>DIY Window Screen Repair Guide
Doors & Windows
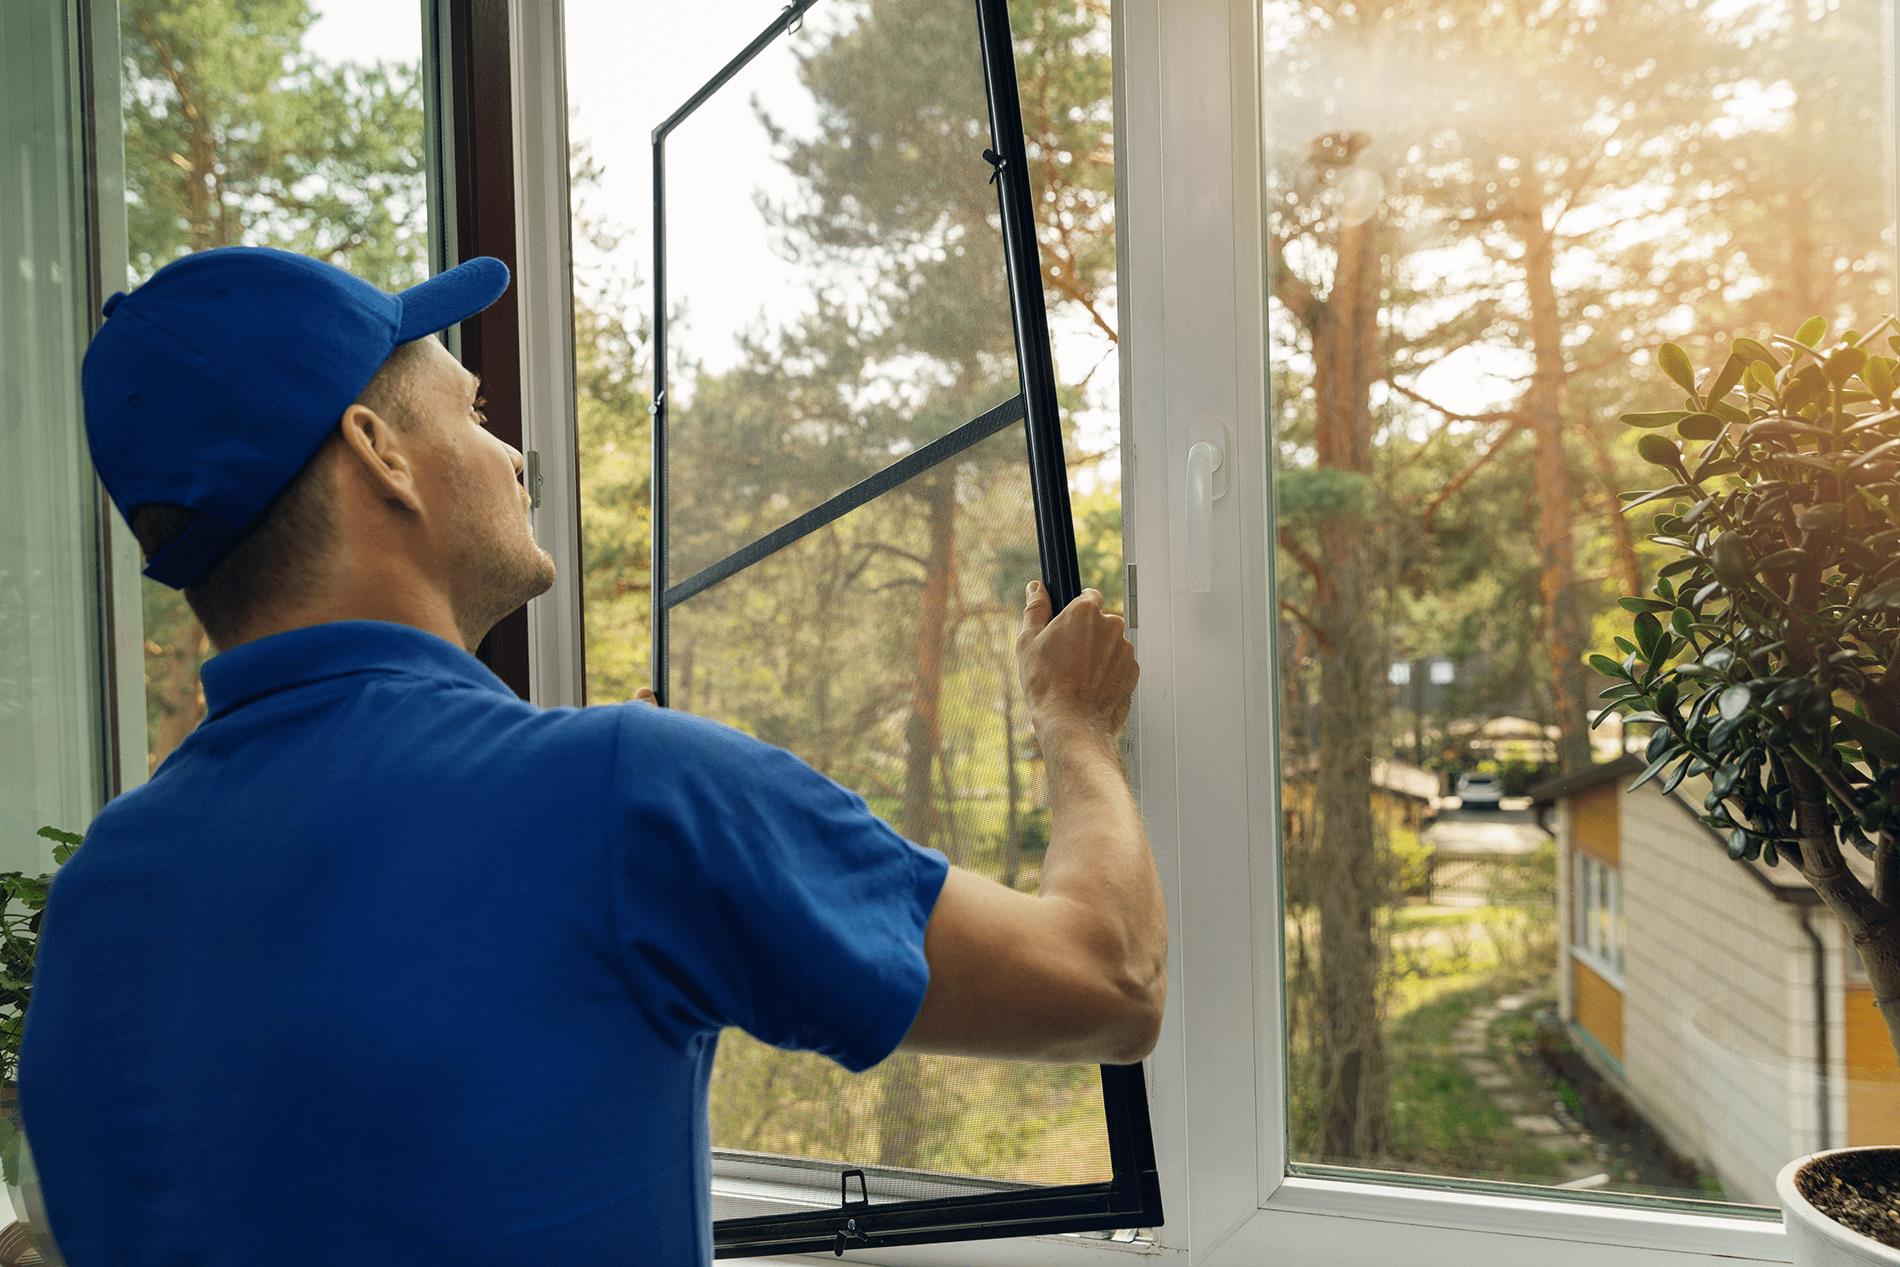
DIY Window Screen Repair Guide
Published: August 20, 2024
Learn how to repair your window screens with our step-by-step DIY guide. Save money and keep bugs out with easy-to-follow instructions and expert tips.
(Many of the links in this article redirect to a specific reviewed product. Your purchase of these products through affiliate links helps to generate commission for Twigandthistle.com, at no extra cost. Learn more)
Fixing a window screen might seem tricky, but it's easier than you think. Whether the screen has holes, tears, or just looks worn out, a quick DIY repair can save you money and hassle. You don't need special skills or fancy tools—just a few basic supplies and a little time. This guide will help you understand the steps needed to make your window screens look new again. Ready to tackle that screen repair? Let’s get started and bring fresh air back into your home without pesky bugs getting in.
Getting Ready for the Project
Gather Materials: Get a new screen mesh, spline (rubber cord), spline roller, utility knife, and a flathead screwdriver.
Safety First: Wear gloves to protect your hands from sharp edges. Use safety goggles to shield your eyes from debris.
Clear Workspace: Find a flat, clean surface to work on. Make sure there's enough room to spread out the screen frame.
Remove Old Screen: Use the flathead screwdriver to pry out the old spline. Carefully pull out the old screen mesh.
Clean Frame: Wipe down the screen frame to remove any dirt or debris. This ensures the new mesh adheres properly.
Measure and Cut: Lay the new screen mesh over the frame. Cut it to size, leaving an extra inch around the edges.
Install New Mesh: Place the new mesh over the frame. Use the spline roller to press the spline into the groove, securing the mesh.
Trim Excess Mesh: Use the utility knife to trim off any extra mesh around the edges.
Check for Tension: Ensure the screen is taut but not overly tight. This prevents sagging or tearing.
Final Inspection: Double-check all edges to make sure the spline is secure and the mesh is even.
What You Need to Get Started
Replacement Screen Material: This is the new screen that will replace the old or damaged one. It comes in rolls and can be made of fiberglass, aluminum, or other materials.
Spline: A flexible strip that holds the screen material in the frame. It comes in different diameters, so make sure to get the right size for your frame.
Spline Roller: A tool with a wheel on each end, used to press the spline into the frame's groove, securing the screen material.
Utility Knife: A sharp knife used to cut the excess screen material after it has been secured in the frame.
Flathead Screwdriver: Useful for prying out the old spline and screen material from the frame.
Measuring Tape: Needed to measure the dimensions of the window frame to cut the replacement screen material to the correct size.
Scissors: Can be used to cut the screen material to a rough size before final trimming with the utility knife.
Clamps: Optional but helpful for holding the screen frame steady while you work on it.
Work Gloves: Protect your hands from sharp edges on the frame or screen material.
Cleaning Cloth: Used to wipe down the frame before installing the new screen to ensure a clean surface.
How Much Time and Skill Is Needed?
Skill Level: Beginner
Time Required: 1-2 hours
- Remove the screen frame from the window.
- Lay the frame flat on a work surface.
- Remove the old screen by pulling out the spline (rubber strip).
- Cut a new screen slightly larger than the frame.
- Place the new screen over the frame.
- Press the spline into the groove to secure the screen.
- Trim excess screen with a utility knife.
- Reinstall the frame back into the window.
Follow These Steps
Gather Materials:
- Replacement screen
- Spline (rubber cord)
- Spline roller
- Scissors
- Flathead screwdriver
- Utility knife
Remove Old Screen:
- Use a flathead screwdriver to lift the old spline out of the frame.
- Pull out the old screen.
Measure and Cut New Screen:
- Lay the new screen over the frame.
- Cut the screen, leaving about 2 inches of excess on all sides.
Insert New Spline:
- Place the new screen over the frame.
- Use the spline roller to press the spline into the groove, starting at one corner.
- Continue pressing the spline into the groove along all sides, keeping the screen taut.
Trim Excess Screen:
- Use a utility knife to trim the excess screen material.
- Cut along the inside edge of the spline for a clean finish.
Reinstall Screen Frame:
- Place the repaired screen frame back into the window.
- Ensure it fits snugly and securely.
Helpful Tips and Tricks
Measure carefully before buying new screen material. Cutting it too small or too large wastes time and money.
Use a spline roller to press the screen into the frame. This tool makes the job easier and ensures a tight fit.
Choose the right screen material. Fiberglass is flexible and easy to work with, while aluminum is more durable but harder to handle.
Secure the frame on a flat surface. This prevents it from warping while you work.
Trim excess screen after securing it. Leaving too much material can cause it to bunch up.
Common mistakes to avoid:
Skipping measurements. Always measure the frame twice to avoid errors.
Using the wrong spline size. A spline that's too thick or thin won't hold the screen properly.
Pulling the screen too tight. This can warp the frame. Keep it snug but not overly tight.
Alternatives for materials or methods:
Pet-resistant screens are stronger and last longer if you have pets.
Solar screens reduce heat and glare, making rooms cooler.
Magnetic screen kits offer an easy-to-remove option for frequent access.
How Much Will It Cost?
Materials:
- Screen Mesh: $10-$20 (depending on size and quality)
- Spline: $5-$10 (rubber cord that holds the mesh in place)
- Spline Roller: $5-$10 (tool to press spline into frame)
- Utility Knife: $5-$10 (to cut the mesh)
Tools:
- Screwdriver: $5-$15 (if frame needs disassembly)
- Measuring Tape: $5-$10 (to measure mesh and frame)
Total Cost: $35-$75
Budget-Friendly Alternatives:
- Screen Repair Kit: $10-$15 (includes mesh, spline, and roller)
- Reuse Old Frame: Free (if still in good condition)
- Borrow Tools: Free (from friends or neighbors)
Different Ways to Customize
Alternative Materials: Instead of using traditional fiberglass mesh, consider aluminum mesh for a more durable option. For pet owners, pet-resistant screens made from thicker vinyl-coated polyester can withstand claws. Solar screen fabric can reduce heat and glare, making rooms cooler.
Colors: Standard screen mesh comes in gray or black, but you can also find white, bronze, or charcoal to match your window frames. Some specialty screens even offer decorative patterns or tinted options for added privacy.
Styles: For a modern look, use sleek, thin frames in metallic finishes like brushed nickel or matte black. For a rustic or vintage feel, consider wooden frames that can be stained or painted to match your home’s decor. Retractable screens can be a stylish, space-saving option for doors or large windows.
Frame Materials: Traditional frames are often made from aluminum, but vinyl frames are lightweight and resistant to corrosion. Wooden frames offer a classic look but require more maintenance. Steel frames provide extra strength for larger windows.
Fastening Methods: Instead of using spline to secure the mesh, try screen clips or magnets for easy removal and cleaning. Velcro strips can also be a quick and adjustable solution.
Additional Features: Add a screen door closer for convenience or weatherstripping to improve insulation. Decorative trim can enhance the appearance of your screens, while security bars add an extra layer of protection.
Eco-Friendly Tips
Eco-friendly materials can make your window screen repair both sustainable and effective. Start by reusing the existing frame if it’s still in good condition. This reduces waste and saves resources. For the screen itself, consider using recycled polyester mesh. It’s durable and made from recycled plastic bottles.
When securing the screen to the frame, opt for natural rubber spline instead of synthetic materials. Natural rubber is biodegradable and has a lower environmental impact. If you need to replace any parts of the frame, look for sustainably sourced wood or recycled aluminum.
For tools, try borrowing from friends or neighbors instead of buying new ones. This reduces the demand for new products and promotes a sharing economy. If you must buy, look for tools made from recycled materials or those with eco-friendly certifications.
Lastly, any leftover materials like old screens or broken frames can be recycled at local recycling centers. Many communities have specific programs for recycling metal and plastic, ensuring that these materials don’t end up in landfills.
Fixing Screens Made Easy
Repairing window screens yourself saves money and gives a sense of accomplishment. With just a few tools like a spline roller, screen material, and a utility knife, anyone can tackle this project. Start by removing the old screen and spline, then cut the new screen to size. Secure it with the spline, making sure it's tight but not overly stretched. Trim any excess material, and you're done.
This simple task can be completed in an afternoon, leaving your windows looking fresh and functional. Plus, knowing how to fix screens means you can handle future repairs without hesitation. So, next time a screen gets damaged, skip the call to a professional and do it yourself. You'll be surprised at how easy and satisfying it can be. Happy fixing!
How do I know if my window screen needs repair?
If you see tears, holes, or sagging, it's time to fix it. Bugs getting in? That's another sign.
What tools and materials do I need?
You'll need a spline roller, new screen material, spline, scissors, and a utility knife. A flathead screwdriver can help too.
Can I reuse the old spline?
Sometimes, but it's usually better to get a new spline. Old spline can be brittle and might not hold the screen tight.
How do I remove the old screen?
Use a flathead screwdriver to pry out the old spline. Then, pull the old screen out of the frame.
What's the best way to cut the new screen?
Lay the new screen over the frame, leaving extra around the edges. Use scissors or a utility knife to trim it after securing it with the spline.
How do I install the new screen?
Place the new screen over the frame. Use the spline roller to press the spline into the groove, securing the screen. Trim any excess screen with a utility knife.
What if my screen frame is bent?
You can try to straighten it gently with your hands. If it's too damaged, you might need a new frame.