
Home>Home & Furniture>Doors & Windows>DIY Partition Wall with Door Ideas
Doors & Windows
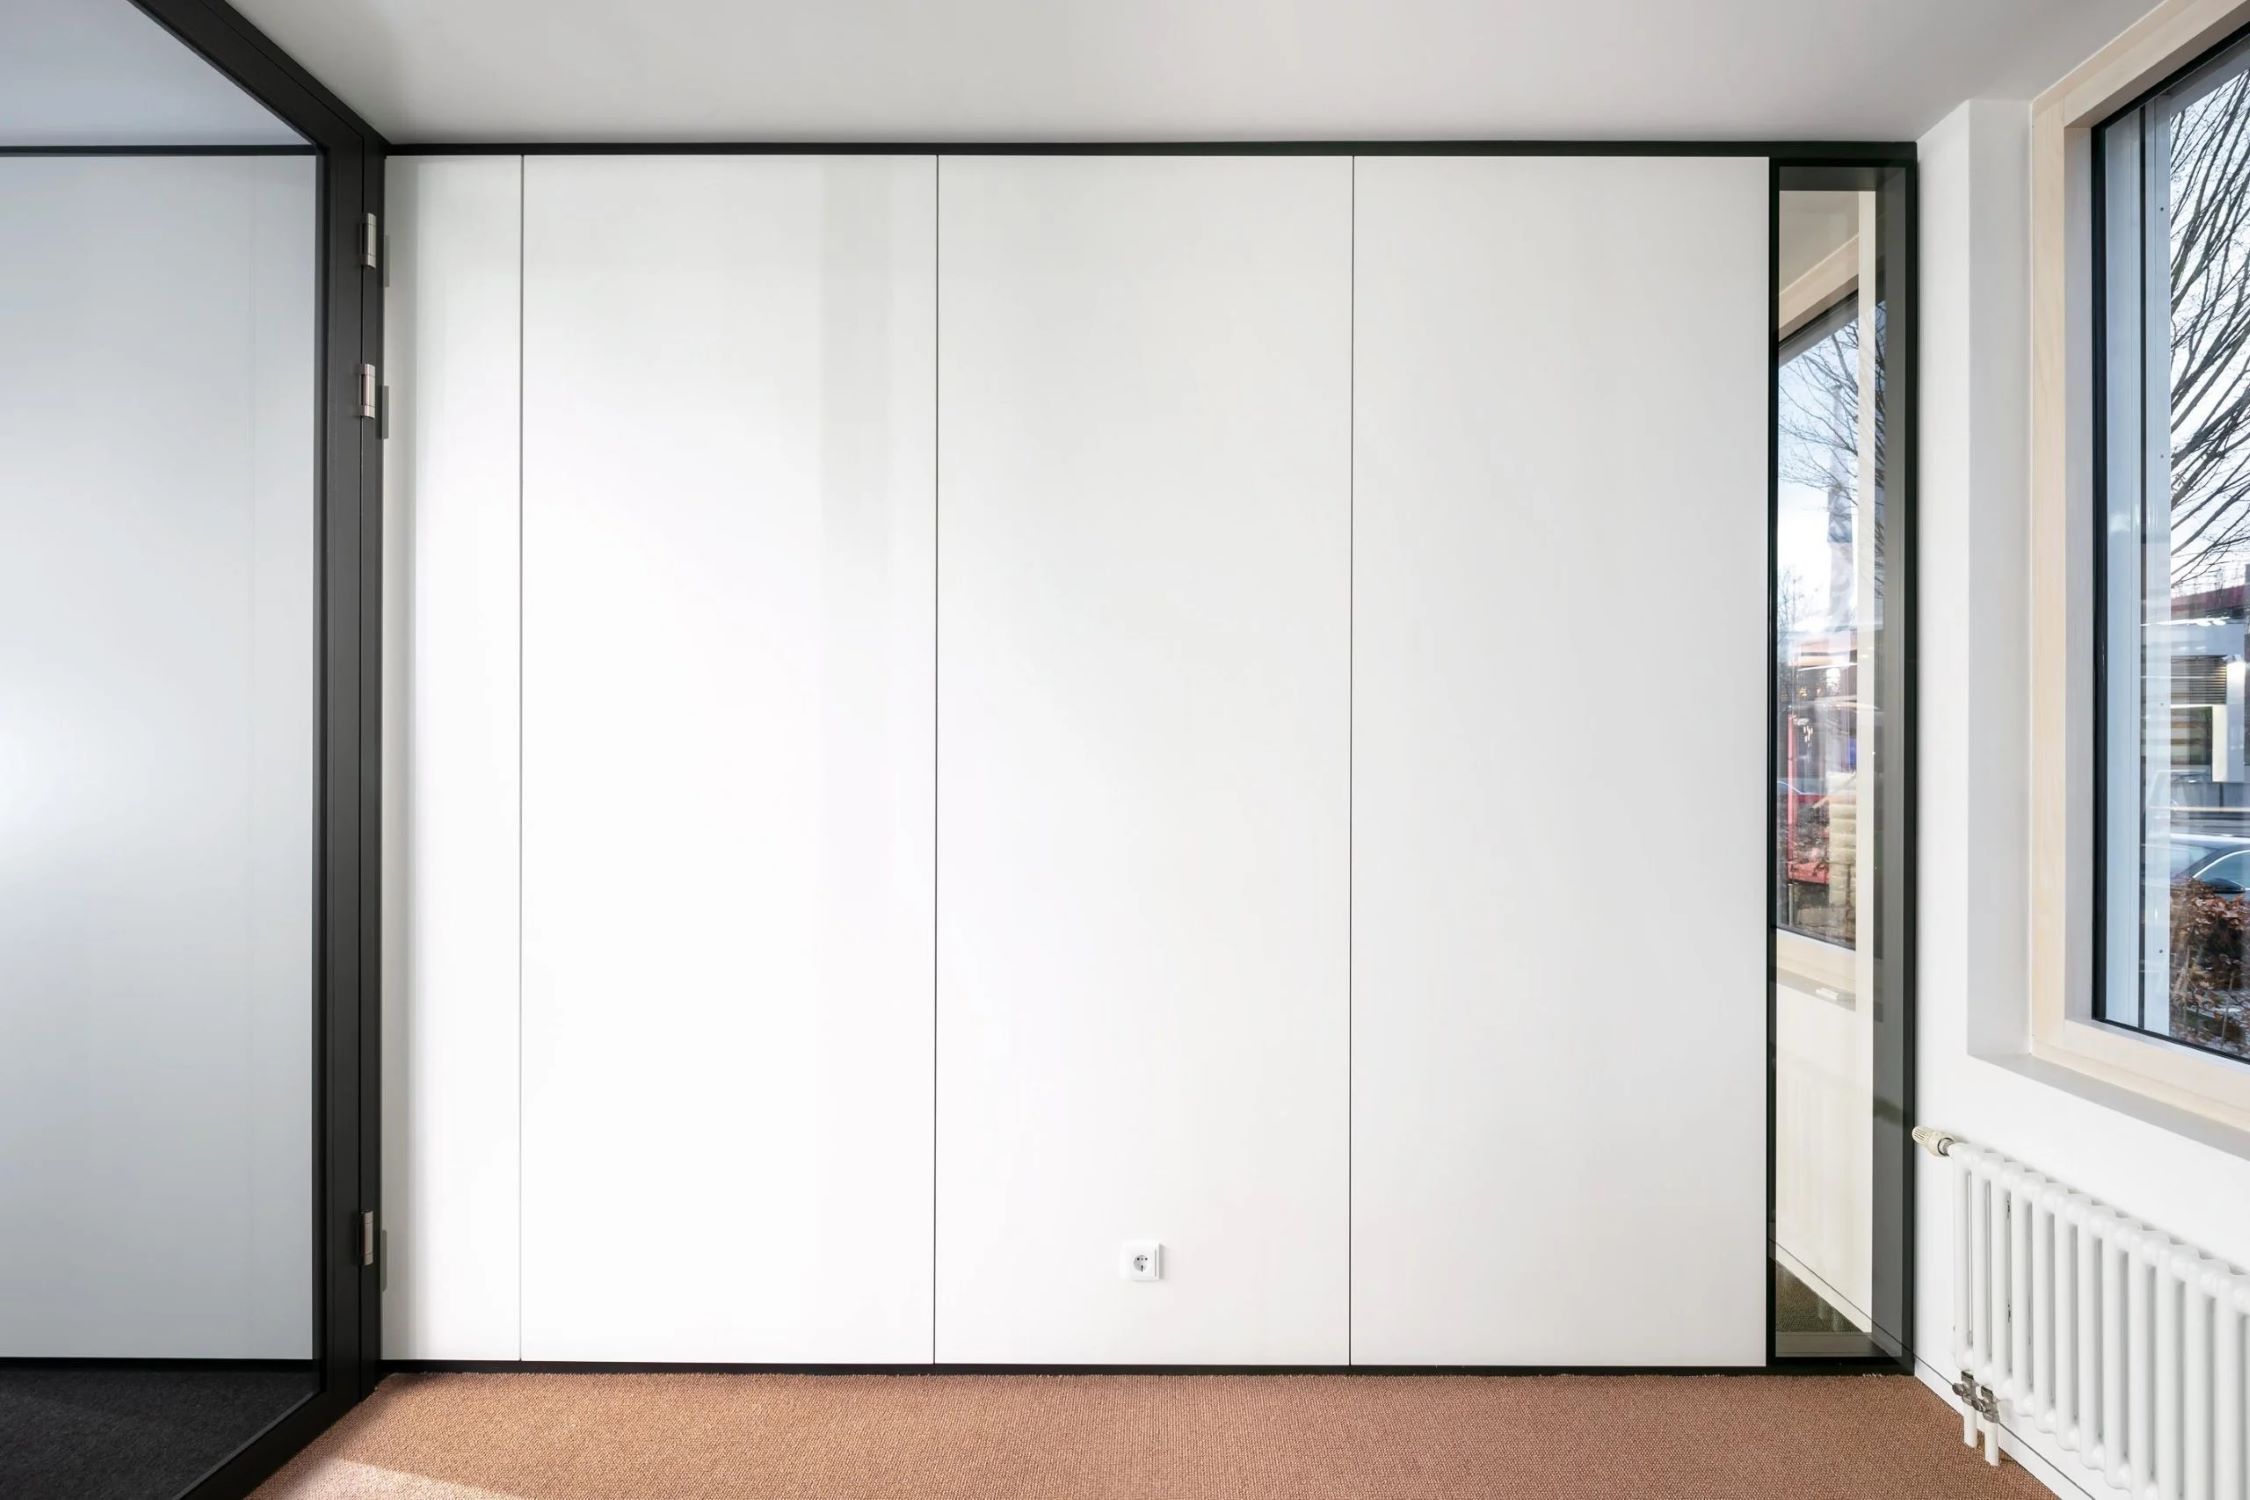
DIY Partition Wall with Door Ideas
Published: September 18, 2024
Discover creative DIY partition wall with door ideas to transform your space. Learn step-by-step tips and tricks for a stylish and functional home improvement project.
(Many of the links in this article redirect to a specific reviewed product. Your purchase of these products through affiliate links helps to generate commission for Twigandthistle.com, at no extra cost. Learn more)
Thinking about adding a partition wall with a door in your home? It's a great way to create new spaces without major renovations. Whether you need an office, a playroom, or just a bit more privacy, building a DIY partition wall is a practical solution. With a bit of planning and effort, you can customize the look and feel to match your home's style. Even if you don't consider yourself handy, many ideas are simple enough for beginners. Ready to get started? Let's dive into some creative and easy-to-follow concepts.
Preparation Steps
Measure the Space: Use a tape measure to get accurate dimensions of the area where the partition wall will go. Write down the height, width, and length.
Gather Materials: Collect all necessary materials like drywall, wooden studs, screws, nails, a door, door frame, and insulation. Make sure to have enough for the entire project.
Safety Gear: Wear safety glasses, gloves, and a dust mask to protect yourself from debris and dust. Keep a first aid kit nearby.
Clear the Area: Remove furniture, rugs, and other items from the workspace. This will give you plenty of room to work and prevent accidents.
Mark the Layout: Use a pencil and chalk line to mark where the wall and door will be placed. Double-check measurements to ensure accuracy.
Cut the Studs: Use a saw to cut wooden studs to the correct length. These will form the frame of your partition wall.
Install the Bottom Plate: Secure the bottom plate (a horizontal piece of wood) to the floor using screws or nails. This will anchor the wall.
Attach the Top Plate: Fix the top plate to the ceiling, aligning it with the bottom plate. Ensure it is level.
Build the Frame: Attach vertical studs between the top and bottom plates. Space them evenly, usually 16 inches apart.
Install the Door Frame: Position the door frame within the wall frame. Make sure it is level and secure it with screws.
Add Insulation: Place insulation between the studs to help with soundproofing and temperature control.
Hang Drywall: Cut drywall to fit the frame and screw it into place. Cover both sides of the wall.
Finish the Wall: Apply joint compound to seams and screw holes, then sand smooth. Paint or wallpaper as desired.
Install the Door: Hang the door on its hinges and check that it opens and closes smoothly. Adjust if necessary.
Materials and Tools Checklist
- Studs: Vertical wooden or metal beams that form the frame of the wall.
- Drywall Sheets: Large panels used to cover the studs and create the wall surface.
- Door Frame Kit: Includes the frame, hinges, and screws needed to install the door.
- Door Slab: The actual door that fits into the door frame.
- Screws and Nails: Fasteners used to secure the studs, drywall, and door frame.
- Insulation: Material placed between studs to reduce noise and improve energy efficiency.
- Joint Compound: Paste used to fill seams between drywall sheets.
- Drywall Tape: Tape used with joint compound to cover seams and create a smooth surface.
- Primer and Paint: Used to finish the wall and door, giving them a polished look.
- Sandpaper: Used to smooth joint compound and any rough edges on the drywall.
- Measuring Tape: Ensures accurate measurements for cutting and placing materials.
- Level: Ensures that studs, drywall, and door frame are straight and even.
- Utility Knife: Cuts drywall sheets to the correct size.
- Saw: Cuts studs and door frame pieces to the required lengths.
- Drill: Used to drive screws into studs, drywall, and the door frame.
- Hammer: Drives nails into studs and other wooden components.
- Screwdriver: Tightens screws in the door frame and other parts.
- Pencil: Marks measurements and cutting lines on materials.
- Safety Gear: Includes gloves, goggles, and a dust mask to protect you while working.
Required Skills and Time
Skill Level: Intermediate
Estimated Time Required: 2-3 days
Important Keywords:
- Framing
- Drywall
- Door Installation
- Painting
Steps:
- Measure and Plan: 2-3 hours
- Frame the Wall: 6-8 hours
- Install Drywall: 4-6 hours
- Install the Door: 3-4 hours
- Finish and Paint: 4-6 hours
Detailed Instructions
Plan Your Wall
- Measure the space where the wall will go.
- Decide on the height and width.
- Sketch a rough design.
Gather Materials
- Wooden studs (2x4s)
- Drywall sheets
- Door frame kit
- Screws and nails
- Drywall screws
- Joint compound
- Drywall tape
- Paint and primer
- Tools: Tape measure, saw, drill, screwdriver, level, utility knife, hammer, paintbrush, and roller.
Prepare the Area
- Clear the space.
- Mark the floor and ceiling where the wall will go.
- Use a level to ensure straight lines.
Build the Frame
- Cut the top and bottom plates (horizontal pieces).
- Attach the bottom plate to the floor using screws.
- Secure the top plate to the ceiling.
- Cut and install vertical studs between the top and bottom plates, spacing them 16 inches apart.
- Frame the door opening according to the door frame kit instructions.
Install the Door Frame
- Place the door frame in the opening.
- Use shims to ensure it is level and plumb.
- Secure the frame with screws.
Hang Drywall
- Cut drywall sheets to fit the frame.
- Attach drywall to the studs using drywall screws.
- Cut out the door opening from the drywall.
Finish the Drywall
- Apply drywall tape over seams.
- Spread joint compound over the tape and screw holes.
- Let it dry, then sand smooth.
- Repeat if necessary for a smooth finish.
Install the Door
- Hang the door on the frame hinges.
- Check that it swings properly.
- Install the doorknob and latch.
Paint the Wall
- Apply primer to the drywall.
- Paint the wall with your chosen color.
- Let it dry completely.
Final Touches
- Install baseboards and trim around the door.
- Touch up any paint as needed.
- Clean up the area.
Helpful Tips and Tricks
Measure Twice, Cut Once: Always double-check measurements before cutting materials. This saves time and reduces waste.
Use a Stud Finder: Locate studs in existing walls to anchor your partition securely. This ensures stability.
Pre-Hung Doors: Opt for pre-hung doors to simplify installation. They come with the frame, making alignment easier.
Drywall Alternatives: Consider using plywood or MDF panels instead of drywall. These materials are easier to work with and require less finishing.
Soundproofing: Add insulation or soundproofing materials between studs to reduce noise transfer. This is especially useful for home offices or bedrooms.
Level and Plumb: Use a level and plumb line to ensure your wall and door are straight. This prevents future issues with door alignment.
Temporary Partitions: For a non-permanent solution, use tension rods and heavy curtains. This allows flexibility and easy removal.
Common Mistakes to Avoid:
Skipping the Stud Finder: Not finding studs can lead to an unstable wall. Always use a stud finder.
Ignoring Permits: Check local building codes. Some areas require permits for adding walls.
Poor Door Alignment: Misaligned doors can stick or not close properly. Take your time to ensure the door is level.
Alternatives for Materials or Methods:
Sliding Doors: Instead of a traditional door, use a sliding barn door. This saves space and adds a stylish touch.
Modular Wall Systems: Consider modular wall systems that can be easily assembled and disassembled. These are great for renters.
Glass Panels: Use glass panels for a modern look and to allow light to pass through. This keeps spaces bright and open.
PVC Panels: For a lightweight and moisture-resistant option, use PVC panels. These are ideal for bathrooms or basements.
Budgeting Your Project
Materials:
- Wooden studs: $2 each, need about 20, total $40
- Drywall sheets: $10 each, need 4, total $40
- Insulation: $15 per roll, need 2, total $30
- Door: $100 for a basic interior door
- Door frame kit: $50
- Screws and nails: $10
- Joint compound: $10
- Drywall tape: $5
- Paint: $20 per gallon, need 1, total $20
Tools:
- Hammer: $10
- Screwdriver: $10
- Saw: $20
- Tape measure: $5
- Level: $10
- Utility knife: $5
- Paintbrushes/rollers: $10
Total Cost: $375
Budget-Friendly Alternatives:
- Reclaimed wood: Free or cheaper from salvage yards
- Second-hand door: $20 from thrift stores
- Borrow tools: Free from friends or neighbors
- Leftover paint: Free if you have some at home
Creative Customizations
Materials: Use wood for a rustic look or metal for an industrial vibe. Plywood is budget-friendly, while reclaimed wood adds character. Glass panels can create a modern, airy feel.
Colors: Paint the wall in neutral tones like beige or gray for a classic look. Bold colors like navy blue or emerald green make a statement. Chalkboard paint can turn the wall into a functional message board.
Styles: Opt for a barn door for a farmhouse style. A sliding door saves space and adds a contemporary touch. French doors with glass panes bring elegance and light into the room.
Textures: Add wallpaper for patterns or textures. Shiplap or beadboard can give a coastal or cottage feel. Brick veneer adds an urban, loft-like atmosphere.
Accessories: Install shelves or hooks on the partition for extra storage. Add a mirror to make the space feel larger. Use decorative trim or molding to enhance the design.
Lighting: Incorporate built-in lights or sconces for added functionality. LED strips can highlight the door frame or shelves. Pendant lights can hang above the partition for a stylish touch.
Door Hardware: Choose antique handles for a vintage look or sleek, modern handles for a contemporary feel. Rustic iron hardware complements a farmhouse style, while brushed nickel suits modern designs.
Eco-Friendly Ideas
Reclaimed wood can be a fantastic choice. It adds character and reduces waste. Look for old barn wood or pallets. Sand them down and give them a fresh coat of eco-friendly paint or stain.
Recycled metal panels can also work well. They are durable and can give a modern, industrial look. Check local scrap yards for materials.
Bamboo is another great option. It grows quickly, making it a renewable resource. Use bamboo panels or planks for a natural, stylish partition.
Cork is lightweight and has excellent soundproofing qualities. It’s also renewable and biodegradable. Cork tiles or sheets can be attached to a wooden frame.
Recycled glass can be used for decorative panels. It’s eco-friendly and adds a unique touch. Look for glass tiles or blocks made from recycled materials.
Salvaged doors can be repurposed as part of your partition. Check architectural salvage yards for old doors that can be given new life.
Insulation made from recycled materials, like denim or cellulose, can be used to improve soundproofing and energy efficiency.
Natural paints and finishes should be used to avoid harmful chemicals. Look for products labeled as low-VOC or zero-VOC.
Modular designs allow for easy disassembly and reuse of materials. This can be helpful if you decide to change your space later.
Living walls with plants can serve as a partition. They improve air quality and add greenery to your space. Use recycled planters and organic soil.
Sliding barn doors made from reclaimed wood or metal can save space and add a rustic touch. They are also easier to install than traditional doors.
Upcycled materials like old windows or shutters can be used creatively. They add charm and reduce the need for new materials.
Eco-friendly adhesives and sealants should be chosen to minimize environmental impact. Look for products with green certifications.
DIY kits made from sustainable materials can simplify the process. Many companies offer kits with pre-cut, eco-friendly materials.
Your DIY Adventure Awaits
Building a partition wall with a door can be a rewarding project. You've got the tools, the materials, and the know-how. Just remember to measure twice, cut once. Safety first, always wear your protective gear. Whether you're creating a new room, adding some privacy, or just looking to divide a space, this project can make a big difference. Don't be afraid to ask for help if you need it. Sometimes an extra pair of hands can make all the difference. Take your time, enjoy the process, and before you know it, you'll have a brand new partition wall with a door that you built yourself. Happy building!
How do I choose the right materials for a DIY partition wall with a door?
Consider budget, durability, and aesthetics. Drywall and wood are popular choices. Metal studs offer more strength but cost more.
What tools will I need for this project?
You'll need a saw, drill, screws, measuring tape, level, and safety gear like gloves and goggles.
How do I ensure the partition wall is stable?
Use studs spaced 16 inches apart. Secure them to the floor and ceiling. Check with a level to keep everything straight.
Can I add insulation to my partition wall?
Absolutely! Adding insulation helps with soundproofing and temperature control. Just place it between the studs before adding drywall.
How do I install a door in the partition wall?
Frame an opening slightly larger than the door. Install a door frame and hang the door using hinges. Make sure it swings freely.
What finishing touches should I consider?
Add trim around the door and wall edges. Paint or wallpaper the wall to match your room. Don't forget to install a doorknob and latch.
How long will this project take?
Depending on your skill level and the wall size, it could take a weekend or a few days. Plan for extra time if you're new to DIY projects.