
Home>Home & Furniture>Doors & Windows>DIY Hospital Door Hanger for Boys
Doors & Windows
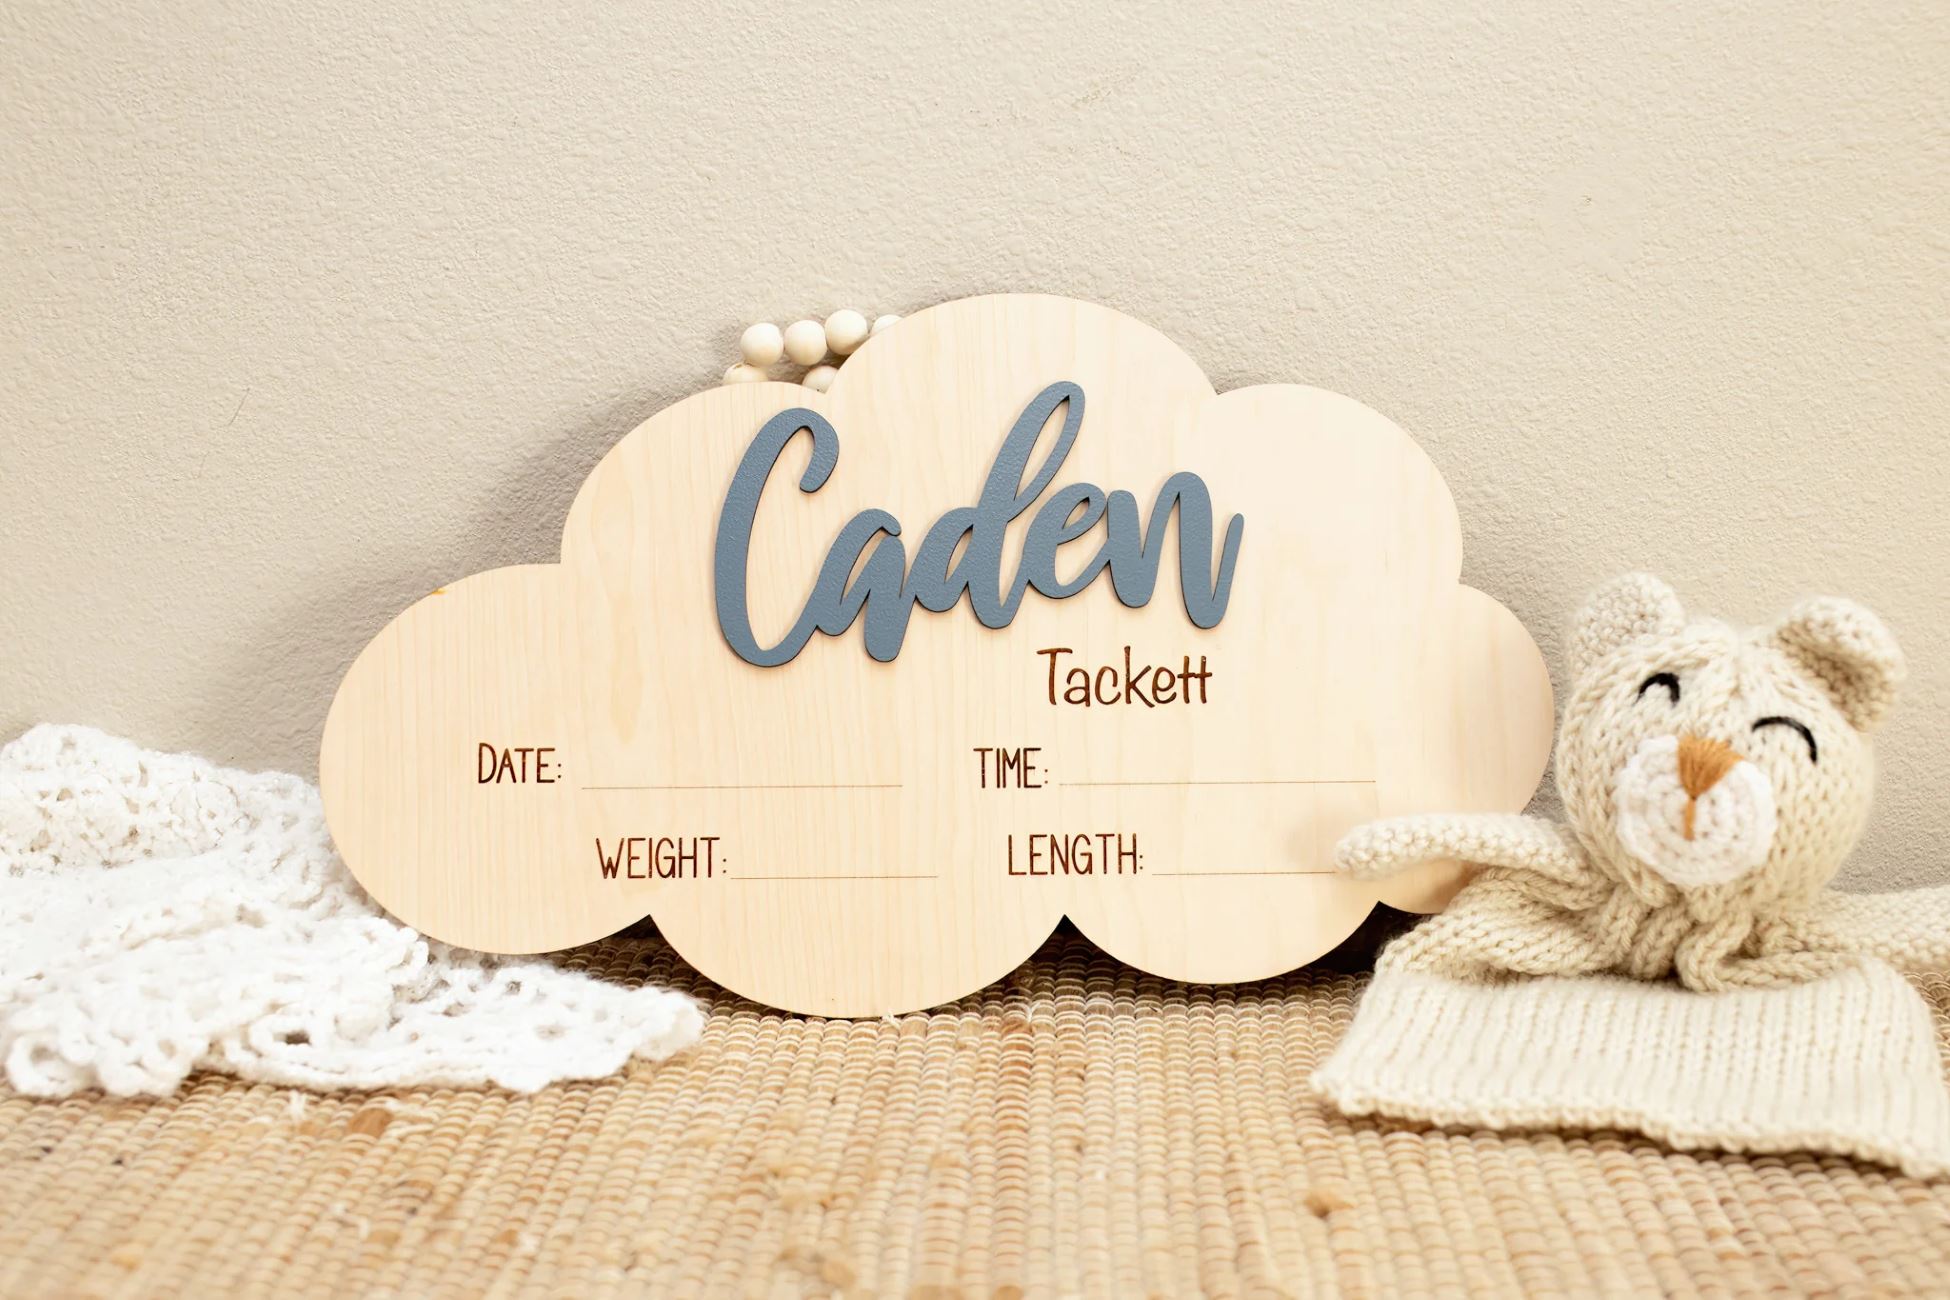
DIY Hospital Door Hanger for Boys
Published: September 16, 2024
Create a charming DIY hospital door hanger for boys with our step-by-step guide. Perfect for welcoming your little one, this project is fun, easy, and customizable!
(Many of the links in this article redirect to a specific reviewed product. Your purchase of these products through affiliate links helps to generate commission for Twigandthistle.com, at no extra cost. Learn more)
Creating a DIY hospital door hanger for boys can be a fun and thoughtful project. These hangers add a personal touch to a hospital room, making it feel a bit more like home. Whether welcoming a new baby or cheering up a young patient, a customized hanger can bring smiles. You don’t need to be a crafting expert or spend a lot of money. With simple materials and a bit of creativity, you can make a special keepsake. This introduction will guide you through the basic steps to create your own DIY door hanger project.
Getting Ready for Your Project
Gather Materials: Collect all necessary items like cardboard, paint, brushes, markers, glue, scissors, and decorative elements (stickers, ribbons).
Choose a Design: Decide on a theme or design for the door hanger. Sketch it out on paper first.
Safety Gear: Wear gloves and safety glasses to protect hands and eyes while cutting or painting.
Prepare Workspace: Set up a clean, flat surface covered with old newspapers or a plastic sheet to avoid mess.
Cut Cardboard: Use scissors to cut the cardboard into the desired shape for the hanger. Ensure edges are smooth to prevent cuts.
Paint Base: Apply a base coat of paint to the cardboard. Let it dry completely before adding more details.
Add Details: Use markers and paint to add designs, names, or messages. Let each layer dry before adding the next.
Attach Decorations: Glue on stickers, ribbons, or other decorative elements. Ensure glue is dry before handling.
Create Hole: Punch a hole at the top of the hanger for the ribbon or string to go through.
Attach Ribbon: Thread a ribbon or string through the hole and tie a knot to create a loop for hanging.
Final Check: Inspect the hanger for any loose parts or wet paint. Make sure everything is secure and dry before use.
What You Need to Get Started
- Wooden Plaque: The base for the door hanger, usually made of lightweight wood.
- Acrylic Paints: Used to add color and designs to the plaque.
- Paintbrushes: Various sizes for detailed painting and broad strokes.
- Stencils: Helps create uniform letters or shapes.
- Letter Stickers: For adding the boy's name or other text.
- Ribbon or Twine: Used to hang the plaque on the door.
- Hot Glue Gun: Secures decorations and the ribbon or twine.
- Decorative Items: Small items like buttons, stars, or animal shapes to personalize the hanger.
- Sandpaper: Smooths the edges of the wooden plaque.
- Pencil: For sketching designs before painting.
- Ruler: Ensures straight lines and even spacing.
- Clear Sealant: Protects the finished design from wear and tear.
How Much Time and Skill You Need
Skill Level: Beginner
Time Required: 1-2 hours
Follow These Steps
Gather Materials:
- Wooden plaque or canvas
- Paints (blue, green, or any preferred colors)
- Paintbrushes
- Stencils or stickers (letters, shapes)
- Ribbon or string
- Hot glue gun
- Scissors
- Pencil
Prepare the Base:
- Lay down newspaper to protect your workspace.
- Paint the wooden plaque or canvas with a base color. Let it dry completely.
Design the Hanger:
- Use stencils or freehand to sketch out the boy's name or a welcome message with a pencil.
- Add any additional designs like stars, cars, or animals.
Paint the Design:
- Carefully paint over the pencil sketches with your chosen colors.
- Allow each section to dry before moving on to avoid smudging.
Add Details:
- Apply stickers or additional paint details to enhance the design.
- Use contrasting colors to make the name or message stand out.
Attach the Ribbon:
- Cut a piece of ribbon or string long enough to hang the plaque.
- Hot glue each end of the ribbon to the back of the plaque. Ensure it’s secure and centered.
Final Touches:
- Inspect the hanger for any touch-ups needed.
- Let everything dry completely before hanging.
Hang the Door Hanger:
- Find a suitable spot on the hospital door.
- Use a hook or adhesive to hang the plaque securely.
Helpful Hints for Success
Choose sturdy materials like thick cardboard or wood for the base. Use non-toxic paint and markers to ensure safety. Personalize with the baby's name using stencils for a clean look. Add embellishments like ribbons, buttons, or small toys to make it more fun. Use strong adhesive to attach decorations securely.
Common mistakes to avoid: Skipping the primer when painting can lead to uneven colors. Using weak glue might cause decorations to fall off. Overloading the hanger with too many items can make it too heavy.
Alternatives: Instead of wood, try using foam board for a lighter option. For decorations, consider using fabric scraps or felt shapes. Instead of paint, use colorful washi tape for easy, mess-free designs.
Budgeting for Your DIY
Materials:
- Wooden plaque: $5-$10
- Acrylic paint: $1 per color (3 colors recommended) = $3
- Paintbrushes: $5 for a set
- Stencils or stickers: $3
- Ribbon or twine: $2
- Hooks or hanging hardware: $2
- Sealant (optional): $4
Tools:
- Scissors: $2
- Hot glue gun: $10
- Sandpaper: $1
Total Estimated Cost: $37
Budget-Friendly Alternatives:
- Use cardboard instead of a wooden plaque: Free if you have some at home
- Reuse old paint from previous projects: Free
- DIY stencils using paper and scissors: Free
- Use string instead of ribbon or twine: Free if you have some at home
- Skip the sealant if not necessary: Save $4
Make It Your Own
Materials: Instead of wood, try using foam board or cardboard for a lighter option. Fabric can add a soft touch.
Colors: Use blue and green for a classic look, or go bold with red and yellow. Pastels like light blue or mint green offer a softer feel.
Styles: For a sports theme, add mini footballs or basketballs. A nautical theme could include anchors and sailboats. Animal themes might feature dinosaurs or jungle animals.
Lettering: Use stencils for clean lines or hand-paint for a personal touch. Vinyl letters can be a quick and easy option.
Decorations: Add ribbons or bows for extra flair. Buttons or beads can create interesting textures. Stickers or decals offer quick customization.
Hanging Options: Use a ribbon loop or twine for a rustic look. Magnetic strips can be used if the door is metal. Command hooks provide a damage-free option.
Eco-Friendly Ideas
Recycled cardboard makes a sturdy base for the hanger. Cut it into a fun shape like a car or dinosaur. Old fabric scraps can cover the cardboard, adding color and texture. Use non-toxic glue to attach the fabric. For the hanger's hook, repurpose a metal coat hanger by cutting and bending it into shape. Decorate with buttons, beads, or ribbons from old clothes or craft projects. Personalize it by writing the boy's name with eco-friendly paint or markers.
Your Creative Touch Matters
Adding a personalized touch to your hospital door hanger makes it special. Using simple materials like cardboard, paint, and ribbons, you can create something unique. Don't worry about making it perfect; the effort and love you put into it will shine through. If you make a mistake, just roll with it. Sometimes, those little quirks add character. Plus, it's a fun project that can involve the whole family. When your little one grows up, they'll have a keepsake that tells a story. So, grab your supplies, get crafty, and enjoy the process. Your creativity will bring joy to your hospital room and create lasting memories.
What materials do I need to make a hospital door hanger for boys?
You'll need cardstock, markers, stickers, ribbon, scissors, glue, and hole punch. Optional items include glitter, buttons, or fabric scraps for extra flair.
How do I design the door hanger?
Start by cutting the cardstock into a rectangle or any shape you like. Use markers to write the boy's name or a fun message. Decorate with stickers or drawings that match his interests, like dinosaurs or cars.
How do I attach the ribbon?
Punch two holes at the top of the hanger. Thread the ribbon through the holes and tie knots on the back to secure it. Make sure the ribbon is long enough to hang on the door handle.
Can I make it more durable?
Yes, you can laminate the cardstock before decorating. This will make it sturdier and easier to clean. Alternatively, use foam board instead of cardstock for a thicker base.
How long does it take to make one?
It usually takes about 30 minutes to an hour, depending on how detailed you want to get with the decorations. It's a fun, quick project that can be done in an afternoon.
Are there any safety tips I should follow?
Be careful with scissors and glue if kids are helping. Supervise them closely to avoid any accidents. Also, make sure any small decorations like buttons are securely attached to prevent choking hazards.