
Home>Home & Furniture>Doors & Windows>DIY Door Moulding Ideas
Doors & Windows
DIY Door Moulding Ideas
Published: September 11, 2024
Transform your home with these DIY door moulding ideas! Discover creative and easy-to-follow tips to enhance your doors and elevate your interior design.
(Many of the links in this article redirect to a specific reviewed product. Your purchase of these products through affiliate links helps to generate commission for Twigandthistle.com, at no extra cost. Learn more)
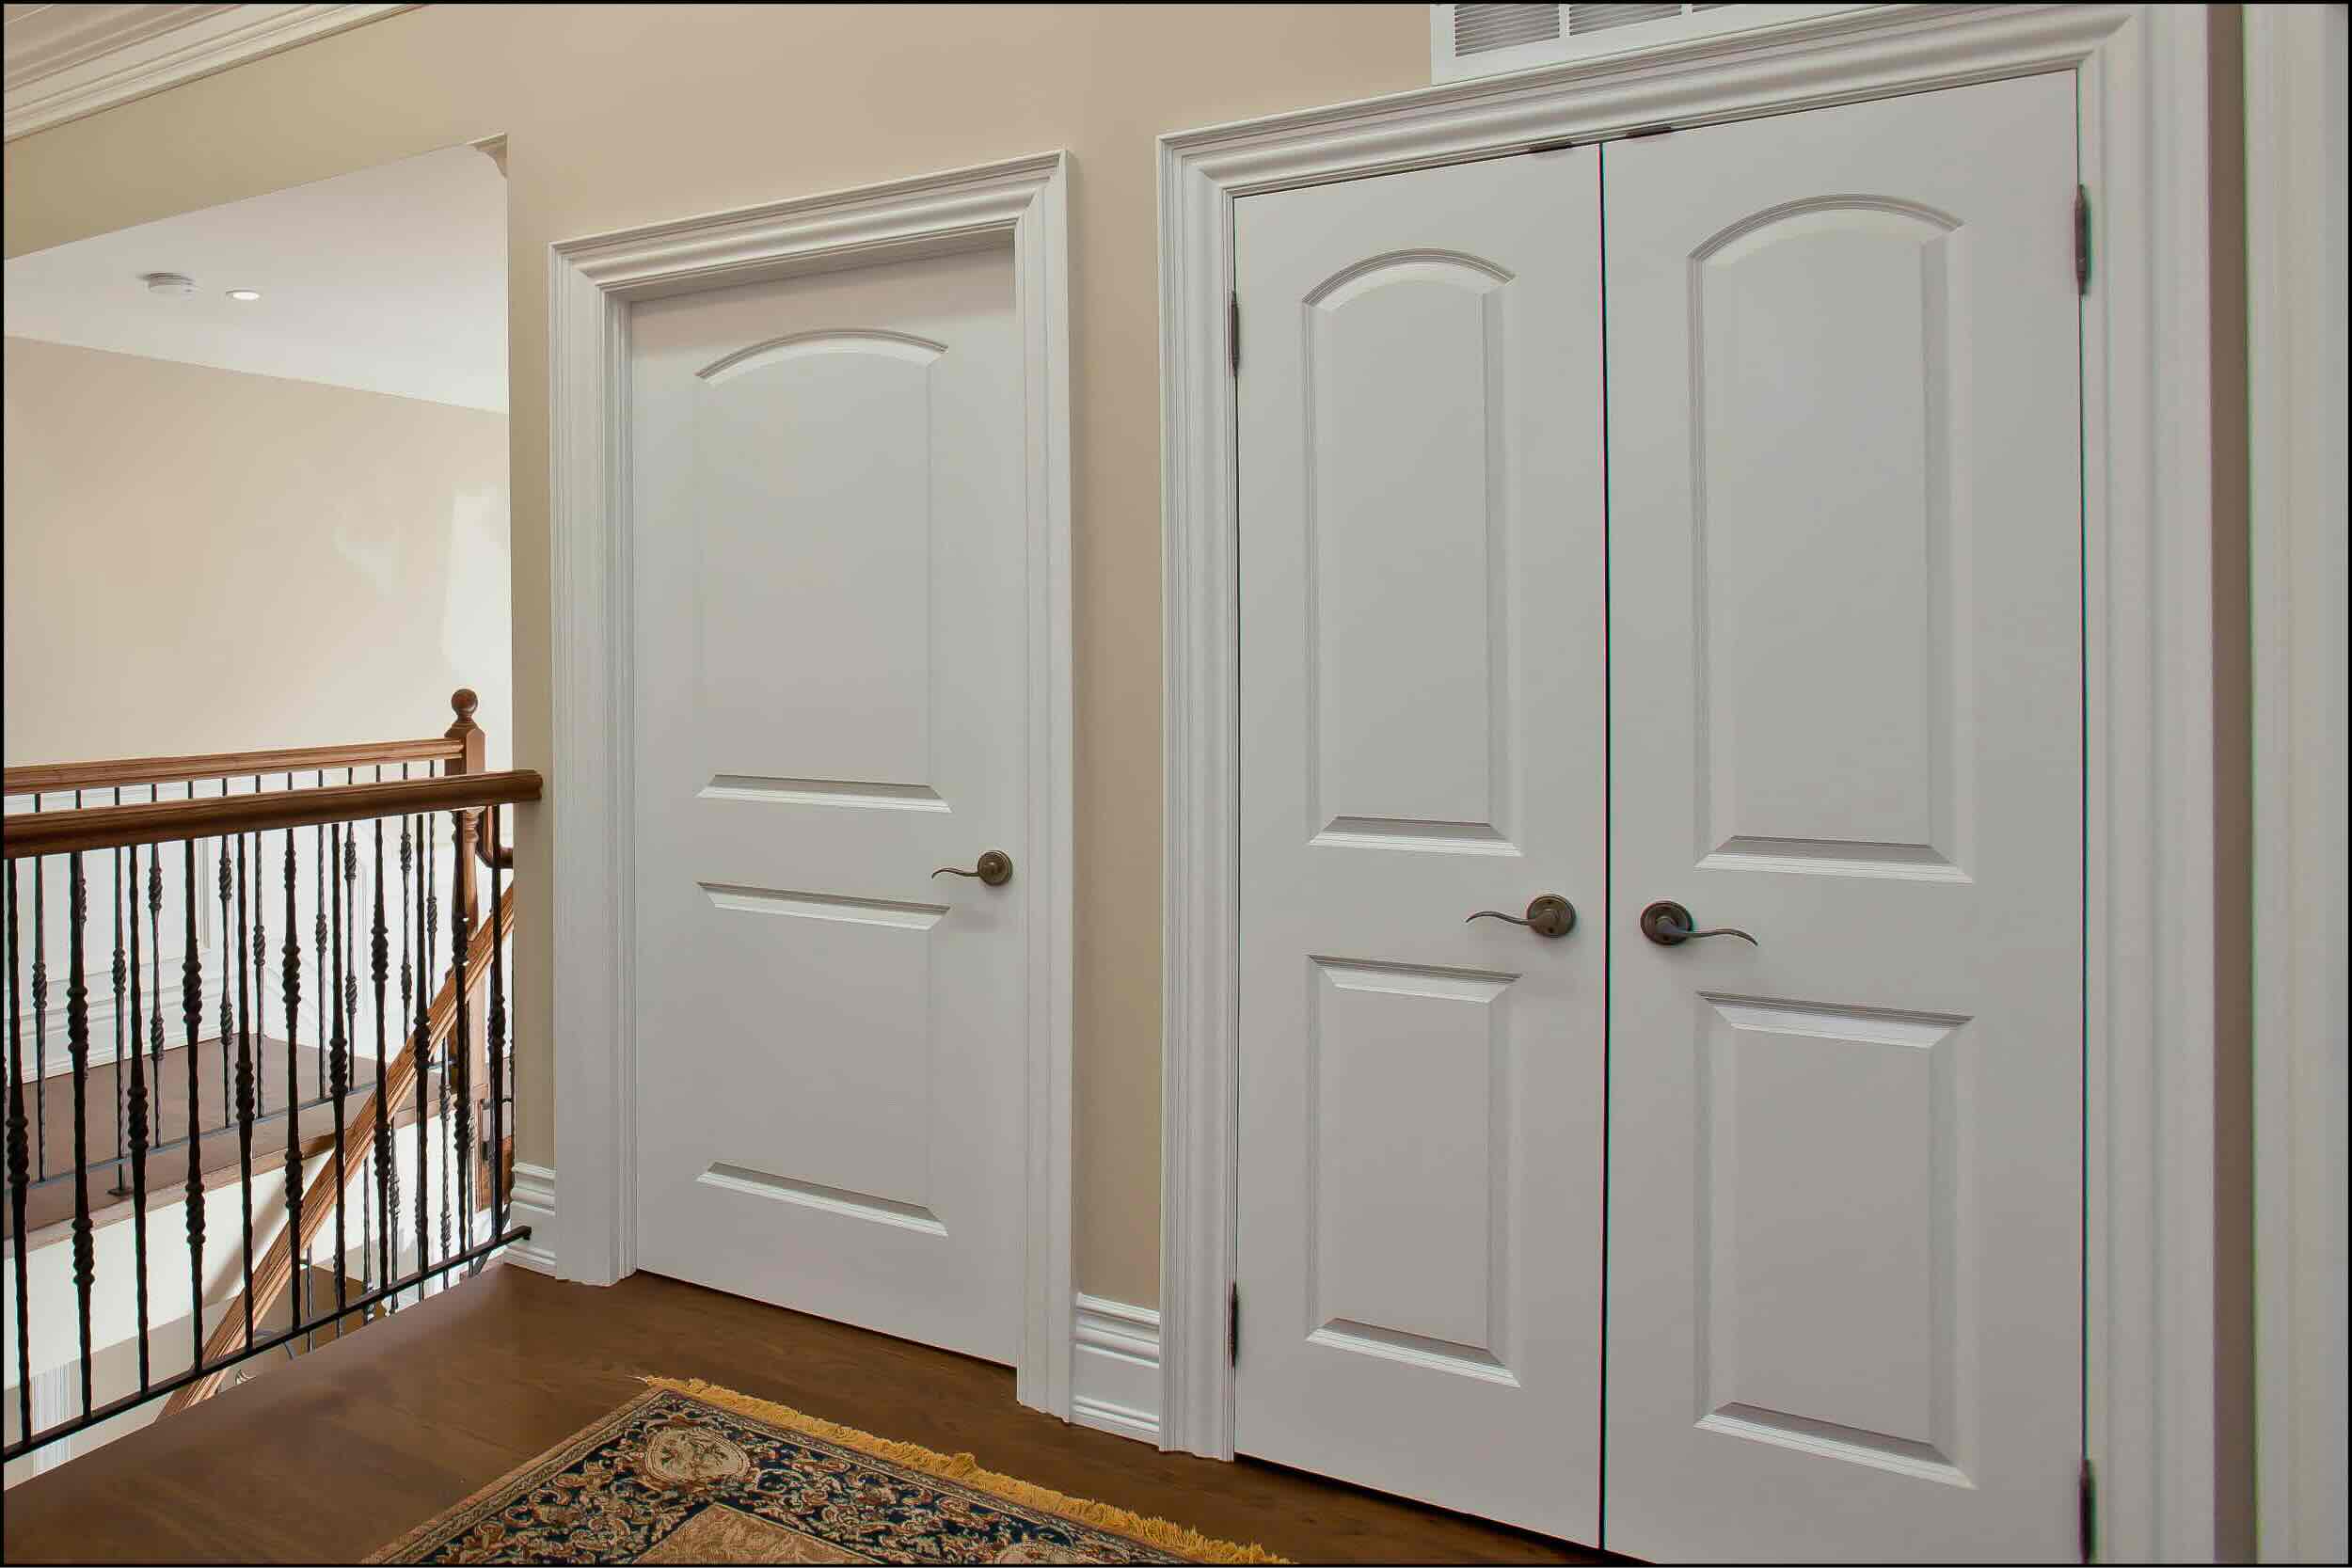
Adding door moulding can transform any room, giving it character and depth. Whether you're on a tight budget or looking to add a touch of elegance, there are plenty of options to consider. DIY door moulding projects are not only fun but also allow you to customize your space exactly how you want. You don't need to be a professional carpenter to achieve great results; with the right tools and a bit of patience, anyone can do it. Dive into these creative ideas and see how you can make your doors stand out.
Getting Ready for Your Project
Measure the Door: Use a tape measure to get the exact dimensions of the door. Write down the height and width.
Choose Moulding Style: Decide on the type of moulding you want. Options include crown, baseboard, or chair rail moulding.
Gather Materials: Buy the moulding, nails, wood glue, and paint. Make sure to get a saw, hammer, and measuring tape.
Set Up Workspace: Clear an area to work. Lay down a drop cloth to protect the floor. Ensure good lighting.
Safety Gear: Wear safety glasses and gloves. Use ear protection if using power tools.
Cut Moulding: Measure and mark the moulding pieces. Cut them to size using a saw. Sand the edges for a smooth finish.
Prime and Paint: Apply primer to the moulding. Once dry, paint the moulding in your chosen color. Let it dry completely.
Attach Moulding: Apply wood glue to the back of the moulding. Position it on the door and secure with nails. Use a level to ensure straight lines.
Fill Gaps: Use wood filler to fill any gaps or nail holes. Sand smooth once dry.
Final Touches: Touch up any paint as needed. Clean up your workspace and admire your new door moulding.
Gathering Materials and Tools
- Measuring Tape: Used to measure the dimensions of the door and the moulding pieces accurately.
- Pencil: For marking measurements and guidelines on the door and moulding.
- Miter Saw: Essential for cutting moulding pieces at precise angles.
- Nail Gun: Speeds up the process of attaching moulding to the door.
- Wood Glue: Provides extra hold for the moulding pieces.
- Sandpaper: Smooths out any rough edges on the moulding.
- Primer: Prepares the moulding for painting by creating a smooth surface.
- Paint: Adds color and finish to the moulding, matching or contrasting with the door.
- Paintbrushes: Used to apply primer and paint to the moulding.
- Caulk: Fills in gaps between the moulding and the door for a seamless look.
- Caulk Gun: Makes applying caulk easier and more precise.
- Level: Ensures the moulding is straight and even.
- Safety Goggles: Protects eyes from sawdust and debris.
- Drop Cloth: Keeps the work area clean by catching paint drips and sawdust.
Skill Level and Time Commitment
Skill Level: Intermediate
Time Required: 4-6 hours
- Measure and Cut Moulding: 1-2 hours
- Sand and Prime: 1 hour
- Attach Moulding: 1-2 hours
- Paint and Finish: 1-2 hours
How to Do It: Step-by-Step
Gather Materials:
- Measuring tape
- Pencil
- Saw
- Moulding pieces
- Sandpaper
- Wood glue
- Nails
- Hammer
- Paint or stain
- Paintbrush
Measure Door Frame:
- Use measuring tape to measure the height and width of the door frame.
- Write down measurements.
Cut Moulding:
- Mark measurements on moulding pieces.
- Use saw to cut moulding to size.
- Sand edges for smooth finish.
Arrange Moulding:
- Lay out moulding pieces around door frame.
- Ensure pieces fit together snugly.
Apply Wood Glue:
- Put wood glue on back of moulding pieces.
- Press moulding onto door frame.
Secure with Nails:
- Hammer nails into moulding to secure it.
- Space nails evenly along moulding.
Fill Gaps:
- Use wood filler to fill any gaps or nail holes.
- Let filler dry.
Sand Again:
- Sand filled areas until smooth.
Paint or Stain:
- Apply paint or stain to moulding.
- Let dry completely.
Final Touches:
- Inspect moulding for any missed spots.
- Touch up paint or stain as needed.
Helpful Tips and Tricks
Measure Twice, Cut Once: Always double-check measurements before cutting. This saves time and materials.
Use a Miter Saw: For precise angles, a miter saw is your best friend. It ensures clean, accurate cuts.
Pre-Paint Moulding: Painting moulding before installation can save time and prevent messes on walls.
Caulk Gaps: After installation, use caulk to fill any gaps between the moulding and wall. This gives a seamless look.
Sand Edges: Smooth out rough edges with sandpaper for a professional finish.
Common Mistakes to Avoid:
Skipping Primer: Always prime moulding before painting. This helps paint adhere better and last longer.
Incorrect Angles: Cutting angles incorrectly can lead to gaps. Use a miter box or saw for accuracy.
Not Leveling: Ensure moulding is level before nailing. Uneven moulding looks unprofessional.
Alternatives for Materials or Methods:
Foam Moulding: Lightweight and easy to cut, foam moulding is a great alternative to wood.
Adhesive Strips: For a less permanent option, use adhesive strips instead of nails. This works well for renters.
Peel-and-Stick Moulding: Quick and easy to install, peel-and-stick moulding is perfect for beginners.
Estimating the Cost
Materials:
- Moulding strips: $1 to $3 per foot. For a standard door, you'll need about 20 feet, costing $20 to $60.
- Wood filler: $5 to $10.
- Sandpaper: $5 for a pack.
- Primer: $10 to $15.
- Paint: $15 to $30.
- Caulk: $3 to $7.
Tools:
- Miter saw: $100 to $200 (or rent for $20 to $30 per day).
- Hammer and nails: $10 to $15.
- Paintbrushes: $5 to $10.
- Caulking gun: $5 to $10.
Total Cost: $178 to $372 if buying all tools, or $98 to $202 if renting the miter saw.
Budget-friendly alternatives:
- Use pre-primed moulding to save on primer costs.
- Borrow tools from friends or family.
- Buy second-hand tools from thrift stores or online marketplaces.
Different Ways to Customize
Materials: Instead of traditional wood, try MDF (medium-density fiberboard) for a smooth finish. PVC moulding works well in high-moisture areas like bathrooms. For a rustic look, use reclaimed wood.
Colors: Paint moulding in bold colors like navy blue or forest green for a dramatic effect. For a classic look, use white or cream. Experiment with metallic paints like gold or silver for a modern touch.
Styles: Create a shaker style with simple, clean lines. For a more ornate look, use Victorian-style moulding with intricate details. Craftsman style offers a sturdy, straightforward design.
Patterns: Add a geometric pattern by layering different shapes. Use stencils to create unique designs on the moulding itself. Try a herringbone pattern for a sophisticated touch.
Finishes: Use a high-gloss finish for a sleek, modern look. For a vintage feel, try a distressed finish. A matte finish offers a subtle, understated elegance.
Additional Elements: Incorporate LED strip lights behind the moulding for a backlit effect. Add decorative corners or rosettes for extra flair. Use contrasting trim to highlight the moulding.
Eco-Friendly Tips
Reclaimed wood makes a great choice for door moulding. Old barn wood or pallets can be repurposed, giving a rustic charm while reducing waste. Bamboo is another eco-friendly option. It grows quickly and is very durable.
Cork is a renewable material that adds a unique texture. It’s harvested from the bark of cork oak trees without harming them. Recycled plastic moulding can also be found. It’s made from post-consumer waste and is very sturdy.
Low-VOC paints and stains should be used to finish your moulding. These products release fewer harmful chemicals into the air. Natural oils like linseed or tung oil can also be used for a more sustainable finish.
Upcycling old furniture pieces into moulding is another creative idea. This not only saves money but also gives a unique look to your doors. Salvage yards often have old moulding that can be cleaned up and reused.
Using hand tools instead of power tools reduces energy consumption. Solar-powered tools are another option if you need more power.
Local materials should be sourced when possible. This reduces the carbon footprint from transportation. Supporting local businesses also helps the community.
Composting sawdust and wood scraps instead of throwing them away can be beneficial. These can enrich your garden soil. Recycling metal scraps from nails or screws is also a good practice.
Plan your cuts carefully to minimize waste. Measure twice, cut once is a good rule to follow. This ensures you use materials efficiently.
Time to Get Crafty
Adding door moulding can transform a plain door into a stylish focal point. Whether you're using wood trim, paint, or stencils, the possibilities are endless. Don't be afraid to mix and match styles to find what suits your home best. Remember, the key is to measure twice and cut once. A little patience goes a long way in achieving a professional look. Plus, doing it yourself saves money and gives you the satisfaction of a job well done. So grab your tools, pick your favorite design, and start crafting. Your doors will thank you for the makeover.
How do I choose the right moulding for my door?
Consider the style of your home. For a modern look, go with clean lines. For a traditional feel, opt for ornate designs. Measure your door to ensure the moulding fits properly.
What tools will I need for installing door moulding?
You’ll need a miter saw, measuring tape, nail gun, level, wood glue, and sandpaper. Having a paintbrush and paint or stain is also handy if you plan to finish the moulding.
Can I install door moulding by myself?
Absolutely! With some basic tools and a bit of patience, you can install door moulding yourself. Just follow a good tutorial and take your time to measure and cut accurately.
How do I measure for door moulding?
Measure the height and width of your door frame. Add a few extra inches to each measurement to account for miter cuts. Double-check your measurements before cutting to avoid mistakes.
Should I paint or stain my moulding before or after installation?
It’s often easier to paint or stain the moulding before installing it. This way, you can ensure an even finish and avoid getting paint or stain on your walls or door.
What type of wood is best for door moulding?
Pine and poplar are popular choices because they’re easy to work with and affordable. For a more luxurious look, consider oak or maple. Choose a wood that matches your home’s style and budget.
How do I ensure my moulding stays in place?
Use wood glue along with nails to secure the moulding. Make sure to use a level to keep everything straight. Fill any gaps with caulk and touch up with paint or stain for a seamless look.