
Home>Home & Furniture>Doors & Windows>DIY Door Design Ideas
Doors & Windows
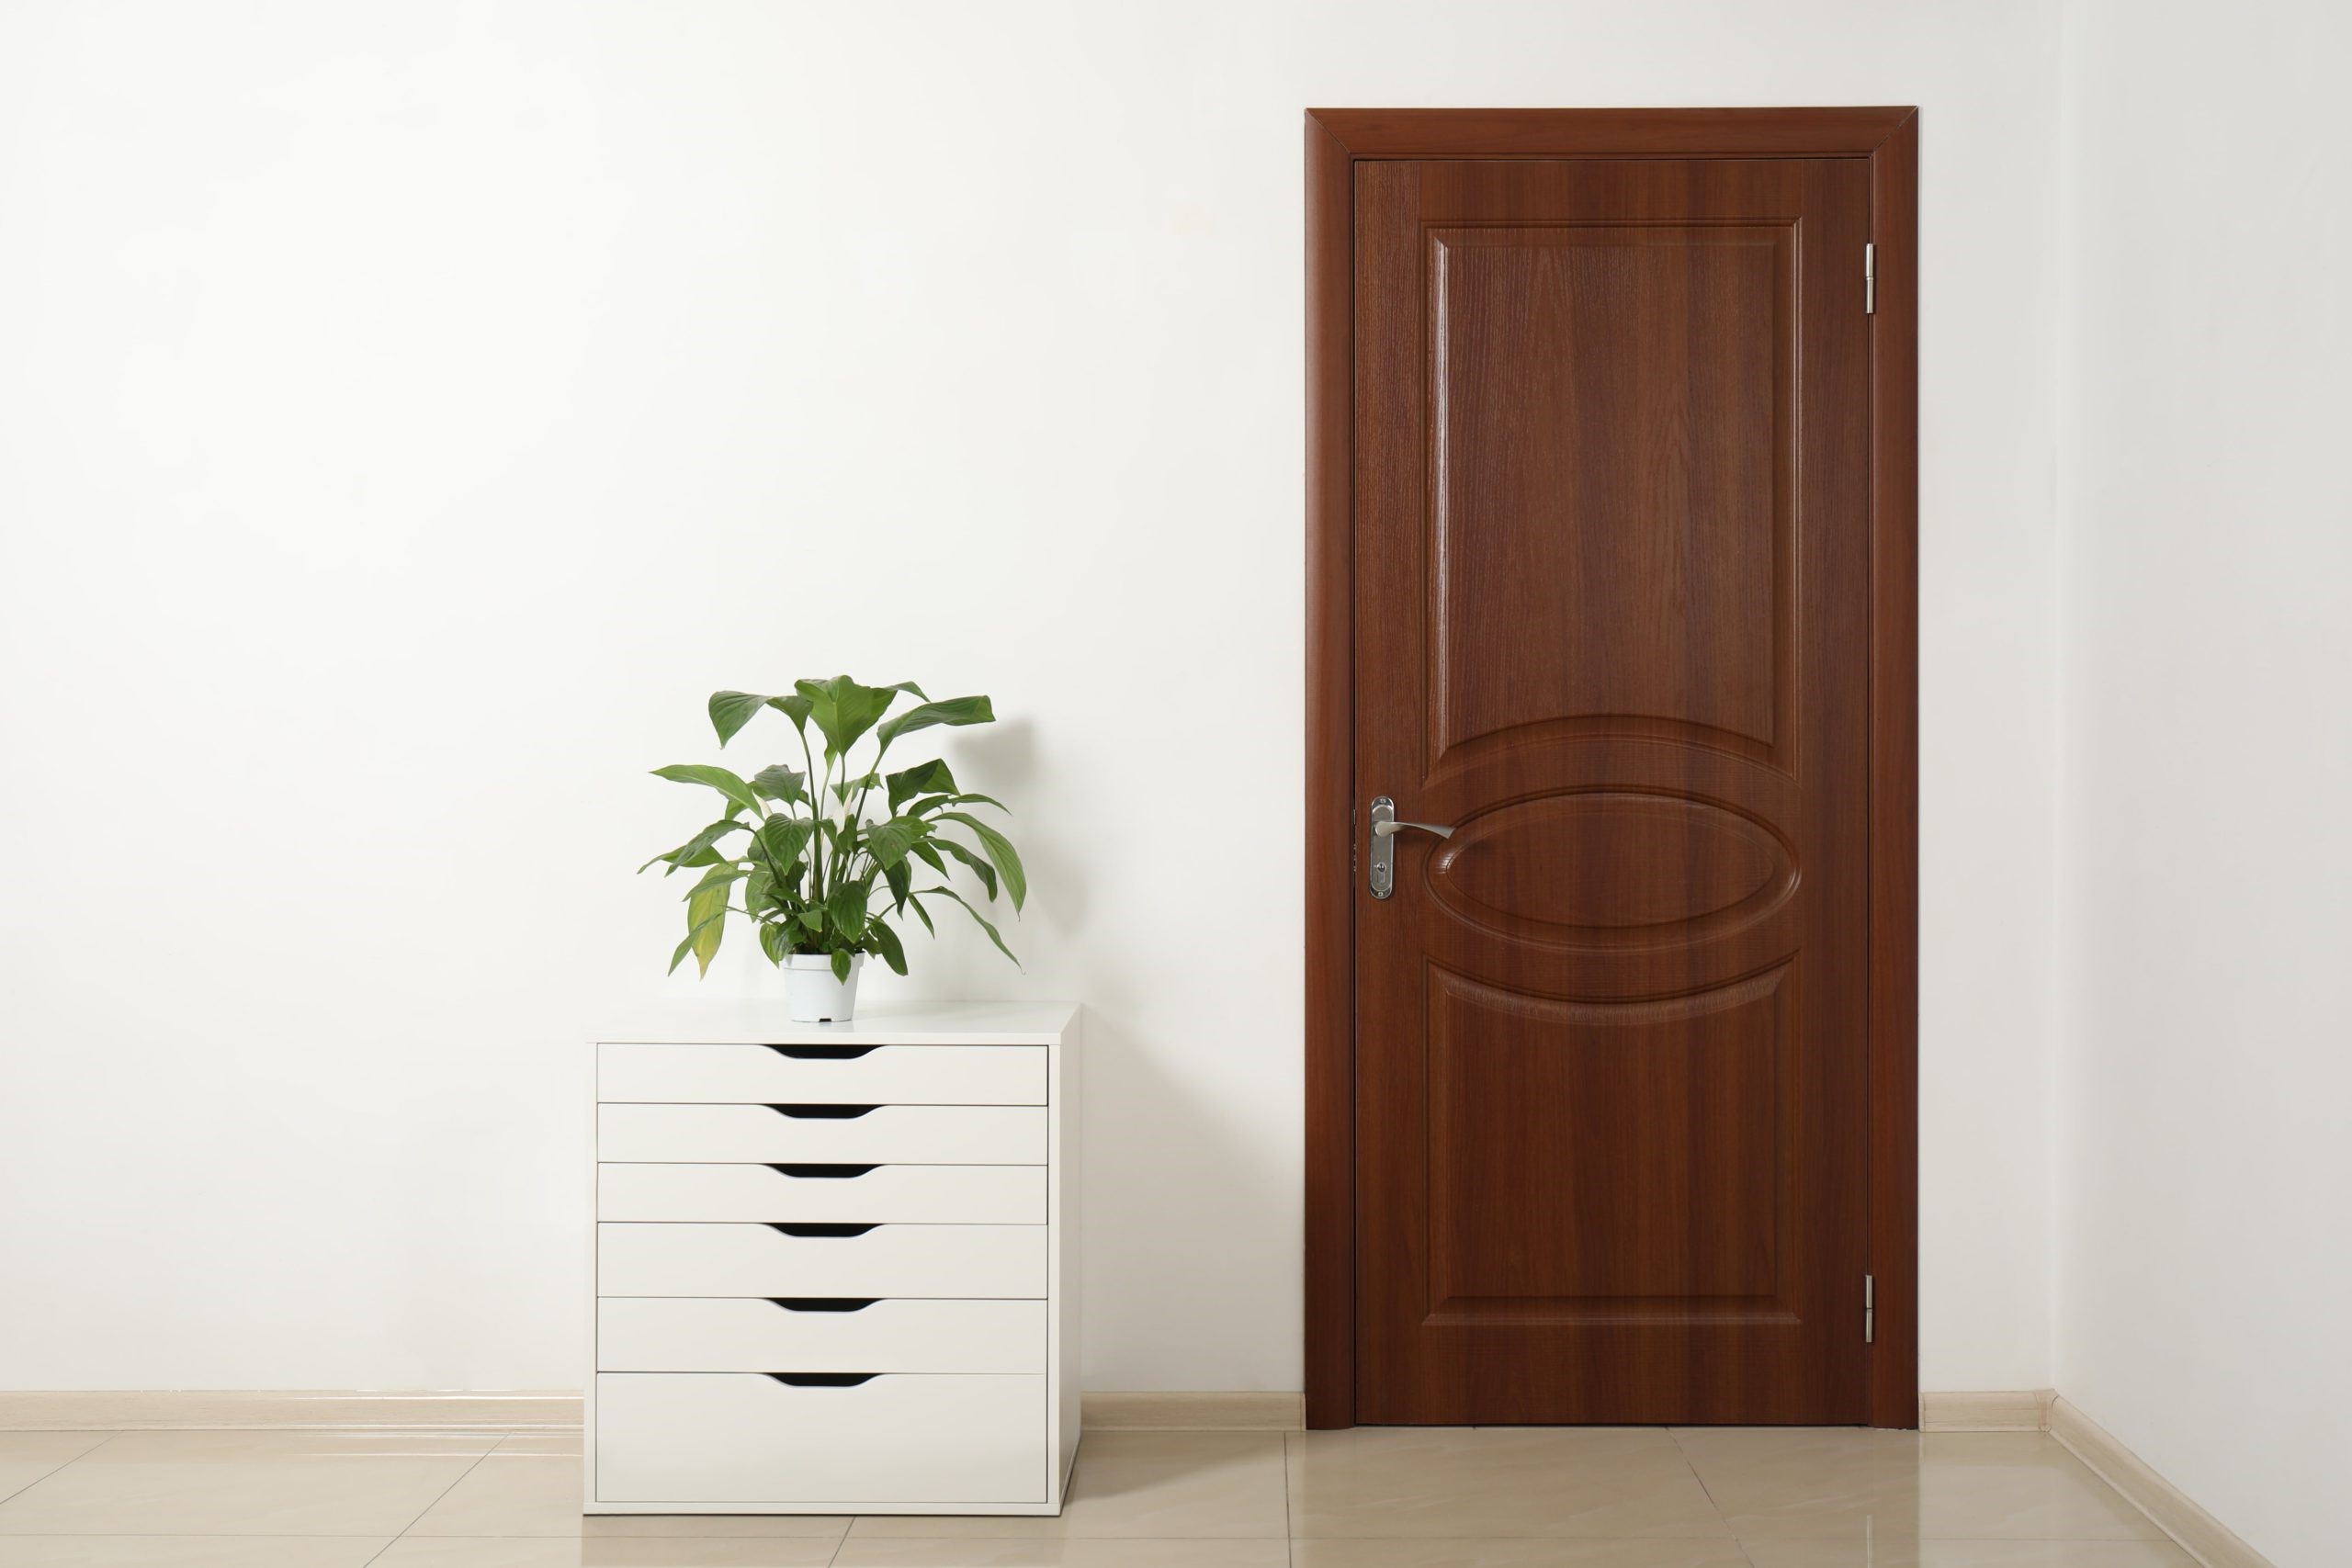
DIY Door Design Ideas
Published: September 10, 2024
Discover creative DIY door design ideas to transform your home. From rustic barn doors to modern glass panels, find inspiration and step-by-step guides for every style.
(Many of the links in this article redirect to a specific reviewed product. Your purchase of these products through affiliate links helps to generate commission for Twigandthistle.com, at no extra cost. Learn more)
Welcome to the world of DIY door design! Sprucing up your doors can transform the look of your entire home. Whether you're looking to add color, texture, or unique elements, there are endless possibilities. You don't need to be an expert to achieve impressive results—just a bit of creativity and some basic tools. In this guide, we'll explore simple yet striking ways to update your doors, no matter your skill level. Get ready to make a statement with your entryways, and let your personality shine through each design. Let's jump in and get started!
Getting Ready for Your Project
Gather Materials: Collect all necessary tools and materials, such as paint, brushes, sandpaper, stencils, and protective gear.
Safety First: Wear safety goggles and gloves to protect your eyes and hands. Ensure the workspace is well-ventilated, especially if using paint or chemicals.
Clear the Area: Remove any obstacles around the door. Lay down a drop cloth to catch any spills or debris.
Remove the Door: Take the door off its hinges for easier access. Place it on a stable surface like sawhorses or a workbench.
Clean the Surface: Wipe down the door with a damp cloth to remove dust and dirt. Let it dry completely before proceeding.
Sand the Door: Use sandpaper to smooth out any rough areas. This helps the paint or finish adhere better.
Prime the Door: Apply a coat of primer if you plan to paint. This ensures even coverage and better color payoff.
Plan Your Design: Sketch out your design on paper first. Use painter's tape to mark off sections if doing a multi-color or patterned design.
Test Colors: Try out paint colors on a small, hidden section of the door to see how they look once dry.
Organize Tools: Keep all tools within reach to avoid unnecessary interruptions. This includes brushes, rollers, and any decorative elements.
Check Weather: If working outdoors, ensure the weather is dry and calm to avoid dust or debris sticking to wet paint.
Read Instructions: Follow the manufacturer's instructions for any products you use, such as paint or adhesives.
Gathering Materials and Tools
- Door: The main piece you'll be working on. Choose a solid or hollow core door based on your needs.
- Paint or Stain: Adds color or enhances the wood's natural look. Choose based on the desired finish.
- Paintbrushes and Rollers: Used to apply paint or stain evenly. Rollers cover large areas quickly, while brushes handle detailed work.
- Sandpaper: Smooths the door's surface before painting or staining. Use different grits for best results.
- Painter's Tape: Protects areas you don't want painted. Ensures clean lines.
- Drop Cloth: Protects the floor from paint spills. Keeps your workspace clean.
- Screwdriver: Removes and reattaches door hardware. Essential for taking off knobs and hinges.
- Measuring Tape: Ensures accurate measurements for any added designs or hardware.
- Level: Ensures designs or hardware are straight. Prevents crooked installations.
- Pencil: Marks measurements and design placements. Easily erasable.
- Stencil: Helps create consistent patterns or designs. Useful for intricate details.
- Wood Filler: Fills in any holes or imperfections. Creates a smooth surface.
- Putty Knife: Applies wood filler smoothly. Helps achieve a flat finish.
- Drill: Makes holes for new hardware or decorations. Speeds up the process.
- Screws and Nails: Secures hardware or decorative elements. Choose sizes based on your project.
- Decorative Hardware: Adds a unique touch to your door. Includes knobs, handles, and hinges.
- Sealant: Protects the finished door from moisture and wear. Extends the door's life.
Skill Level and Time Needed
Skill Level: Intermediate
Time Required: 4-6 hours
Preparation: 1 hour
- Gather materials
- Remove the door from hinges
Sanding and Priming: 1-2 hours
- Sand the door surface
- Apply primer
Painting or Staining: 1-2 hours
- Apply paint or stain
- Allow drying time between coats
Adding Hardware: 30 minutes
- Install new handles or knobs
- Reattach the door to hinges
Final Touches: 30 minutes
- Inspect for any touch-ups
- Clean up workspace
How to Do It Step-by-Step
Choose Your Design
- Decide on a style: modern, rustic, or classic.
- Sketch your design on paper.
Gather Materials
- Door: New or old door.
- Paint: Choose colors.
- Brushes/Rollers: For painting.
- Sandpaper: Smooth the surface.
- Tape: Masking tape for edges.
- Stencils: For patterns.
- Handles/Knobs: New hardware.
Prepare the Door
- Remove the door from hinges.
- Lay it flat on a work surface.
- Sand the entire surface to remove old paint or varnish.
- Wipe off dust with a damp cloth.
Tape and Protect
- Use masking tape to cover areas you don't want painted.
- Lay down a drop cloth to protect the floor.
Paint the Base Coat
- Apply a primer if needed.
- Paint the entire door with your base color.
- Let it dry completely.
Add Design Elements
- Use stencils for patterns.
- Paint designs with contrasting colors.
- Remove stencils carefully.
Install New Hardware
- Attach new handles or knobs.
- Reattach the door to its hinges.
Final Touches
- Touch up any paint smudges.
- Let everything dry thoroughly.
Enjoy Your New Door
- Step back and admire your work.
Helpful Tips and Tricks
Plan your design before starting. Sketch ideas on paper to visualize. Measure twice, cut once to avoid mistakes. Use painter's tape to create clean lines for painting. Sand the door thoroughly for a smooth finish. Prime the door before painting to ensure even color. Use a level to ensure hardware is straight.
Common mistakes to avoid: Skipping the primer can lead to uneven paint. Not sanding can result in a rough surface. Rushing the process can cause errors. Using the wrong type of paint can lead to peeling.
Alternatives for materials or methods: Instead of traditional paint, consider chalk paint for a matte finish. Use stencils for intricate designs instead of freehand painting. For a rustic look, try wood stain instead of paint. Peel-and-stick wallpaper can be a quick way to add patterns.
Estimating the Cost
Materials:
- Wood: $50-$100 (depends on type and size)
- Paint/Stain: $20-$40 (quality and brand vary)
- Sandpaper: $5-$10
- Hinges: $10-$20
- Door Handle/Knob: $15-$30
- Screws/Nails: $5-$10
- Primer: $10-$20
Tools:
- Saw: $30-$100 (manual or electric)
- Drill: $40-$80
- Paintbrushes/Rollers: $10-$20
- Measuring Tape: $5-$10
- Screwdriver: $5-$15
- Level: $10-$20
Total Cost: $215-$475
Budget-Friendly Alternatives:
- Reclaimed Wood: Often free or very cheap
- Basic Paint: $10-$15
- Second-Hand Tools: Check thrift stores or online marketplaces
- Simple Door Handle: $5-$10
Total Cost with Alternatives: $100-$200
Different Ways to Customize
Paint: Use bold colors like red or blue for a statement piece. For a more subtle look, try pastels or neutral shades.
Stencils: Add patterns or designs with stencils. Geometric shapes, floral patterns, or even custom designs can make your door stand out.
Materials: Instead of a traditional wooden door, consider metal, glass, or even reclaimed wood for a rustic feel.
Hardware: Swap out standard doorknobs for vintage or modern handles. Adding decorative hinges can also change the look.
Panels: Create a panel design using molding or trim. This can give a plain door a more elegant appearance.
Windows: Install a small window or frosted glass panel to let light in while maintaining privacy.
Decals: Use vinyl decals for an easy, removable design. These come in various styles, from quotes to intricate designs.
Chalkboard Paint: Turn part of your door into a chalkboard for notes or doodles. This is especially fun for kids' rooms.
Mirrors: Attach a full-length mirror to the door. This is practical for bedrooms or closets.
Fabric: Cover sections of the door with fabric or upholstery for a unique texture and look.
Lighting: Add a backlit feature or LED strips around the door frame for a modern touch.
Carvings: If you’re skilled with tools, try adding carved designs or reliefs to the door surface.
Wreaths: Hang a seasonal wreath or decorative piece. This can be easily changed throughout the year.
Lettering: Add house numbers or a family name using metal or wooden letters for a personalized touch.
Sliding Barn Door: Convert your door into a sliding barn door for a rustic, space-saving solution.
Eco-Friendly Tips
Reclaimed Wood: Use old barn wood or pallets. Sand and stain them for a rustic look.
Recycled Metal: Old metal sheets or parts can create an industrial-style door. Clean and polish them for a sleek finish.
Bamboo: Fast-growing and sustainable, bamboo makes a sturdy, eco-friendly door. It’s lightweight yet strong.
Salvaged Doors: Find old doors at thrift stores or salvage yards. Repaint or refinish them to match your style.
Natural Paints: Use paints made from natural ingredients. They’re free from harmful chemicals and better for the environment.
Glass Inserts: Reuse glass from old windows. Add them to wooden doors for a unique, light-filled design.
Fabric Panels: Use leftover fabric to create decorative panels. Stretch and staple them onto the door for a soft touch.
Cork: Cork is renewable and provides good insulation. Use cork tiles to cover a door for a unique texture.
Recycled Plastic: Some companies make doors from recycled plastic. They’re durable and come in various styles.
Upcycled Hardware: Use old knobs, handles, and hinges. Clean and polish them to give your door a vintage feel.
Your DIY Door Awaits
You've got all the tools and ideas to create a standout door. Whether it's a bold color, a unique pattern, or a custom handle, your door can reflect your style. Remember, the key is creativity and patience. Don't rush the process. Take your time to measure, cut, and paint carefully. If you make a mistake, it's just part of the learning curve. Fix it and move on. Your door will be a conversation starter and a point of pride. So, gather your materials, roll up your sleeves, and get started. Your perfect DIY door is just a few steps away. Happy crafting!
How can I make my front door more inviting?
Add a fresh coat of paint in a bold color, install a new doorknob, and place a welcome mat. Adding potted plants or seasonal decorations can also boost curb appeal.
What materials are best for a DIY door project?
Wood is versatile and easy to work with. Fiberglass is durable and low-maintenance. Steel offers security but can be harder to customize.
Can I install a new door by myself?
Yes, but it requires some basic tools and skills. Make sure to measure accurately, follow instructions, and have a helper for heavy lifting.
How do I add a window to an existing door?
Use a jigsaw to cut out the desired shape, then install a pre-made window kit. Ensure the window is properly sealed to prevent drafts.
What are some budget-friendly door design ideas?
Use paint or stencils for a quick update. Add trim or molding for a more polished look. Replace hardware like knobs and hinges for a fresh feel.
How can I make my door more energy-efficient?
Install weatherstripping and a door sweep to seal gaps. Consider adding a storm door for extra insulation. Use energy-efficient materials like fiberglass.
What tools do I need for a DIY door project?
Basic tools include a tape measure, level, screwdriver, hammer, and saw. For more advanced projects, you might need a drill, jigsaw, and chisel.