
Home>Home & Furniture>Doors & Windows>DIY Corrugated Metal Barn Door Guide
Doors & Windows
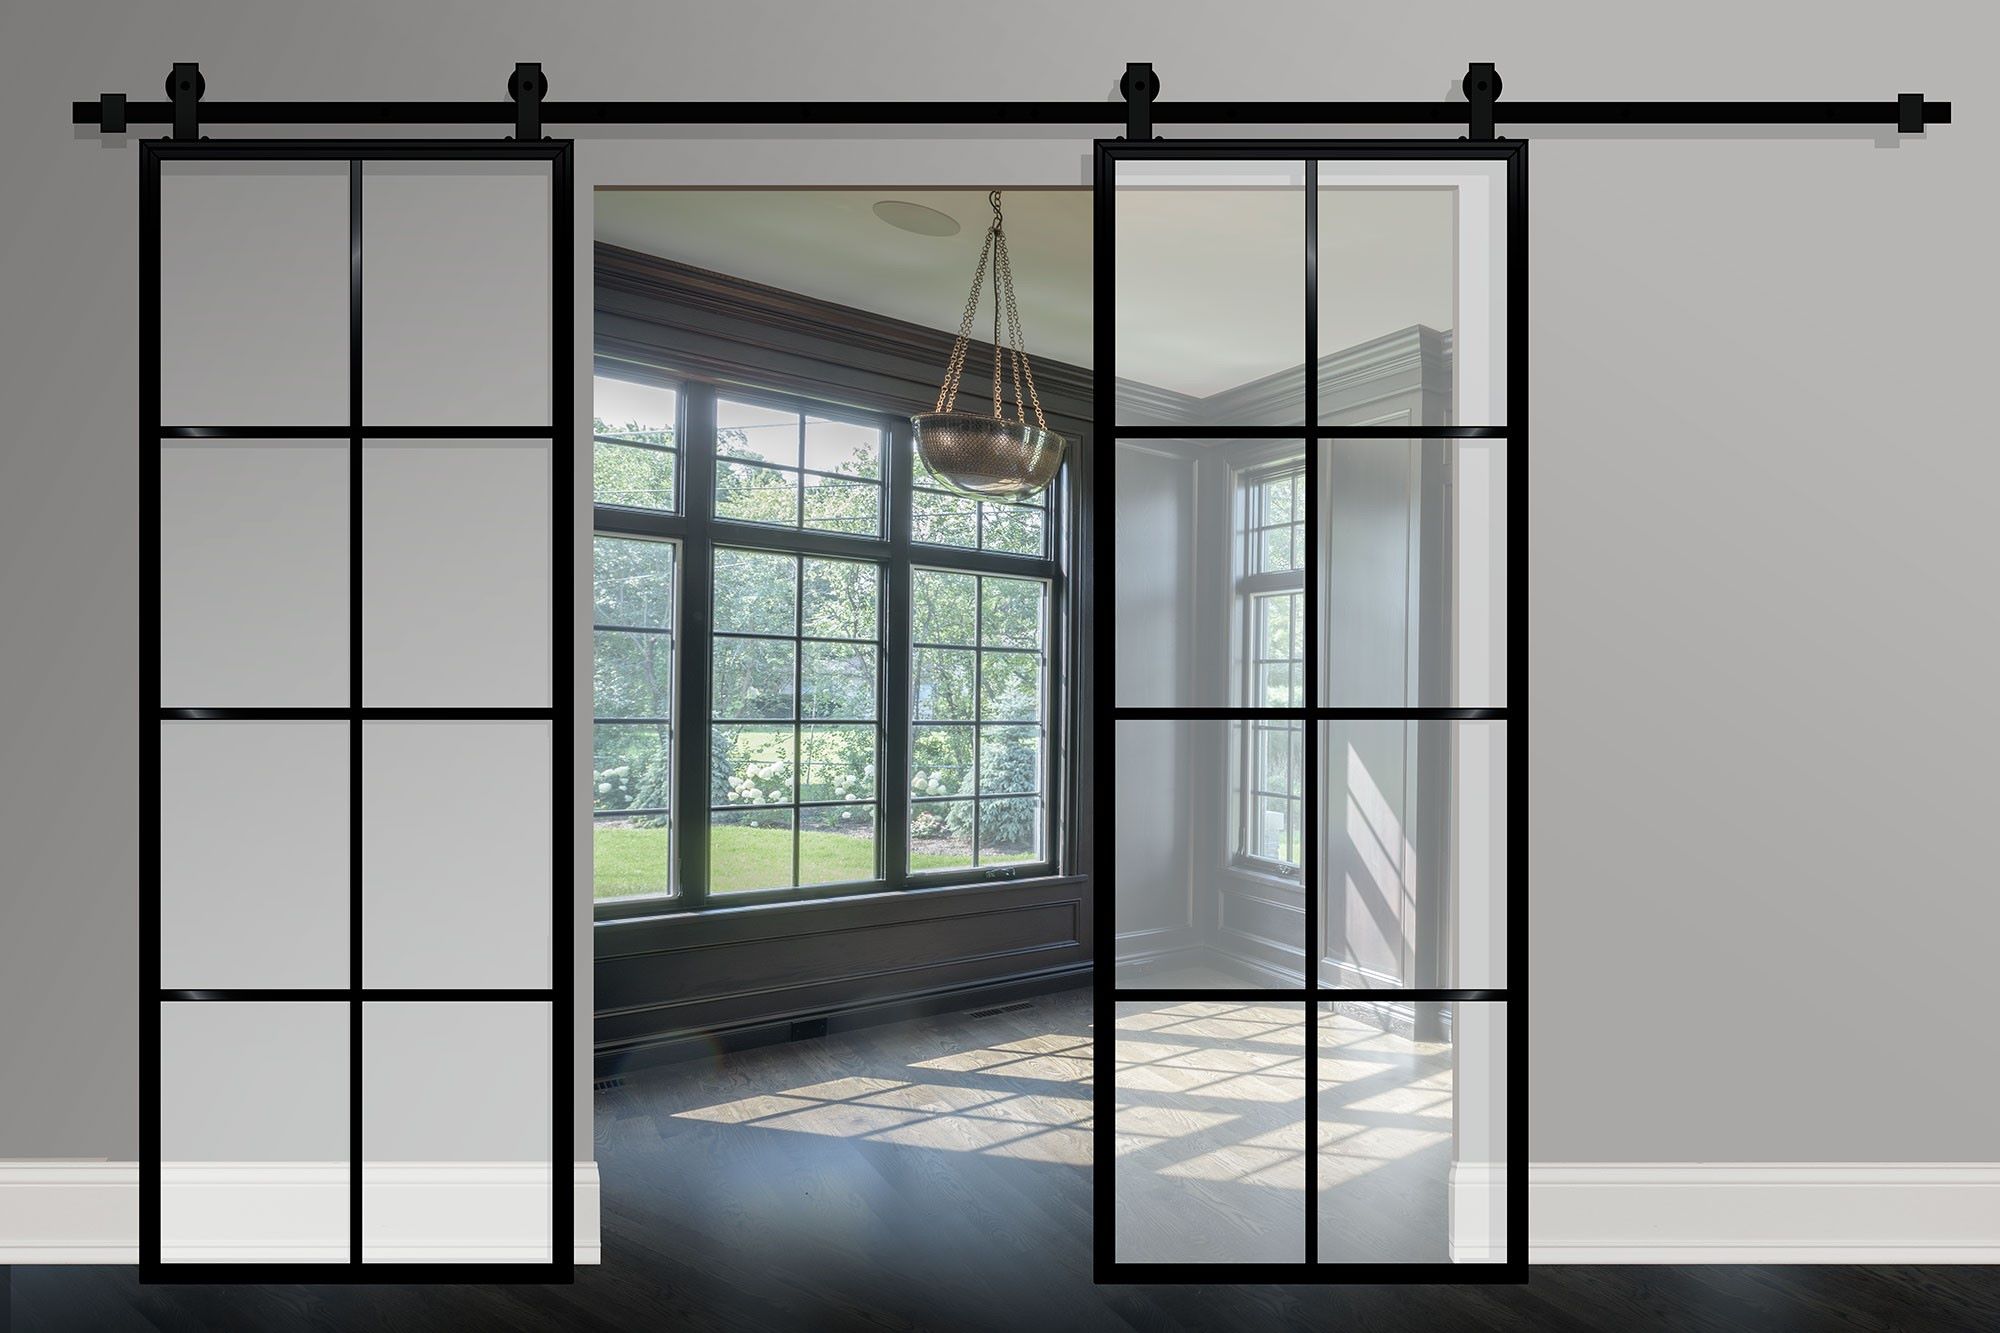
DIY Corrugated Metal Barn Door Guide
Published: September 8, 2024
Learn how to create a stylish and functional DIY corrugated metal barn door with our step-by-step guide. Perfect for adding a rustic touch to any space!
(Many of the links in this article redirect to a specific reviewed product. Your purchase of these products through affiliate links helps to generate commission for Twigandthistle.com, at no extra cost. Learn more)
Building a corrugated metal barn door adds charm and functionality to any space, whether it's your home or a workshop. This project might seem daunting, but with a bit of patience and some elbow grease, it's completely doable and rewarding. You'll transform plain rooms into something unique by creating a rustic yet modern look. Plus, making your own door lets you save money and customize the design to match your style. Ready to roll up those sleeves? Let’s get started on crafting this beautiful, practical addition to your space.
Getting Ready for Your Project
Measure the Doorway: Use a tape measure to get the height and width of the doorway. Write down these measurements.
Gather Materials: Collect all necessary materials like corrugated metal sheets, wood planks, screws, a drill, a saw, and a measuring tape.
Safety Gear: Wear safety goggles, gloves, and ear protection. These will protect your eyes, hands, and ears from debris and loud noises.
Clear the Workspace: Make sure your workspace is clean and free of obstacles. This helps prevent accidents and makes it easier to move around.
Cut the Wood Frame: Use a saw to cut the wood planks according to your measurements. This will form the frame of the door.
Attach Metal Sheets: Place the corrugated metal sheets on the wood frame. Use screws and a drill to secure them in place.
Sand the Edges: Sand down any rough edges on the wood and metal to avoid splinters or cuts.
Install the Track: Follow the manufacturer's instructions to install the sliding door track above the doorway.
Hang the Door: Lift the door onto the track and make sure it slides smoothly.
Test for Stability: Push and pull the door a few times to ensure it is stable and secure. Adjust if necessary.
What You Need: Materials and Tools
Corrugated Metal Panels: These will form the main body of the door. Choose panels that fit your desired door size.
Wooden Planks: Used for the frame and support. Commonly 2x4 or 2x6 planks work well.
Screws and Bolts: Essential for attaching the metal panels to the wooden frame. Make sure they are rust-resistant.
Barn Door Hardware Kit: Includes the track, rollers, and handles. This kit allows the door to slide smoothly.
Measuring Tape: Ensures accurate measurements for cutting and fitting materials.
Circular Saw: Needed for cutting the wooden planks to the correct size.
Metal Shears: Used to cut the corrugated metal panels to fit the door frame.
Drill and Drill Bits: Required for making holes in the metal and wood for screws and bolts.
Level: Ensures everything is straight and aligned properly.
Safety Gear: Includes gloves, safety glasses, and ear protection to keep you safe while working.
Pencil and Marker: Useful for marking measurements on wood and metal.
Sandpaper: Smooths out any rough edges on the wooden planks.
Clamps: Holds materials in place while you work on them.
Wrench Set: Tightens bolts and screws securely.
Paint or Stain: Optional, but can be used to finish the wooden frame for a polished look.
Required Skills and Time Commitment
Skill Level: Intermediate
Time Required: Approximately 6-8 hours
- Gather Materials: 1 hour
- Measure and Cut Wood: 1-2 hours
- Attach Corrugated Metal: 1 hour
- Assemble Door Frame: 1 hour
- Install Sliding Hardware: 1-2 hours
- Final Adjustments: 1 hour
How to Build Your Barn Door
Gather Materials:
- Corrugated metal sheet
- Wooden boards (for frame)
- Screws
- Hinges
- Door handle
- Measuring tape
- Saw
- Drill
- Screwdriver
- Sandpaper
Measure Doorway:
- Use measuring tape to measure the height and width of the doorway.
- Add 1 inch to each measurement for overlap.
Cut Wooden Frame:
- Cut wooden boards to match the measurements.
- Sand edges to smooth rough spots.
Assemble Frame:
- Lay out wooden boards in a rectangle.
- Secure corners with screws using a drill.
Attach Metal Sheet:
- Place corrugated metal sheet on the wooden frame.
- Ensure it covers the entire frame.
- Secure metal sheet to the frame with screws.
Install Hinges:
- Attach hinges to one side of the door frame.
- Ensure they are evenly spaced.
Mount Door:
- Hold door in place against the doorway.
- Mark hinge positions on the wall.
- Secure hinges to the wall with screws.
Add Handle:
- Decide on handle placement.
- Drill holes for screws.
- Attach handle to the door.
Test Door:
- Open and close door to ensure it swings smoothly.
- Make any necessary adjustments.
Helpful Tips and Tricks
Measure Twice, Cut Once: Always double-check measurements before cutting. This ensures pieces fit perfectly, saving time and materials.
Use a Level: Keep your door straight by using a level during installation. This prevents a crooked door that won't slide properly.
Pre-Drill Holes: Pre-drill holes in the metal to avoid splitting wood or damaging metal. This makes screwing easier and cleaner.
Protective Gear: Wear gloves and safety glasses when handling metal sheets. Edges can be sharp and cause injuries.
Smooth Edges: File down sharp edges after cutting the metal. This prevents cuts during installation and use.
Weatherproofing: Apply a clear sealant to protect the metal from rust and weather damage. This extends the door's lifespan.
Sliding Mechanism: Choose a high-quality sliding track and rollers. Cheap options may not support the door's weight and can break easily.
Common Mistakes to Avoid:
Incorrect Measurements: Misjudging dimensions leads to ill-fitting doors. Always measure twice.
Skipping Pre-Drilling: Not pre-drilling can split wood or warp metal, making installation difficult.
Ignoring Weight Limits: Using a track that can't support the door's weight results in malfunction or damage.
Alternatives for Materials or Methods:
Wooden Frame: Instead of a full metal door, use a wooden frame with metal panels. This reduces weight and adds a rustic look.
Reclaimed Metal: Use reclaimed corrugated metal for a unique, eco-friendly option. It adds character and reduces waste.
Painted Metal: Paint the metal sheets for a custom look. Use metal-specific paint to ensure durability.
Sliding Barn Door Kit: Purchase a pre-made sliding barn door kit. This simplifies installation and ensures all parts fit together.
Estimating the Cost
Corrugated Metal Sheets: $50-$100 depending on size and quality.
Wood for Frame: $30-$60 for pine or other softwood.
Sliding Door Hardware Kit: $50-$100 for a basic set.
Screws and Fasteners: $10-$20 for a box.
Wood Stain or Paint: $10-$20 for a small can.
Sandpaper: $5 for a pack.
Measuring Tape: $10 if you don't already have one.
Drill: $50-$100 if you need to buy one.
Saw: $20-$50 for a basic hand saw.
Total Estimated Cost: $235-$475.
Budget-Friendly Alternatives:
- Use reclaimed wood for the frame: Free or very cheap.
- Borrow tools like a drill or saw from friends or neighbors.
- Look for second-hand sliding door hardware kits online.
Different Ways to Customize
Alternative Materials: Instead of corrugated metal, try using wood planks for a rustic look or plexiglass for a modern touch. Reclaimed wood can add character and sustainability.
Colors: Paint the door in bold colors like red or blue for a statement piece. For a more subtle look, use neutral tones like white, gray, or beige. Metallic finishes like bronze or copper can add an industrial vibe.
Styles: Add decorative hardware such as vintage handles or modern sleek pulls. Use stencils to create patterns or designs on the door. Incorporate windows or mirrors to make the door more functional and stylish.
Track System: Opt for a hidden track system for a cleaner look. Use exposed hardware for a more industrial feel. Consider a soft-close mechanism to prevent slamming.
Accessories: Add a chalkboard panel for notes or drawings. Attach hooks or shelves for extra storage. Install LED strip lights around the frame for a unique lighting effect.
Eco-Friendly Tips
Reclaimed Wood: Use old barn wood or pallets for the door frame. This reduces waste and adds rustic charm.
Recycled Metal: Look for corrugated metal sheets from salvage yards or recycling centers. They often have perfectly usable pieces.
Eco-Friendly Paint: Choose low-VOC or water-based paints to reduce harmful emissions.
Natural Insulation: Use wool or cotton insulation if needed. These materials are biodegradable and sustainable.
Solar-Powered Tools: Use solar-powered tools to cut and shape materials. This saves energy and reduces your carbon footprint.
Natural Lubricants: Use beeswax or plant-based oils for hinges and sliding mechanisms. These are non-toxic and biodegradable.
Recycled Hardware: Opt for second-hand handles, hinges, and screws. Thrift stores or online marketplaces often have these items.
Upcycled Decor: Add decorative elements like old metal signs or vintage hardware to enhance the door’s look without buying new items.
Your Barn Door Awaits
You've got all the tools and materials ready. Measure your doorway, cut the corrugated metal, and build the frame. Attach the metal to the frame using screws. Install the track and rollers above the doorway. Hang the door on the track and make sure it slides smoothly. Add any handles or locks you want.
This project might seem a bit challenging at first, but with some patience and effort, you can create a stunning barn door. Not only will it add a rustic charm to your space, but it will also give you a sense of accomplishment. So, roll up your sleeves, gather your materials, and get started on your DIY corrugated metal barn door. Happy building!
How do I measure for a corrugated metal barn door?
Measure the door frame's width and height. Add a couple of inches to each side for overlap. This ensures the door covers the frame completely.
What tools will I need?
You'll need a tape measure, screwdriver, drill, metal snips, level, and screws. A saw might be handy if you need to cut the metal sheets.
How do I cut the corrugated metal?
Use metal snips or a saw with a metal-cutting blade. Always wear gloves and safety glasses to protect yourself from sharp edges and flying debris.
How do I attach the metal to the door frame?
First, attach wooden braces to the door frame. Then, screw the corrugated metal sheets onto the braces. Make sure to use self-tapping screws designed for metal.
Can I paint the corrugated metal?
Yes, you can! Use metal primer first, then apply exterior paint. This helps the paint stick and prevents rust.
How do I maintain a corrugated metal barn door?
Regularly check for rust and loose screws. Clean with mild soap and water. Avoid harsh chemicals that could damage the metal.
Is it easy to install a sliding mechanism?
Yes, it is. Attach a track above the door frame and rollers to the top of the door. Make sure everything is level so the door slides smoothly.