
Home>Home & Furniture>Doors & Windows>DIY Car Window Covers
Doors & Windows
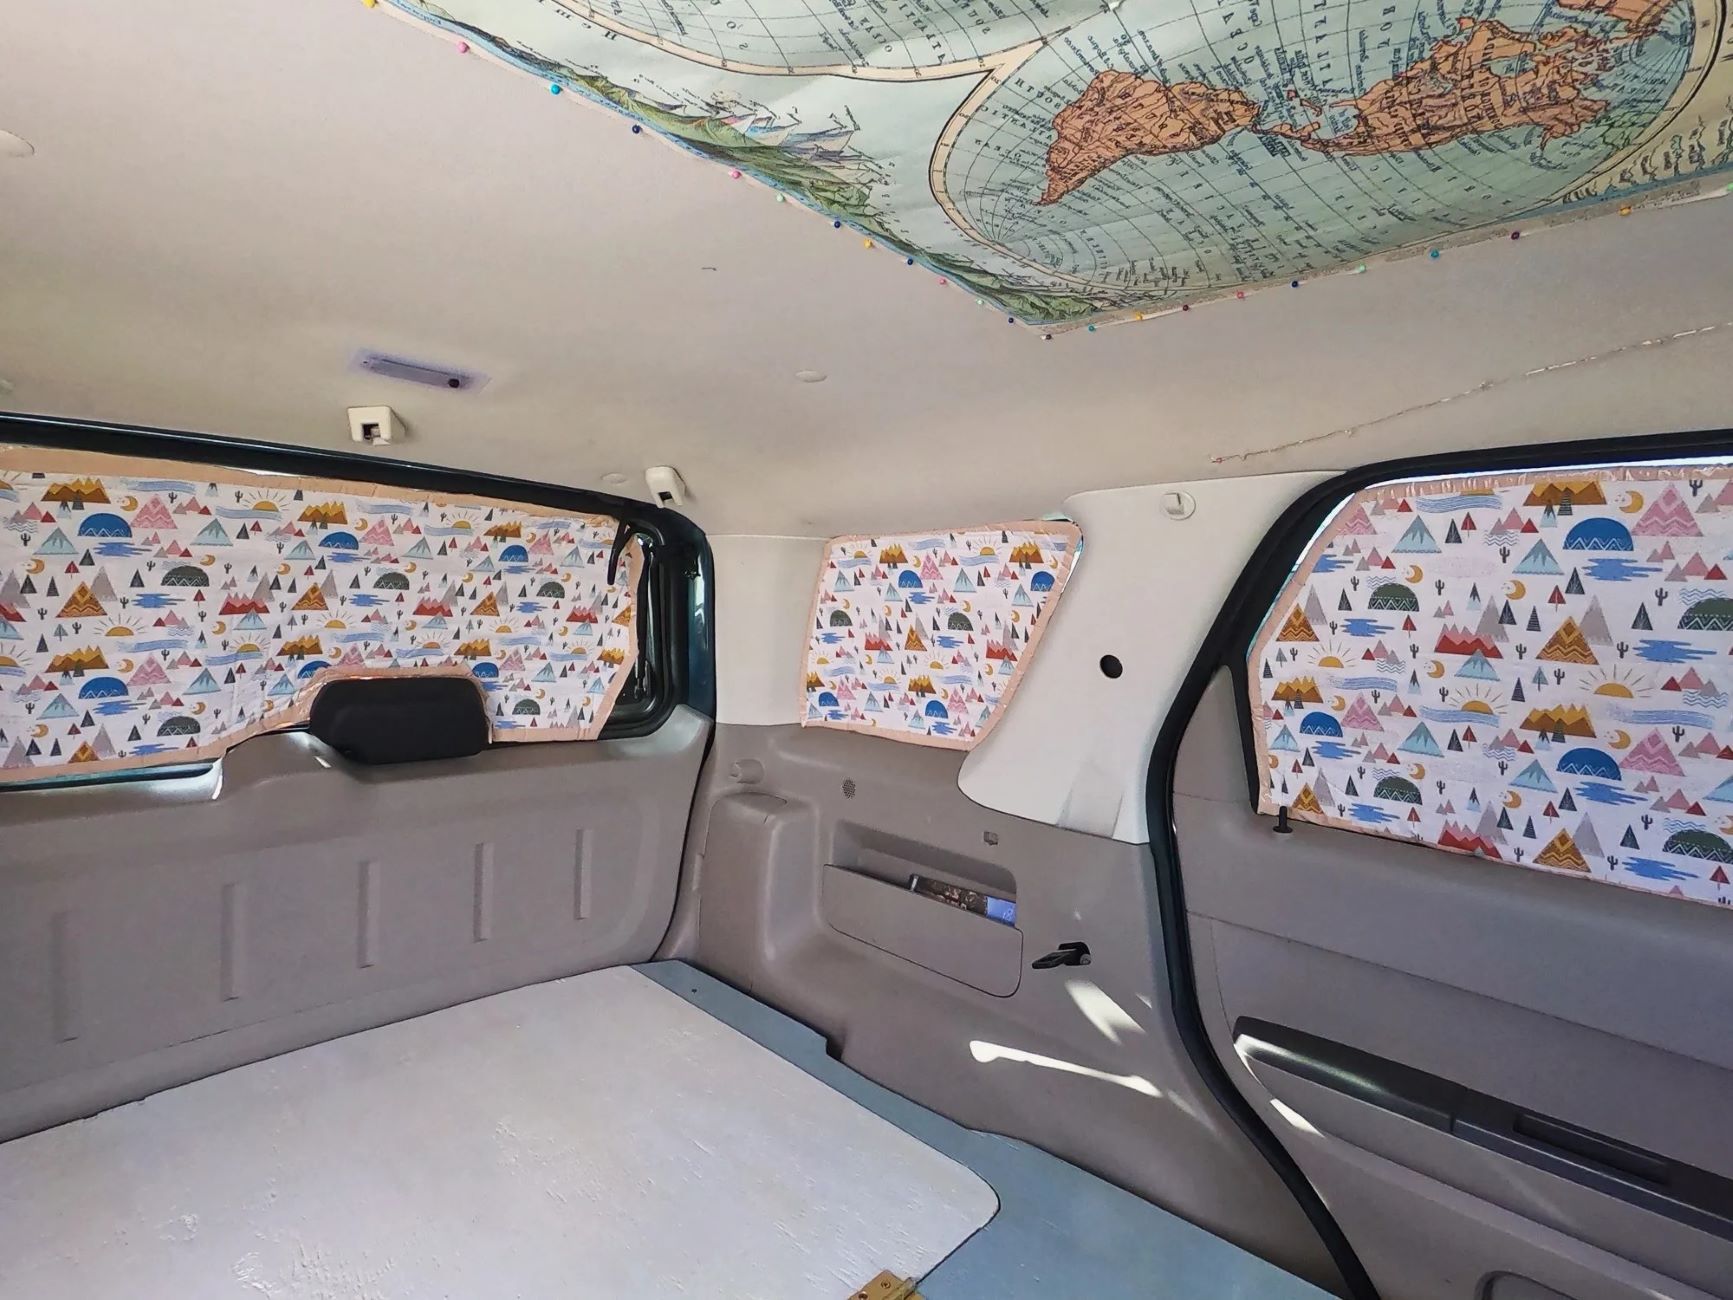
DIY Car Window Covers
Published: August 10, 2024
Learn how to create DIY car window covers with our step-by-step guide. Save money, enhance privacy, and protect your car's interior from sun damage. Perfect for any vehicle!
(Many of the links in this article redirect to a specific reviewed product. Your purchase of these products through affiliate links helps to generate commission for Twigandthistle.com, at no extra cost. Learn more)
Making your own car window covers can be a fun and useful project. Whether you need them for privacy, temperature control, or simply to block out light, crafting these covers is easier than you might think. With a few basic materials and a bit of time, you can create custom-fit covers that meet your needs. Not only will this project save you money, but it also allows you to personalize your vehicle in a way that store-bought options can't match. Ready to get started? Let's dive into the world of DIY car window covers!
Getting Ready for the Project
Gather Materials: Get cardboard, scissors, measuring tape, duct tape, aluminum foil, and Velcro strips.
Measure Windows: Use the measuring tape to get the exact dimensions of each car window.
Cut Cardboard: Cut the cardboard to match the window measurements. Make sure it fits snugly.
Cover with Foil: Wrap the cardboard pieces with aluminum foil. This helps reflect sunlight and keep the car cool.
Secure Edges: Use duct tape to secure the edges of the foil to the cardboard.
Attach Velcro: Stick Velcro strips to the edges of the cardboard and the corresponding spots on the car windows. This makes the covers easy to attach and remove.
Safety Tips: Always wear gloves when cutting cardboard to avoid cuts. Work in a well-ventilated area to avoid inhaling any dust.
Workspace Setup: Clear a large table or floor space to lay out materials. Ensure good lighting to see measurements clearly.
Check Fit: Before finalizing, place each cover on its window to ensure a perfect fit. Adjust as needed.
Store Properly: When not in use, store the covers flat to prevent bending or damage.
What You Need to Get Started
Reflective Sunshade Material: This helps block sunlight and keeps the car cool. Look for a material that is easy to cut and shape.
Scissors: Essential for cutting the sunshade material to fit your car windows.
Measuring Tape: Use this to measure the dimensions of your car windows accurately.
Marker: Mark the measurements on the sunshade material before cutting.
Velcro Strips: These will help attach the covers to the car windows. Velcro makes it easy to remove and reattach the covers.
Adhesive: Strong glue or double-sided tape to secure the Velcro strips to the window frame and sunshade material.
Cardboard: Use this as a template to trace the shape of your car windows onto the sunshade material.
Ruler: Ensures straight lines when marking and cutting the material.
Cloth or Paper Towels: Clean the window frames before attaching the Velcro strips to ensure they stick well.
Utility Knife: Useful for making precise cuts, especially around corners or curves.
Safety Gloves: Protect your hands while cutting and handling the materials.
Straight Pins: Temporarily hold the sunshade material in place while you make adjustments or cuts.
How Much Time and Skill Is Needed?
Skill Level: Beginner
Time Required: 1-2 hours
Steps:
- Measure your car windows.
- Cut fabric or reflective material to fit.
- Attach suction cups or magnets to the edges.
- Place covers on windows.
Materials Needed:
- Fabric or reflective material
- Suction cups or magnets
- Scissors
- Measuring tape
Follow These Steps
Gather Materials:
- Reflective sunshade material
- Scissors
- Measuring tape
- Marker
- Velcro strips or suction cups
Measure Windows:
- Use the measuring tape to measure the height and width of each car window.
- Write down the measurements.
Cut Sunshade Material:
- Lay out the reflective sunshade material on a flat surface.
- Use the marker to outline the window shapes based on your measurements.
- Cut out the shapes with scissors.
Attach Velcro or Suction Cups:
- If using Velcro, cut small strips and stick one side to the edges of the sunshade material.
- Attach the corresponding Velcro pieces to the car window frames.
- If using suction cups, make small holes in the corners of the sunshade material and insert the suction cups.
Install Covers:
- Press the sunshade material onto the car windows, ensuring a snug fit.
- Adjust as needed to cover the entire window.
Test Fit:
- Sit inside the car to check for any gaps or areas that need adjustment.
- Make necessary tweaks to ensure full coverage.
Secure and Enjoy:
- Ensure the covers are securely attached.
- Enjoy the cooler, shaded interior of your car.
Helpful Tips and Tricks
Measure accurately before cutting any material. Use a tape measure to get the exact dimensions of your car windows. Cut slightly larger than needed; you can always trim excess but can't add material back.
Choose the right material. Reflective sunshade material works well for blocking heat. Blackout fabric is great for privacy. Foam board can provide insulation and rigidity.
Use strong magnets or Velcro strips to attach the covers to the window frames. Magnets are easy to remove and reposition, while Velcro offers a more permanent solution.
Sew or glue edges to prevent fraying. If using fabric, a simple hem can make the covers more durable. For foam or reflective material, use duct tape along the edges.
Test fit before finalizing. Place the cover on the window to ensure it fits snugly. Make adjustments as needed.
Common mistakes to avoid:
- Skipping measurements. Guessing often leads to poorly fitting covers.
- Using weak adhesives. Regular tape won't hold up in heat.
- Ignoring window shape. Car windows aren't always perfect rectangles; account for curves and angles.
Alternatives:
- Cardboard can be a quick, temporary solution but lacks durability.
- Bubble wrap offers some insulation and can be easily cut to size.
- Old blankets or towels can work in a pinch but may not look as neat.
How Much Will It Cost?
Materials:
- Reflective Insulation (like Reflectix): $20 for a 25-foot roll
- Black Fabric (for the inside): $10 for 2 yards
- Velcro Strips: $5 for a pack
- Adhesive Spray: $7 for a can
- Scissors: $5 if you don't have them
- Measuring Tape: $3 if you don't have one
Total Cost: Around $50
Budget-Friendly Alternatives:
- Reflective Insulation: Use emergency blankets (space blankets) for $5 each
- Black Fabric: Use old black t-shirts or sheets for free
- Velcro Strips: Use safety pins or binder clips for $2
- Adhesive Spray: Use double-sided tape for $3
Total Cost with Alternatives: Around $15
Different Ways to Customize
Materials: Use reflective sunshade material for better heat protection. Try blackout fabric for privacy. Mesh fabric can provide shade while allowing airflow. Magnetic strips can help attach covers easily.
Colors: Choose dark colors like black or navy for maximum privacy. Light colors like white or beige can keep the car cooler. Bright colors like red or blue can add a fun touch.
Styles: Sew pockets into the covers to hold small items like sunglasses or maps. Add elastic bands to fit snugly around the window frame. Use Velcro strips for easy attachment and removal. Create custom shapes to fit unique window designs. Decorate with fabric paint or stickers for a personalized look.
Eco-Friendly Ideas
Recycled cardboard can make sturdy window covers. Cut pieces to fit your car windows, then cover them with aluminum foil to reflect sunlight.
Old blankets or towels can be cut to size and hemmed for a snug fit. Attach them using velcro strips or suction cups.
Reusable shopping bags can be repurposed. Cut them open, flatten them out, and trim to fit your windows. These often have a reflective inner layer that helps block heat.
Bubble wrap is another option. It provides insulation and can be easily cut to size. Attach it with double-sided tape.
Fabric scraps from old clothes or sheets can be sewn together. Add a layer of blackout fabric for extra sun-blocking power. Use magnets or clips to secure them in place.
Old sunshades can be cut down to fit smaller windows. They already have a reflective surface and are easy to trim.
Newspaper or magazines can be layered and taped together for a temporary solution. They block light and can be recycled afterward.
Plastic bottles can be cut and flattened to create a sturdy, waterproof cover. Attach them with elastic bands or binder clips.
Corkboard can be cut to size and used as a window cover. It's lightweight and can be easily secured with adhesive hooks.
Old shower curtains can be repurposed. Cut them to fit and attach with suction cups or magnets.
Your DIY Adventure Awaits
You've got the tools, the materials, and the know-how. Making your own car window covers isn't just about saving money; it's about creating something custom and useful. Remember to measure your windows carefully, choose the right fabric, and take your time with the cutting and sewing. If you hit a snag, don't stress. Every mistake is a learning opportunity. Plus, you can always tweak and improve your design. Once you're done, you'll have a set of window covers that fit perfectly and reflect your personal style. So, roll up those sleeves and get started. Your car will thank you, and you'll feel a sense of accomplishment every time you hit the road. Happy crafting!
How do I measure my car windows for covers?
Use a tape measure to get the width and height of each window. Measure from the inside edge of the window frame. Write down the measurements for each window.
What materials work best for DIY car window covers?
Reflective materials like Reflectix or sunshade fabric are great. They block heat and light. You can also use blackout fabric for privacy.
How do I attach the covers to my car windows?
Velcro strips or suction cups work well. Velcro sticks to the window frame, while suction cups stick directly to the glass. Both are easy to remove.
Can I make covers for oddly shaped windows?
Yes, you can! Trace the shape of the window on paper first. Use the paper as a template to cut the fabric. This way, you get a perfect fit.
Are DIY car window covers safe for driving?
Only use them when parked. They block your view, making driving dangerous. Always remove them before hitting the road.
How do I store my DIY car window covers?
Roll them up or fold them flat. Store them in a bag or box to keep them clean. This way, they’re ready to use next time.
Can I wash my DIY car window covers?
Yes, most can be hand-washed with mild soap and water. Let them air dry completely before using them again. This keeps them in good shape.