
Home>Home & Furniture>Bedroom>DIY Storage Shelves for Organizing Your Bedroom
Bedroom
DIY Storage Shelves for Organizing Your Bedroom
Published: July 22, 2024
Discover how to create DIY storage shelves to organize your bedroom efficiently. Maximize space, reduce clutter, and add a personal touch with our step-by-step guide.
(Many of the links in this article redirect to a specific reviewed product. Your purchase of these products through affiliate links helps to generate commission for Twigandthistle.com, at no extra cost. Learn more)
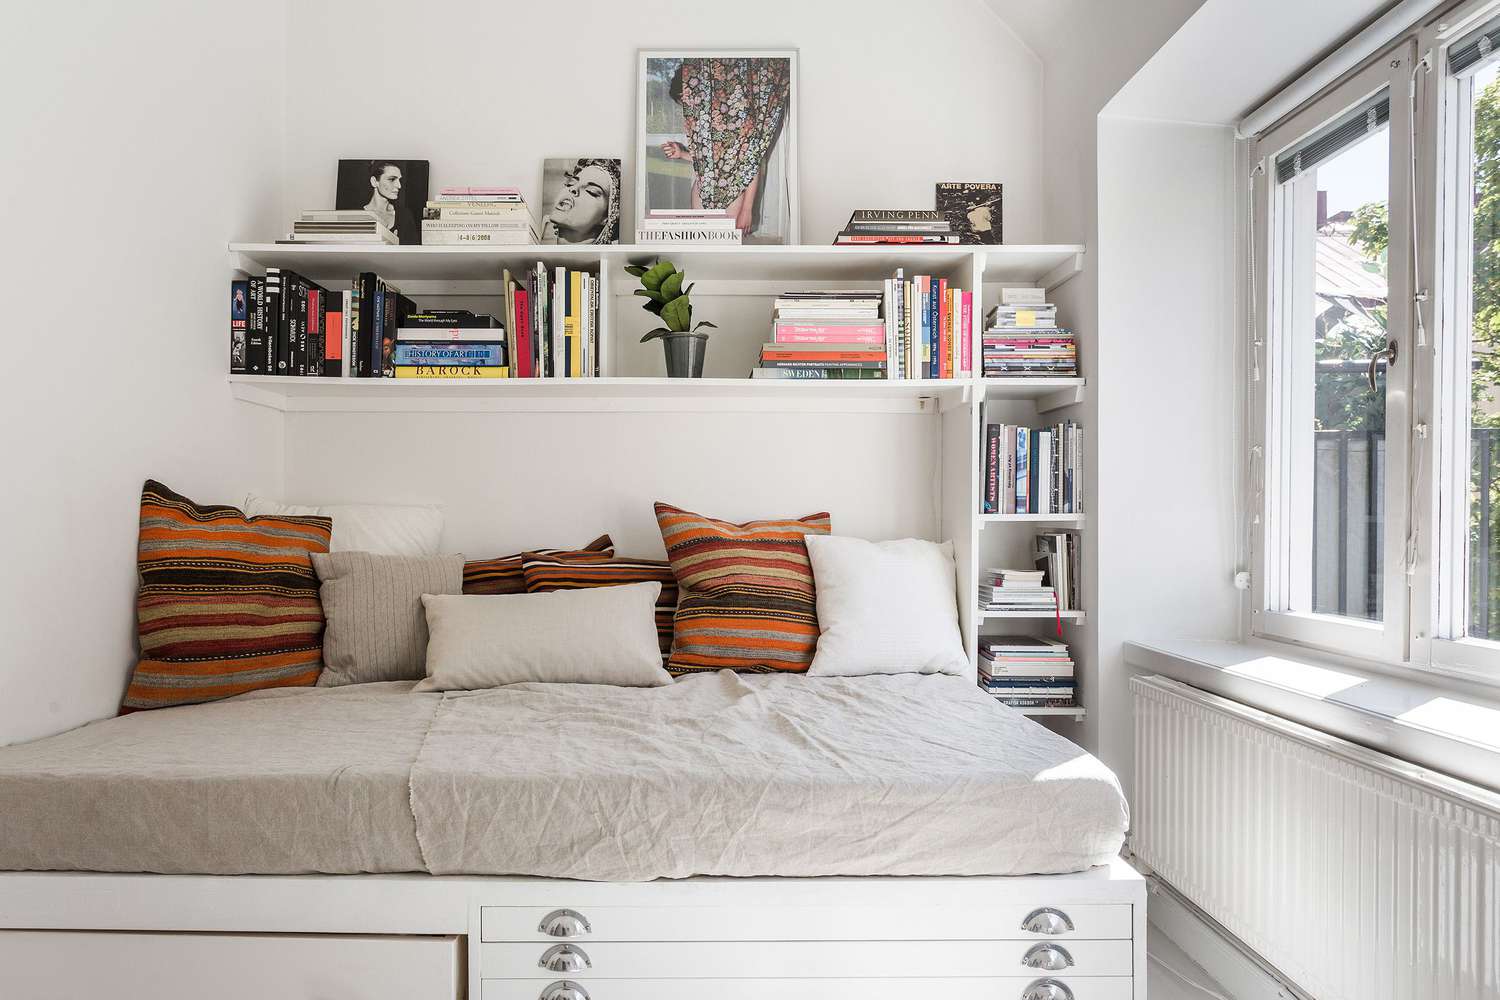
Tired of tripping over clothes, books, and random trinkets scattered all over your bedroom? DIY storage shelves could be the solution you need. Building your own shelves is not only a fun project but also a great way to customize your space. Whether you’re looking to store shoes, display your favorite books, or keep your gadgets organized, creating your own shelves lets you design everything to fit your specific needs. Plus, you can choose materials and colors that match your room’s decor perfectly. Ready to get started? Let’s dive into the world of DIY storage shelves!
Getting Ready for Your Project
Gather Materials: Collect wood, screws, brackets, a drill, a saw, a measuring tape, a level, sandpaper, and paint or stain.
Measure the Space: Use a measuring tape to determine the dimensions of the area where the shelves will go. Write down these measurements.
Design Your Shelves: Sketch a simple design based on your measurements. Decide how many shelves you need and their spacing.
Cut the Wood: Use a saw to cut the wood to the required lengths. Sand the edges to smooth them out.
Pre-Drill Holes: Mark where the screws will go and pre-drill holes to make assembly easier.
Assemble the Shelves: Attach the brackets to the wall using a drill. Ensure they are level. Then, secure the wood planks to the brackets.
Paint or Stain: Apply paint or stain to the shelves. Let them dry completely before placing items on them.
Safety Tips:
- Wear Safety Gear: Always wear safety goggles and gloves when cutting wood or using a drill.
- Work in a Ventilated Area: If painting or staining, do it in a well-ventilated space to avoid inhaling fumes.
- Secure the Workspace: Ensure your work area is stable and free of clutter to prevent accidents.
What You Need: Materials and Tools
- Wooden Boards: These will form the shelves. Choose sturdy wood like pine or oak for durability.
- Brackets: Metal brackets support the shelves. Ensure they are strong enough to hold the weight of items you plan to store.
- Screws: Use wood screws to attach the brackets to the wall and the shelves to the brackets. Make sure they are the right length to secure everything firmly.
- Wall Anchors: These provide extra support for the screws, especially if attaching shelves to drywall.
- Drill: A power drill makes creating holes for screws and anchors easier. A cordless drill is convenient for mobility.
- Level: Ensures shelves are straight. A small bubble level works well for this task.
- Measuring Tape: Measure the space where shelves will go. Accurate measurements ensure a good fit.
- Pencil: Mark spots on the wall where screws and brackets will go. A pencil mark is easy to erase if adjustments are needed.
- Stud Finder: Locates wall studs to securely attach brackets. Shelves anchored to studs hold more weight.
- Sandpaper: Smooths the edges of wooden boards. This prevents splinters and gives a polished look.
- Paint or Stain: Customize the shelves to match your room’s decor. Choose a color or finish that complements your space.
- Paintbrushes: Apply paint or stain evenly. Use different sizes for detailed work and larger areas.
- Safety Gear: Wear safety glasses to protect eyes from dust and debris. Gloves protect hands while handling wood and tools.
How Much Time and Skill You Need
Skill Level: Beginner
Time Required: 3-4 hours
- Gather Materials: 30 minutes
- Measure and Cut Wood: 1 hour
- Assemble Shelves: 1 hour
- Mount Shelves: 30 minutes
- Clean Up: 30 minutes
Instructions: Step by Step
Gather Materials:
- Wood planks (size depends on your space)
- Brackets (2 per shelf)
- Screws
- Drill
- Level
- Measuring tape
- Pencil
- Sandpaper
- Paint or stain (optional)
Measure and Mark:
- Use the measuring tape to determine where you want the shelves.
- Mark the spots with a pencil.
Cut Wood Planks:
- If needed, cut the wood planks to the desired length.
- Sand the edges with sandpaper to smooth them out.
Paint or Stain:
- Apply paint or stain to the wood planks if desired.
- Let them dry completely.
Install Brackets:
- Hold a bracket against the wall at your marked spot.
- Use a level to ensure it’s straight.
- Drill screws into the wall through the bracket holes.
- Repeat for the second bracket, making sure both are level.
Attach Shelves:
- Place the wood plank on the brackets.
- Drill screws through the bracket holes into the wood to secure the shelf.
Repeat:
- Repeat the process for additional shelves, ensuring each one is level and securely attached.
Organize:
- Place your items on the new shelves, organizing them as you like.
Helpful Tips and Tricks
Measure your space before starting. This ensures shelves fit perfectly. Use a level to keep shelves straight. Crooked shelves look bad and items might slide off. Anchor shelves to studs in the wall for stability. If studs aren't available, use heavy-duty wall anchors.
Common mistakes include not measuring correctly, leading to shelves that don't fit. Another mistake is using weak materials that can't hold weight. Avoid placing shelves too high or too low; they should be easily reachable.
Alternatives for materials include using reclaimed wood for a rustic look or metal brackets for a modern touch. Instead of traditional shelves, consider floating shelves for a sleek, minimalist style.
How Much Will It Cost?
Materials:
- Plywood: $50 (for a 4x8 sheet)
- 2x4 Lumber: $30 (for 4 pieces)
- Wood Screws: $10 (1 box)
- Wood Glue: $5 (1 bottle)
- Sandpaper: $5 (pack of assorted grits)
- Paint or Stain: $15 (1 quart)
- Brackets: $10 (4 pieces)
Tools:
- Circular Saw: $60 (or rent for $15/day)
- Drill: $40 (or borrow if possible)
- Tape Measure: $10
- Level: $10
- Paintbrushes: $5 (pack of 3)
Total Cost: Approximately $250
Budget-Friendly Alternatives:
- Plywood: Use MDF instead, $30
- 2x4 Lumber: Use reclaimed wood, $0 (if available)
- Wood Screws: Buy in bulk, $5
- Paint or Stain: Use leftover paint, $0
- Brackets: Make your own from scrap wood, $0
Total Cost with Alternatives: Approximately $150
Different Ways to Customize
Materials: Instead of standard wood, try using reclaimed wood for a rustic look. Metal pipes can give an industrial feel. Acrylic or glass shelves offer a modern, sleek appearance.
Colors: Paint shelves in bright colors like teal or yellow for a pop of color. Use neutral tones like white, gray, or beige for a minimalist vibe. Stain wood in dark walnut or cherry for a classic, rich finish.
Styles: Floating shelves create a clean, modern look. Corner shelves maximize space in small rooms. Ladder shelves add a unique, trendy touch. Built-in shelves can blend seamlessly with existing furniture.
Shapes: Experiment with geometric shapes like hexagons or triangles for a contemporary design. Circular shelves can add a playful element. Asymmetrical arrangements offer a dynamic, artistic feel.
Additional Features: Add hooks underneath for hanging items like hats or bags. Incorporate baskets or bins for hidden storage. Install LED strip lights for a cool, illuminated effect. Use decorative brackets to enhance the shelf's style.
Eco-Friendly Ideas
Reclaimed wood makes excellent shelves. Old pallets or barn wood can be sanded and stained for a rustic look. Upcycled crates or wine boxes can be stacked or mounted on walls for unique storage. Bamboo is a fast-growing, renewable resource that works well for lightweight shelves. Metal pipes from old plumbing can create sturdy, industrial-style supports. Eco-friendly paint or finishes, such as those low in volatile organic compounds (VOCs), keep the air cleaner. Recycled glass or plastic can be used for shelf surfaces or decorative elements. Natural fiber ropes or twine can replace metal brackets for a softer, more organic look. Second-hand furniture pieces can be disassembled and repurposed into new shelving units. Cork is another sustainable material that can be used for shelf liners or bulletin boards. Cardboard tubes from paper towels or wrapping paper can be cut and painted for small item storage.
Your Bedroom's New Best Friend
Building your own storage shelves isn't just about saving money; it's about creating something that fits your needs perfectly. You've learned how to measure, cut, assemble, and finish your shelves. Now, your bedroom can be more organized, and you'll have a sense of accomplishment every time you look at your handiwork. Remember, the key to a successful DIY project is patience and attention to detail. Don't rush the process. Take your time, and you'll end up with a piece that not only serves a purpose but also adds a personal touch to your space. So grab those tools, get creative, and start building. Your clutter-free, stylish bedroom awaits!
How much does it cost to build DIY storage shelves?
The cost varies based on materials. Basic wood and brackets might set you back $50-$100. Fancy wood or metal can push it higher.
What tools do I need?
You’ll need a tape measure, saw, drill, screws, level, and brackets. A stud finder helps if you’re mounting to a wall.
How long does it take to build?
For a simple shelf, expect about 2-4 hours. More complex designs or multiple shelves can take a weekend.
Can I customize the size?
Absolutely! Measure your space first. Cut shelves to fit your needs. Customization is one of the best parts of DIY.
What type of wood should I use?
Pine is affordable and easy to work with. Oak or maple is sturdier but pricier. Plywood works for a budget-friendly option.
How do I make sure the shelves are level?
Use a level when installing brackets. Double-check before securing the shelves. Adjust as needed to keep everything straight.
Can I paint or stain the shelves?
Yes, you can paint or stain to match your room’s decor. Sand the wood first for a smooth finish. Apply primer before painting.