
Home>Home & Furniture>Bathroom>How to Create a Board and Batten Bathroom
Bathroom
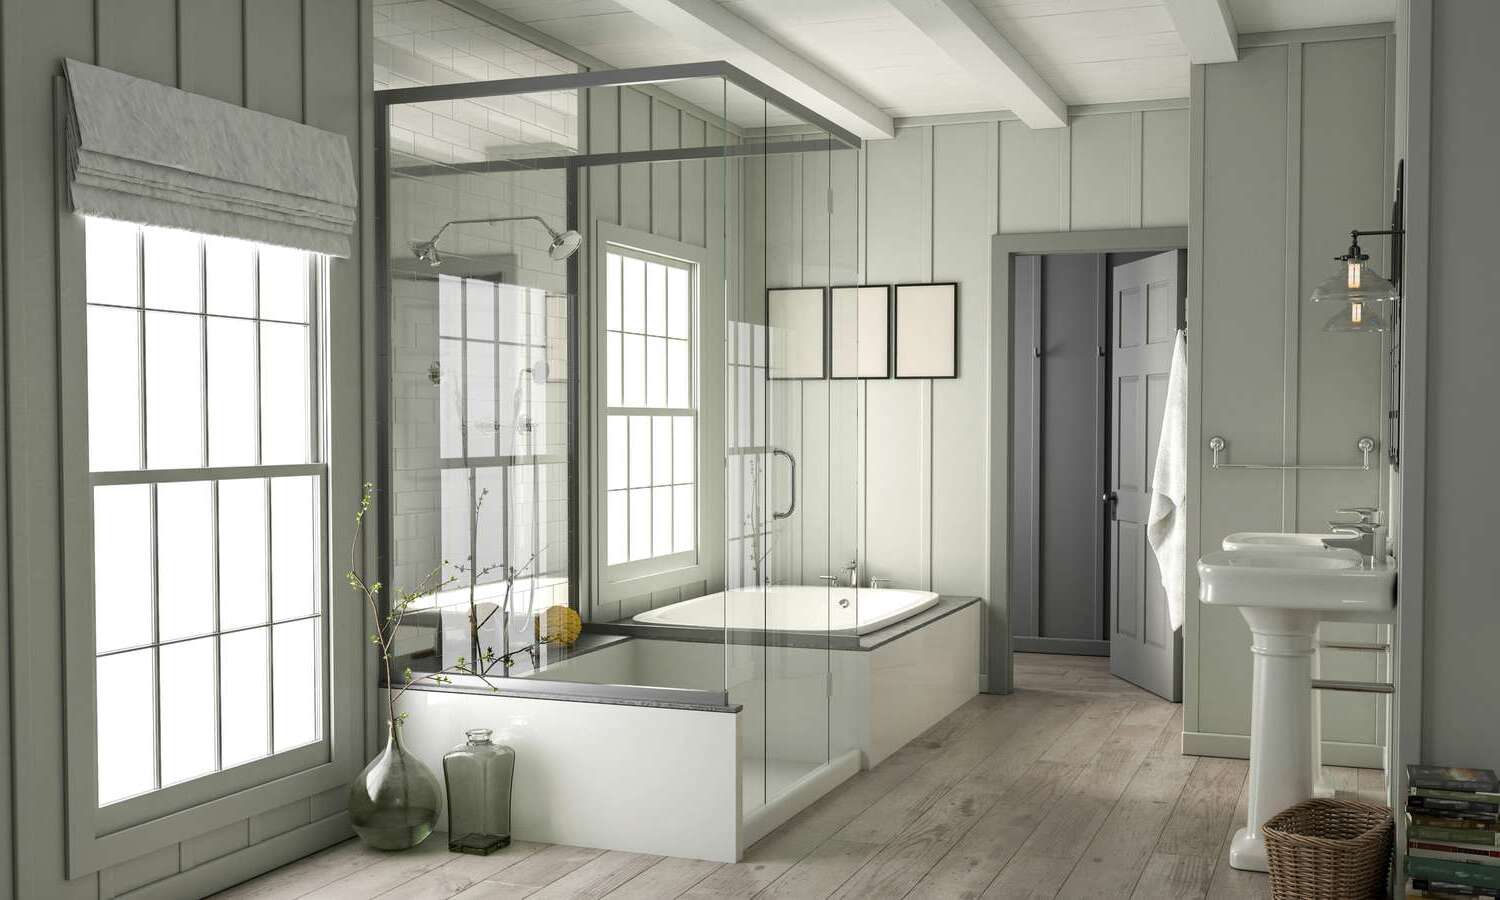
How to Create a Board and Batten Bathroom
Published: July 13, 2024
Transform your bathroom with a stylish board and batten design. Learn step-by-step instructions, tips, and tricks to create a stunning and functional space.
(Many of the links in this article redirect to a specific reviewed product. Your purchase of these products through affiliate links helps to generate commission for Twigandthistle.com, at no extra cost. Learn more)
Transforming a bathroom with board and batten is a rewarding DIY project. This classic wall treatment adds depth and character, making spaces feel cozy yet stylish. Perfect for beginners, it requires basic tools and materials easily found at any hardware store. Plus, it's a budget-friendly way to give your bathroom a fresh, updated look. With some planning, measuring, cutting, and painting, you can achieve a professional finish. It’s a fun project that can be done over a weekend, making it ideal for those looking to spruce up their space without a major renovation. Ready to get started? Let’s dive in!
Getting Ready for Your Project
- Measure your bathroom walls to determine the height and spacing of the battens.
- Gather materials: wood boards, battens, nails, a level, measuring tape, paint, primer, and a saw.
- Clear the workspace by removing any fixtures, decorations, or furniture.
- Clean the walls thoroughly to ensure paint and adhesive will stick properly.
- Turn off power to any electrical outlets or switches on the walls to avoid accidents.
- Wear safety gear: gloves, safety glasses, and a dust mask.
- Cut the boards and battens to the required lengths using a saw.
- Prime and paint the boards and battens before attaching them to the wall.
- Mark the wall with a pencil where each batten will be placed.
- Use a level to ensure the battens are straight before nailing them to the wall.
- Fill any gaps or nail holes with wood filler, then sand smooth.
- Apply a final coat of paint to the entire wall for a uniform finish.
Gather Your Materials and Tools
- Measuring Tape: Essential for accurate measurements of walls and batten spacing.
- Level: Ensures battens are straight and even.
- Pencil: Marks measurements and placement points.
- Stud Finder: Locates wall studs for secure batten attachment.
- Miter Saw: Cuts boards to precise lengths and angles.
- Nail Gun: Quickly attaches boards to the wall.
- Nails: Secures battens and boards in place.
- Wood Filler: Fills nail holes and gaps for a smooth finish.
- Sandpaper: Smooths wood surfaces and filled areas.
- Primer: Prepares wood for paint, ensuring better adhesion.
- Paint: Adds color and protection to the wood.
- Paintbrushes/Rollers: Applies paint evenly.
- Caulk: Seals gaps between boards and walls.
- Drop Cloths: Protects floors from paint and debris.
- Safety Gear: Includes gloves, goggles, and a mask for protection during cutting and painting.
Required Skills and Time Commitment
Skill Level: Intermediate
Time Required: 1-2 days
- Measure and Plan: 1-2 hours
- Cut Boards: 2-3 hours
- Attach Boards: 3-4 hours
- Fill Gaps and Sand: 1-2 hours
- Paint: 4-6 hours
Detailed Steps to Follow
Gather Materials:
- Boards (1x4 or 1x6)
- Battens (1x2)
- Measuring tape
- Level
- Saw
- Nail gun or hammer and nails
- Wood filler
- Sandpaper
- Primer and paint
- Paintbrush or roller
Prepare the Wall:
- Remove any existing trim or baseboards.
- Clean the wall surface to ensure it’s free of dust and debris.
Measure and Cut Boards:
- Measure the height of the wall.
- Cut the boards to the desired height using a saw.
- Cut the battens to the same height.
Attach the Boards:
- Start with the bottom board (baseboard).
- Use a level to ensure it’s straight.
- Attach it to the wall using a nail gun or hammer and nails.
Install Vertical Battens:
- Measure the distance between each batten (typically 12-16 inches apart).
- Use a level to ensure each batten is straight.
- Nail the battens to the wall.
Fill Gaps and Holes:
- Use wood filler to fill any gaps between the boards and battens.
- Fill nail holes as well.
Sand the Surface:
- Once the wood filler is dry, sand the entire surface to ensure it’s smooth.
Prime the Wood:
- Apply a coat of primer to the boards and battens.
- Let it dry completely.
Paint the Wall:
- Apply your chosen paint color using a brush or roller.
- Allow the first coat to dry, then apply a second coat if needed.
Reattach Trim:
- If you removed any trim or baseboards, reattach them now.
Clean Up:
- Clean any paint spills or drips.
- Put away tools and materials.
Helpful Tips and Tricks
Measure twice, cut once. Accurate measurements prevent wasted materials. Use a level to ensure boards are straight. Prime and paint boards before installation to save time. Use a stud finder to locate wall studs for secure attachment. Caulk gaps between boards and wall for a seamless look.
Common mistakes include not sanding boards, leading to rough surfaces. Avoid using nails only; screws provide better hold. Skipping primer can cause paint to peel.
For materials, MDF is a cheaper alternative to wood. Instead of traditional battens, trim molding can add a decorative touch. If you lack a nail gun, construction adhesive works for attaching boards.
Estimating the Cost
Materials:
- Wood boards: $50-$100
- Battens (narrow strips of wood): $30-$60
- Primer and paint: $40-$80
- Wood filler: $5-$10
- Caulk: $5-$10
- Sandpaper: $5-$10
Tools:
- Measuring tape: $10-$15
- Level: $10-$20
- Saw (hand or power): $30-$100
- Hammer or nail gun: $20-$150
- Paintbrushes or rollers: $10-$20
- Caulk gun: $5-$15
Total Cost: $220-$590
Budget-Friendly Alternatives:
- Use MDF boards instead of real wood: $30-$60
- Borrow tools from friends or family
- Buy paint and primer in one: $30-$50
- Use a manual saw: $10-$20
Alternative Total Cost: $110-$275
Different Ways to Customize
Materials: Instead of traditional wood, consider using MDF (medium-density fiberboard) for a smoother finish. For a more rustic look, try reclaimed wood. PVC boards work well in high-moisture areas.
Colors: Classic white offers a clean, timeless look. For a modern twist, paint the boards a dark navy or charcoal gray. Soft pastels like mint green or pale blue create a calming atmosphere.
Styles: Traditional board and batten features evenly spaced vertical boards. For a unique touch, try a horizontal layout. Adding a decorative ledge or shelf on top of the battens provides extra storage and visual interest.
Finishes: A matte finish gives a subtle, sophisticated look. For a more dramatic effect, use a high-gloss finish. Distressed or weathered finishes add character and charm.
Height: Standard board and batten usually covers the lower half of the wall. For a more dramatic effect, extend it to three-quarters of the wall height or even full height.
Spacing: Vary the spacing between the battens for a custom look. Wider spacing creates a more open feel, while closer spacing offers a denser, more structured appearance.
Accents: Incorporate decorative trim or molding at the top for added elegance. Use contrasting colors for the battens and boards to make the design pop. Add hooks or towel bars for functionality.
Eco-Friendly Suggestions
Reclaimed Wood: Use reclaimed wood for the boards and battens. It adds character and reduces the demand for new lumber.
Low-VOC Paint: Choose low-VOC (Volatile Organic Compounds) paint to reduce harmful emissions. This helps improve indoor air quality.
Bamboo: Consider bamboo for the battens. Bamboo grows quickly, making it a sustainable choice.
Recycled Materials: Look for recycled materials for trim and molding. Many stores offer products made from recycled plastics or wood.
Natural Sealants: Use natural sealants like beeswax or linseed oil instead of chemical-based ones. These are less harmful to the environment.
Energy-Efficient Lighting: Install LED lights in the bathroom. They use less energy and last longer than traditional bulbs.
Water-Based Adhesives: Opt for water-based adhesives when attaching the boards and battens. They are less toxic and easier to clean up.
Salvaged Hardware: Use salvaged or vintage hardware for hooks, handles, and fixtures. This reduces waste and adds a unique touch.
Insulation: Add eco-friendly insulation behind the boards. Options like recycled denim or sheep’s wool are effective and sustainable.
Upcycled Decor: Decorate with upcycled items. Old mirrors, shelves, or frames can be repurposed to fit the new design.
Your Bathroom's New Look
You've done it! Your bathroom now boasts a board and batten look that’s both stylish and functional. All that hard work has paid off. From measuring and cutting to painting and installing, each step brought you closer to a fresh, updated space. Remember, the key to any successful DIY project is patience and attention to detail. Don't stress if things didn't go perfectly; every mistake is a learning opportunity. Now, take a moment to admire your handiwork. You've transformed a plain bathroom into a cozy, inviting retreat. Enjoy the satisfaction of knowing you did it yourself. Next time you tackle a home improvement project, you'll have even more confidence and experience under your belt. Happy DIY-ing!
What materials do I need for a board and batten bathroom?
You'll need wood boards, battens, measuring tape, level, saw, nails or screws, wood filler, paint, and primer.
How do I measure for the boards and battens?
Measure the height and width of your walls. Decide on the spacing between battens, then calculate how many boards and battens you'll need.
Can I install board and batten over existing tile?
Yes, but you'll need to use construction adhesive and nails to secure the boards. Make sure the tile is clean and dry before starting.
Do I need to paint the boards before installing them?
It's easier to prime and paint the boards before installation. Touch up any spots after everything's in place.
How do I ensure the boards are level?
Use a level and measuring tape. Mark the wall where each board will go, then double-check everything before nailing or screwing them in.
What kind of paint should I use?
Use moisture-resistant paint, especially for bathrooms. Semi-gloss or satin finishes work well since they're easy to clean.
How do I fill gaps between the boards and wall?
Use wood filler or caulk to fill any gaps. Sand it smooth once dry, then paint over it for a seamless look.