
Home>Home & Furniture>Bathroom>DIY Bathtub Tray: How to Build a Relaxing Bath Caddy
Bathroom
DIY Bathtub Tray: How to Build a Relaxing Bath Caddy
Published: July 12, 2024
Learn how to build a DIY bathtub tray with our step-by-step guide. Create a relaxing bath caddy to hold your book, wine, and candles for the ultimate spa experience at home.
(Many of the links in this article redirect to a specific reviewed product. Your purchase of these products through affiliate links helps to generate commission for Twigandthistle.com, at no extra cost. Learn more)
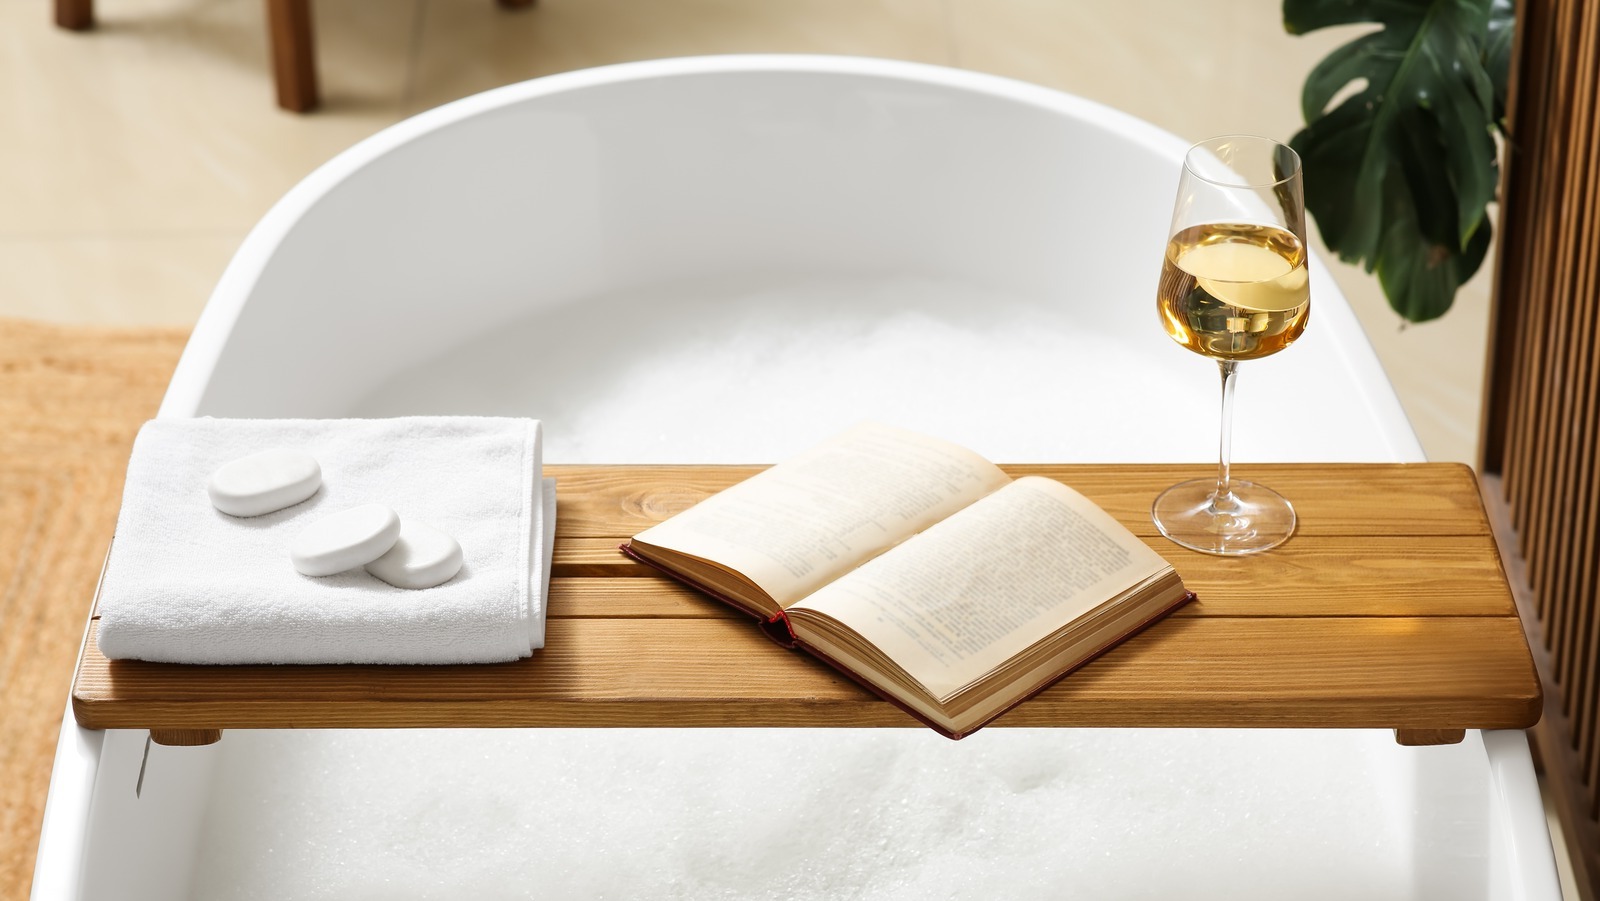
Creating your own bathtub tray can transform bath time into a relaxing retreat. A DIY bath caddy lets you customize it to hold books, candles, snacks, or even a tablet. No need for professional carpentry skills—basic tools and materials will suffice. Ideal for beginners, this project offers both function and fun. Picture yourself unwinding with all your essentials within arm's reach, making your bath more enjoyable and stress-free. Ready to start? Let's dive right in!
Getting Ready for Your Project
Gather Materials: Collect wood, sandpaper, wood stain, polyurethane, a measuring tape, a saw, a drill, screws, and handles.
Measure Your Bathtub: Measure the width of your bathtub to ensure the tray fits perfectly. Add a few extra inches on each side for stability.
Cut the Wood: Use a saw to cut the wood to the desired length. Make sure the edges are smooth.
Sand the Wood: Sand all surfaces to remove splinters and rough spots. This will make the tray comfortable to use.
Apply Wood Stain: Stain the wood to your preferred color. Let it dry completely.
Seal with Polyurethane: Apply a coat of polyurethane to protect the wood from water damage. Allow it to dry thoroughly.
Attach Handles: Drill holes and attach handles to each side of the tray for easy lifting.
Safety Tips: Wear safety goggles and gloves while cutting and sanding. Work in a well-ventilated area to avoid inhaling fumes from the stain and polyurethane.
Workspace Setup: Ensure your workspace is clean and organized. Lay down a drop cloth to protect surfaces from stains and sawdust.
Preliminary Tasks: Double-check all measurements and materials before starting. Make sure all tools are in good working condition.
Gathering Your Supplies
Materials:
- Wood Board: Choose a sturdy, water-resistant wood like cedar or teak. This will be the main surface of your tray.
- Sandpaper: Use to smooth the edges and surface of the wood board.
- Wood Stain or Sealant: Protects the wood from water damage and gives it a nice finish.
- Handles: Optional but useful for easy carrying. Choose metal or wooden handles.
- Rubber Feet: Prevents the tray from slipping off the bathtub.
Tools:
- Measuring Tape: Ensures the wood board fits perfectly across your bathtub.
- Saw: Cuts the wood board to the desired length.
- Drill: Makes holes for the handles and rubber feet.
- Screwdriver: Tightens screws for handles and rubber feet.
- Paintbrush: Applies the wood stain or sealant evenly.
These materials and tools will help you create a functional and stylish bathtub tray.
Skill Level and Time Commitment
Skill Level: Beginner
Time Required: 2-3 hours
Building Your Bath Caddy: Step-by-Step
Gather Materials:
- Wooden board (size depends on your bathtub width)
- Sandpaper
- Wood stain or paint
- Polyurethane sealant
- Measuring tape
- Pencil
- Saw
- Clamps
- Wood glue
- Handles (optional)
- Drill
Measure and Cut:
- Measure the width of your bathtub.
- Mark the wooden board to the desired length.
- Use the saw to cut the board to size.
Sand the Wood:
- Sand all edges and surfaces of the board until smooth.
- Wipe away dust with a damp cloth.
Stain or Paint:
- Apply wood stain or paint to the board.
- Let it dry completely.
- Apply a second coat if needed.
Seal the Wood:
- Apply a coat of polyurethane sealant.
- Allow it to dry.
- Sand lightly with fine-grit sandpaper.
- Apply a second coat of sealant.
Add Handles (Optional):
- Mark where you want the handles on each end of the board.
- Drill holes for the handles.
- Attach handles using screws.
Attach Support Strips:
- Measure and cut two small strips of wood to fit under the tray.
- Glue these strips to the underside of the tray, near the edges, to prevent sliding.
- Clamp strips in place until the glue dries.
Final Touches:
- Sand any rough spots.
- Apply a final coat of sealant if needed.
- Let everything dry completely.
Test Fit:
- Place the tray on your bathtub.
- Ensure it fits securely and doesn’t wobble.
Enjoy your new bathtub tray!
Helpful Hints for Success
Measure your bathtub's width accurately. Use a tape measure to ensure the tray fits snugly without slipping. Choose water-resistant wood like cedar or teak to prevent warping. Sand the wood thoroughly to avoid splinters. Apply a waterproof sealant to protect the wood from moisture. Attach non-slip grips or rubber pads underneath to keep the tray stable.
Common mistakes include using untreated wood, which can warp or rot. Avoid using nails that can rust; opt for stainless steel screws instead. Don't forget to measure twice before cutting to avoid errors.
For materials, consider using bamboo as an alternative to wood. It's naturally water-resistant and eco-friendly. If you prefer a different method, try using a plastic cutting board as a base and adding silicone grips for stability.
Budgeting for Your Bathtub Tray
Materials:
- Wood plank (cedar or pine): $10-$20
- Sandpaper (various grits): $5
- Wood stain or paint: $5-$10
- Polyurethane (for waterproofing): $10
- Handles (optional): $5-$10
- Non-slip pads: $5
Tools:
- Measuring tape: $5
- Saw (hand saw or circular saw): $20-$50
- Drill: $30-$50
- Paintbrushes: $5
- Clamps (optional): $10
Total Cost: $95-$165
Budget-Friendly Alternatives:
- Use scrap wood or reclaimed wood: Free or very cheap
- Borrow tools from friends or family: Free
- Skip handles and non-slip pads: Save $10-$15
Personalizing Your Bath Caddy
Materials: Instead of traditional wood, consider using bamboo for a more eco-friendly option. Acrylic can give a modern, sleek look, while reclaimed wood adds a rustic charm.
Colors: Paint your tray in pastel shades for a calming effect or use bold colors to make it a statement piece. Staining the wood can highlight its natural grain, giving it a more sophisticated appearance.
Styles: Add handles on the sides for easy lifting. Incorporate a book holder or tablet stand to keep your reading material dry. Attach a wine glass holder for added luxury.
Finishes: Use a waterproof sealant to protect the tray from moisture. A glossy finish can make it look more polished, while a matte finish offers a more understated elegance.
Personal Touches: Engrave your initials or a favorite quote on the tray. Attach small hooks for hanging bath accessories or add a built-in candle holder for a spa-like experience.
Eco-Friendly Ideas for Your Project
Reclaimed Wood: Use old wood from pallets or furniture. Sand it down to remove splinters and give it a smooth finish.
Bamboo: Bamboo grows quickly, making it a sustainable choice. It’s also water-resistant, perfect for a bath caddy.
Eco-friendly Stain: Choose non-toxic, water-based stains or finishes to protect the wood without harmful chemicals.
Recycled Handles: Repurpose old drawer handles or knobs for the tray. They add character and reduce waste.
Natural Sealants: Use beeswax or linseed oil to seal the wood. These options are biodegradable and safe for the environment.
Upcycled Materials: Look for materials around your home that can be reused. Old cutting boards or shelves can be transformed into a stylish bath caddy.
Minimalist Design: Keep the design simple to reduce the need for extra materials. A basic plank with slots for a book and a cup can be both functional and elegant.
Local Sourcing: If buying new materials, choose local suppliers to reduce the carbon footprint associated with transportation.
Your Bath Time Just Got Better
Building your own bathtub tray isn't just a fun project, it's also super practical. With a few tools and some wood, you can create a custom bath caddy that fits your tub perfectly. This tray will hold your book, tablet, or even a glass of wine while you soak. Plus, making it yourself means you can add personal touches like a phone holder or a candle slot. No need to spend a lot of money on a store-bought version when you can make one that’s just right for you. So, gather your materials, follow the steps, and enjoy the satisfaction of a job well done. Your relaxing bath experience is about to get a whole lot better.
What materials do I need to build a bathtub tray?
You'll need wood, measuring tape, saw, sandpaper, wood glue, clamps, stain or paint, and polyurethane. Optional items include handles and non-slip pads.
How do I measure for the right size?
Measure the width of your bathtub from edge to edge. Add a couple of inches to ensure the tray sits securely on top without slipping.
Can I customize the design?
Absolutely! You can add cup holders, book stands, or even a slot for your phone or tablet. Personalize it to fit your needs.
How do I make sure the tray is waterproof?
Apply a waterproof sealant like polyurethane after staining or painting. This will protect the wood from moisture and prolong its life.
Is it difficult to build a bathtub tray?
Not at all! With basic DIY skills and tools, you can complete this project in a few hours. It's a great beginner project.
What type of wood is best?
Cedar, teak, or bamboo are excellent choices because they're naturally water-resistant. Pine works too but needs extra sealing.
How do I maintain my bathtub tray?
Wipe it down after each use to prevent water damage. Reapply the sealant every few months to keep it in top shape.