
Home>Home & Furniture>Bathroom>DIY Bathroom Trash Can Makeover
Bathroom
DIY Bathroom Trash Can Makeover
Published: July 12, 2024
Transform your bathroom with a DIY trash can makeover! Discover easy, creative steps to revamp your bin and enhance your bathroom decor. Get started today!
(Many of the links in this article redirect to a specific reviewed product. Your purchase of these products through affiliate links helps to generate commission for Twigandthistle.com, at no extra cost. Learn more)
Tired of that plain, boring bathroom trash can? Transforming it yourself can be a fun and easy weekend project. With some creativity and a few supplies, you can turn that drab can into a stylish accessory that matches your bathroom’s décor. Whether you want to paint it, wrap it with fabric, or add some decorative touches, a DIY makeover can give your bathroom a fresh, updated look. Plus, it’s a great way to recycle old items and make them useful again. Ready to get started? Let’s dive into this simple yet effective project!
Getting Ready for Your Project
- Gather Supplies: Get paint, brushes, sandpaper, primer, painter's tape, and any decorative items like stickers or stencils.
- Choose a Workspace: Find a well-ventilated area, like a garage or backyard. Lay down a drop cloth or old newspapers to protect surfaces.
- Clean the Trash Can: Wash it with soap and water. Dry it thoroughly to ensure paint adheres well.
- Sand the Surface: Lightly sand the trash can to create a rough texture. This helps the primer and paint stick better.
- Apply Painter's Tape: Cover any areas you don't want to paint, like handles or rims.
- Prime the Trash Can: Apply a coat of primer. Let it dry completely. This step is crucial for a smooth finish.
- Safety Tips: Wear gloves and a mask to protect yourself from fumes and dust. Keep a first aid kit nearby.
- Test Paint Colors: Try out paint colors on a small area to see how they look when dry.
- Plan Your Design: Sketch your design on paper. This helps visualize the final look and ensures you have all needed materials.
- Set Up Drying Area: Prepare a space where the trash can can dry undisturbed. Use old boxes or stands to keep it elevated.
What You Need to Get Started
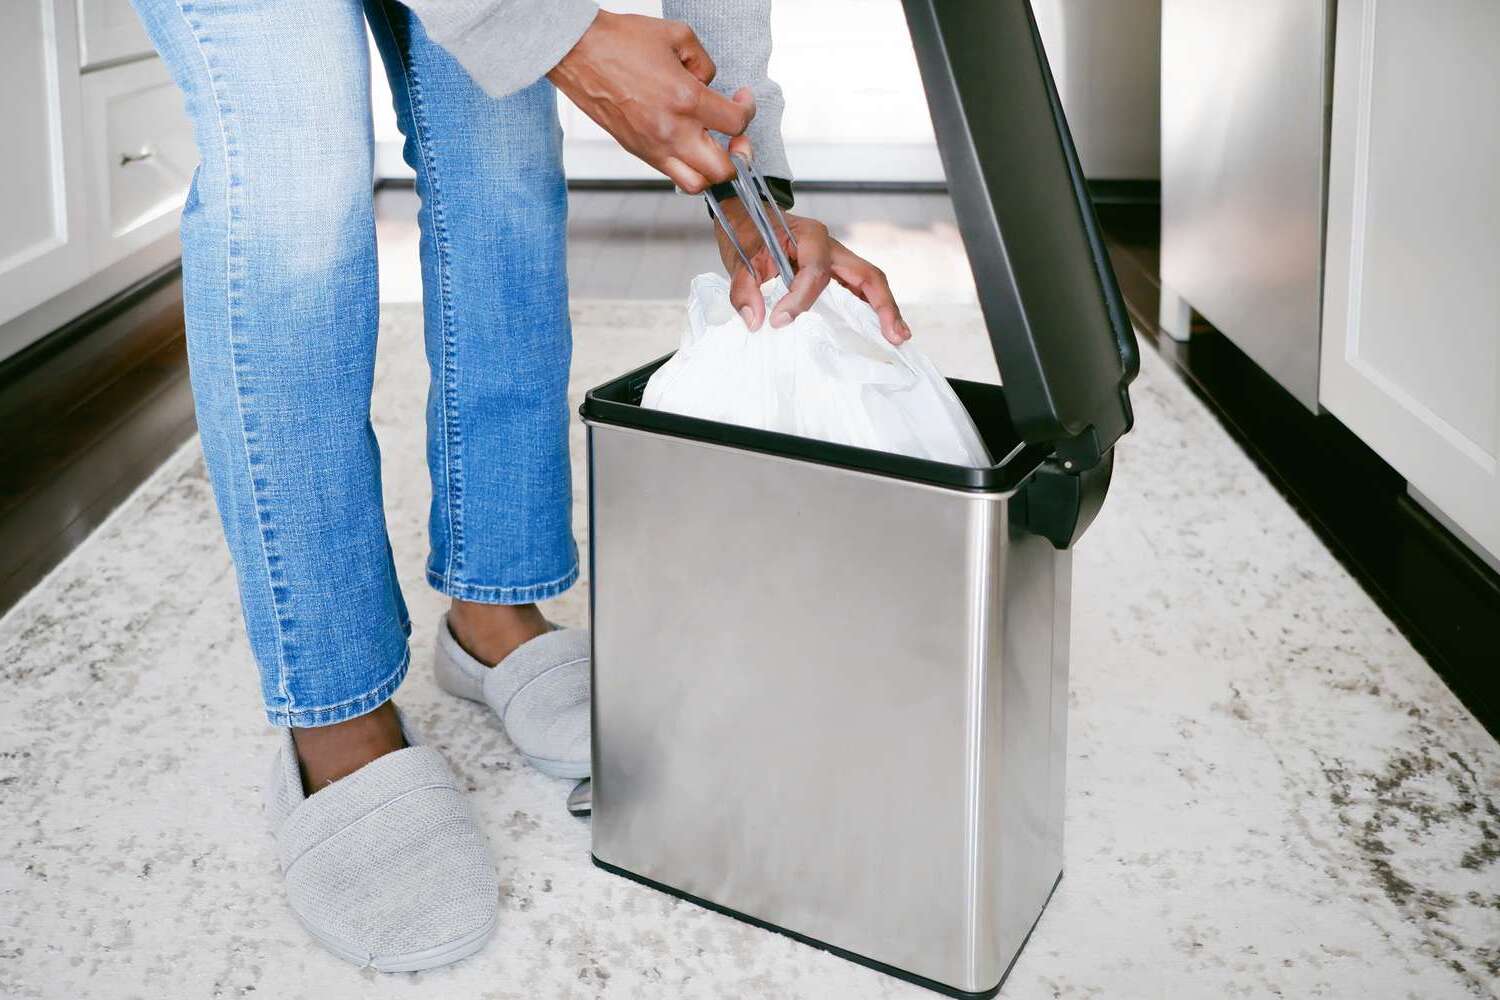
- Trash Can: The main item to makeover. Choose one that fits your bathroom's size and style.
- Sandpaper: Used to smooth out any rough edges or surfaces on the trash can.
- Primer: Helps the paint stick better to the trash can's surface.
- Paint: Select a color that matches your bathroom decor. Spray paint works well for even coverage.
- Painter's Tape: Protects areas you don't want to paint.
- Drop Cloth: Keeps your workspace clean by catching any paint drips.
- Paintbrushes: Useful for detailed work or touch-ups.
- Decorative Stickers or Stencils: Adds patterns or designs to your trash can.
- Clear Sealant: Protects the paint and decorations from wear and tear.
- Gloves: Keeps your hands clean while painting.
- Screwdriver: If your trash can has any removable parts, this tool helps take them off before painting.
- Cleaning Supplies: Soap, water, and a cloth to clean the trash can before starting the makeover.
How Much Time and Skill You Need
Skill Level: Beginner
Time Required: 1-2 hours
- Gather Materials: 10 minutes
- Clean Trash Can: 10 minutes
- Sand Surface: 15 minutes
- Apply Primer: 20 minutes (plus drying time)
- Paint or Decorate: 30 minutes (plus drying time)
- Seal with Clear Coat: 15 minutes (plus drying time)
Total Time: Approximately 1-2 hours, depending on drying times.
Follow These Steps
Gather Materials:
- Trash can
- Sandpaper
- Primer
- Paint (spray or brush)
- Painter's tape
- Drop cloth or old newspapers
- Decorative items (stickers, stencils, etc.)
Prepare the Area:
- Lay down a drop cloth or old newspapers to protect the floor.
- Ensure the workspace is well-ventilated.
Clean the Trash Can:
- Wash the trash can with soap and water.
- Dry thoroughly.
Sand the Surface:
- Use sandpaper to lightly sand the trash can.
- Wipe away any dust with a damp cloth.
Apply Painter's Tape:
- Tape off any areas you don't want to paint.
Prime the Trash Can:
- Apply a coat of primer.
- Let it dry according to the manufacturer's instructions.
Paint the Trash Can:
- Apply the first coat of paint.
- Allow it to dry completely.
- Apply a second coat if needed.
Add Decorative Items:
- Use stickers, stencils, or other decorative items to personalize the trash can.
- Ensure everything is securely attached.
Seal the Paint:
- Apply a clear sealant to protect the paint.
- Let it dry completely.
Remove Painter's Tape:
- Carefully remove the tape once everything is dry.
Final Touches:
- Inspect for any touch-ups needed.
- Clean up your workspace.
Helpful Tips for Success
Clean the Trash Can: Start by cleaning the trash can thoroughly. Use soap and water to remove any dirt or grime. Let it dry completely before starting the makeover.
Use Primer: Apply a coat of primer to the trash can. This helps the paint stick better and last longer. Make sure to choose a primer suitable for the material of your trash can.
Choose the Right Paint: Use spray paint for a smooth finish. Pick a color that matches your bathroom decor. Shake the can well before spraying and apply thin, even coats.
Add Patterns or Designs: Use painter's tape to create stripes or geometric patterns. Stencils can help add more intricate designs. Make sure the base coat is completely dry before applying tape or stencils.
Seal the Paint: Once the paint is dry, apply a clear sealant to protect it from chipping. This is especially important for a bathroom trash can that might get wet.
Common Mistakes to Avoid:
- Skipping Primer: This can cause the paint to peel off easily.
- Thick Paint Layers: Applying thick layers can lead to drips and uneven coverage. Always use thin coats.
- Not Letting Paint Dry: Rushing the process can ruin your hard work. Allow each layer to dry completely.
Alternatives for Materials or Methods:
- Decoupage: Instead of painting, use decoupage to cover the trash can with decorative paper or fabric.
- Vinyl Stickers: These can be a quick and easy way to add designs without painting.
- Contact Paper: Use contact paper to wrap the trash can for a new look. It's easy to apply and remove.
Important Keywords: Clean, Primer, Paint, Patterns, Seal, Avoid, Alternatives
How Much Will It Cost?
Spray Paint: $5-$10 per can. One can should be enough.
Painter's Tape: $3-$5. Used to create patterns or protect areas you don't want painted.
Sandpaper: $2-$5. Helps smooth the surface before painting.
Primer: $5-$10. Ensures paint adheres well to the trash can.
Decorative Stickers or Decals: $3-$10. Adds a personal touch.
Clear Sealant: $5-$10. Protects the paint job.
Total Cost: $23-$50.
Budget-Friendly Alternatives:
Use leftover paint from other projects instead of buying new spray paint.
Old newspapers can replace painter's tape for covering areas.
Skip the primer if the trash can is already smooth and clean.
DIY decals using printed images and clear tape.
Total Cost with Alternatives: $10-$20.
Ways to Customize Your Trash Can
Paint: Use spray paint for a smooth finish or chalk paint for a vintage look. Choose colors that match your bathroom decor, like pastel shades for a soft touch or bold colors for a modern vibe.
Decoupage: Apply decorative paper or fabric using Mod Podge. Floral patterns, geometric designs, or even comic strips can add personality.
Stencils: Create patterns with stencils and acrylic paint. Try chevron, polka dots, or intricate designs for a unique look.
Washi Tape: Decorate with washi tape in various colors and patterns. Create stripes, borders, or even intricate designs.
Handles: Add decorative handles or knobs to the sides for easy lifting. Choose from vintage, modern, or rustic styles.
Labels: Attach chalkboard labels or metal tags for a chic, organized look. Write messages or reminders on them.
Fabric Covers: Sew a fabric cover to slip over the trash can. Use water-resistant fabric for easy cleaning.
Rope: Wrap the trash can with jute rope for a nautical or rustic feel. Secure with hot glue.
Tiles: Adorn with mosaic tiles for a colorful, artistic touch. Use tile adhesive and grout to secure them.
Stickers: Decorate with vinyl stickers or decals. Choose from floral, abstract, or themed designs.
Metallic Accents: Use metallic spray paint or foil for a glamorous look. Gold, silver, or bronze can add a touch of elegance.
Wood Panels: Attach wooden slats or panels around the trash can for a rustic or farmhouse style. Stain or paint the wood to match your decor.
Embroidery Hoops: Use embroidery hoops to create a unique pattern on fabric, then attach it to the trash can for a boho look.
Buttons: Glue colorful buttons in patterns or randomly for a fun, quirky design.
Mirrors: Attach small mirror pieces for a reflective, glam effect. Use mirror adhesive to secure them.
Ribbons: Tie ribbons around the trash can for a festive or elegant touch. Mix and match colors and textures.
Beads: Glue beads or jewels for a sparkly finish. Create patterns or cover the entire surface.
Lace: Wrap the trash can with lace fabric for a delicate, vintage look. Secure with fabric glue.
Stamps: Use rubber stamps and ink to create patterns or images. Choose designs that match your bathroom theme.
Chalk Paint: Apply chalkboard paint to create a surface you can write on. Leave messages or doodles that can be changed easily.
Eco-Friendly Ideas for Your Makeover
Reusing old materials can give your bathroom trash can a fresh look. Repurpose an old fabric or scrap wood to create a decorative cover. Recycling materials like cardboard or plastic containers can also work well. Use eco-friendly paint or natural dyes to add color. Decoupage with old magazines or newspapers for a unique design. Bamboo or reclaimed wood can be used to build a new trash can if you're handy with tools. Compostable liners made from plant-based materials are a great alternative to plastic bags. Upcycling glass jars or tin cans into mini trash bins for smaller items can add a quirky touch.
Your Bathroom's New Look
You've transformed your bathroom trash can into a stylish piece. With just a bit of paint, some fabric, and a few tools, you made something unique. This project didn't take much time or money, but it made a big difference. Now, every time you step into your bathroom, you'll see your creativity at work. Plus, you kept something out of the landfill, which is always a win. Keep experimenting with other DIY projects around your home. Who knows what you'll come up with next? Your bathroom isn't just cleaner; it's got a touch of your personal style. So, grab those supplies and start your next project. Happy crafting!
How can I make my bathroom trash can look nicer?
You can paint it, add stickers, or even use contact paper to give it a fresh look. Adding a fabric liner can also make it look more stylish.
What materials do I need for a trash can makeover?
You'll need paint, brushes, stickers, contact paper, and maybe some fabric if you're adding a liner. Don't forget scissors and glue for any extra decorations.
Can I use any type of paint?
It's best to use spray paint or acrylic paint. These types stick well to plastic or metal and come in lots of colors.
How do I prepare the trash can for painting?
Clean it thoroughly with soap and water. Make sure it's completely dry before you start painting. Sanding it lightly can help the paint stick better.
How long does the paint take to dry?
Usually, it takes about 24 hours for the paint to dry completely. Check the paint can for specific drying times.
Can I use fabric to decorate my trash can?
Absolutely! You can use fabric glue to attach fabric to the outside. Just make sure the fabric is cut to the right size and smooth out any wrinkles.
Is it okay to decorate a metal trash can?
Yes, metal trash cans can be decorated just like plastic ones. Use metal-friendly paint and make sure to clean and dry the surface well before starting.