
Home>Home & Furniture>Bathroom>DIY Bathroom Countertop Cabinet Build
Bathroom
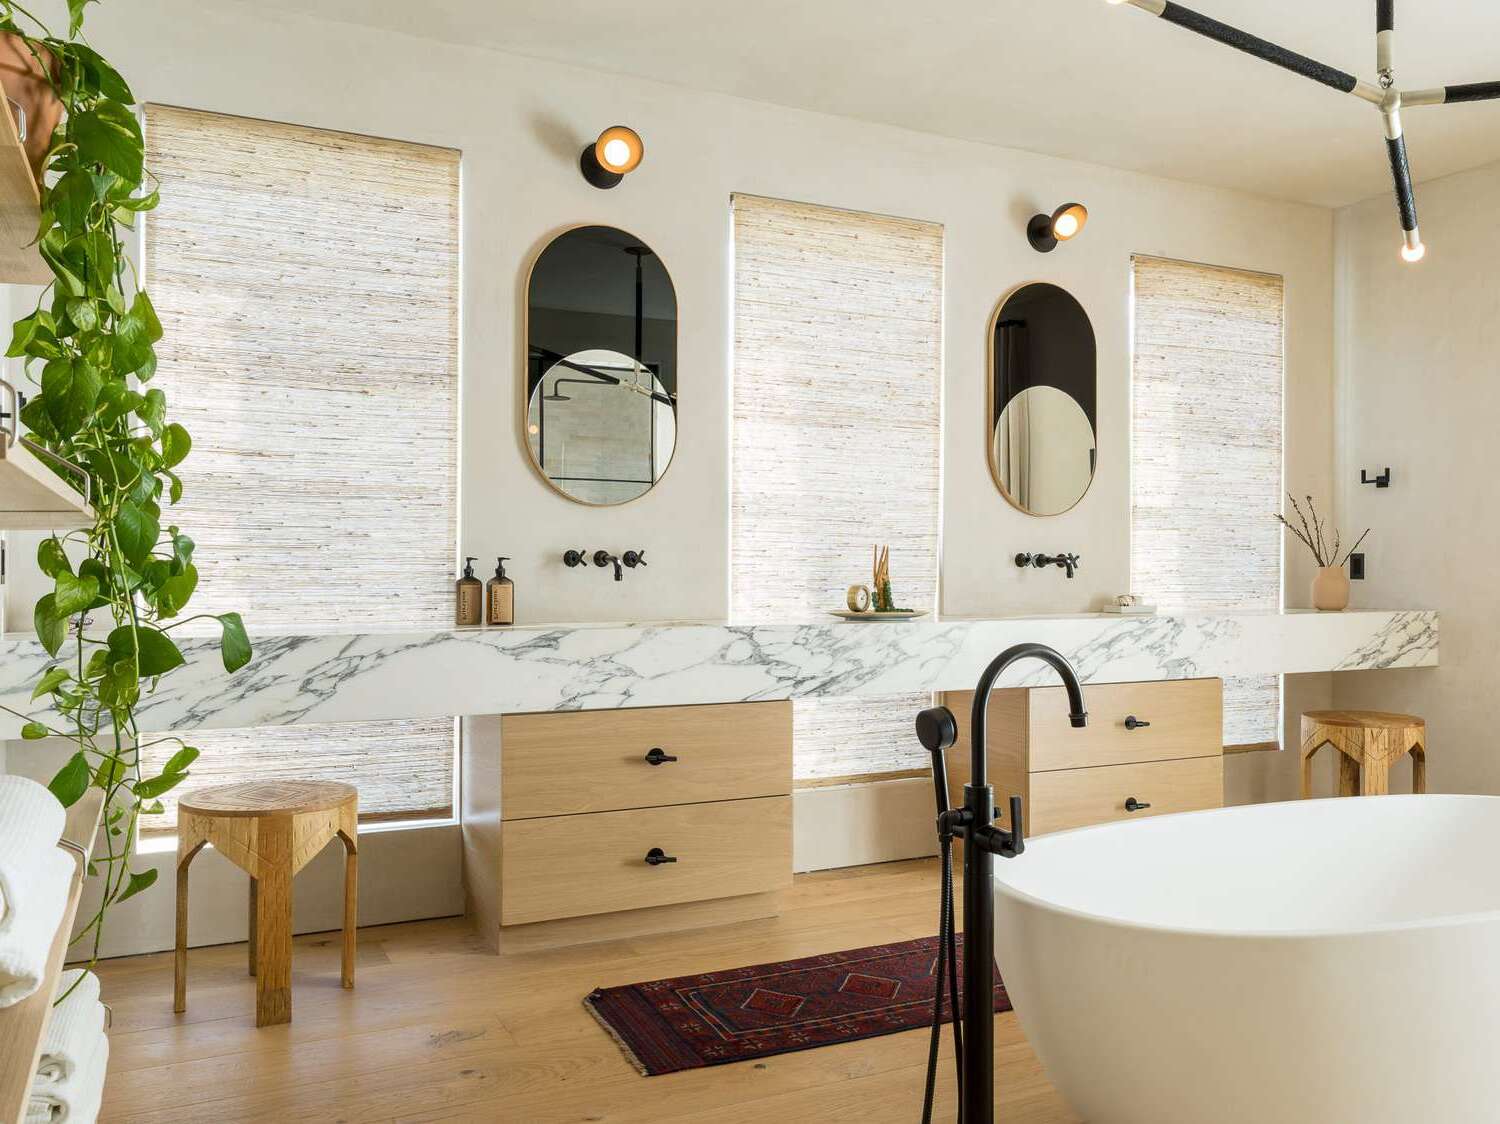
DIY Bathroom Countertop Cabinet Build
Published: July 10, 2024
Learn how to build a DIY bathroom countertop cabinet with our step-by-step guide. Perfect for adding storage and style to your bathroom. Get started on your project today!
(Many of the links in this article redirect to a specific reviewed product. Your purchase of these products through affiliate links helps to generate commission for Twigandthistle.com, at no extra cost. Learn more)
Ready to transform your bathroom? Building a countertop cabinet yourself is a fantastic project to tackle. Not only does it add storage, but it also gives your space a personal touch. With some basic tools, materials, and a bit of patience, you can create a beautiful and functional piece. This guide will walk you through each step, making sure you have all the knowledge needed to complete the job. Get set to roll up your sleeves, and let's dive in! Your dream bathroom update is just a few steps away. Grab your tools and let's get started!
Getting Ready for Your Project
Gather Materials: Get all necessary tools and materials like wood, screws, nails, a saw, a drill, sandpaper, paint, and a measuring tape.
Measure Your Space: Measure the area where the cabinet will go. Write down the dimensions to ensure your cabinet fits perfectly.
Design Your Cabinet: Sketch a simple design. Decide on the number of shelves, drawers, and doors.
Safety Gear: Wear safety goggles, gloves, and a dust mask to protect yourself from sawdust and debris.
Prepare Your Workspace: Clear a large, flat area to work. Make sure it’s well-lit and ventilated.
Cut the Wood: Use the saw to cut wood pieces according to your design. Double-check measurements before cutting.
Sand the Edges: Smooth out rough edges with sandpaper to avoid splinters.
Pre-Drill Holes: Pre-drill holes where screws will go. This prevents wood from splitting.
Assemble the Frame: Start by assembling the frame of the cabinet. Use screws and a drill to secure pieces together.
Attach Shelves and Doors: Install shelves and doors according to your design. Use hinges for doors and brackets for shelves.
Paint or Stain: Apply paint or stain to your cabinet. Let it dry completely before moving it to the bathroom.
Install the Cabinet: Secure the cabinet to the wall using wall anchors and screws for stability.
Gathering Materials and Tools
Materials Needed:
- Plywood: Used for the cabinet structure. Choose a sturdy type like birch or oak.
- Wood Screws: Essential for holding the pieces together. Use 1.5-inch screws.
- Wood Glue: Provides extra strength to joints.
- Cabinet Hinges: Needed for the cabinet doors. Soft-close hinges are a good choice.
- Drawer Slides: Required if adding drawers. Full-extension slides work best.
- Paint or Stain: For finishing the cabinet. Choose based on your bathroom's color scheme.
- Sandpaper: Smooths out rough edges. Use 120-grit for initial sanding, 220-grit for finishing.
- Handles or Knobs: Adds functionality and style to doors and drawers.
- Sealant: Protects the wood from moisture. Polyurethane is a good option.
Tools Needed:
- Tape Measure: Ensures accurate measurements.
- Circular Saw: Cuts plywood to size. A table saw can also work.
- Drill: Needed for screws and hinges. A cordless drill is convenient.
- Screwdriver: Tightens screws. A power screwdriver speeds up the process.
- Clamps: Holds pieces together while glue dries.
- Level: Ensures the cabinet is even.
- Paintbrush or Roller: Applies paint or stain evenly.
- Sanding Block: Helps with hand-sanding small areas.
- Safety Gear: Includes goggles, gloves, and a dust mask for protection.
These materials and tools will help you build a sturdy, stylish bathroom countertop cabinet.
Skill Level and Time Commitment
Skill Level: Intermediate
Time Required: Approximately 8-10 hours
- Planning and Measuring: 1-2 hours
- Cutting Materials: 1-2 hours
- Assembling the Frame: 2-3 hours
- Installing the Countertop: 1-2 hours
- Finishing Touches: 1-2 hours
Detailed Step-by-Step Guide
Measure the Space
- Use a tape measure to get the exact dimensions of the area where the cabinet will go.
- Write down the width, depth, and height.
Gather Materials
- Plywood for the cabinet body.
- Wood screws and wood glue.
- Hinges for the doors.
- Handles or knobs.
- Paint or stain for finishing.
- Sandpaper.
Cut the Plywood
- Cut pieces for the top, bottom, sides, back, and shelves.
- Ensure each piece matches your measurements.
Assemble the Frame
- Attach the sides to the bottom piece using wood screws and glue.
- Add the back piece, securing it with screws and glue.
- Attach the top piece last.
Install Shelves
- Measure and mark where the shelves will go.
- Use screws and glue to secure each shelf in place.
Attach the Doors
- Measure and cut the doors from plywood.
- Sand the edges for a smooth finish.
- Attach hinges to the doors, then to the cabinet frame.
Add Handles or Knobs
- Mark where the handles or knobs will go.
- Drill holes and attach the hardware.
Sand and Finish
- Sand the entire cabinet to remove rough edges.
- Apply paint or stain for a finished look.
- Allow it to dry completely.
Install the Cabinet
- Place the cabinet in the desired location.
- Secure it to the wall if needed for stability.
Final Touches
- Check all screws and hinges to ensure they are tight.
- Clean up any excess glue or paint.
Helpful Tips and Tricks
Measure Twice, Cut Once: Always double-check measurements before cutting. This prevents wasted materials and ensures a perfect fit.
Use a Level: Keep everything straight and even. A level helps avoid crooked cabinets and countertops.
Pre-Drill Holes: Prevent wood from splitting by pre-drilling holes for screws. This also makes screwing easier.
Sand Edges: Smooth out rough edges with sandpaper. This gives a professional finish and prevents splinters.
Seal the Wood: Apply a sealant to protect against moisture. Bathrooms are humid, so this step is crucial.
Label Parts: Mark each piece before assembly. This avoids confusion and speeds up the process.
Common Mistakes to Avoid:
Skipping the Primer: Always prime wood before painting. This ensures paint adheres properly and lasts longer.
Ignoring Wall Studs: Secure cabinets to wall studs for stability. Drywall alone won't hold the weight.
Rushing the Process: Take your time. Rushing leads to mistakes and poor craftsmanship.
Alternatives for Materials or Methods:
Plywood vs. MDF: Plywood is stronger and more moisture-resistant than MDF. Choose plywood for bathroom projects.
Pocket Screws vs. Nails: Pocket screws provide a stronger hold than nails. Use them for a sturdier cabinet.
Laminate vs. Solid Wood: Laminate is cheaper and easier to clean. Solid wood offers a more luxurious look but requires more maintenance.
Estimating the Cost
Materials:
- Plywood (for the cabinet body): $50-$70
- Countertop material (laminate, wood, or tile): $50-$100
- Cabinet hardware (hinges, handles, screws): $20-$30
- Paint or stain: $15-$25
- Sealant: $10-$15
Tools:
- Circular saw: $50-$100 (or borrow)
- Drill: $30-$60 (or borrow)
- Sander: $20-$40 (or borrow)
- Measuring tape: $5-$10
- Paintbrushes/rollers: $10-$15
Total Cost: $260-$465
Budget-friendly alternatives:
- Reclaimed wood for the cabinet body: Free or low cost
- Second-hand countertop material: $20-$50
- Borrow tools from friends or family: Free
- Use leftover paint or stain from previous projects: Free
Different Variations and Customizations
Materials: Instead of traditional wood, consider using reclaimed wood for a rustic look or plywood for a budget-friendly option. Bamboo can offer a sustainable and modern touch. For a sleek, contemporary style, medium-density fiberboard (MDF) works well.
Colors: Paint the cabinet in neutral tones like white, beige, or gray for a classic look. For a bold statement, use bright colors like teal, navy, or even black. Stain the wood to highlight its natural grain, giving it a warm, rich appearance.
Styles: For a modern look, opt for clean lines and minimal hardware. A vintage style can be achieved with ornate handles and distressed paint. Industrial styles benefit from metal accents and darker colors. For a farmhouse feel, use shiplap or beadboard panels.
Countertops: Instead of standard laminate, consider quartz for durability and elegance. Butcher block countertops add warmth and are great for a farmhouse style. Concrete countertops offer a modern, industrial look. Tile countertops can add a unique, customizable pattern.
Hardware: Swap out basic knobs for decorative handles in brass, chrome, or matte black. Soft-close hinges can make the cabinet feel more luxurious. Vintage glass knobs can add a touch of elegance.
Storage Options: Add pull-out shelves or baskets for better organization. Install dividers for toiletries and makeup. Consider adding a built-in hamper or towel rack for added functionality.
Lighting: Integrate under-cabinet lighting to illuminate the countertop. Use LED strips for energy efficiency. Vintage sconces or modern pendant lights can add style and improve visibility.
Backsplash: Add a tile backsplash for easy cleaning and a pop of color. Glass tiles offer a sleek, modern look, while subway tiles provide a classic feel. Peel-and-stick tiles are a quick, budget-friendly option.
Mirrors: Frame the mirror with the same material as the cabinet for a cohesive look. Use a round mirror for a modern touch or a vintage mirror for a classic style. Backlit mirrors can add a touch of luxury and improve lighting.
Feet/Base: Instead of a solid base, consider adding decorative feet to the cabinet for a furniture-like appearance. Metal legs can give an industrial feel, while turned wood legs offer a traditional look.
Eco-Friendly Tips for Your Build
Reclaimed wood can be a great choice for building a bathroom countertop cabinet. It adds character and reduces waste. Look for old barn wood, pallets, or even wood from old furniture.
Bamboo is another eco-friendly option. It grows quickly and is very durable. Bamboo plywood can be used for the cabinet structure.
Recycled glass countertops can add a unique look. These countertops are made from crushed glass and resin, making them both stylish and sustainable.
Low-VOC paints and finishes help reduce harmful chemicals in your home. These products are better for your health and the environment.
Salvaged hardware like handles and knobs can give your cabinet a unique touch. Check thrift stores or online marketplaces for these items.
Natural stone like granite or marble can be used for the countertop. These materials are long-lasting and can be sourced locally to reduce transportation impact.
Cork is a renewable resource that can be used for drawer liners or cabinet backings. It’s naturally resistant to mold and mildew, making it perfect for bathrooms.
Recycled metal can be used for accents or structural elements. Look for scrap metal yards or recycling centers for materials.
Water-based adhesives are less toxic than traditional glues. They are better for indoor air quality and easier to clean up.
LED lighting inside or around the cabinet can save energy. LEDs use less power and last longer than traditional bulbs.
Using these materials and methods can make your DIY bathroom countertop cabinet both stylish and eco-friendly.
Your DIY Bathroom Countertop Cabinet Awaits
Building your own bathroom countertop cabinet isn't just about saving money. It's about creating something unique that fits your space perfectly. You've learned how to measure, cut, assemble, and finish your cabinet. With a bit of patience and effort, you can transform your bathroom into a more functional and stylish space.
Remember, the key to a successful DIY project is planning and attention to detail. Don't rush through the steps. Take your time to ensure each part fits well and looks good. If you make a mistake, don't worry. It's all part of the learning process.
So grab your tools, gather your materials, and get started on your new bathroom countertop cabinet. You'll be amazed at what you can accomplish with your own two hands. Happy building!
How do I choose the right materials for my bathroom countertop cabinet?
First, think about durability and moisture resistance. Plywood and MDF are popular choices. For the countertop, granite, quartz, or laminate work well. Make sure the materials match your bathroom's style.
What tools will I need for this project?
You'll need a saw, drill, screwdriver, measuring tape, level, clamps, and safety gear like gloves and goggles. A sander and paintbrush might come in handy too.
How long will it take to build a bathroom countertop cabinet?
Depending on your skill level, it could take a weekend or a few days. Planning and measuring might take a day, while cutting, assembling, and finishing could take another couple of days.
Can I customize the design to fit my space?
Absolutely! Measure your bathroom space carefully. You can adjust the height, width, and depth of the cabinet. Add shelves, drawers, or doors based on your storage needs.
How do I ensure the cabinet is level and secure?
Use a level to check your work frequently. Secure the cabinet to the wall studs with screws. This prevents tipping and keeps everything stable. Double-check all measurements before drilling.
What kind of finish should I use for the cabinet?
Choose a water-resistant finish like polyurethane or marine varnish. Paint or stain can also work, but make sure to seal it properly. This helps protect against moisture and wear.
How do I install the countertop on the cabinet?
Place the countertop on the cabinet, ensuring it's centered. Use adhesive or screws to secure it. If using stone, you might need professional help to avoid damage. Make sure everything is level before finalizing.