
Home>Home & Furniture>Bathroom>Creative Pallet Bathroom DIY Ideas
Bathroom
Creative Pallet Bathroom DIY Ideas
Published: July 15, 2024
Discover innovative and stylish pallet bathroom DIY ideas to transform your space. Learn how to repurpose pallets for unique, budget-friendly bathroom upgrades.
(Many of the links in this article redirect to a specific reviewed product. Your purchase of these products through affiliate links helps to generate commission for Twigandthistle.com, at no extra cost. Learn more)
Transforming your bathroom with pallet wood can add charm and character without breaking the bank. Pallets, often discarded after shipping, can be repurposed into unique, functional pieces. Whether you're creating shelving, storage solutions, or decorative accents, pallet projects offer endless possibilities. It's not just about saving money but also about crafting something with your own hands. Plus, using recycled materials is eco-friendly. Ready to get inspired? Let's dive into some inventive ways to upgrade your bathroom using pallet wood, adding both style and utility. Get your tools, and let’s start crafting!
Getting Ready for Your Project
Gather Materials: Collect pallets, screws, nails, sandpaper, paint, and sealant. Ensure pallets are clean and free from chemicals.
Safety Gear: Wear gloves, goggles, and a mask to protect from splinters, dust, and fumes.
Workspace Setup: Choose a well-ventilated area with enough space to move around. Lay down a drop cloth to catch debris.
Inspect Pallets: Check for damaged or weak boards. Remove any nails or staples sticking out.
Disassemble Pallets: Use a crowbar and hammer to carefully take apart the pallets. Avoid breaking the wood.
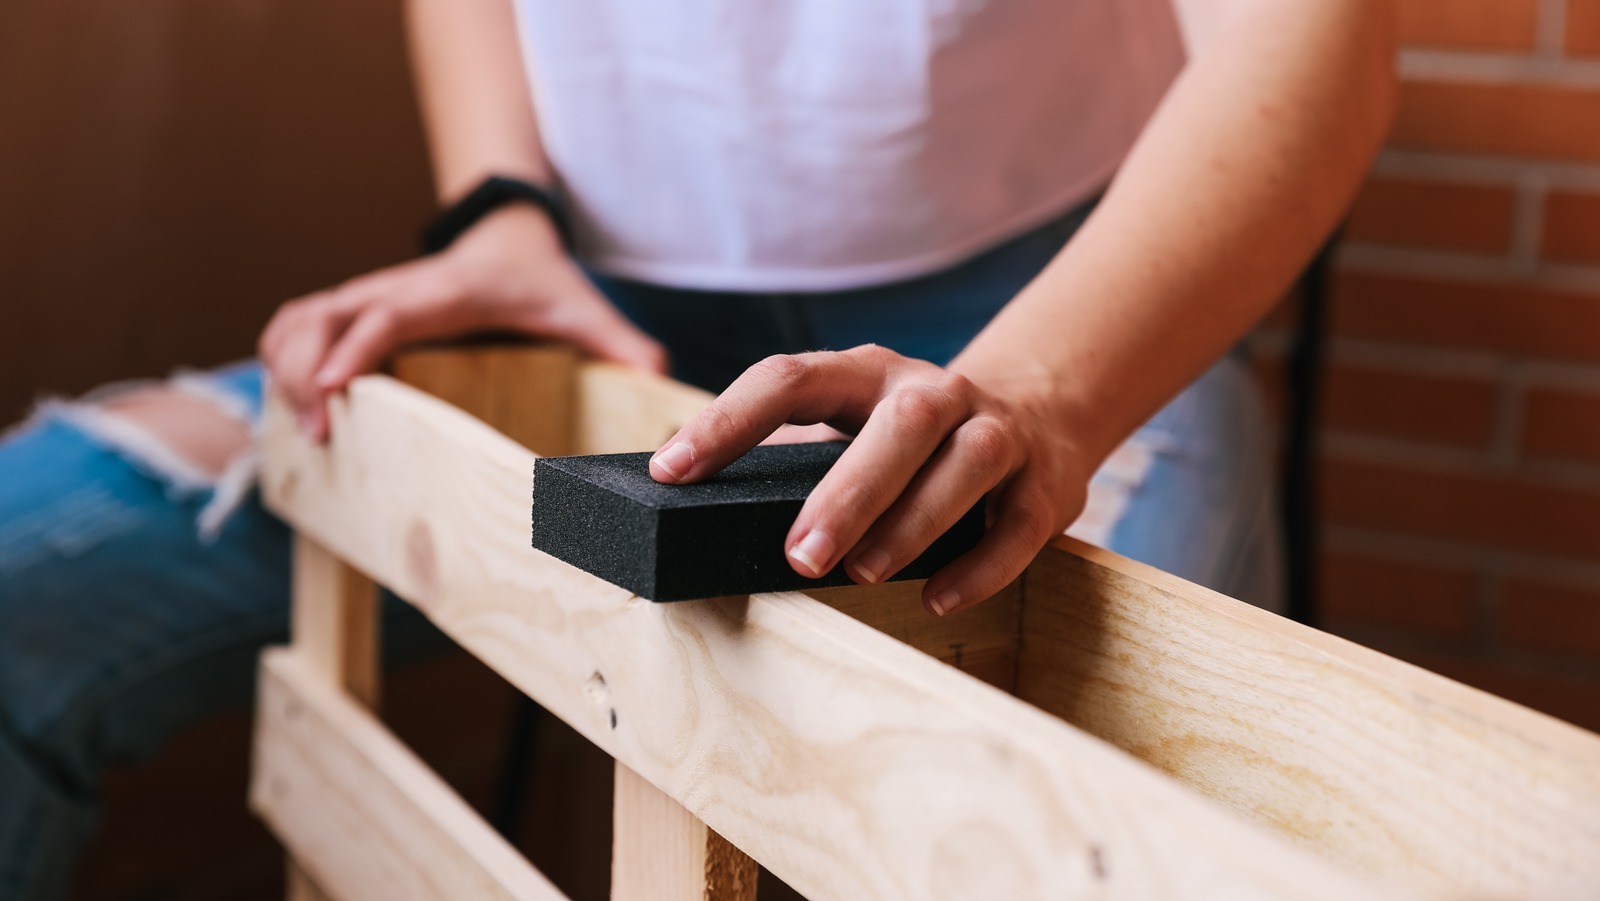
Sand the Wood: Smooth out rough edges using sandpaper or a sander. This prevents splinters and prepares the wood for painting.
Measure and Cut: Measure the space in your bathroom and cut the pallet wood to fit. Use a saw for precise cuts.
Pre-drill Holes: Pre-drill holes where you plan to insert screws. This prevents the wood from splitting.
Paint or Stain: Apply paint or stain to the wood. Let it dry completely before moving on.
Seal the Wood: Use a sealant to protect the wood from moisture. This is especially important in a bathroom setting.
Plan Layout: Arrange the pieces in your desired layout before attaching them. This helps visualize the final look.
Attach Pieces: Secure the pieces together using screws or nails. Ensure everything is sturdy and level.
Final Touches: Add any decorative elements like hooks or shelves. Make sure they are securely attached.
Clean Up: Dispose of any leftover materials and clean your workspace. Store tools properly for future use.
Gather Your Materials and Tools
Pallets: Wooden pallets form the base for most projects. Ensure they are clean and free from harmful chemicals.
Sandpaper: Smooths out rough edges on the pallets. Use medium to fine grit for best results.
Saw: Cuts the pallets to the desired size. A handsaw or circular saw works well.
Hammer and Nails: Essential for assembling the pallet pieces. Nails should be long enough to hold the wood securely.
Screws and Screwdriver: Provides extra stability. Use wood screws and a power screwdriver for efficiency.
Measuring Tape: Ensures accurate measurements. Helps in cutting and aligning the pallets correctly.
Level: Keeps everything straight. A small bubble level will do the trick.
Paint or Stain: Adds color or protects the wood. Choose a water-resistant type for bathroom use.
Paintbrushes or Rollers: Applies paint or stain evenly. Use different sizes for detailed work and larger areas.
Sealant: Protects the wood from moisture. A clear, waterproof sealant works best.
Drill: Makes holes for screws. A cordless drill is handy for mobility.
Safety Gear: Includes gloves, goggles, and a dust mask. Protects from splinters, dust, and fumes.
Clamps: Holds pieces together while assembling. Useful for ensuring tight joints.
Wood Glue: Provides extra bonding strength. Use it along with nails or screws for durability.
Pencil: Marks measurements and cutting lines. Essential for planning and precision.
Drop Cloth: Protects the floor from paint and sawdust. Keeps the workspace clean.
Utility Knife: Cuts through packaging and trims small pieces. Handy for detailed work.
Pliers: Removes old nails or staples from pallets. Also useful for gripping and bending.
T-square: Ensures right angles. Helps in making precise cuts and alignments.
Chisel: Carves out small sections of wood. Useful for detailed work and fitting pieces together.
Required Skills and Time Commitment
Skill Level: Intermediate
Time Required:
- Pallet Wall Paneling: 4-6 hours
- Pallet Shelves: 2-3 hours
- Pallet Towel Rack: 1-2 hours
- Pallet Mirror Frame: 3-4 hours
- Pallet Toilet Paper Holder: 1-2 hours
Follow These Steps
Gather Materials:
- Wooden pallets
- Sandpaper
- Wood stain or paint
- Brushes
- Screws and nails
- Hammer or drill
- Measuring tape
- Saw
Disassemble Pallets:
- Use a hammer or pry bar to carefully take apart the pallets.
- Remove all nails and screws.
Sand the Wood:
- Sand each piece of wood to remove splinters and rough edges.
- Wipe off dust with a damp cloth.
Measure and Cut:
- Measure the space where the pallet wood will go.
- Cut the wood to fit using a saw.
Stain or Paint:
- Apply wood stain or paint to each piece.
- Let dry completely.
Create a Towel Rack:
- Attach hooks to a long piece of pallet wood.
- Mount the wood on the wall using screws.
Build a Shelf:
- Assemble a simple shelf using pallet wood.
- Secure with screws and mount on the wall.
Make a Mirror Frame:
- Cut pallet wood to fit around a mirror.
- Attach the wood to the mirror using strong adhesive or screws.
Construct a Toilet Paper Holder:
- Use a small piece of pallet wood.
- Attach a dowel or rod to hold the toilet paper roll.
- Mount on the wall.
Install a Pallet Wall:
- Attach pallet wood planks directly to the bathroom wall.
- Use nails or screws to secure each plank.
Add Finishing Touches:
- Decorate with small plants or bathroom accessories.
- Ensure all pieces are securely fastened.
Helpful Tips and Tricks
Use heat-treated pallets to avoid chemicals that might be harmful. Sand the wood thoroughly to prevent splinters. Seal the wood with a waterproof sealant to protect against moisture.
Common mistakes include not checking for nails or staples left in the wood, which can damage tools or cause injury. Skipping the sanding step can lead to rough surfaces that are uncomfortable to touch. Not sealing the wood can result in water damage and mold.
Alternatives for pallets include using reclaimed wood from old furniture or bamboo, which is naturally water-resistant. Instead of nails, consider using wood glue for a cleaner look. For a different finish, try staining the wood instead of painting it.
Estimating the Cost
Pallets: Free to $10 each (depending on sourcing)
Sandpaper: $5 for a pack
Wood Stain or Paint: $10-$20 per can
Paint Brushes: $5 for a set
Sealant: $10-$15 per can
Screws and Nails: $5-$10 per pack
Saw: $20-$30 (hand saw) or $50-$100 (electric saw)
Drill: $30-$50
Measuring Tape: $5
Safety Gear: $10-$20 (gloves, goggles)
Total Cost: $100-$250
Budget-Friendly Alternatives:
- Borrow Tools: Ask friends or family to lend tools.
- Second-Hand Stores: Check for cheaper tools and materials.
- DIY Stain: Use coffee or tea as a natural wood stain.
- Free Pallets: Look for free pallets at local stores or online marketplaces.
Different Ways to Customize
Alternative materials can give your pallet bathroom a fresh look. Instead of traditional wood pallets, try using bamboo for a more tropical feel. Reclaimed wood adds a rustic charm, while metal pallets offer an industrial vibe.
Colors can transform the space. Paint the pallets white for a clean, modern look. Use pastel colors for a soft, calming effect. Bold colors like navy blue or emerald green make a statement.
Styles can vary too. For a vintage look, distress the wood and add antique hardware. A minimalist style can be achieved by keeping the design simple and using neutral colors. For a bohemian touch, add colorful textiles and plants.
Functional modifications can also enhance the project. Add shelves for extra storage. Install hooks for towels and robes. Create a pallet vanity with a built-in sink for a unique focal point.
Lighting can make a big difference. String fairy lights around the pallets for a cozy atmosphere. Use LED strips for a modern touch. Install sconces directly onto the pallets for practical, stylish lighting.
Accessories can complete the look. Use woven baskets for storage. Add a mirror with a pallet frame. Incorporate artwork or photographs to personalize the space.
Eco-Friendly Tips
Reclaimed wood pallets can be turned into stylish bathroom shelves. Sand them down and apply a non-toxic sealant to protect against moisture.
Recycled glass can be used for mosaic tiles around mirrors or as a backsplash. This adds color and texture while being eco-friendly.
Eco-friendly paint is a great choice for giving pallets a fresh look. Choose paints with low VOCs to reduce harmful emissions.
Upcycled metal hooks from old tools or hardware can be attached to pallet boards for hanging towels or robes. This adds a rustic touch and reuses materials.
Natural sealants like beeswax or linseed oil can protect wood pallets without harsh chemicals. These options are safer for the environment and your home.
Bamboo is another sustainable material that can be used for accents or additional shelving. It grows quickly and is very durable.
Repurposed jars can be mounted on pallet boards to hold bathroom essentials like cotton balls or toothbrushes. This reduces waste and adds charm.
LED lighting is energy-efficient and can be integrated into pallet designs for a modern touch. These lights use less power and last longer than traditional bulbs.
Recycled fabric can be used to make curtains or shower liners. Look for materials like organic cotton or hemp for a more sustainable choice.
Composting toilets are an eco-friendly option that can be incorporated into a pallet bathroom design. These toilets reduce water usage and turn waste into compost.
Your Pallet Bathroom Awaits
Transforming your bathroom with pallet wood can be a fun, rewarding project. With just a few tools and some creativity, you can create a unique, rustic space. From shelves to mirrors and even toilet paper holders, the possibilities are endless. Remember to sand the wood well to avoid splinters and apply a good sealant to protect against moisture. Don't be afraid to mix and match different pallet pieces for a more eclectic look.
By repurposing pallets, you're not only saving money but also giving new life to materials that might otherwise go to waste. Plus, you'll have the satisfaction of knowing you did it yourself. So grab those pallets, roll up your sleeves, and start crafting your dream bathroom. Happy DIY-ing!
How can I use pallets to create bathroom shelves?
You can disassemble pallets and use the planks to make rustic shelves. Sand them down, stain or paint them, then mount them on the wall with brackets.
Are pallet wood bathroom vanities durable?
Yes, if you seal the wood properly. Use a waterproof sealant to protect against moisture. This will help the vanity last longer and keep it looking good.
Can I make a pallet wood mirror frame?
Absolutely! Cut pallet wood to the size of your mirror, sand it, and attach it around the mirror's edges. You can stain or paint it to match your bathroom decor.
How do I ensure pallet wood is safe for indoor use?
Make sure the pallets are heat-treated (look for "HT" stamped on the wood). Avoid pallets marked with "MB" as they are treated with chemicals.
What tools do I need for pallet bathroom projects?
Basic tools like a saw, hammer, screwdriver, sander, and drill will do the trick. For more complex projects, a jigsaw or miter saw might be handy.
Can I make a towel rack from pallets?
Yes, you can! Use a single plank or a few planks together. Add some hooks or nails to hang towels. Mount it on the wall, and you’ve got a unique towel rack.
How do I clean and prep pallet wood for bathroom use?
First, clean the wood with soapy water and a brush. Let it dry completely. Then, sand it to remove any rough spots or splinters. Finally, apply a sealant to protect against moisture.