
Home>Create & Decorate>DIY & Crafts>Mini Lego Gun: DIY Craft Tutorial
DIY & Crafts
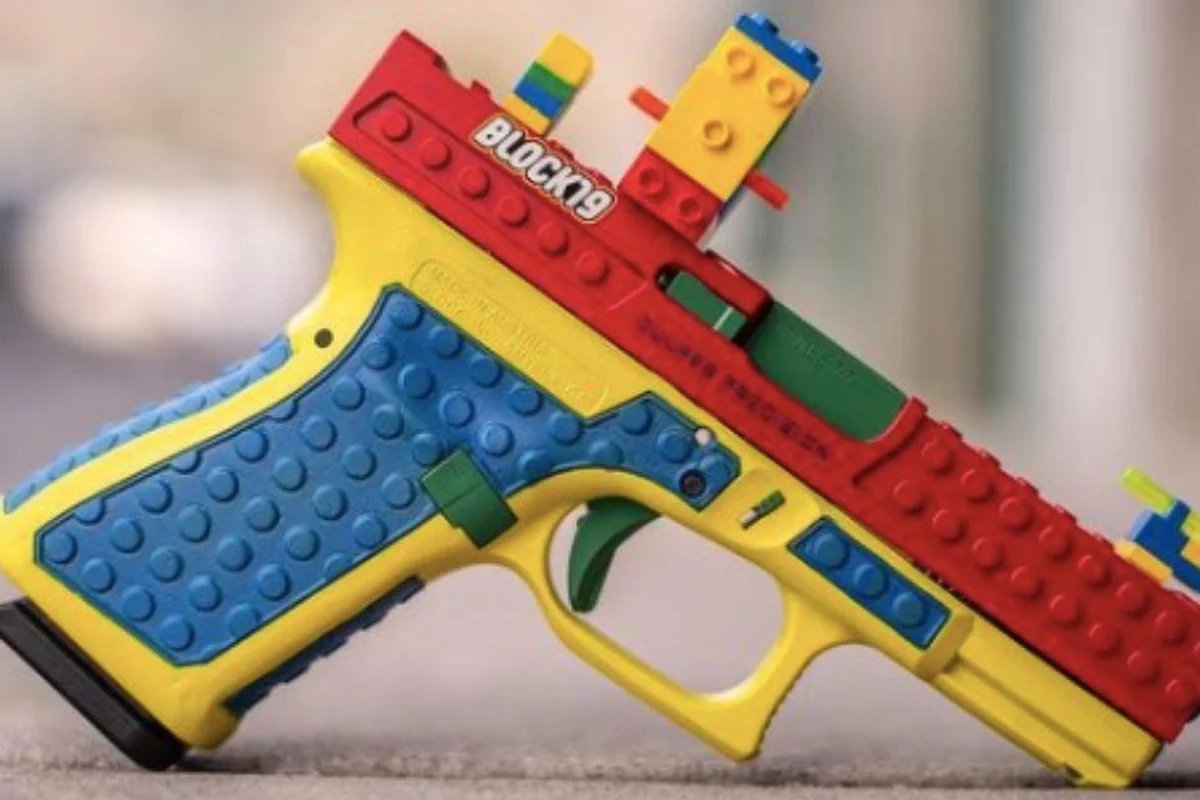
Mini Lego Gun: DIY Craft Tutorial
Published: May 25, 2024

Senior Editor in Create & Decorate, Kathryn combines traditional craftsmanship with contemporary trends. Her background in textile design and commitment to sustainable crafts inspire both content and community.
Learn how to create a mini Lego gun with our step-by-step DIY craft tutorial. Perfect for DIY & Crafts enthusiasts. Unlock your creativity today!
(Many of the links in this article redirect to a specific reviewed product. Your purchase of these products through affiliate links helps to generate commission for Twigandthistle.com, at no extra cost. Learn more)
Introduction
Are you a fan of LEGO and looking for a fun and creative DIY project? Look no further! In this tutorial, we will guide you through the process of creating your very own mini LEGO gun. This project is perfect for LEGO enthusiasts and those who enjoy crafting. With just a few simple materials and some creativity, you can construct a miniature LEGO gun that will impress your friends and add a unique touch to your collection. So, grab your LEGO bricks and let's get started on this exciting DIY adventure!
Materials Needed
To create your mini LEGO gun, you will need the following materials:
- LEGO Bricks: Gather a variety of LEGO bricks in different colors to add detail and customization to your gun.
- LEGO Technic Pieces: These specialized LEGO pieces will provide the structural support needed for your gun.
- Super Glue: Use super glue to securely attach the LEGO pieces together.
- Small Spring: You will need a small spring to create the trigger mechanism for your LEGO gun.
- Mini Rubber Bands: These will be used to add tension to the trigger mechanism.
- Small Plastic Tube: Find a small plastic tube to serve as the barrel of your LEGO gun.
- Craft Knife: A craft knife will be useful for cutting and shaping the LEGO pieces as needed.
- Sandpaper: Use sandpaper to smooth out any rough edges and give your LEGO gun a polished finish.
- Acrylic Paint: Choose acrylic paint in your preferred colors to add a vibrant and realistic look to your mini LEGO gun.
- Paintbrushes: Have a selection of paintbrushes on hand for applying the acrylic paint and adding fine details to your creation.
Gather these materials, and you'll be ready to embark on this exciting DIY journey to create your very own mini LEGO gun!
Step 1: Building the Frame
-
Select Base Bricks: Begin by selecting the base bricks for the frame of your mini LEGO gun. Choose a variety of LEGO bricks in different sizes and colors to create the main body of the gun.
-
Create the Main Structure: Use larger LEGO bricks to form the main structure of the gun. Start by laying out the foundation, ensuring that the pieces are securely connected to form a solid base.
-
Add Technic Pieces: Incorporate LEGO Technic pieces into the frame to provide stability and support. These specialized pieces will help reinforce the structure and ensure that your mini LEGO gun is durable.
-
Design the Grip: Use smaller LEGO bricks to design the grip of the gun, ensuring that it is comfortable to hold. Experiment with different shapes and sizes to achieve the desired ergonomic design.
-
Secure with Super Glue: Once you are satisfied with the frame, use super glue to secure the LEGO pieces together. Apply the glue sparingly to avoid excess residue, ensuring a clean and polished appearance.
-
Test the Sturdiness: Before proceeding to the next step, test the sturdiness of the frame by gently handling the gun. Make any necessary adjustments to ensure that the frame is solid and well-constructed.
By following these steps, you will successfully build the frame of your mini LEGO gun, laying the foundation for the rest of the construction process.
Step 2: Adding the Trigger and Handle
-
Position the Trigger Mechanism: Begin by identifying the area where the trigger mechanism will be located on your mini LEGO gun. Create a small space within the frame to accommodate the trigger assembly.
-
Construct the Trigger: Using smaller LEGO pieces, carefully construct the trigger mechanism. Ensure that it is functional and can move freely within the designated space. This may involve creating a small lever and attaching a spring to provide tension.
-
Attach the Trigger: Once the trigger mechanism is complete, securely attach it to the designated area within the frame. Ensure that it is positioned ergonomically for easy access and operation.
-
Design the Handle: Utilize a combination of LEGO bricks to design the handle of the gun. Consider the comfort and grip of the handle, as this will contribute to the overall usability of your mini LEGO gun.
-
Secure the Handle and Trigger: Use super glue to firmly secure the handle and trigger mechanism in place. Test the functionality of the trigger to ensure that it operates smoothly and effectively.
-
Fine-Tune the Ergonomics: After attaching the handle and trigger, make any necessary adjustments to enhance the ergonomics of the gun. This may involve refining the shape of the handle for a more comfortable grip.
-
Test the Trigger Mechanism: Before proceeding to the next step, test the trigger mechanism to ensure that it functions as intended. Make any final adjustments to the handle and trigger for optimal performance.
By following these steps, you will successfully add the trigger and handle to your mini LEGO gun, bringing it one step closer to completion.
Step 3: Attaching the Barrel
-
Select a Plastic Tube: Choose a small plastic tube that will serve as the barrel of your mini LEGO gun. Ensure that it is proportionate to the size of the gun and fits securely within the frame.
-
Position the Barrel: Identify the appropriate location on the frame where the barrel will be attached. Consider the aesthetics and functionality of the placement to achieve a realistic appearance.
-
Secure the Barrel: Use super glue to firmly attach the plastic tube to the designated area on the frame. Apply the glue evenly to create a strong bond between the barrel and the frame.
-
Reinforce the Connection: To ensure the durability of the barrel attachment, consider reinforcing the connection with additional LEGO pieces. This will provide added stability and prevent the barrel from becoming dislodged.
-
Test the Alignment: Once the barrel is attached, test the alignment to ensure that it is straight and centered. Make any necessary adjustments to achieve a symmetrical and polished look.
-
Enhance the Aesthetics: Consider adding decorative elements to the barrel, such as small LEGO pieces or details created with acrylic paint. This will enhance the visual appeal of your mini LEGO gun.
-
Evaluate the Integration: Assess how the barrel integrates with the overall design of the gun. Ensure that it complements the frame and trigger mechanism, creating a cohesive and realistic appearance.
Following these steps will enable you to successfully attach the barrel to your mini LEGO gun, bringing it one step closer to completion.
Step 4: Adding the Details
-
Enhance the Aesthetics: Once the main components of your mini LEGO gun are in place, it's time to focus on adding intricate details to elevate its visual appeal. Utilize smaller LEGO pieces to create embellishments such as sights, scopes, or textured surfaces. These details will contribute to the overall realism and uniqueness of your mini LEGO gun.
-
Incorporate Customization: Embrace your creativity by incorporating personalized elements into the design. Experiment with different color combinations and patterns to customize the appearance of your mini LEGO gun. This is an opportunity to infuse your own style and personality into the creation.
-
Refine the Texture: Consider using sandpaper to refine the texture of certain areas, such as the handle or grip, to achieve a smoother and more polished finish. This attention to detail will enhance the tactile experience of handling your mini LEGO gun.
-
Add Realistic Features: Explore the possibility of adding realistic features to your mini LEGO gun, such as a movable bolt or a removable magazine. These functional elements will not only enhance the visual appeal but also provide an interactive dimension to your creation.
-
Experiment with Accessories: Incorporate additional accessories, such as small LEGO attachments or decals, to further embellish your mini LEGO gun. These accessories can contribute to the overall theme or style of the gun, adding depth and character to the design.
-
Fine-Tune the Proportions: Pay attention to the proportions of the details in relation to the overall size of the gun. Ensuring that the details are appropriately scaled will contribute to a cohesive and visually appealing final product.
By following these steps, you will successfully add intricate details to your mini LEGO gun, transforming it into a personalized and visually captivating creation.
Step 5: Painting and Finishing Touches
-
Prepare the Surface: Before applying paint, ensure that the surface of your mini LEGO gun is clean and free of any dust or debris. This will provide a smooth canvas for the paint and allow for better adhesion.
-
Priming the Surface: Consider applying a thin layer of primer to the LEGO surfaces to enhance the adherence of the paint. This step is especially beneficial if you are using light-colored paints or if the LEGO pieces have a smooth texture.
-
Selecting the Paint: Choose high-quality acrylic paint in the colors of your choice. Acrylic paint offers vibrant hues and adheres well to LEGO surfaces, making it an ideal choice for this project.
-
Applying the Base Coat: Begin by applying a base coat of paint to the entire surface of the mini LEGO gun. Use a paintbrush to ensure even coverage, and allow the base coat to dry completely before proceeding.
-
Adding Details and Accents: Once the base coat is dry, use smaller paintbrushes to add intricate details and accents to your mini LEGO gun. Consider incorporating shading, highlights, and fine lines to enhance the realism of the design.
-
Sealing the Paint: To protect the painted surface and ensure longevity, consider applying a clear sealant or varnish. This will safeguard the paint from chipping or fading over time, preserving the visual appeal of your mini LEGO gun.
-
Final Touches: After the paint has dried and been sealed, take the time to assess the overall appearance of your mini LEGO gun. Make any final touch-ups or adjustments to ensure that the paint job is flawless and visually striking.
-
Assembling the Components: Once the paint has been applied and dried, reassemble the components of your mini LEGO gun. Ensure that the trigger mechanism, handle, barrel, and any additional details are securely in place.
-
Display and Enjoy: With the painting and finishing touches complete, proudly display your mini LEGO gun in your collection or showcase it as a unique piece of DIY craftsmanship. Enjoy the satisfaction of bringing your creative vision to life through this engaging and rewarding project.
Conclusion
Congratulations on completing your mini LEGO gun! Through this DIY craft tutorial, you have embarked on a creative journey, utilizing LEGO bricks to construct a unique and personalized creation. By following the step-by-step process, you have not only honed your crafting skills but also unleashed your imagination to bring a miniature firearm to life.
As you admire your finished mini LEGO gun, take pride in the craftsmanship and attention to detail that went into its creation. Whether it's displayed as a standout piece in your LEGO collection or showcased as a testament to your DIY prowess, your mini LEGO gun is a testament to your creativity and ingenuity.
Remember, the possibilities with LEGO are endless, and this project serves as a testament to the versatility and potential for innovation that LEGO bricks offer. So, as you bask in the satisfaction of completing this DIY endeavor, consider the next exciting project that awaits, fueled by your passion for crafting and building with LEGO.