
Home>Create & Decorate>DIY & Crafts>How To Make A Still
DIY & Crafts
How To Make A Still
Published: June 15, 2024

Senior Editor in Create & Decorate, Kathryn combines traditional craftsmanship with contemporary trends. Her background in textile design and commitment to sustainable crafts inspire both content and community.
Learn how to make a still with our DIY & Crafts guide. Create your own homemade still for distilling essential oils or spirits. Step-by-step instructions for a fun and rewarding project.
(Many of the links in this article redirect to a specific reviewed product. Your purchase of these products through affiliate links helps to generate commission for Twigandthistle.com, at no extra cost. Learn more)
Introduction
So, you're interested in learning how to make a still, huh? Well, you've come to the right place! Making your own still can be a fun and rewarding DIY project, and it's a great way to produce your own distilled water, essential oils, or even spirits like whiskey and vodka. Whether you're a seasoned DIY enthusiast or just looking for a new project to tackle, building a still can be a fascinating and educational experience. In this guide, we'll walk you through the process of making a simple pot still using readily available materials and basic tools. By the end of this article, you'll have the knowledge and confidence to embark on your own still-making adventure. Let's get started!
Materials Needed
To build your own still, you'll need the following materials:
-
Large Stock Pot: This will serve as the base of your still, so make sure it's made of a durable material like stainless steel.
-
Copper Tubing: Look for around 10-12 feet of copper tubing, which will be used to create the condensation coil.
-
Bucket or Container: You'll need a bucket or container to act as a condenser for the distilled liquid.
-
Thermometer: A thermometer will be essential for monitoring the temperature during the distillation process.
-
Silicone Sealant: This will help to seal any gaps and ensure that your still operates efficiently.
-
Ice: To cool the condensation coil and facilitate the distillation process.
-
Heat Source: Whether it's a stove, hot plate, or another heat source, you'll need something to heat the stock pot.
-
Water: Distillation requires a constant supply of water, so make sure you have enough on hand.
-
Teflon Tape: This will help to create a tight seal between the various components of your still.
-
Glass Jar: You'll need a glass jar to collect the distilled liquid.
Gather these materials, and you'll be well on your way to creating your very own still!
Building the Still
Now that you have all the necessary materials, it's time to roll up your sleeves and start building your still. Follow these steps to create your very own DIY still:
-
Assemble the Components: Gather the large stock pot, copper tubing, bucket or container, and other materials in your workspace. Ensure that everything is clean and free of any debris that could contaminate the distillation process.
-
Create the Condensation Coil: Take the copper tubing and coil it around a cylindrical object to form a spiral shape. This will serve as the condensation coil that helps convert the vapor into liquid. Leave a length of tubing at the end to connect to the bucket or container.
-
Attach the Condensation Coil: Using silicone sealant and Teflon tape, securely attach the condensation coil to the stock pot. Make sure there are no gaps or leaks where vapor could escape.
-
Install the Thermometer: Drill a hole in the stock pot and insert the thermometer. This will allow you to monitor the temperature inside the still during the distillation process.
-
Set Up the Condenser: Place the bucket or container at the end of the condensation coil to collect the distilled liquid. Ensure that it is positioned securely and that the tubing is properly connected.
-
Test for Leaks: Before using the still, perform a leak test by filling the stock pot with water and applying heat. Check for any leaks or signs of steam escaping from the connections.
-
Seal Any Leaks: If you notice any leaks, use additional silicone sealant or Teflon tape to seal the connections and ensure that the still is airtight.
Once you've completed these steps, you'll have successfully built your own still and be ready to move on to the next phase of the distillation process.
Setting Up the Distillation Process
Now that your still is built, it's time to set up the distillation process. Follow these steps to ensure a successful distillation:
-
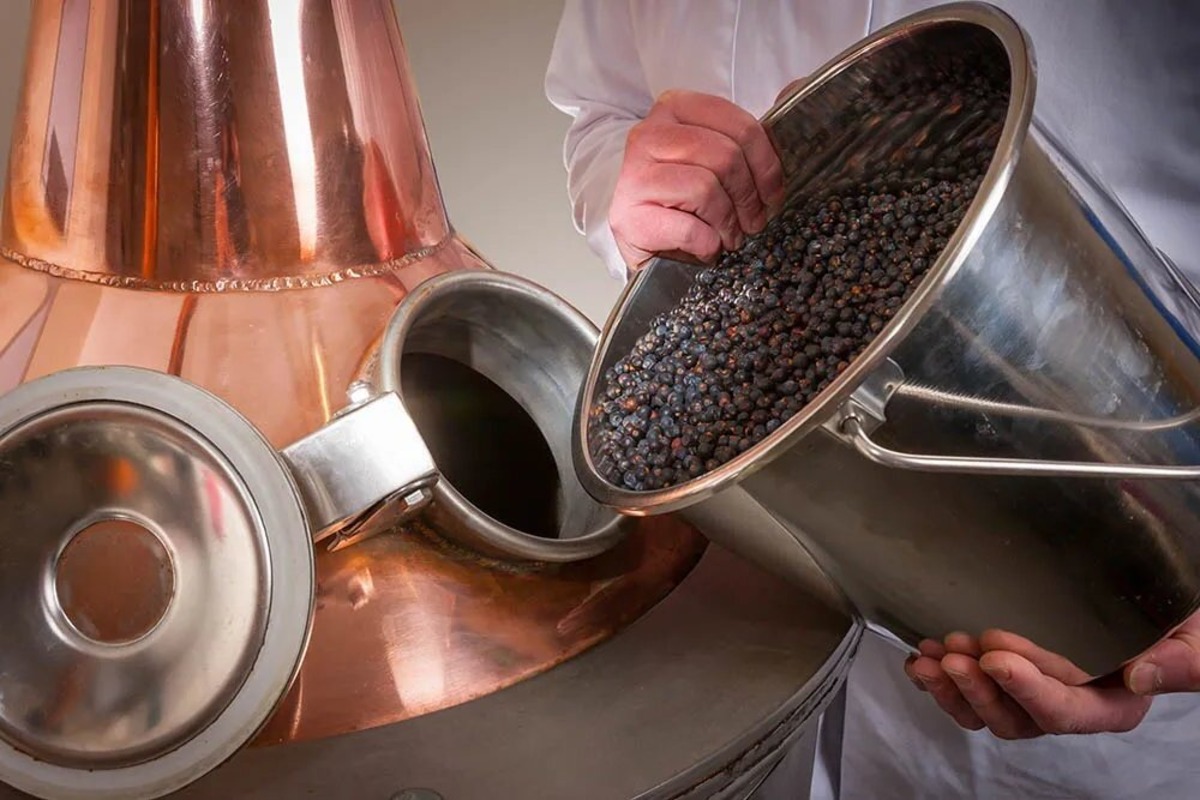
Fill the Stock Pot: Begin by filling the stock pot with the liquid you want to distill. Whether it's water, a botanical mixture for essential oils, or a fermented liquid for spirits, ensure that the liquid is clean and free of any impurities.
-
Connect the Condensation Coil: Attach one end of the copper tubing to the condensation coil and the other end to the bucket or container. Make sure the connections are secure and that there are no leaks.
-
Add the Thermometer: Place the thermometer in the stock pot and position it so that it is submerged in the liquid. This will allow you to monitor the temperature throughout the distillation process.
-
Heat the Stock Pot: Place the stock pot on a heat source and gradually apply heat. It's important to heat the liquid slowly to avoid boiling it too rapidly, which can lead to impurities being carried over into the distilled liquid.
-
Cool the Condensation Coil: As the liquid in the stock pot heats up, the vapor will travel through the copper tubing and into the condensation coil. To facilitate condensation, place the condensation coil in a container of ice or cold water. This will help convert the vapor back into a liquid form.
-
Collect the Distilled Liquid: As the vapor condenses, the distilled liquid will drip out of the end of the condensation coil and into the collection container. Monitor the process closely and adjust the heat as needed to maintain a steady distillation rate.
-
Monitor the Temperature: Keep an eye on the thermometer to ensure that the temperature remains within the desired range for the specific liquid you are distilling. Different liquids have different boiling points, so it's important to tailor the temperature to the substance being distilled.
-
Repeat the Process if Necessary: Depending on the quantity of liquid you are distilling and the desired purity of the final product, you may need to repeat the distillation process multiple times to achieve the desired result.
By following these steps, you can effectively set up the distillation process and produce your own distilled water, essential oils, or spirits using the still you've built. Remember to always exercise caution and follow safety precautions when working with heat and potentially flammable liquids.
Safety Precautions
When engaging in the distillation process using a homemade still, it's crucial to prioritize safety at all times. Here are some essential safety precautions to keep in mind:
-
Ventilation: Ensure that the area where you are operating the still is well-ventilated. Distillation involves the use of heat, which can produce fumes and vapors. Proper ventilation will help prevent the buildup of potentially harmful gases.
-
Fire Safety: Since the distillation process involves the use of heat sources, it's important to have fire safety measures in place. Keep a fire extinguisher nearby and be mindful of any flammable materials in the vicinity.
-
Protective Gear: Wear appropriate protective gear, such as heat-resistant gloves and safety goggles, to shield yourself from potential splashes or spills during the distillation process.
-
Stable Setup: Ensure that the still is set up on a stable, level surface to prevent accidental tipping or spilling of hot liquids.
-
Monitoring: Always closely monitor the distillation process, especially when applying heat. Avoid leaving the still unattended while it is in operation.
-
Handling Hot Components: Exercise caution when handling hot components of the still, such as the stock pot and condensation coil. Use insulated gloves or tools to prevent burns.
-
Storage of Flammable Liquids: If distilling spirits, ensure that any flammable liquids are stored safely and away from potential sources of ignition.
-
Education and Research: Take the time to educate yourself about the specific distillation process you are undertaking. Understanding the properties of the liquids being distilled and the potential risks involved is essential for safe operation.
By adhering to these safety precautions, you can minimize the risks associated with operating a homemade still and ensure a safe and successful distillation process. Always prioritize safety and exercise caution when working with heat and potentially hazardous materials.
Conclusion
In conclusion, learning how to make a still can open up a world of possibilities for DIY enthusiasts and those interested in producing their own distilled water, essential oils, or spirits. By following the steps outlined in this guide and prioritizing safety throughout the process, you can embark on a rewarding journey of creating your own homemade still. From gathering the necessary materials to building the still and setting up the distillation process, each step contributes to the fascinating art of distillation. Remember to always conduct thorough research, exercise caution, and adhere to safety guidelines when engaging in the distillation process. With the knowledge and skills gained from this guide, you are well-equipped to dive into the world of still-making and explore the art of distillation with confidence and creativity.