
Home>Create & Decorate>DIY & Crafts>How To Build A Fence Gate
DIY & Crafts
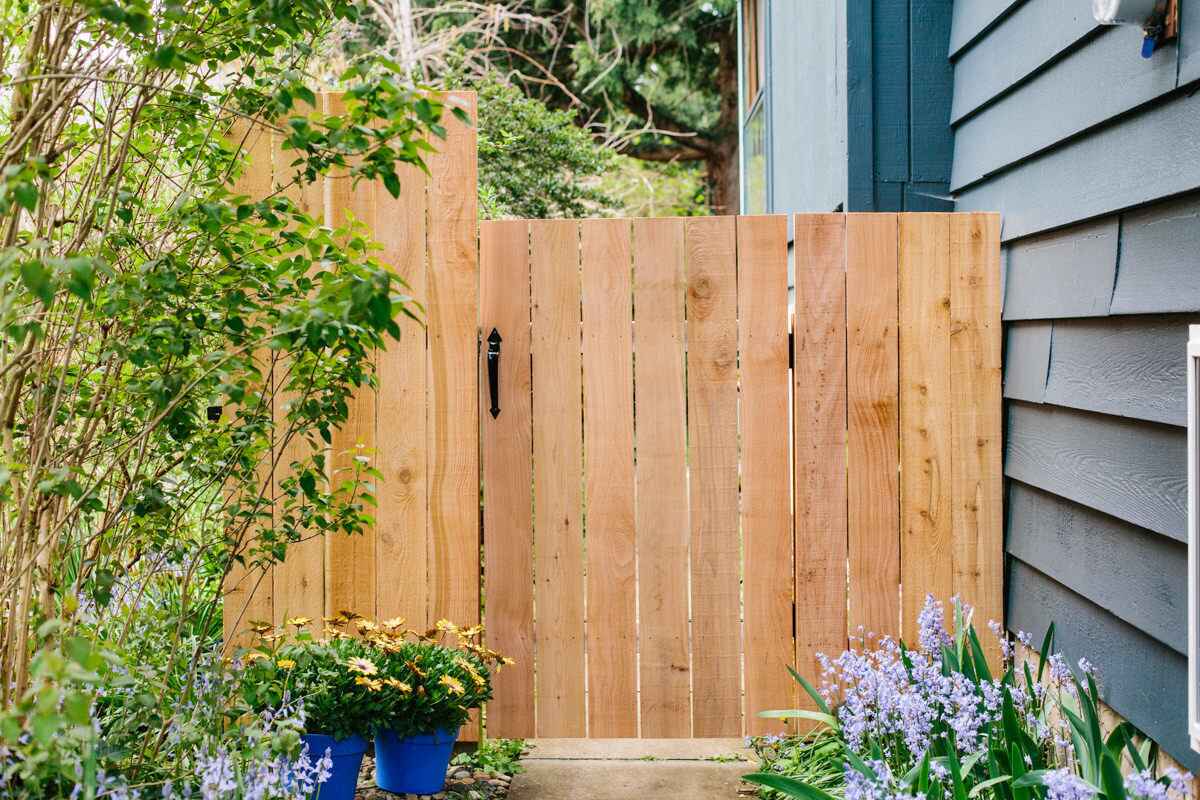
How To Build A Fence Gate
Published: May 30, 2024

Senior Editor in Create & Decorate, Kathryn combines traditional craftsmanship with contemporary trends. Her background in textile design and commitment to sustainable crafts inspire both content and community.
Learn how to build a fence gate with our easy DIY & Crafts guide. Create a sturdy and stylish gate for your property today!
(Many of the links in this article redirect to a specific reviewed product. Your purchase of these products through affiliate links helps to generate commission for Twigandthistle.com, at no extra cost. Learn more)
Introduction
So, you've finally decided to take on the challenge of building a fence gate. Congratulations! Building a fence gate can be a rewarding and practical DIY project that adds both functionality and aesthetic appeal to your property. Whether you're looking to enhance the security of your yard, keep pets and children safe, or simply add a touch of charm to your outdoor space, a well-built fence gate can serve as the perfect solution. In this guide, we'll walk you through the step-by-step process of constructing a sturdy and attractive fence gate that will stand the test of time. Let's roll up our sleeves and get started!
Planning and Preparation
Before diving into the construction of your fence gate, it's crucial to start with a solid plan and make the necessary preparations. Here's what you need to do:
-
Determine the Purpose: First and foremost, consider the purpose of your fence gate. Are you aiming for added security, privacy, or purely decorative appeal? Understanding the primary function of the gate will guide your design and material choices.
-
Check Local Regulations: Check with your local building codes and homeowner's association regulations to ensure compliance with any restrictions or requirements for fence height, style, and placement.
-
Measure the Opening: Accurately measure the width of the gate opening to determine the dimensions of your gate. It's essential to measure multiple times to ensure precision.
-
Gather Tools and Materials: Make a list of the tools and materials you'll need for the project, including wood for the frame, hinges, latch, screws, and any decorative elements. Having everything on hand will streamline the construction process.
-
Sketch the Design: Create a rough sketch or blueprint of your fence gate design, considering the style, height, and any additional features such as decorative cutouts or lattice panels.
-
Prepare the Work Area: Clear the work area of any obstructions and ensure you have ample space to maneuver and assemble the gate. Additionally, consider the terrain and make any necessary adjustments for uneven ground or slopes.
By carefully planning and preparing for the construction of your fence gate, you'll set the stage for a smooth and successful building process.
Choosing the Right Materials
Selecting the appropriate materials for your fence gate is essential for ensuring durability, functionality, and visual appeal. Here's a breakdown of the materials you'll need:
-
Wood: Opt for a sturdy, weather-resistant wood species such as cedar, redwood, or pressure-treated pine. These woods are known for their durability and ability to withstand the elements.
-
Hardware: Choose high-quality hinges and a reliable latch that can support the weight of the gate and provide secure closure. Look for rust-resistant hardware to prolong the lifespan of your gate.
-
Screws and Nails: Use galvanized or stainless steel screws and nails to prevent corrosion and ensure a strong bond between the gate components.
-
Decorative Elements: If you desire a decorative touch, consider incorporating ornamental hardware, finials, or decorative cutouts to enhance the visual appeal of your gate.
-
Optional Additions: Depending on your design preferences, you may also need additional materials such as gate handles, decorative trim, or gate caps to add a polished finish to your project.
By carefully selecting high-quality materials, you'll lay the foundation for a well-constructed fence gate that not only serves its purpose but also adds charm to your property for years to come.
Measuring and Cutting
Accurate measurements and precise cuts are crucial to the successful construction of a sturdy and well-fitting fence gate. Here's how to tackle the measuring and cutting process with precision:
-
Measure Twice, Cut Once: Before making any cuts, double-check all measurements to ensure accuracy. Use a reliable tape measure and take into account any variations in the ground level or surrounding structures that may impact the gate's fit.
-
Marking the Wood: Once you have the measurements, mark the wood according to the dimensions of the gate components. Use a pencil and a square to create clear and straight cutting guidelines on the wood.
-
Cutting the Frame Components: If you're constructing a traditional rectangular gate, cut the top and bottom horizontal frame pieces to the measured width of the gate opening. Then, cut the vertical side pieces to the desired height, accounting for any additional features such as decorative tops or lattice panels.
-
Miter Cuts for Angled Gates: For gates with angled or decorative tops, use a miter saw to create precise angled cuts on the frame components. Take your time to ensure the angles are accurate for a seamless fit.
-
Cutting the Pickets or Panels: If your gate design includes pickets or panels, measure and cut these components to the appropriate length and width. Use a saw or specialized cutting tool based on the material you're working with, whether it's wood, vinyl, or metal.
-
Safety First: Always prioritize safety when cutting materials. Wear appropriate safety gear, such as goggles and gloves, and operate cutting tools according to manufacturer guidelines.
By meticulously measuring and executing clean, accurate cuts, you'll set the stage for a smooth assembly process and a professionally finished fence gate.
Assembling the Frame
Once you have all the frame components cut to size, it's time to assemble the basic structure of your fence gate. Follow these steps to ensure a sturdy and well-aligned frame:
-
Lay Out the Pieces: Begin by laying out the top and bottom frame pieces on a flat surface, ensuring they are parallel and spaced according to the width of the gate opening. Then, position the vertical side pieces between the top and bottom rails, evenly distributing the space between each picket or panel.
-
Square the Frame: Use a carpenter's square to check that the corners of the frame form perfect right angles. Adjust the position of the frame pieces as needed to achieve square corners, which is essential for a properly fitting gate.
-
Secure the Joints: Once the frame is squared, pre-drill pilot holes at each joint to prevent the wood from splitting, then use exterior-grade screws to secure the frame components together. Ensure that the screws are driven in flush with the wood surface for a clean finish.
-
Reinforce with Corner Braces: For added stability, consider installing metal corner braces at each corner of the frame. These braces provide extra support and help prevent the gate from sagging over time, especially for wider or heavier gates.
-
Add Cross Bracing (Optional): Depending on the size and design of your gate, you may need to install diagonal cross braces within the frame to prevent warping and maintain structural integrity. Measure and cut the braces to fit from corner to corner, then secure them in place with screws.
-
Check for Alignment: After assembling the frame, double-check that it remains square and level. Make any necessary adjustments to ensure the frame is perfectly aligned before proceeding to the next steps.
By carefully assembling the frame with attention to detail and precision, you'll create a solid foundation for the rest of the gate construction process. A well-constructed frame is essential for the overall strength and longevity of your fence gate.
Attaching Hinges and Latch
Attaching the hinges and latch is a critical step in the construction of your fence gate, as it directly impacts the functionality and security of the gate. Follow these steps to ensure proper installation of the hinges and latch:
-
Positioning the Hinges: Begin by positioning the hinges on the gate frame. For a standard gate, two hinges are typically used, with one placed near the top and the other near the bottom of the gate. Ensure that the hinges are aligned vertically to allow smooth operation.
-
Marking the Screw Holes: Once the hinge placement is determined, mark the screw hole locations on the gate frame. Use a pencil or marker to make clear, visible marks for accurate drilling.
-
Pre-Drilling Holes: To prevent the wood from splitting, pre-drill pilot holes at the marked locations for the hinge screws. Choose a drill bit that matches the diameter of the screws to ensure a snug fit.
-
Attaching the Hinges: With the pilot holes in place, secure the hinges to the gate frame using exterior-grade screws. Ensure that the hinges are firmly attached and that the screws are driven in flush with the wood surface.
-
Aligning the Gate and Post: With the hinges attached to the gate frame, position the gate in the gate opening and align it with the adjacent fence post. Use shims or wedges to maintain the desired clearance between the gate and the ground, as well as to ensure even spacing along the gate's edge.
-
Attaching the Hinges to the Post: Once the gate is properly aligned, mark the screw hole locations for attaching the hinges to the fence post. Pre-drill pilot holes at these marks and then secure the hinges to the post using appropriate screws.
-
Installing the Latch: After the hinges are in place, install the latch mechanism on the gate and the corresponding catch on the adjacent fence post. Position the latch at a comfortable height for easy access and ensure that it aligns with the catch when the gate is closed.
-
Testing the Operation: Test the gate by swinging it open and closed to ensure that the hinges operate smoothly and that the latch securely engages with the catch. Make any necessary adjustments to the hinge tension or latch alignment for optimal functionality.
By carefully attaching the hinges and latch, you'll ensure that your fence gate operates smoothly, securely, and reliably. Proper installation of these components is essential for the long-term performance of your gate.
Installing the Gate
Installing the gate is the final step in bringing your fence project to completion. Follow these steps to ensure a smooth and secure installation of your newly constructed gate:
-
Positioning the Gate: With the hinges and latch securely attached, position the gate in the gate opening, ensuring that it aligns with the adjacent fence posts. Use shims or wedges to maintain the desired clearance between the gate and the ground, as well as to ensure even spacing along the gate's edge.
-
Checking Alignment: Before proceeding, double-check that the gate is level and plumb. Use a level to ensure that the gate is not leaning to one side and make any necessary adjustments to achieve proper alignment.
-
Attaching the Gate to the Post: Once the gate is properly positioned and aligned, mark the screw hole locations on the hinge side of the gate where it will attach to the fence post. Pre-drill pilot holes at these marks and then secure the gate to the post using appropriate screws.
-
Testing the Operation: After the gate is securely attached, test its operation by swinging it open and closed. Ensure that it moves smoothly and that the latch securely engages with the catch on the fence post. Make any final adjustments to the gate's position or hinge tension to achieve optimal functionality.
-
Applying Finishing Touches: Once the gate is installed and operational, take the time to inspect the entire assembly. Check for any exposed screw heads or rough edges that may need to be smoothed out. Apply a protective finish or sealant to the gate to enhance its durability and weather resistance.
-
Celebrating Your Achievement: Stand back and admire your handiwork! You've successfully built and installed a functional and attractive fence gate that adds value and curb appeal to your property. Take pride in your accomplishment and enjoy the benefits of your newly constructed gate.
By following these steps, you'll complete the installation of your fence gate with confidence, knowing that it's securely in place and ready to serve its intended purpose for years to come.
Conclusion
Congratulations on successfully completing the construction and installation of your fence gate! By following the step-by-step process outlined in this guide, you've not only added a practical and functional element to your property but also showcased your DIY skills. A well-built fence gate not only enhances the security and privacy of your outdoor space but also contributes to the overall aesthetic appeal of your property.
As you stand back and admire your handiwork, take pride in the fact that you've tackled a challenging project and brought it to fruition. Your attention to detail, precision in measurements and cuts, and careful assembly have resulted in a sturdy and reliable gate that will stand the test of time.
Remember to maintain your fence gate by periodically checking for any signs of wear, tightening hardware as needed, and applying a fresh coat of finish or sealant to protect it from the elements. With proper care, your fence gate will continue to serve its purpose for years to come.
Now that you've mastered the art of building a fence gate, perhaps you'll find yourself taking on more DIY projects to further enhance your home and outdoor living space. Whether it's constructing a garden trellis, building a deck, or creating custom outdoor furniture, your newfound skills and confidence will open the door to a world of creative possibilities.
So, take a moment to bask in the satisfaction of a job well done, and then start envisioning your next DIY endeavor. With each project, you'll continue to hone your skills and make your home a reflection of your creativity and craftsmanship. Happy building!