
Home>Create & Decorate>DIY & Crafts>DIY Screened In Patio: Transform Your Outdoor Space With This Step-by-Step Guide
DIY & Crafts
DIY Screened In Patio: Transform Your Outdoor Space With This Step-by-Step Guide
Published: June 19, 2024

Senior Editor in Create & Decorate, Kathryn combines traditional craftsmanship with contemporary trends. Her background in textile design and commitment to sustainable crafts inspire both content and community.
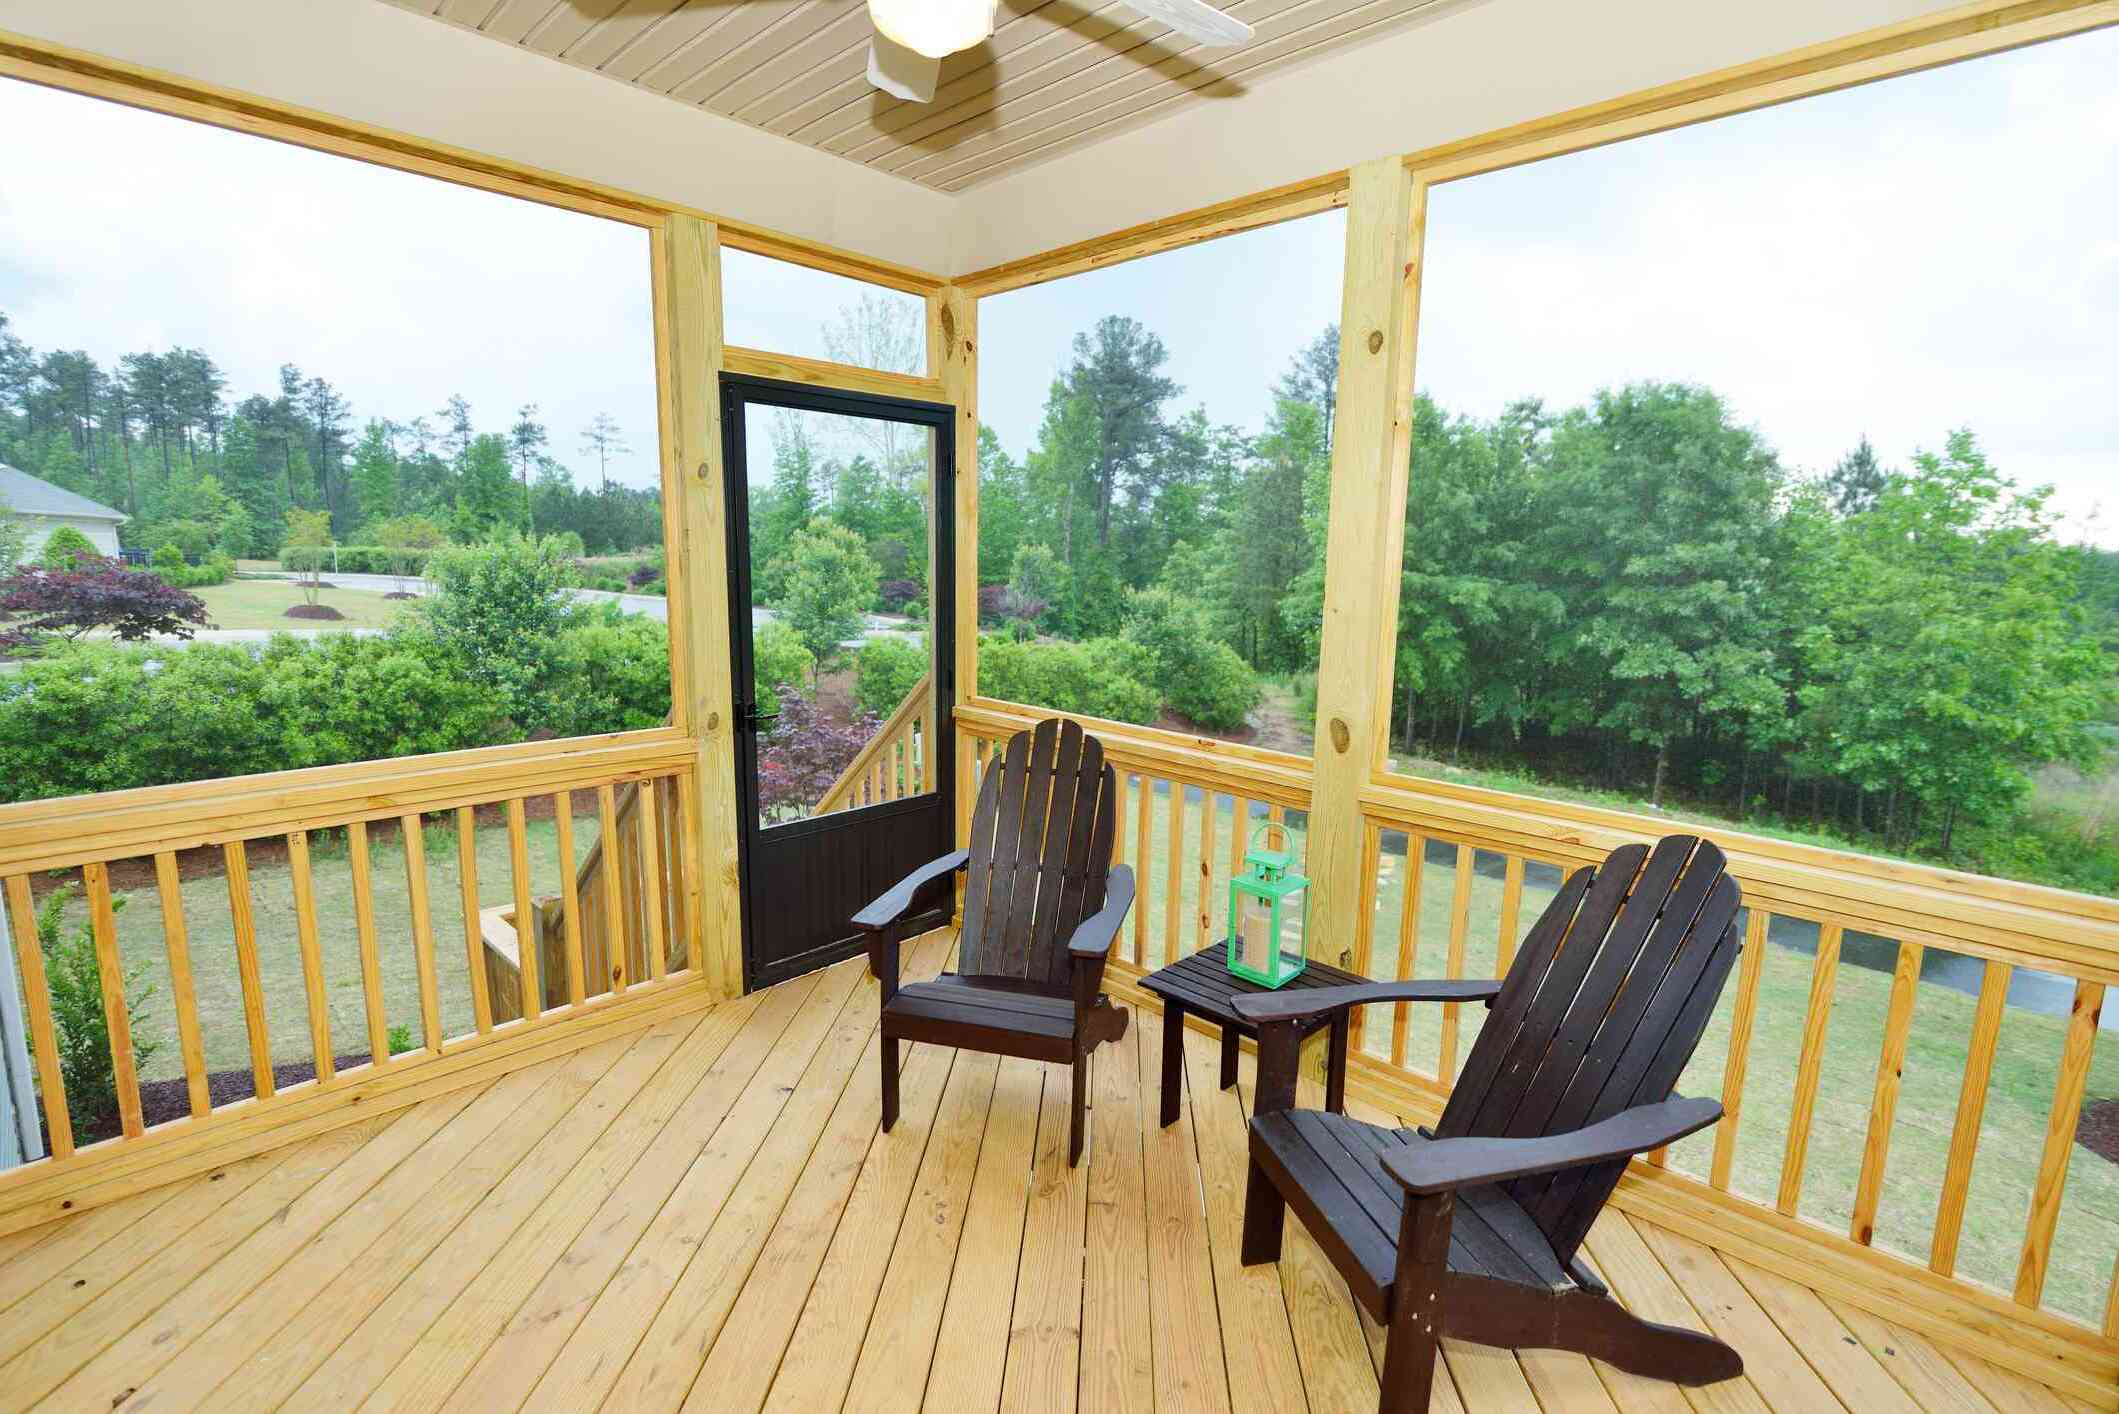
Transform your outdoor space with our step-by-step guide to building a DIY screened-in patio. Discover the best DIY & Crafts tips for creating your perfect outdoor oasis.
(Many of the links in this article redirect to a specific reviewed product. Your purchase of these products through affiliate links helps to generate commission for Twigandthistle.com, at no extra cost. Learn more)
Introduction
Are you looking to transform your outdoor space into a cozy retreat where you can relax and entertain? A DIY screened in patio is the perfect solution! By creating a screened-in area, you can enjoy the outdoors without worrying about pesky insects or harsh weather. In this step-by-step guide, we will walk you through the process of building your own screened-in patio, allowing you to enhance your outdoor living experience and add value to your home. Whether you're a seasoned DIY enthusiast or a beginner looking for a rewarding project, creating a screened-in patio is a fantastic way to upgrade your home and make the most of your outdoor space.
Planning Your DIY Screened In Patio
Before diving into the construction process, it's crucial to start with a well-thought-out plan. Planning your DIY screened-in patio will set the foundation for a successful project and ensure that you have all the necessary elements in place. Here's how to get started:
-
Determine the Location: First, decide where you want to build your screened-in patio. Consider factors such as sunlight exposure, proximity to the house, and the surrounding landscape. Choosing the right location will maximize your enjoyment of the space.
-
Set a Budget: Establishing a budget for your project is essential. Take into account the cost of materials, tools, and any additional features you want to include in your screened-in patio. Having a clear budget will help you make informed decisions throughout the construction process.
-
Check Local Regulations: Before proceeding, check with your local building department to ensure that you comply with any zoning or building regulations. Some areas may have specific requirements for structures like screened-in patios, so it's important to be aware of any restrictions.
-
Design the Layout: Sketch out a rough layout of your screened-in patio, taking into consideration the size and shape of the space. Think about how you plan to use the area – whether it's for dining, lounging, or a combination of both – and design the layout accordingly.
-
Select Materials: Research and select the materials you'll need for the project, such as lumber, screening, roofing materials, and hardware. Consider the durability and maintenance requirements of each material to ensure that your screened-in patio will stand the test of time.
By carefully planning each aspect of your DIY screened-in patio, you'll be well-prepared to move on to the next steps of the construction process. This initial planning phase sets the stage for a smooth and successful project, allowing you to create a functional and inviting outdoor space that you'll enjoy for years to come.
Gathering Materials and Tools
Once you have a solid plan in place, it's time to gather the necessary materials and tools for your DIY screened-in patio project. Here's a comprehensive list to ensure you have everything you need to get started:
Materials
- Lumber: Purchase pressure-treated lumber for the frame and structural components of the screened-in patio. Opt for high-quality, weather-resistant lumber to ensure the longevity of your outdoor structure.
- Screening Material: Choose a durable and UV-resistant screening material that will effectively keep insects out while allowing airflow. Options include fiberglass, aluminum, or specialty screening designed for porch enclosures.
- Roofing Materials: Depending on the design of your patio, you may need roofing materials such as corrugated panels, shingles, or a retractable awning. Select materials that complement the overall aesthetic of your outdoor space.
- Hardware: Stock up on screws, nails, brackets, and other hardware necessary for assembling the frame, attaching screening, and securing the roofing materials.
- Fasteners: Consider using stainless steel or galvanized fasteners to prevent rust and corrosion, especially in outdoor applications.
- Sealant and Caulk: Invest in a high-quality sealant and caulk to weatherproof the joints and seams of your screened-in patio, providing added protection against moisture and drafts.
Tools
- Circular Saw: A reliable circular saw will be essential for cutting lumber to the appropriate lengths and angles during the construction process.
- Power Drill: A power drill with a variety of drill bits and screwdriver attachments will expedite the assembly of the frame and installation of hardware.
- Level: Ensure that your patio frame is perfectly level by using a spirit level throughout the construction process.
- Screen Installation Tools: Depending on the type of screening material you choose, you may need specialized tools such as a screen rolling tool and spline for securing the screening in the frame.
- Roofing Tools: If your patio design includes a roof, gather tools such as a roofing nail gun, hammer, and roofing nails for efficient installation.
- Measuring Tape: Accurate measurements are crucial for a precise and professional-looking finished product, so a quality measuring tape is a must-have.
- Safety Gear: Prioritize safety by wearing protective gear such as gloves, safety glasses, and a dust mask when handling materials and using power tools.
By ensuring that you have all the necessary materials and tools on hand, you'll be well-equipped to tackle the construction of your DIY screened-in patio with confidence and efficiency. Gathering these essentials sets the stage for a smooth and productive building process, bringing you one step closer to enjoying your transformed outdoor oasis.
Preparing the Outdoor Space
Before you begin the construction of your DIY screened-in patio, it's essential to prepare the outdoor space to ensure a solid foundation for your project. Here's a detailed guide on how to get your outdoor area ready for the transformation:
-
Clear the Area: Start by clearing the designated area where you plan to build your screened-in patio. Remove any existing structures, debris, or vegetation that may obstruct the construction process. This step will provide a clean and open canvas for building your new outdoor space.
-
Level the Ground: Use a shovel and a leveling tool to ensure that the ground where the patio will be constructed is level and even. This step is crucial for the stability and structural integrity of your patio, providing a solid base for the frame and flooring.
-
Mark the Perimeter: Once the ground is leveled, use stakes and string to mark the perimeter of the patio area. This will help you visualize the layout and dimensions of the space, ensuring that the construction stays within the planned boundaries.
-
Consider Drainage: Take into account the drainage needs of the area. If your patio will be built on a slope or in an area prone to water accumulation, consider incorporating drainage solutions such as a French drain or gravel bed to prevent water from pooling around the structure.
-
Treat the Ground: To prevent weed growth and ensure a clean foundation, consider treating the ground with a weed barrier or landscaping fabric. This will help suppress weed growth and maintain a tidy outdoor space.
-
Inspect Utility Lines: Before digging or installing any foundational elements, contact your local utility companies to inspect the area for underground utility lines. This step is crucial for safety and to avoid any accidental damage to utility infrastructure.
By thoroughly preparing the outdoor space for your DIY screened-in patio, you'll create a solid and stable foundation for the construction process. Taking the time to complete these preparatory steps will set the stage for a successful and long-lasting outdoor retreat that you can enjoy for years to come.
Building the Frame for the Screened In Patio
Building the frame is a crucial step in constructing your DIY screened-in patio, as it provides the structural support for the entire enclosure. Follow these steps to create a sturdy and well-constructed frame for your outdoor space:
-
Measure and Mark: Begin by measuring and marking the layout of the patio frame on the prepared ground. Use a measuring tape and stakes to outline the dimensions of the frame, ensuring that it aligns with your initial design and layout plan.
-
Lay the Foundation: If your patio will have a concrete foundation, pour and level the concrete within the marked perimeter. Allow the concrete to cure according to the manufacturer's instructions before proceeding with the frame construction.
-
Cut the Lumber: Using a circular saw, cut the pressure-treated lumber to the appropriate lengths based on your frame dimensions. Be precise with your cuts to ensure a snug and secure fit during assembly.
-
Assemble the Frame: With the cut lumber pieces, begin assembling the frame on top of the concrete foundation. Use galvanized or stainless steel fasteners to secure the frame components, ensuring that the corners are square and the structure is level.
-
Add Support Beams: For larger patio designs, consider adding support beams within the frame to provide additional stability and load-bearing capacity. Secure the support beams to the frame using appropriate hardware and fasteners.
-
Check for Level and Plumb: Throughout the frame assembly process, use a spirit level to check for both levelness and plumbness. Adjust the frame as needed to ensure that it is perfectly level and upright, providing a solid foundation for the rest of the construction.
-
Anchor the Frame: If your patio will be attached to the house, use anchor brackets and appropriate fasteners to secure the frame to the exterior wall. This step is crucial for ensuring that the patio is securely connected to the existing structure.
-
Treat the Lumber: To protect the frame from moisture and decay, consider applying a wood preservative or sealant to the exposed surfaces of the lumber. This extra step will help prolong the life of your patio frame, especially in outdoor environments.
By following these steps, you'll be well on your way to constructing a robust and reliable frame for your DIY screened-in patio. A well-built frame sets the stage for the rest of the construction process, allowing you to move forward with confidence as you transform your outdoor space into a comfortable and insect-free retreat.
Installing the Screen Panels
Once the frame of your DIY screened-in patio is in place, the next step is to install the screen panels to enclose the space and create a barrier against insects and debris. Follow these detailed steps to effectively install the screen panels and bring your outdoor retreat one step closer to completion:
-
Measure and Cut the Screening Material: Begin by measuring the dimensions of each section of the frame where the screen panels will be installed. Use these measurements to cut the screening material to the appropriate size, ensuring a precise fit for each panel.
-
Secure the Bottom Rail: If your patio frame includes a bottom rail, start by securing the screening material to the bottom rail using staples or weather-resistant screws. Ensure that the screen is taut and free of wrinkles as you attach it to the rail.
-
Attach the Screen Panels: With the bottom of the screen secured, proceed to attach the screen panels to the vertical frame members. Use a staple gun or appropriate fasteners to secure the screen along the vertical edges of the frame, working your way from the bottom to the top.
-
Stretch and Tension the Screen: As you attach the screen panels, gently stretch the material to remove any slack and create a smooth, wrinkle-free surface. This step is crucial for achieving a professional and polished look for your screened-in patio.
-
Trim Excess Screen Material: Once the screen panels are securely attached and tensioned, trim any excess screening material along the edges of the frame. Use a sharp utility knife or scissors to achieve clean and precise cuts, ensuring a neat and finished appearance.
-
Install Cross Supports: For larger screen panel sections, consider installing cross supports or additional framing members to provide structural support and prevent sagging. Secure the screen to these cross supports using the same method as the main frame members.
-
Secure the Top Rail: If your patio frame includes a top rail, secure the screening material to the top rail using the same method as the bottom rail. Ensure that the screen is taut and securely fastened to the top rail to complete the enclosure.
-
Inspect and Make Adjustments: Once all the screen panels are installed, carefully inspect the entire enclosure for any loose or improperly tensioned areas. Make any necessary adjustments to ensure that the screening material is uniformly taut and securely fastened.
By following these detailed steps, you'll be able to effectively install the screen panels for your DIY screened-in patio, creating a comfortable and insect-free outdoor space where you can relax and entertain with ease. The installation of the screen panels brings you one step closer to enjoying your transformed outdoor oasis, providing a functional and inviting retreat for years to come.
Adding the Roof and Finishing Touches
Once the frame and screen panels are in place, the next crucial step in completing your DIY screened-in patio is adding the roof and applying the finishing touches. This phase of the project will not only provide protection from the elements but also add aesthetic appeal and functionality to your outdoor space. Here's a detailed guide on how to add the roof and incorporate the finishing touches to complete your screened-in patio:
Installing the Roof
-
Select the Roofing Material: Choose a roofing material that suits the design and style of your patio. Options include corrugated panels, shingles, or a retractable awning. Consider factors such as durability, weather resistance, and aesthetic compatibility with the existing structure.
-
Measure and Cut the Roofing Material: Measure the dimensions of the roof area and cut the roofing material to fit accordingly. Use a circular saw or appropriate cutting tools to achieve precise cuts and ensure a proper fit for the roofing panels or shingles.
-
Secure the Roofing Material: Install the roofing material according to the manufacturer's guidelines, ensuring that it is securely fastened to the frame. Use weather-resistant screws, nails, or appropriate fasteners to secure the roofing panels or shingles in place, providing a durable and weatherproof roof for your patio.
-
Apply Sealant and Flashing: To prevent water infiltration and ensure a watertight seal, apply a high-quality sealant to the seams and edges of the roofing material. Additionally, install flashing where the roof meets the existing structure to prevent water from seeping into the patio enclosure.
Finishing Touches
-
Add Trim and Molding: Enhance the visual appeal of your screened-in patio by adding trim and molding to the frame and roof edges. Choose trim that complements the overall design and style of the patio, providing a polished and cohesive look to the structure.
-
Install Lighting Fixtures: Consider installing lighting fixtures to illuminate the patio area during the evening hours. Options include string lights, wall-mounted sconces, or overhead fixtures. Lighting not only enhances the ambiance but also extends the functionality of the space for evening gatherings and relaxation.
-
Incorporate Decorative Elements: Personalize your screened-in patio by incorporating decorative elements such as potted plants, outdoor rugs, and comfortable furniture. These additions will create a welcoming and inviting atmosphere, making the patio a true extension of your indoor living space.
-
Add Functional Features: Consider adding functional features such as ceiling fans, outdoor curtains, or a ceiling-mounted heater to further enhance the comfort and usability of the patio throughout the year. These elements can extend the usability of the space during various weather conditions.
-
Apply a Protective Finish: If your patio features exposed wood surfaces, consider applying a protective finish such as exterior-grade paint or wood sealant to safeguard the wood from moisture, UV exposure, and general wear and tear.
By following these detailed steps and incorporating the finishing touches, you'll complete the transformation of your outdoor space into a functional, comfortable, and visually appealing screened-in patio. The addition of the roof and finishing touches not only enhances the usability of the space but also elevates the overall aesthetic and enjoyment of your outdoor retreat.
Enjoying Your Transformed Outdoor Space
Now that your DIY screened-in patio is complete, it's time to reap the rewards of your hard work and enjoy the transformed outdoor space to the fullest. Here are some tips for making the most of your new patio retreat:
-
Relaxation and Leisure: Embrace the tranquility of your screened-in patio by creating a cozy seating area with comfortable outdoor furniture. Add plush cushions, throw pillows, and a side table to create a relaxing oasis where you can unwind with a good book or simply enjoy the serenity of the outdoors.
-
Al Fresco Dining: Take advantage of your screened-in patio for delightful al fresco dining experiences. Set up a dining table and chairs, and consider adding a grill or outdoor kitchen area for convenient meal preparation. Whether it's a casual weeknight dinner or a weekend barbecue, dining on your patio adds a special touch to any meal.
-
Entertaining Guests: Your screened-in patio provides the perfect setting for hosting gatherings and entertaining guests. Arrange seating to accommodate socializing, and consider adding ambient lighting and music to create a welcoming atmosphere. Whether it's a small get-together or a larger celebration, your patio is an ideal space for making lasting memories with friends and family.
-
Outdoor Activities: Use your screened-in patio as a versatile space for various outdoor activities. From practicing yoga and meditation to enjoying board games or arts and crafts, the protected environment of your patio allows you to engage in a wide range of hobbies and pastimes without the interference of insects or adverse weather conditions.
-
Seasonal Enjoyment: Throughout the changing seasons, your screened-in patio remains a valuable extension of your home. In the warmer months, open the screens to invite fresh air and enjoy the gentle breeze. As the weather cools, consider adding outdoor heaters or a fire pit to extend the usability of the patio into the fall and winter months.
-
Gardening and Greenery: Embrace the natural surroundings of your outdoor space by incorporating potted plants, hanging baskets, and vertical gardens. The protected environment of your patio provides an ideal setting for nurturing a variety of plants, creating a lush and inviting atmosphere.
By embracing these tips, you can fully appreciate the benefits of your DIY screened-in patio and make the most of your transformed outdoor space. Whether it's relaxation, dining, entertaining, or engaging in outdoor activities, your patio offers a versatile and inviting environment for enjoying the beauty of the outdoors while staying comfortable and protected.