
Home>Create & Decorate>DIY & Crafts>DIY Ottoman: How To Make Your Own Stylish Footrest
DIY & Crafts
DIY Ottoman: How To Make Your Own Stylish Footrest
Published: June 8, 2024

Senior Editor in Create & Decorate, Kathryn combines traditional craftsmanship with contemporary trends. Her background in textile design and commitment to sustainable crafts inspire both content and community.
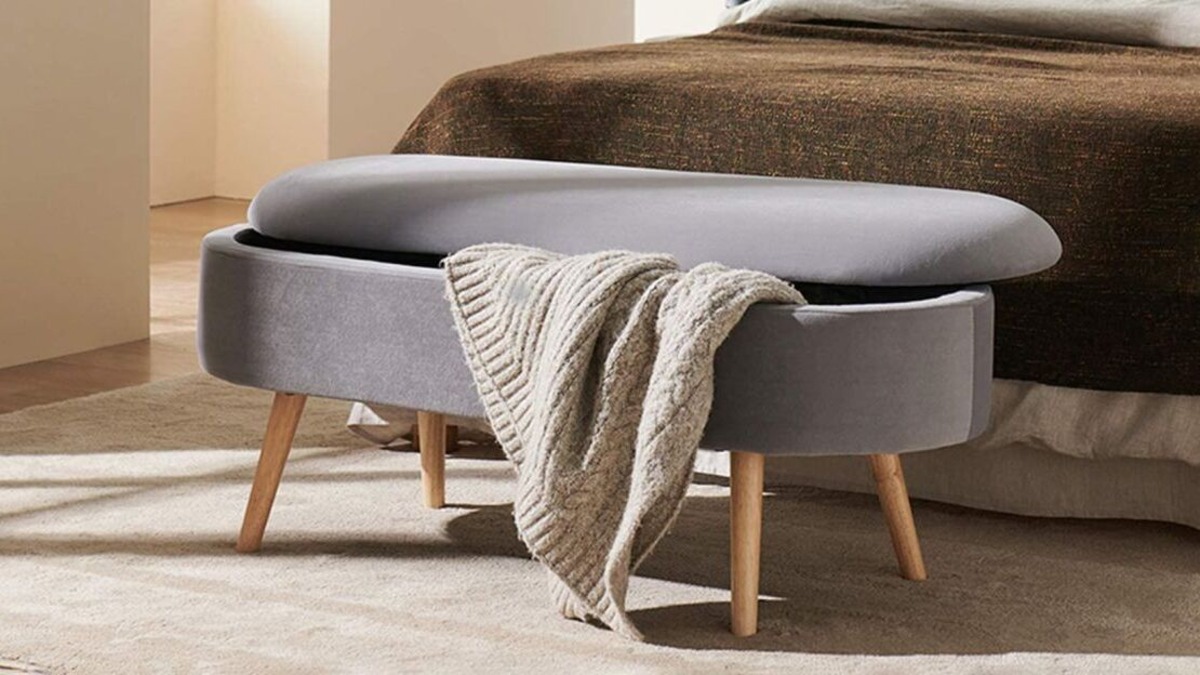
Learn how to create a stylish footrest with our DIY Ottoman guide. Get crafty and make your own unique piece for your home today!
(Many of the links in this article redirect to a specific reviewed product. Your purchase of these products through affiliate links helps to generate commission for Twigandthistle.com, at no extra cost. Learn more)
Introduction
Are you looking to add a stylish and functional piece of furniture to your living space? A DIY ottoman could be the perfect addition! Not only does it provide a comfortable footrest, but it can also serve as extra seating or even a coffee table. In this guide, we'll walk you through the steps to create your own custom ottoman, tailored to your personal style and space requirements. Whether you're a seasoned DIY enthusiast or a beginner looking for a fun project, making your own ottoman is a rewarding and budget-friendly way to enhance your home decor. So, roll up your sleeves and let's get started on this exciting DIY journey!
Materials Needed
To embark on your DIY ottoman project, you'll need the following materials:
- Plywood: This will form the base and sides of your ottoman.
- Foam: Look for high-density foam to ensure comfort and durability.
- Upholstery Fabric: Choose a fabric that complements your existing decor and is durable enough to withstand regular use.
- Wood Screws: These will be used to secure the frame of the ottoman.
- Legs: If you want to elevate your ottoman, consider adding stylish legs for a polished look.
- Batting: This material will provide a smooth and soft finish to your ottoman.
- Staple Gun: Essential for securing the fabric and batting to the ottoman frame.
- Measuring Tape and Straight Edge: Accurate measurements and straight cuts are crucial for a professional-looking result.
- Saw: You'll need a saw to cut the plywood to the desired dimensions.
- Drill: This will be used to attach the frame and legs securely.
- Fabric Scissors: To cut the upholstery fabric and batting to the correct size.
- Screwdriver: For attaching the legs to the ottoman frame.
Gathering these materials will set you on the right path to creating a stylish and functional ottoman for your home.
Step 1: Measuring and Cutting the Wood
Before diving into the construction of your DIY ottoman, it's crucial to start with accurate measurements and precise cuts of the wood. Follow these steps to ensure your ottoman frame comes together seamlessly:
-
Measure the Plywood: Using a measuring tape and straight edge, carefully measure and mark the dimensions for the base and sides of your ottoman. Keep in mind the desired height, length, and width, taking into account the thickness of the foam and upholstery.
-
Cut the Plywood: With the measurements in place, use a saw to cut the plywood according to the marked dimensions. It's essential to maintain straight and clean cuts to achieve a professional finish.
-
Create the Side Panels: If your ottoman design includes side panels, measure and cut additional pieces of plywood to form the sides of the frame. These panels will be attached to the base to create the structure of the ottoman.
By taking the time to measure accurately and cut the wood precisely, you'll lay a solid foundation for the construction of your DIY ottoman. This meticulous approach will ensure that the subsequent steps of assembling the frame and adding upholstery will proceed smoothly and result in a polished final product.
Step 2: Assembling the Frame
Once you have the plywood pieces cut to the correct dimensions, it's time to assemble the frame of your DIY ottoman. Follow these steps to bring the structure together:
-
Attach the Side Panels: If your ottoman design includes side panels, position them against the base of the ottoman. Use wood screws and a drill to securely attach the side panels to the base. Ensure that the corners are square and the panels are aligned properly before fastening them in place.
-
Add Support Beams: To reinforce the frame and provide additional stability, consider adding support beams across the interior of the ottoman. These beams can be cut from the remaining plywood and attached perpendicular to the base using wood screws. The number of support beams will depend on the size of your ottoman and the desired level of sturdiness.
-
Attach the Legs: If you've chosen to elevate your ottoman with stylish legs, it's time to attach them to the frame. Position the legs at each corner of the base and use a screwdriver to secure them in place. Ensure that the legs are level and firmly attached to support the weight of the ottoman and anyone using it.
By following these steps, you'll create a sturdy and well-constructed frame for your DIY ottoman. The assembly process is a critical stage in ensuring that your ottoman is not only stylish but also durable and functional. Once the frame is assembled, you'll be ready to move on to the exciting step of adding the upholstery to complete your custom ottoman.
Step 3: Adding the Upholstery
Adding the upholstery is where your DIY ottoman truly starts to take shape and reflect your personal style. Follow these steps to achieve a professional and polished look for your custom ottoman:
-
Cut the Foam and Batting: Begin by cutting the foam to the dimensions of the ottoman's top surface. Use a sharp knife to ensure clean and precise cuts. Similarly, cut a piece of batting to the same size as the foam. The batting will provide a smooth and soft layer between the foam and the upholstery fabric.
-
Secure the Foam and Batting: Place the cut foam on top of the ottoman frame, ensuring it is centered and aligned. Next, layer the batting over the foam, smoothing out any wrinkles or folds. Use a staple gun to secure the batting to the underside of the ottoman frame. Pull the batting taut as you staple, ensuring a snug and even layer.
-
Upholster the Ottoman: Now comes the exciting part – upholstering your ottoman! Lay your chosen upholstery fabric over the padded ottoman top, ensuring it is centered and straight. Smooth out any wrinkles or creases, and then flip the ottoman over to begin securing the fabric. Starting from the center of each side, pull the fabric taut and staple it to the underside of the ottoman frame. Work your way around the perimeter, alternating sides to ensure an even and smooth finish. Trim any excess fabric to tidy up the edges.
-
Finish the Corners: To create neat and professional-looking corners, fold and tuck the excess fabric at the corners of the ottoman. This technique will result in clean and crisp corners, adding to the overall polished appearance of your DIY ottoman.
By following these steps, you'll achieve a beautifully upholstered ottoman that complements your home decor and reflects your personal style. The addition of upholstery not only enhances the comfort and functionality of the ottoman but also elevates its visual appeal, making it a standout piece in your living space.
Step 4: Finishing Touches
After completing the upholstery, it's time to add the finishing touches to your DIY ottoman. These final steps will elevate the overall look and functionality of your custom piece of furniture.
-
Trim Excess Batting and Fabric: Carefully trim any excess batting and fabric from the underside of the ottoman. This step ensures a clean and professional finish, removing any loose or overhanging material.
-
Add Decorative Trim (Optional): If you want to enhance the aesthetic appeal of your ottoman, consider adding decorative trim along the bottom edge. This could be in the form of upholstery nails, braided cord, or fringe, depending on your personal style and the existing decor of your space.
-
Apply Furniture Feet (Optional): To protect your floors and add a stylish touch, consider attaching furniture feet to the bottom of your ottoman. These can be found in various styles and finishes, allowing you to customize the look of your ottoman while ensuring it remains stable and easy to move.
-
Inspect and Reinforce: Before considering your ottoman complete, take the time to inspect the frame, upholstery, and any added elements. Ensure that all screws and attachments are secure, and make any necessary reinforcements to guarantee the ottoman's durability and longevity.
-
Test for Stability and Comfort: Once all the finishing touches are in place, test your ottoman for stability and comfort. Sit or place your feet on the ottoman to ensure that it can support weight without wobbling or feeling unsteady. Additionally, assess the overall comfort of the padded top to ensure it meets your expectations.
By adding these finishing touches, you'll transform your DIY ottoman into a stylish and functional piece of furniture that seamlessly integrates into your living space. Whether you opt for decorative elements or focus on reinforcing the structure, these final steps will ensure that your custom ottoman is a standout addition to your home.
Conclusion
In conclusion, creating your own DIY ottoman is a rewarding and fulfilling project that allows you to customize a stylish and functional piece of furniture for your home. By following the steps outlined in this guide, from measuring and cutting the wood to adding the finishing touches, you can craft an ottoman that not only reflects your personal style but also meets your specific space and comfort needs. The satisfaction of completing a project that combines creativity, craftsmanship, and practicality is unmatched. As you admire your finished ottoman in its designated space, you'll take pride in knowing that it's a unique creation that enhances both the aesthetic and functionality of your home. So, grab your tools, unleash your creativity, and embark on the journey of crafting your very own DIY ottoman.