
Home>Create & Decorate>DIY & Crafts>DIY Media Center: How To Create Your Own Entertainment Hub
DIY & Crafts
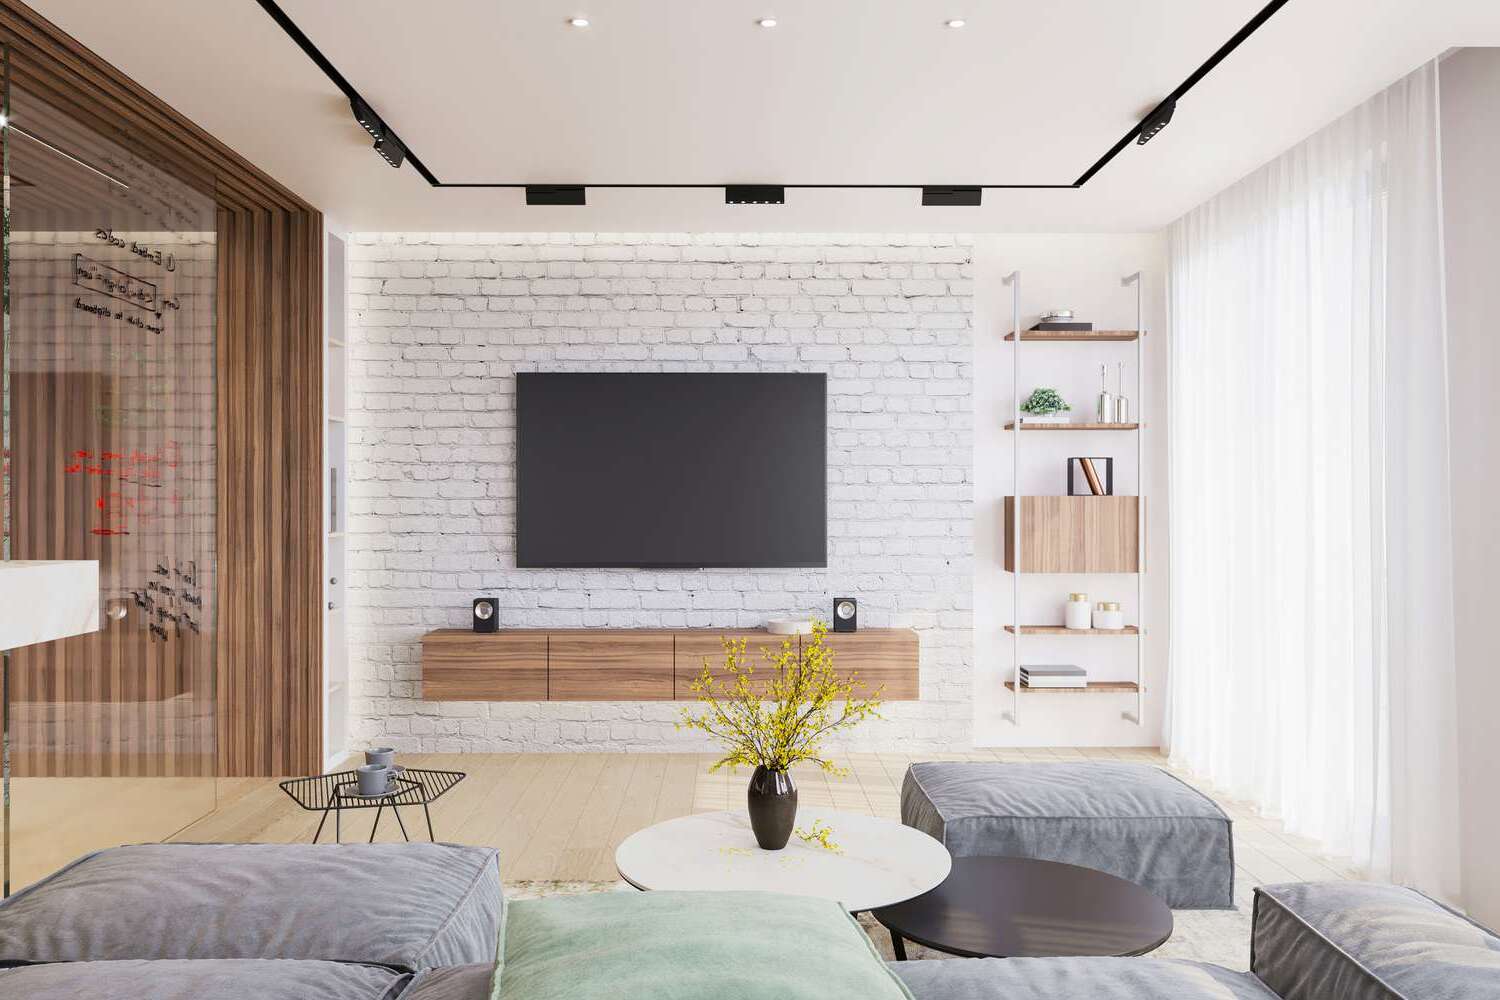
DIY Media Center: How To Create Your Own Entertainment Hub
Published: June 14, 2024

Content Creator specializing in woodworking and interior transformations. Caegan's guides motivate readers to undertake their own projects, while his custom furniture adds a personal touch.
Learn how to build your own DIY media center and transform your living room into an entertainment hub with our easy-to-follow DIY & Crafts guide. Discover tips, tricks, and ideas for creating the ultimate media center.
(Many of the links in this article redirect to a specific reviewed product. Your purchase of these products through affiliate links helps to generate commission for Twigandthistle.com, at no extra cost. Learn more)
Introduction
Are you tired of shuffling through different devices to access your favorite movies, music, and TV shows? Creating your own DIY media center can be the perfect solution to streamline your entertainment experience. With a little technical know-how and the right tools, you can build a personalized entertainment hub that caters to all your media needs. In this guide, we'll walk you through the step-by-step process of creating your very own media center, from choosing the right hardware to troubleshooting and maintenance. So, roll up your sleeves and get ready to embark on an exciting journey to build your own DIY media center!
Choosing the Right Hardware
When it comes to building your DIY media center, selecting the right hardware is crucial for ensuring optimal performance and functionality. Here are the key components you'll need to consider:
1. Media Center PC or Single-Board Computer
- Media Center PC: A dedicated computer with sufficient processing power, RAM, and storage capacity to handle media playback and streaming.
- Single-Board Computer (SBC): Compact and cost-effective options like Raspberry Pi or Odroid can serve as the brain of your media center.
2. Storage
- Internal Hard Drive: For storing your media library, opt for a high-capacity internal hard drive or solid-state drive (SSD) to ensure ample space for your files.
- External Storage: Consider adding external hard drives or network-attached storage (NAS) for expandable storage options.
3. Graphics and Audio
- Graphics Card: Depending on your display requirements, a dedicated graphics card may be necessary for 4K playback or gaming.
- Audio Output: Choose a sound card or USB DAC for high-quality audio output to your speakers or home theater system.
4. Remote Control and Input Devices
- Remote Control: Look for a compatible remote control or wireless keyboard with a built-in touchpad for convenient navigation.
- Input Devices: Consider using game controllers or smartphone apps for additional input options.
5. Networking
- Ethernet or Wi-Fi: Ensure reliable internet connectivity by integrating either Ethernet or Wi-Fi capabilities into your media center setup.
By carefully selecting the right hardware components based on your specific media consumption and entertainment needs, you can lay a solid foundation for your DIY media center. Once you've gathered the necessary hardware, you'll be ready to move on to the next steps in the creation process.
Installing the Operating System
Once you have assembled the hardware for your DIY media center, the next crucial step is to install the operating system (OS) that will serve as the platform for your media center software. Here's a detailed guide on how to install the operating system for your media center:
-
Choose the Right OS: Select an operating system that is compatible with media center software and supports the hardware of your media center PC or single-board computer. Popular options include:
- Windows: Windows 10 is a versatile choice with extensive media center software compatibility.
- Linux: Ubuntu, OpenELEC, or LibreELEC are lightweight Linux distributions tailored for media center applications.
- Android: For a more mobile-oriented media center, Android-based OS options are available.
-
Create Installation Media: Download the chosen operating system's installation files and create a bootable USB drive or SD card using tools like Rufus, Etcher, or UNetbootin.
-
Boot from Installation Media: Insert the bootable USB drive or SD card into your media center PC or single-board computer and boot from the installation media. Access the BIOS or UEFI settings to set the boot priority to the installation media.
-
Follow Installation Instructions: Proceed with the installation process, following the on-screen instructions provided by the operating system installer. This typically involves selecting the installation drive, creating user accounts, and configuring basic system settings.
-
Install Media Center Software: Some operating systems, such as OpenELEC and LibreELEC, come pre-packaged with media center software like Kodi. If not, you can install your preferred media center software after the operating system installation is complete.
-
Configure Network and Updates: Once the operating system is installed, ensure that your media center is connected to the internet via Ethernet or Wi-Fi. Check for and install any available updates to keep your system secure and up to date.
By following these steps, you can successfully install the operating system for your DIY media center, paving the way for the next phase of setting up media center software and organizing your media files. With the operating system in place, your media center will be ready to deliver a seamless entertainment experience tailored to your preferences.
Setting Up Media Center Software
After installing the operating system for your DIY media center, the next crucial step is to set up the media center software that will serve as the interface for accessing and managing your media content. Here's a detailed guide on how to set up the media center software for your DIY entertainment hub:
-
Choose the Right Media Center Software: Select a suitable media center software that aligns with your preferences and requirements. Popular options include:
- Kodi: A versatile and customizable media center platform with a wide range of add-ons and customization options.
- Plex: Ideal for users who prefer a user-friendly interface and seamless media streaming across devices.
- Emby: Known for its robust media organization and management features, catering to users with extensive media libraries.
-
Download and Install the Software: Visit the official website of your chosen media center software and download the installation package compatible with your operating system. Follow the installation instructions provided by the software developer to complete the installation process.
-
Configure Media Libraries: Once the media center software is installed, it's time to configure your media libraries. This involves adding your media files, such as movies, TV shows, music, and photos, to the software's library for easy access and playback.
-
Explore Add-Ons and Plugins: Depending on the selected media center software, explore the available add-ons, plugins, or extensions to enhance the functionality of your media center. These add-ons can include streaming services, visualizations, and additional features tailored to your preferences.
-
Customize Settings and Appearance: Personalize the settings and appearance of your media center software to create a tailored entertainment experience. This may include adjusting display preferences, enabling subtitles, and customizing the user interface to suit your aesthetic preferences.
-
Set Up Remote Access (Optional): If you want to access your media center remotely or stream content outside your home network, consider setting up remote access features provided by the media center software. This can enable seamless access to your media library from various devices.
By following these steps, you can effectively set up the media center software for your DIY media center, transforming it into a centralized platform for all your entertainment needs. With the software in place, you'll be ready to organize and access your media files seamlessly, creating a personalized entertainment hub tailored to your preferences.
Organizing and Accessing Your Media Files
Organizing and accessing your media files is a critical aspect of creating a functional and user-friendly DIY media center. Here's a detailed guide on how to efficiently organize and access your media files within your entertainment hub:
-
File Organization: Begin by structuring your media files in a logical and organized manner. Create separate folders for movies, TV shows, music, and photos. Within each category, further organize the content into subfolders based on genres, artists, or albums. This systematic approach will make it easier to locate and access specific media content.
-
Metadata Management: Utilize metadata management tools within your chosen media center software to enhance the organization of your media files. Metadata includes essential information such as movie titles, episode names, album artwork, and artist details. By ensuring accurate and comprehensive metadata for your media library, you can facilitate seamless browsing and searching within the media center interface.
-
Media Scraping and Tagging: Take advantage of media scraping features provided by media center software to automatically retrieve metadata and artwork for your media files. This process, often referred to as scraping or tagging, eliminates the need for manual entry of media details and ensures a visually appealing and informative presentation of your media library.
-
Library Integration: If you have media content stored across multiple devices or network locations, consider integrating these disparate libraries into a unified media center interface. This can be achieved through network-attached storage (NAS) solutions or by configuring your media center software to access content from various sources, providing a consolidated view of your entire media collection.
-
Accessing Media Across Devices: Ensure that your DIY media center allows seamless access to your media files across multiple devices. Whether you're using a smartphone, tablet, or another computer within your home network, the ability to access and stream media content from your central media center enhances the overall convenience and flexibility of your entertainment setup.
-
Offline Media Playback: In addition to streaming capabilities, consider setting up offline media playback options within your media center. This can involve downloading media files for offline viewing or configuring your media center to sync content to portable devices for on-the-go entertainment.
By implementing these strategies for organizing and accessing your media files, you can create a cohesive and user-friendly media center experience. With a well-organized media library and seamless access to your favorite content, your DIY media center will serve as a centralized and personalized entertainment hub tailored to your preferences.
Customizing Your Media Center Interface
Customizing the interface of your DIY media center allows you to personalize the visual and functional aspects of the platform to align with your preferences and usage patterns. Here's a comprehensive guide on how to tailor the interface of your media center to create a unique and engaging entertainment experience:
-
Theme Selection: Many media center software options offer a range of themes and skins that can transform the appearance of the interface. Explore the available themes and select one that resonates with your aesthetic preferences. Whether you prefer a sleek, minimalist design or a visually dynamic interface, choosing the right theme sets the tone for your media center experience.
-
Custom Backgrounds and Artwork: Personalize the backdrop of your media center interface by incorporating custom backgrounds and artwork. Whether it's a favorite movie poster, album cover, or scenic photograph, adding custom visuals can enhance the visual appeal of the interface and create a more immersive viewing experience.
-
Widget and Add-On Configuration: Many media center software platforms support widgets and add-ons that provide at-a-glance information, such as weather updates, news headlines, or upcoming movie releases. Customize the placement and configuration of these widgets to display the information that is most relevant and interesting to you.
-
Menu and Navigation Customization: Tailor the menu and navigation options within the media center interface to streamline access to your favorite content. This can involve reordering menu items, creating custom shortcuts, or configuring quick access buttons for frequently used features, enhancing the overall usability of the platform.
-
Visual Effects and Animations: Some media center software allows for the customization of visual effects and animations. Whether it's subtle transitions between menu screens or dynamic visualizations during music playback, adjusting these visual elements can add a layer of polish and sophistication to the interface.
-
User Profiles and Preferences: If your DIY media center is used by multiple individuals, consider setting up user profiles with personalized preferences. This can include individualized theme selections, viewing history, and content recommendations, ensuring that each user's experience is tailored to their unique tastes.
-
Remote Control Customization: If you use a remote control to navigate your media center, explore the customization options available for remote control configurations. This can involve mapping specific functions to remote control buttons, creating macros for streamlined navigation, and optimizing the remote control experience for convenience and efficiency.
By customizing the interface of your DIY media center, you can create a visually captivating and user-centric platform that reflects your individuality and enhances the overall entertainment experience. Whether it's fine-tuning the visual elements, optimizing navigation, or tailoring the interface to accommodate multiple users, the customization process empowers you to shape your media center into a personalized and engaging entertainment hub.
Connecting to Your TV and Audio System
Connecting your DIY media center to your TV and audio system is a pivotal step in bringing your entertainment hub to life. Here's a comprehensive guide on how to seamlessly integrate your media center with your TV and audio setup:
-
Video Output Configuration: Determine the optimal video output configuration based on your TV's input options and your media center's capabilities. Common video output options include HDMI, DisplayPort, and VGA. Ensure that your media center's video output is compatible with your TV's input ports to establish a reliable connection.
-
Audio Output Setup: Identify the audio output options available on your media center and select the appropriate connection method for your audio system. Whether it's HDMI for both video and audio transmission, optical audio for high-fidelity sound, or analog audio connections, ensure that the audio output from your media center aligns with the input options of your audio system.
-
HDMI CEC Integration: If your TV and media center support HDMI Consumer Electronics Control (CEC), consider enabling this feature to facilitate seamless control of your media center using your TV remote. HDMI CEC allows for synchronized operation, enabling you to power on/off the media center, adjust volume, and navigate menus using your TV remote.
-
Audio Receiver Configuration: If you have a dedicated audio receiver or amplifier as part of your audio setup, ensure that the media center's audio output is connected to the receiver to leverage its audio processing capabilities. This allows for enhanced audio decoding, channel separation, and surround sound reproduction for an immersive audio experience.
-
Display Calibration: Once the physical connections are established, consider calibrating your TV's display settings to optimize the visual output from your media center. This may involve adjusting picture settings, color calibration, and aspect ratio to ensure that the content displayed from your media center is presented accurately and vibrantly on your TV screen.
-
Audio System Integration: If you have a multi-channel audio system or surround sound setup, configure your media center to support the audio formats and channel configurations offered by your audio system. This may involve selecting the appropriate audio output settings within the media center software to ensure that the audio is delivered in the desired format.
-
Testing and Troubleshooting: After connecting your media center to your TV and audio system, perform thorough testing to ensure that both video and audio signals are transmitted correctly. Troubleshoot any issues related to audio-video synchronization, resolution compatibility, or audio output discrepancies to fine-tune the integration between your media center and your entertainment setup.
By following these steps, you can seamlessly connect your DIY media center to your TV and audio system, creating a cohesive and immersive entertainment environment that maximizes the potential of your media center hardware and software. With the integration complete, you'll be ready to enjoy a personalized and high-quality media experience tailored to your preferences.
Troubleshooting and Maintenance
Maintaining the optimal performance of your DIY media center involves proactive troubleshooting and regular maintenance to address potential issues and ensure smooth operation. Here's a comprehensive guide on troubleshooting common issues and implementing effective maintenance practices for your media center:
1. Software Updates and Patches
Regularly check for software updates and patches for both the operating system and media center software. Keeping your software up to date ensures that you have access to the latest features, performance enhancements, and security fixes. Configure automatic updates where possible to streamline the update process.
2. System Performance Monitoring
Utilize system monitoring tools to track the performance of your media center hardware and software. Monitor CPU usage, memory utilization, and network activity to identify any anomalies or performance bottlenecks. Addressing performance issues proactively can prevent potential disruptions in media playback and streaming.
3. Network Connectivity Troubleshooting
If you encounter network connectivity issues, troubleshoot the network configuration of your media center. Verify the integrity of Ethernet or Wi-Fi connections, check for IP address conflicts, and ensure that your media center has reliable access to your local network and the internet. Addressing network issues can prevent interruptions in media streaming and remote access.
4. Media File Integrity Checks
Periodically perform integrity checks on your media files to identify and address any corrupted or unreadable content. Use media library management tools to scan for file errors, missing metadata, or playback inconsistencies. Repair or replace problematic media files to maintain a seamless media playback experience.
5. Hardware Component Health Checks
Conduct routine health checks on the hardware components of your media center, including the hard drives, cooling system, and input devices. Monitor the temperature of internal components, check for signs of hardware degradation, and ensure that input devices such as remote controls or keyboards are functioning correctly.
6. Backup and Recovery Planning
Implement a robust backup and recovery strategy for your media center to safeguard your media library and system configurations. Regularly back up your media files to external storage or cloud-based solutions, and create system restore points to facilitate quick recovery in the event of software or configuration issues.
7. User Account and Access Management
If your media center is used by multiple individuals, manage user accounts and access permissions to maintain a secure and personalized experience. Regularly review user accounts, access logs, and device permissions to ensure that the media center is accessed and utilized appropriately.
8. Dusting and Cleaning
Perform routine cleaning and dusting of the physical components of your media center, including the PC or single-board computer, input devices, and audio-visual equipment. Preventing dust buildup and maintaining proper ventilation can prolong the lifespan of your hardware and prevent overheating issues.
By implementing these troubleshooting and maintenance practices, you can ensure the long-term reliability and performance of your DIY media center. Proactive maintenance and timely issue resolution will contribute to a seamless and enjoyable entertainment experience tailored to your preferences.
Conclusion
In conclusion, creating your own DIY media center is a rewarding endeavor that empowers you to craft a personalized entertainment hub tailored to your unique preferences. By carefully selecting the right hardware, installing the appropriate operating system, setting up media center software, organizing and accessing your media files, customizing the interface, connecting to your TV and audio system, and implementing effective troubleshooting and maintenance practices, you can establish a comprehensive and seamless media center experience.
With the ability to access your favorite movies, music, and TV shows from a centralized platform, your DIY media center becomes the focal point of your home entertainment. Whether you're enjoying a movie night with family, streaming music for a gathering, or immersing yourself in your favorite TV series, the versatility and customization of your media center ensure that it caters to a wide range of entertainment scenarios.
As technology continues to evolve, your DIY media center can adapt and grow alongside new media formats, streaming services, and user preferences. By staying informed about the latest developments in media center software, hardware advancements, and entertainment trends, you can continue to enhance and expand the capabilities of your media center, ensuring that it remains a vital and enjoyable component of your home environment.
Ultimately, the journey of creating and maintaining a DIY media center is a testament to your creativity, technical acumen, and commitment to optimizing your entertainment experience. With the right approach and ongoing dedication, your DIY media center will continue to serve as a versatile, customizable, and reliable platform for all your media needs, enriching your daily life with seamless access to the entertainment content you love.