Home>Create & Decorate>DIY & Crafts>Revamping Your Home: DIY Coaster Crafts With Cranky Pressman
DIY & Crafts
Revamping Your Home: DIY Coaster Crafts With Cranky Pressman
Published: February 9, 2024

Senior Editor in Create & Decorate, Kathryn combines traditional craftsmanship with contemporary trends. Her background in textile design and commitment to sustainable crafts inspire both content and community.
Discover fun and creative DIY coaster crafts with Cranky Pressman! Revamp your home with these easy and stylish projects. Perfect for DIY & Crafts enthusiasts!
(Many of the links in this article redirect to a specific reviewed product. Your purchase of these products through affiliate links helps to generate commission for Twigandthistle.com, at no extra cost. Learn more)
Introduction
Welcome to the world of DIY coaster crafts with Cranky Pressman! If you're looking to add a personal touch to your home decor or create unique and thoughtful gifts for friends and family, then you're in the right place. Crafting your own coasters allows you to unleash your creativity and showcase your individual style while also serving a practical purpose in protecting your furniture from unsightly water rings.
In this comprehensive guide, we'll walk you through the step-by-step process of revamping your home with custom-made coasters. Whether you're a seasoned crafter or just starting out, this project is perfect for anyone looking to infuse their living space with a touch of handmade charm.
By following our easy-to-understand instructions and getting hands-on with a few basic materials, you'll soon be on your way to creating stunning coasters that reflect your personality and flair. From selecting the perfect design to adding the finishing touches, each stage of the crafting process is an opportunity to let your imagination run wild.
So, roll up your sleeves, gather your supplies, and get ready to embark on a delightful crafting journey. Whether you're drawn to bold and vibrant patterns or prefer understated elegance, there's a coaster design waiting to be brought to life by your hands. Let's dive in and discover the joy of DIY coaster crafts with Cranky Pressman!
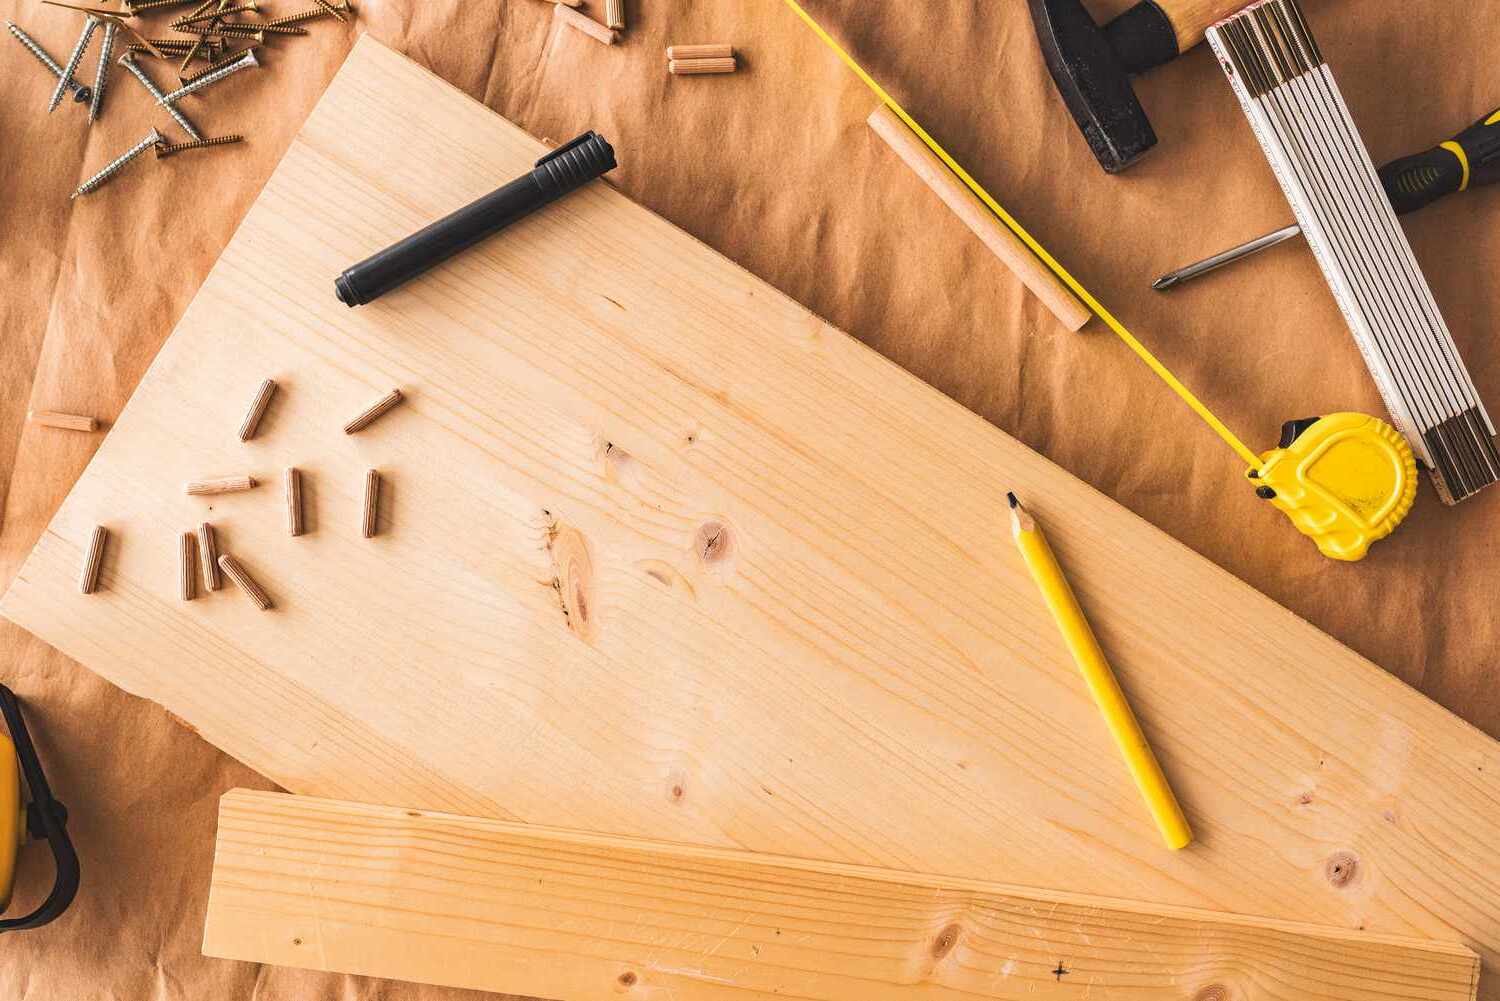
Materials Needed
To embark on your DIY coaster crafting adventure, you'll need a few essential materials to bring your vision to life. Here's a rundown of what you'll require:
-
Coaster Material: The foundation of your coaster creation is crucial. Opt for materials such as cork, felt, ceramic tiles, or wood slices, depending on your preference and the aesthetic you wish to achieve.
-
Crafting Tools: Gather basic crafting tools, including a cutting mat, craft knife, scissors, ruler, and pencil. These tools will aid in precise measurements and cutting of the coaster material.
-
Design Elements: Whether you choose to use decorative paper, fabric, paint, or markers, select design elements that resonate with your personal style. These will be the focal point of your coaster and add a unique touch to your creation.
-
Adhesive: A reliable adhesive, such as craft glue or Mod Podge, is essential for securing your chosen design elements to the coaster material.
-
Protective Sealant: To ensure the longevity of your coasters and protect them from moisture, consider investing in a protective sealant, such as clear varnish or resin.
-
Protective Gear: Prioritize safety by having protective gear on hand, such as gloves and a mask, especially when working with sealants and adhesives.
By having these materials at your disposal, you'll be well-equipped to dive into the world of DIY coaster crafts and unleash your creativity. With these supplies in hand, you're ready to move on to the next step in the coaster crafting process.
Step 1: Choosing Your Design
The first step in creating your own custom coasters is choosing a design that resonates with your personal style and complements your home decor. This is where your creativity takes center stage, allowing you to explore a myriad of design options to find the perfect fit for your coasters.
When selecting a design, consider the overall aesthetic you wish to achieve. Are you drawn to bold and vibrant patterns, or do you prefer a more minimalist and understated look? Your design choice should reflect your individual taste and harmonize with the ambiance of your living space.
One approach to choosing a design is to draw inspiration from your surroundings. Look to elements in your home, such as the color palette, patterns, or motifs present in your decor. By incorporating these familiar elements into your coaster design, you can create a cohesive and harmonious look that seamlessly integrates with your existing interior style.
Alternatively, you may draw inspiration from nature, art, or cultural influences. Whether it's a floral motif, geometric patterns, or abstract designs, the options are limitless. Consider the mood you wish to evoke with your coasters – whether it's a sense of tranquility, vibrancy, or nostalgia – and let this guide your design selection.
If you're feeling adventurous, you can also experiment with mixing and matching different design elements to create a unique and eclectic look. Combining various textures, colors, and patterns can result in visually captivating coasters that serve as conversation starters in your home.
Furthermore, personalized coasters make thoughtful gifts for loved ones. When choosing a design for a gift, consider the recipient's preferences and incorporate elements that hold special meaning to them. Whether it's their favorite colors, a beloved quote, or a symbol that resonates with them, a personalized design adds an extra layer of sentiment to the coaster.
Ultimately, the design you choose should reflect your personality and bring joy every time you set your eyes on it. By infusing your coasters with a design that speaks to you, you'll create not just functional pieces, but miniature works of art that enhance your home environment.
With your design vision in mind, you're ready to move on to the next step: cutting the coaster material and bringing your chosen design to life.
Step 2: Cutting the Coaster Material
Once you've settled on the perfect design for your coasters, the next crucial step is to prepare the coaster material. This stage requires precision and attention to detail to ensure that your coasters are crafted to perfection.
Begin by selecting the appropriate coaster material based on your design and aesthetic preferences. Whether you've opted for cork, felt, ceramic tiles, or wood slices, it's essential to work with a stable and durable foundation for your coasters.
With your chosen material in hand, lay it out on a flat and clean surface, ensuring that it's free from any debris or imperfections. This provides a conducive environment for accurate measurements and cutting.
Using a ruler and a pencil, carefully mark the dimensions for your coasters on the material. Whether you prefer standard square or circular coasters, precise measurements are key to achieving a professional finish. Take your time to ensure that the dimensions are uniform for each coaster, maintaining consistency across your set.
Once the dimensions are marked, it's time to cut the material to shape. Employ a craft knife or sharp scissors to execute clean and straight cuts along the marked lines. Exercise caution during this process to avoid any jagged edges or irregular shapes, as these can detract from the overall aesthetic of your coasters.
For circular coasters, consider using a circular template or a compass to achieve smooth and symmetrical shapes. This attention to detail contributes to the polished look of your finished coasters.
As you complete the cutting process, take a moment to inspect each coaster for any rough edges or inconsistencies. Smooth out any imperfections and refine the edges to ensure a professional and refined appearance.
By meticulously cutting the coaster material to precision, you set the stage for the next exciting phase of the crafting journey: bringing your design to life on these carefully crafted coasters.
With the coaster material expertly prepared, you're now ready to move on to the creative process of adding your chosen design elements to the coasters.
Step 3: Creating Your Design
With the coaster material expertly prepared, it's time to unleash your creativity and bring your chosen design to life. This stage is where your vision takes shape, and your coasters begin to embody the unique aesthetic you've envisioned.
Begin by gathering the design elements you've selected for your coasters. Whether it's decorative paper, fabric, paint, markers, or a combination of these, having your chosen materials at hand sets the stage for the creative process ahead.
If you've opted for a specific pattern or motif, take a moment to visualize how it will translate onto the coaster surface. Consider the placement of the design elements and how they will interact with the shape and dimensions of the coaster. For instance, if you're working with circular coasters, envision how the design will flow within the confines of the shape, creating a visually appealing composition.
When working with decorative paper or fabric, precision is key. Carefully measure and cut the design elements to fit the dimensions of the coasters, ensuring a seamless and professional finish. If you're incorporating paint or markers, experiment with different techniques and application methods to achieve the desired look. Whether it's freehand designs, intricate patterns, or abstract art, let your imagination guide your hand as you bring your design to fruition.
For those who are drawn to mixed media approaches, consider layering different design elements to create depth and texture. Combining various materials and techniques can result in visually captivating coasters that showcase your artistic versatility.
As you embark on the creative process, allow yourself to explore different possibilities and experiment with unconventional ideas. The beauty of DIY coaster crafting lies in the freedom to express your individuality and create pieces that are truly one-of-a-kind.
Moreover, if you're crafting coasters as gifts, infuse your designs with personal touches that hold sentimental value. Whether it's incorporating a meaningful quote, a symbolic motif, or a representation of shared memories, personalized designs add an extra layer of thoughtfulness to your creations.
By the time you've completed the design phase, each coaster should embody your unique style and creative flair. With your designs expertly crafted onto the coasters, you're now ready to move on to the next step: pressing your design to bring it to life on the coaster surface.
Step 4: Pressing Your Design
With your meticulously crafted designs adorning the coaster material, the next pivotal step is to bring your creations to life by pressing the designs onto the coaster surface. This process ensures that your designs are seamlessly integrated with the coaster material, resulting in a professional and enduring finish.
To begin, gather your chosen adhesive, whether it's craft glue or Mod Podge, along with a suitable applicator such as a brush or sponge. Ensure that your work area is well-ventilated and protected to prevent any inadvertent spills or smudges.
Apply a thin and even layer of adhesive to the back of your design elements, ensuring complete coverage without excess buildup. This step is crucial in securing the designs to the coaster material, providing a strong and lasting bond.
As you carefully position the design elements onto the coaster surface, exercise precision to achieve the desired placement. Whether you're working with intricate patterns or bold motifs, align the designs with the dimensions of the coasters, ensuring a seamless and visually appealing result.
Once the design elements are in place, gently press them onto the coaster material, smoothing out any air bubbles or wrinkles to achieve a flawless adhesion. Take your time during this process to guarantee that the designs are securely affixed and free from imperfections.
For those working with multiple design elements or layered compositions, proceed with a systematic approach, ensuring that each element is affixed in the desired sequence. This meticulous attention to detail contributes to the overall cohesiveness and professional finish of your coasters.
Following the application of the designs, allow sufficient time for the adhesive to dry and set. This crucial step ensures that the designs are firmly bonded to the coaster material, creating a durable and long-lasting result that withstands regular use.
As the adhesive sets, take a moment to admire your handiwork and revel in the transformation of the coaster material into personalized pieces of functional art. The designs you've carefully crafted now grace the coasters, infusing them with character and charm.
With your designs securely pressed onto the coaster material, you've successfully brought your creative vision to life. The coasters now bear the hallmark of your unique style and artistic expression, ready to adorn your living space or delight recipients as thoughtful gifts.
With the pressing process complete, you're now poised to add the finishing touches to your custom coasters, elevating them to polished and functional pieces that reflect your creativity and craftsmanship.
Step 5: Finishing Touches
As you approach the final stage of your DIY coaster crafting journey, it's time to add the finishing touches that will elevate your creations to polished and functional pieces of art. This pivotal step encompasses the application of a protective sealant to safeguard your coasters and ensure their longevity, as well as the meticulous refinement of any remaining imperfections.
Begin by selecting a suitable protective sealant to shield your coasters from moisture and wear. Whether you opt for a clear varnish or resin, prioritize a product that offers durability and resistance to daily use. This protective layer not only safeguards your designs but also enhances the overall aesthetic of the coasters, imparting a professional and lustrous finish.
With your chosen sealant at hand, carefully apply a thin and even coat to the surface of each coaster, ensuring comprehensive coverage. Employ a suitable applicator, such as a brush or foam sponge, to achieve a smooth and uniform finish. Take care to avoid excess buildup or drips, as precision in the application process contributes to the refined appearance of the coasters.
As the sealant sets, inspect each coaster for any remaining imperfections or irregularities. Smooth out any rough edges or blemishes, ensuring that the surface is pristine and flawless. This attention to detail enhances the overall presentation of the coasters, reflecting your dedication to craftsmanship and quality.
Once the sealant has fully cured, admire the transformation of your coasters. The protective layer not only enhances the visual appeal of the designs but also fortifies the coasters, making them resilient and ready for practical use. Each coaster now embodies a harmonious blend of artistic expression and functionality, poised to grace your living space with elegance and charm.
With the finishing touches complete, your custom coasters are now ready to take center stage in your home or serve as thoughtful gifts that showcase your creativity and attention to detail. Whether you've crafted a set for personal use or as heartfelt presents for loved ones, these bespoke coasters are a testament to the joy of DIY crafting and the beauty of infusing everyday items with a touch of handmade artistry.
As you revel in the satisfaction of your completed coasters, you've not only embarked on a delightful crafting journey but also added a personal and meaningful touch to your living space. Each coaster stands as a testament to your creativity and craftsmanship, inviting admiration and serving a practical purpose with style and flair.
Conclusion
In conclusion, the journey of revamping your home with DIY coaster crafts has been a delightful exploration of creativity, craftsmanship, and personal expression. From the initial selection of designs to the meticulous pressing and finishing touches, each step has contributed to the transformation of simple coaster materials into personalized works of functional art.
As you reflect on the crafting process, it's evident that DIY coaster crafts offer a unique opportunity to infuse your living space with a touch of handmade charm. The coasters you've created are not merely functional pieces but reflections of your individual style, artistic flair, and attention to detail. Whether adorned with vibrant patterns, elegant motifs, or sentimental designs, each coaster embodies a story and a sense of personal connection.
Moreover, the crafting journey has provided a platform for self-expression and exploration of artistic versatility. The freedom to choose designs, experiment with materials, and infuse personal touches has resulted in coasters that are as unique as the individuals who crafted them. This celebration of individuality and creativity is at the heart of DIY crafting, fostering a sense of fulfillment and pride in the finished creations.
As your custom coasters take their place in your home, they serve as reminders of the joy and satisfaction derived from hands-on crafting. Whether adorning your coffee table, serving as decorative accents, or being presented as thoughtful gifts, these coasters are tangible expressions of your creativity and dedication to the art of crafting.
Furthermore, the crafting journey has extended beyond the creation of coasters, fostering a deeper appreciation for the value of handmade items in home decor. The infusion of personal touches and artistic expression has elevated the functional role of coasters, transforming them into conversation pieces and cherished elements of your living space.
In essence, the DIY coaster crafting journey with Cranky Pressman has been a testament to the joy of infusing everyday items with creativity, personalization, and a touch of handmade artistry. As you continue to explore the realm of DIY and crafts, may the experience of crafting your own coasters inspire further creative endeavors and a deeper appreciation for the beauty of handmade creations in the home.
With your personalized coasters proudly displayed, the crafting journey continues to resonate, reminding you of the joy found in the art of creation and the meaningful impact of infusing your living space with handmade charm.