Home>Create & Decorate>DIY & Crafts>Enhancing Your Home Decor: DIY Pillow With Stunning Rosette Clusters
DIY & Crafts
Enhancing Your Home Decor: DIY Pillow With Stunning Rosette Clusters
Published: February 9, 2024

Content Creator specializing in woodworking and interior transformations. Caegan's guides motivate readers to undertake their own projects, while his custom furniture adds a personal touch.
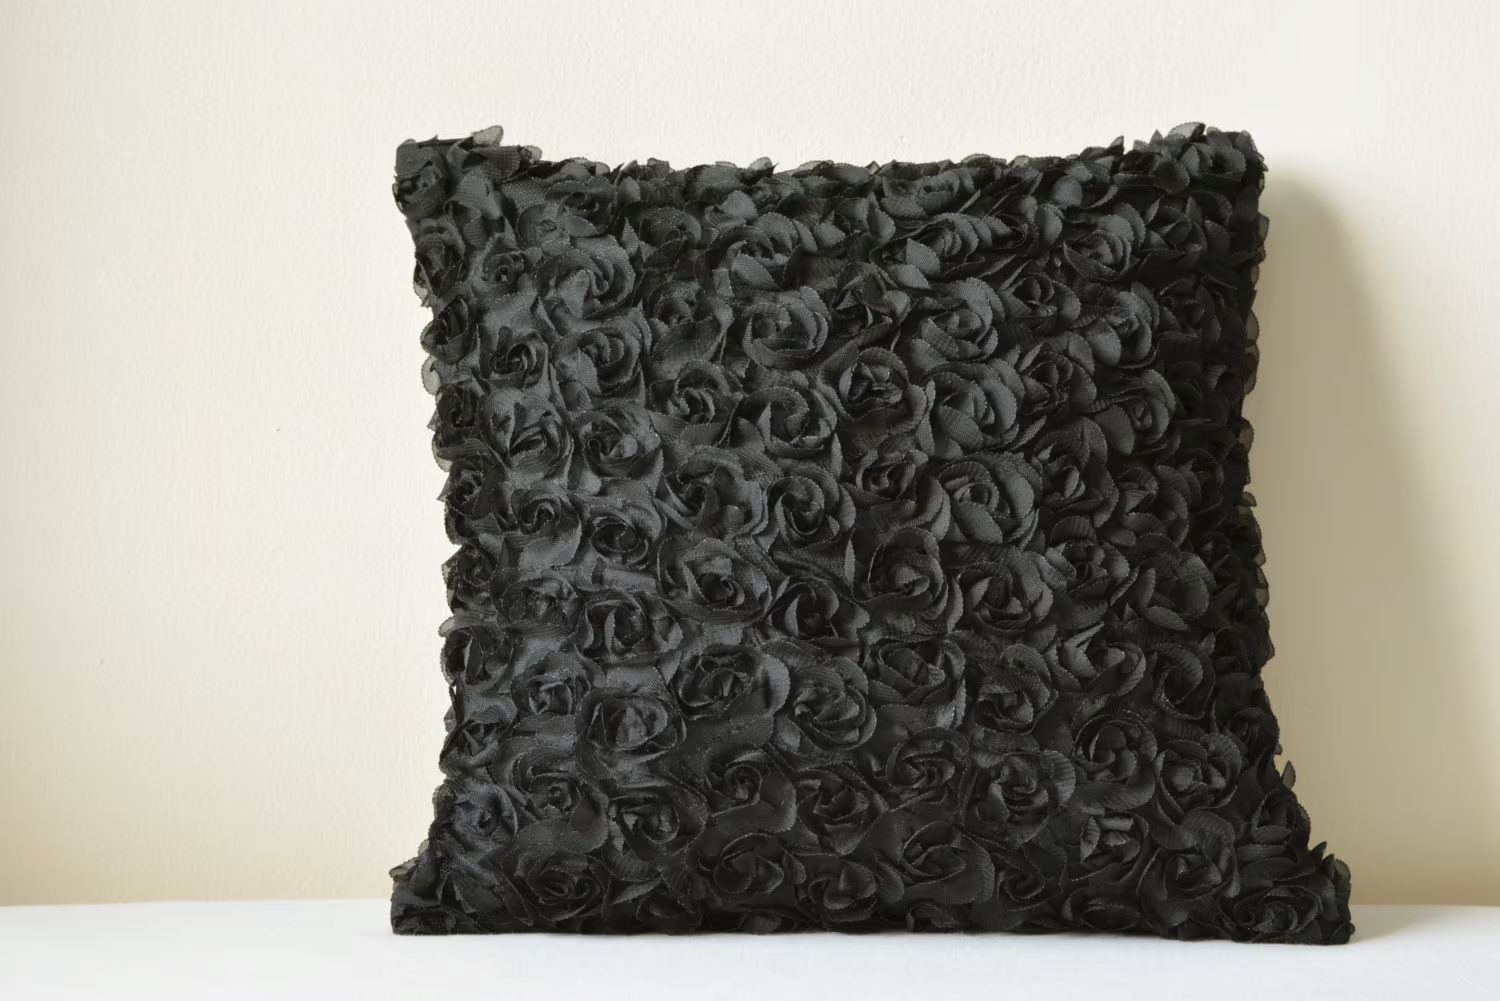
Transform your home decor with this DIY pillow featuring stunning rosette clusters. Get creative with our easy DIY & Crafts tutorial.
(Many of the links in this article redirect to a specific reviewed product. Your purchase of these products through affiliate links helps to generate commission for Twigandthistle.com, at no extra cost. Learn more)
Introduction
Are you looking to add a touch of elegance and charm to your living space? Creating your own DIY pillow with stunning rosette clusters is a fantastic way to enhance your home decor. This delightful project allows you to infuse your personal style and creativity into your living space, making it truly unique and inviting.
By crafting a beautiful pillow adorned with rosette clusters, you can effortlessly elevate the aesthetic appeal of your home. Whether you're a seasoned crafter or a novice DIY enthusiast, this project offers a wonderful opportunity to unleash your creativity and bring a touch of handmade beauty into your living space.
Not only does this project provide a creative outlet, but it also offers a cost-effective way to refresh your home decor. With just a few simple materials and a bit of time, you can create a stunning accent piece that will breathe new life into your living room, bedroom, or any other space in need of a decorative lift.
The process of crafting a DIY pillow with rosette clusters is not only enjoyable but also immensely rewarding. As you embark on this creative journey, you'll have the chance to explore different fabric textures, colors, and patterns, allowing you to tailor the design to perfectly complement your existing decor.
Furthermore, by incorporating handmade elements into your home decor, you can infuse your living space with warmth and character. The personal touch of a DIY pillow with rosette clusters adds a sense of individuality and charm, making your home feel more inviting and cozy.
In the following sections, we will guide you through the step-by-step process of creating your own stunning DIY pillow with rosette clusters. From selecting the materials to adding the finishing touches, you'll learn how to bring this beautiful project to life and transform your home decor with a touch of handmade elegance. Let's dive in and unleash your creativity!
Materials Needed
To embark on the delightful journey of creating a DIY pillow adorned with stunning rosette clusters, you'll need a selection of materials to bring your vision to life. Here's a comprehensive list of the essential items required for this charming project:
-
Fabric: Choose a fabric that resonates with your personal style and complements your existing decor. Opt for a durable yet visually appealing fabric, such as cotton, linen, or velvet, to serve as the base for your pillow.
-
Pillow Insert: Select a pillow insert in the desired size to fit snugly within your finished pillow cover. Whether you prefer a square, rectangular, or round shape, ensure that the insert matches the dimensions of your intended pillow.
-
Thread: Acquire high-quality thread in a color that harmonizes with your chosen fabric. The thread will be used for sewing the pillow cover and attaching the rosette clusters, so ensure that it is strong and complements the overall aesthetic of the project.
-
Needle: A set of sewing needles, including both hand-sewing and embroidery needles, will be indispensable for this project. Ensure that you have needles suitable for working with your chosen fabric and attaching the rosette clusters securely.
-
Scissors: Sharp fabric scissors are essential for cutting the fabric with precision. Additionally, a pair of smaller scissors or embroidery snips will be useful for trimming threads and intricate details during the crafting process.
-
Ruler or Measuring Tape: Accurate measurements are crucial for creating a well-fitted pillow cover. A ruler or measuring tape will aid in determining the dimensions of the fabric pieces and ensuring a precise fit for the pillow insert.
-
Fabric Marking Pen or Chalk: A fabric marking pen or chalk will allow you to outline and mark the fabric for cutting and sewing, ensuring accuracy and facilitating the assembly of the pillow cover.
-
Embellishments: If desired, gather embellishments such as beads, buttons, or decorative trims to enhance the rosette clusters and add a personalized touch to your DIY pillow.
-
Sewing Machine (Optional): While hand-sewing can achieve beautiful results, a sewing machine can expedite the process, especially when working with larger fabric pieces. If you opt for a sewing machine, ensure that it is equipped with a suitable needle for your chosen fabric.
-
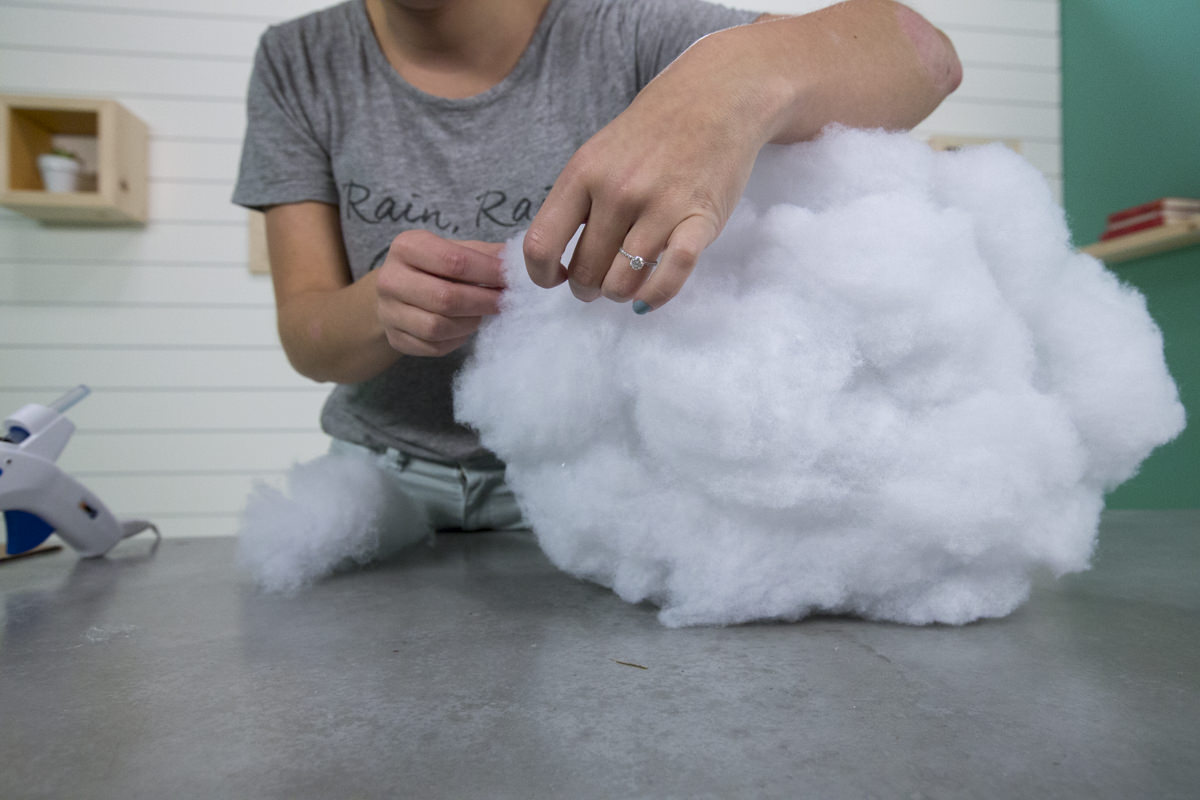
Hot Glue Gun and Glue Sticks (Optional): If you prefer a no-sew approach for attaching the rosette clusters, a hot glue gun and glue sticks can provide a convenient alternative for securing the embellishments to the pillow cover.
By gathering these essential materials, you'll be well-prepared to embark on the creative journey of crafting a stunning DIY pillow adorned with captivating rosette clusters. With these supplies at your disposal, you can infuse your living space with handmade charm and elevate your home decor with a touch of personalized elegance.
Step 1: Cutting and Sewing the Fabric
The first step in creating your exquisite DIY pillow with stunning rosette clusters involves cutting and sewing the fabric to construct the pillow cover. Begin by selecting your chosen fabric and ensuring that it is clean, pressed, and free from any wrinkles or creases. This will provide a smooth and polished foundation for your pillow cover.
Using a ruler or measuring tape, carefully measure and mark the dimensions for the pillow cover on the fabric. If you are crafting a square pillow, measure and mark two identical squares of fabric, allowing for seam allowances. For a rectangular pillow, measure and mark a front panel and two back panels, ensuring that they align with the dimensions of your pillow insert.
Once the fabric pieces are marked, use sharp fabric scissors to cut along the measured lines with precision. Take care to maintain straight and even edges, as this will contribute to a professional and polished finish for your pillow cover.
With the fabric pieces cut to size, it's time to sew the pillow cover. If you prefer hand-sewing, use a needle and thread to stitch the seams, leaving an opening for inserting the pillow. Ensure that the stitches are secure and evenly spaced to prevent unraveling and maintain the structural integrity of the pillow cover.
Alternatively, if you opt for a sewing machine, carefully guide the fabric through the machine, sewing along the marked seams with a straight stitch. Backstitch at the beginning and end of each seam to reinforce the stitches and prevent them from coming undone.
As you sew the fabric pieces together, take care to align the edges accurately and maintain consistent seam allowances throughout the construction process. This attention to detail will result in a well-crafted pillow cover that fits snugly around the pillow insert, ensuring a polished and professional outcome.
Once the seams are securely stitched, trim any excess fabric and threads, and turn the pillow cover right side out. Press the seams with an iron to create crisp edges and a smooth finish, ready to receive the enchanting rosette clusters that will adorn your stunning DIY pillow.
With the fabric cut and sewn to perfection, you have laid the foundation for your captivating DIY pillow with rosette clusters. The next step will involve creating the enchanting rosette clusters that will infuse your pillow with charm and elegance, adding a delightful touch of handmade beauty to your home decor.
Step 2: Creating the Rosette Clusters
With the foundation of the pillow cover expertly crafted, it's time to embark on the enchanting process of creating the rosette clusters that will adorn your stunning DIY pillow. Rosettes, with their timeless elegance and captivating allure, will infuse your pillow with a touch of handmade charm, adding a delightful focal point to your home decor.
To begin, select a fabric that complements the base fabric of your pillow cover. This secondary fabric will be used to fashion the rosette clusters, providing an opportunity to introduce a contrasting texture, color, or pattern that harmonizes with your overall design aesthetic. Consider using a lightweight fabric such as chiffon, organza, or satin for a delicate and ethereal effect, or opt for a more substantial fabric such as denim or tweed for a rustic and tactile appeal.
Once you have chosen the fabric for the rosette clusters, cut it into strips of varying lengths and widths to create a dynamic visual impact. Experiment with different dimensions to achieve a diverse array of rosette sizes, adding depth and dimension to your pillow design. The strips can be cut with gentle curves or tapered ends to introduce visual interest and organic fluidity to the rosette clusters.
With the fabric strips prepared, it's time to transform them into enchanting rosette clusters. Begin by taking a strip of fabric and folding it in half lengthwise, securing the folded edge with a few stitches to create a loop. Next, using a needle and thread, gather and stitch the raw edge of the fabric strip, creating gentle gathers to form the center of the rosette. Continue to stitch and gather the fabric, coiling it around the center to form the petals of the rosette, securing it with stitches as you progress.
As you construct each rosette cluster, vary the tightness of the gathers and the spacing of the coils to create a diverse array of textures and shapes. Embrace the organic and imperfect nature of handmade rosettes, allowing each cluster to exude its unique charm and character. Consider incorporating beads, buttons, or decorative trims at the center of the rosettes to add a personalized touch and enhance their visual allure.
With each rosette cluster meticulously crafted, arrange them on the pillow cover to determine the most captivating composition. Experiment with different placements and configurations, considering the interplay of colors, sizes, and textures to achieve a harmonious and visually engaging arrangement. Once satisfied with the arrangement, secure the rosette clusters to the pillow cover using a needle and thread, ensuring that they are firmly attached and positioned to create a captivating focal point.
As you bring the rosette clusters to life, infuse each stitch with care and creativity, allowing the handmade charm of the clusters to shine through. With the rosette clusters adorning your pillow cover, you have added a touch of enchanting elegance and personalized beauty to your home decor, elevating your living space with a captivating handmade accent that reflects your unique style and creativity.
Step 3: Attaching the Rosette Clusters to the Pillow
With the enchanting rosette clusters meticulously crafted and arranged on the pillow cover, the next pivotal step is to securely attach these captivating embellishments, ensuring that they become an integral part of the stunning DIY pillow. The process of attaching the rosette clusters demands precision, care, and a keen eye for composition, as it will ultimately determine the visual impact and longevity of the embellishments on the pillow.
To begin, thread a needle with a color of thread that harmonizes with the fabric of the rosette clusters and the pillow cover. Ensure that the thread is securely knotted at the end to prevent it from slipping through the fabric as you work. Position the first rosette cluster on the pillow cover, aligning it according to the predetermined arrangement. With the needle and thread, carefully stitch through the back of the rosette cluster, securing it to the fabric of the pillow cover with small, discreet stitches.
As you stitch, maintain a consistent tension to ensure that the rosette cluster lies flat against the pillow cover, without puckering or pulling the fabric. Take care to position the stitches strategically, anchoring the rosette securely while minimizing their visibility on the front of the cluster. This meticulous approach will result in a seamless and polished attachment, allowing the rosette clusters to exude their captivating allure without any distracting elements.
Continue to attach the remaining rosette clusters in the predetermined arrangement, employing the same method of discreet stitches to secure them firmly to the pillow cover. As you progress, periodically step back and assess the overall composition, ensuring that the placement and spacing of the rosette clusters harmonize with the design vision. Make any necessary adjustments to achieve a balanced and visually captivating arrangement that complements the aesthetic of your home decor.
Once all the rosette clusters are securely attached, reinforce the stitches and trim any excess thread to achieve a clean and polished finish. Take a moment to admire the transformation taking place as the rosette clusters infuse the pillow with their enchanting beauty, adding a touch of handmade elegance to your living space. With the rosette clusters firmly in place, the pillow becomes a captivating focal point, radiating charm and individuality.
By attaching the rosette clusters with precision and care, you have elevated the pillow to a new level of artistry, infusing it with a captivating allure that reflects your unique creativity and attention to detail. The enchanting rosette clusters now stand as a testament to the beauty of handmade embellishments, adding a touch of personalized elegance to your home decor and inviting admiration from all who encounter this stunning DIY creation.
Read more: DIY Glass Door Ideas
Step 4: Finishing Touches
With the rosette clusters securely attached to the pillow cover, it's time to add the final flourishes that will elevate your DIY creation to a new level of charm and sophistication. The finishing touches will not only enhance the visual appeal of the pillow but also ensure that it exudes a polished and professional aesthetic, ready to take its place as a captivating accent in your home decor.
To begin, inspect the pillow cover to ensure that all the rosette clusters are firmly attached and positioned to your satisfaction. Reinforce any stitches as needed, ensuring that the clusters are securely affixed and that the threads are neatly trimmed to achieve a clean and seamless finish. This attention to detail will contribute to the longevity of the rosette clusters, ensuring that they remain a captivating embellishment on the pillow for years to come.
Next, consider adding decorative trims or embellishments to the edges of the pillow cover to frame the enchanting rosette clusters and further enhance the overall design. Delicate lace, beaded trims, or embroidered accents can introduce a touch of elegance and refinement, elevating the pillow to a statement piece that exudes handmade charm and sophistication. Carefully attach the trims with precision, ensuring that they complement the rosette clusters and harmonize with the fabric of the pillow cover.
Furthermore, if you desire a personalized touch, consider incorporating monogramming or embroidery to infuse the pillow with a sense of individuality and character. Whether you choose to embroider a meaningful phrase, a loved one's initials, or a significant date, the addition of personalized embroidery will imbue the pillow with sentimental value and make it a cherished accent in your home decor.
Finally, step back and admire the exquisite transformation that has taken place as the finishing touches elevate your DIY pillow to a work of art. The captivating rosette clusters, complemented by decorative trims and personalized embroidery, radiate a sense of elegance and individuality, infusing your living space with a touch of handmade beauty and charm.
With the finishing touches complete, your DIY pillow adorned with stunning rosette clusters is ready to take its place as a captivating accent in your home decor. The meticulous attention to detail and the infusion of personalized elements have transformed the pillow into a unique and enchanting creation that reflects your creativity and style, adding a delightful touch of elegance to your living space.
Conclusion
In conclusion, the journey of creating a DIY pillow adorned with stunning rosette clusters has been a delightful exploration of creativity, craftsmanship, and personalized expression. From selecting the fabric and crafting the pillow cover to meticulously creating and attaching the enchanting rosette clusters, this project has offered a rewarding opportunity to infuse home decor with handmade elegance and charm.
As the final stitches are secured and the finishing touches are added, the DIY pillow emerges as a captivating accent that reflects the unique style and creativity of its creator. The rosette clusters, with their timeless allure and captivating beauty, stand as a testament to the artistry of handmade embellishments, infusing the pillow with a touch of personalized elegance and individuality.
The process of creating a DIY pillow with rosette clusters goes beyond the mere act of crafting a decorative accent. It represents a journey of self-expression, allowing individuals to imbue their living space with warmth, character, and a sense of personal touch. Each meticulously crafted rosette cluster and every thoughtful stitch contribute to the narrative of the pillow, making it a reflection of the creator's creativity and attention to detail.
Furthermore, the handmade nature of the pillow adds a sense of authenticity and warmth to the home decor, inviting admiration and appreciation from all who encounter this stunning creation. The personalized elements, such as decorative trims and embroidery, infuse the pillow with sentimental value, making it a cherished accent that resonates with the unique story of its creator.
As the DIY pillow finds its place in the home, it becomes more than just a decorative piece. It becomes a conversation starter, a focal point of admiration, and a tangible representation of the creativity and artistry that enriches the living space. The pillow with rosette clusters serves as a reminder that handmade beauty has the power to transform a house into a home, infusing it with warmth, charm, and a touch of individuality.
In essence, the journey of creating a DIY pillow adorned with stunning rosette clusters is a celebration of creativity, craftsmanship, and the transformative power of handmade beauty. It stands as a testament to the joy of infusing home decor with personalized elegance and charm, creating a living space that is as unique and captivating as the individuals who call it home.