
Home>Home & Furniture>Roof>How to Build a Rooftop Deck
Roof
How to Build a Rooftop Deck
Published: August 23, 2024
Learn how to build a rooftop deck with our step-by-step guide. From planning to construction, transform your roof into a stunning outdoor living space.
(Many of the links in this article redirect to a specific reviewed product. Your purchase of these products through affiliate links helps to generate commission for Twigandthistle.com, at no extra cost. Learn more)
Thinking about turning your unused roof space into a rooftop deck? You’re in the right place. Building a rooftop deck can add value to your property and provide a fantastic spot for relaxing or entertaining. Before diving in, consider a few things: structural integrity, local building codes, and weatherproofing materials. It might seem like a big project, but with some planning and elbow grease, you can transform that empty space into an outdoor oasis. Grab your tools and let’s get started on creating your very own rooftop retreat!
Getting Ready for the Project
Check Local Building Codes: Ensure your project complies with local regulations. Obtain necessary permits.
Inspect Roof Structure: Verify your roof can support the additional weight. Consult a structural engineer if unsure.
Clear the Area: Remove any debris or obstacles from the roof. Ensure a clean workspace.
Gather Materials and Tools: Collect all required materials like decking boards, screws, and tools such as a drill, saw, and measuring tape.
Safety Gear: Wear safety goggles, gloves, and a hard hat. Use a harness if working at significant heights.
Weather Check: Plan your work for a period of good weather. Avoid working in rain or high winds.
Set Up Workspace: Arrange tools and materials in an organized manner. Ensure easy access to everything you need.
Measure and Mark: Use a measuring tape to mark the layout of your deck. Double-check measurements for accuracy.
Pre-Drill Holes: Pre-drill holes for screws to prevent wood from splitting. This step also makes assembly easier.
Plan for Drainage: Ensure your deck design includes proper drainage to prevent water accumulation.
Secure a Helper: Have someone assist you, especially when lifting heavy materials or ensuring safety.
Essential Materials and Tools
- Pressure-Treated Lumber: Used for framing the deck. It resists rot and insects.
- Composite Decking Boards: These are durable, low-maintenance boards for the deck surface.
- Deck Screws: Special screws that prevent rust and hold the decking securely.
- Joist Hangers: Metal brackets that support the joists.
- Concrete Footings: Provide a stable base for the deck posts.
- Post Anchors: Secure the posts to the concrete footings.
- Railings: Ensure safety around the deck’s perimeter.
- Flashing Tape: Protects the wood from moisture.
- Deck Stain or Sealant: Protects the wood and enhances its appearance.
- Level: Ensures the deck is even.
- Tape Measure: For accurate measurements.
- Circular Saw: Cuts the lumber to size.
- Drill: Used for driving screws and making holes.
- Hammer: Useful for nailing and adjusting materials.
- Safety Gear: Includes gloves, safety glasses, and ear protection.
- Chalk Line: Helps mark straight lines for cutting and alignment.
- Wrench Set: Tightens bolts and screws.
- Ladder: Provides access to the rooftop.
- Shovel: Used for digging holes for footings.
- Pry Bar: Helps remove old materials or adjust new ones.
Required Skills and Time Commitment
Skill Level: Advanced
Time Required: 2-3 weeks
- Planning and Permits: 1-2 days
- Structural Assessment: 1-2 days
- Material Procurement: 2-3 days
- Framing and Support: 4-5 days
- Decking Installation: 3-4 days
- Railing and Safety Features: 2-3 days
- Finishing Touches: 1-2 days
Detailed Building Instructions
Check Local Building Codes
- Visit your local building department.
- Obtain necessary permits.
- Ensure your roof can support the deck.
Design Your Deck
- Measure your roof space.
- Sketch a layout.
- Decide on materials (wood, composite, etc.).
Prepare the Roof
- Clean the roof surface.
- Inspect for damage.
- Repair any issues.
Install Deck Supports
- Place rubber pads to protect the roof.
- Position deck blocks or adjustable pedestals.
- Ensure they are level.
Frame the Deck
- Cut joists to size.
- Attach joists to deck supports.
- Secure with screws or brackets.
Lay Decking Boards
- Start at one end.
- Lay boards perpendicular to joists.
- Leave small gaps for drainage.
- Secure with screws or hidden fasteners.
Add Railings
- Measure and cut railing posts.
- Attach posts to the deck frame.
- Install horizontal rails and balusters.
Finish and Seal
- Sand rough edges.
- Apply a weatherproof sealant.
- Let it dry completely.
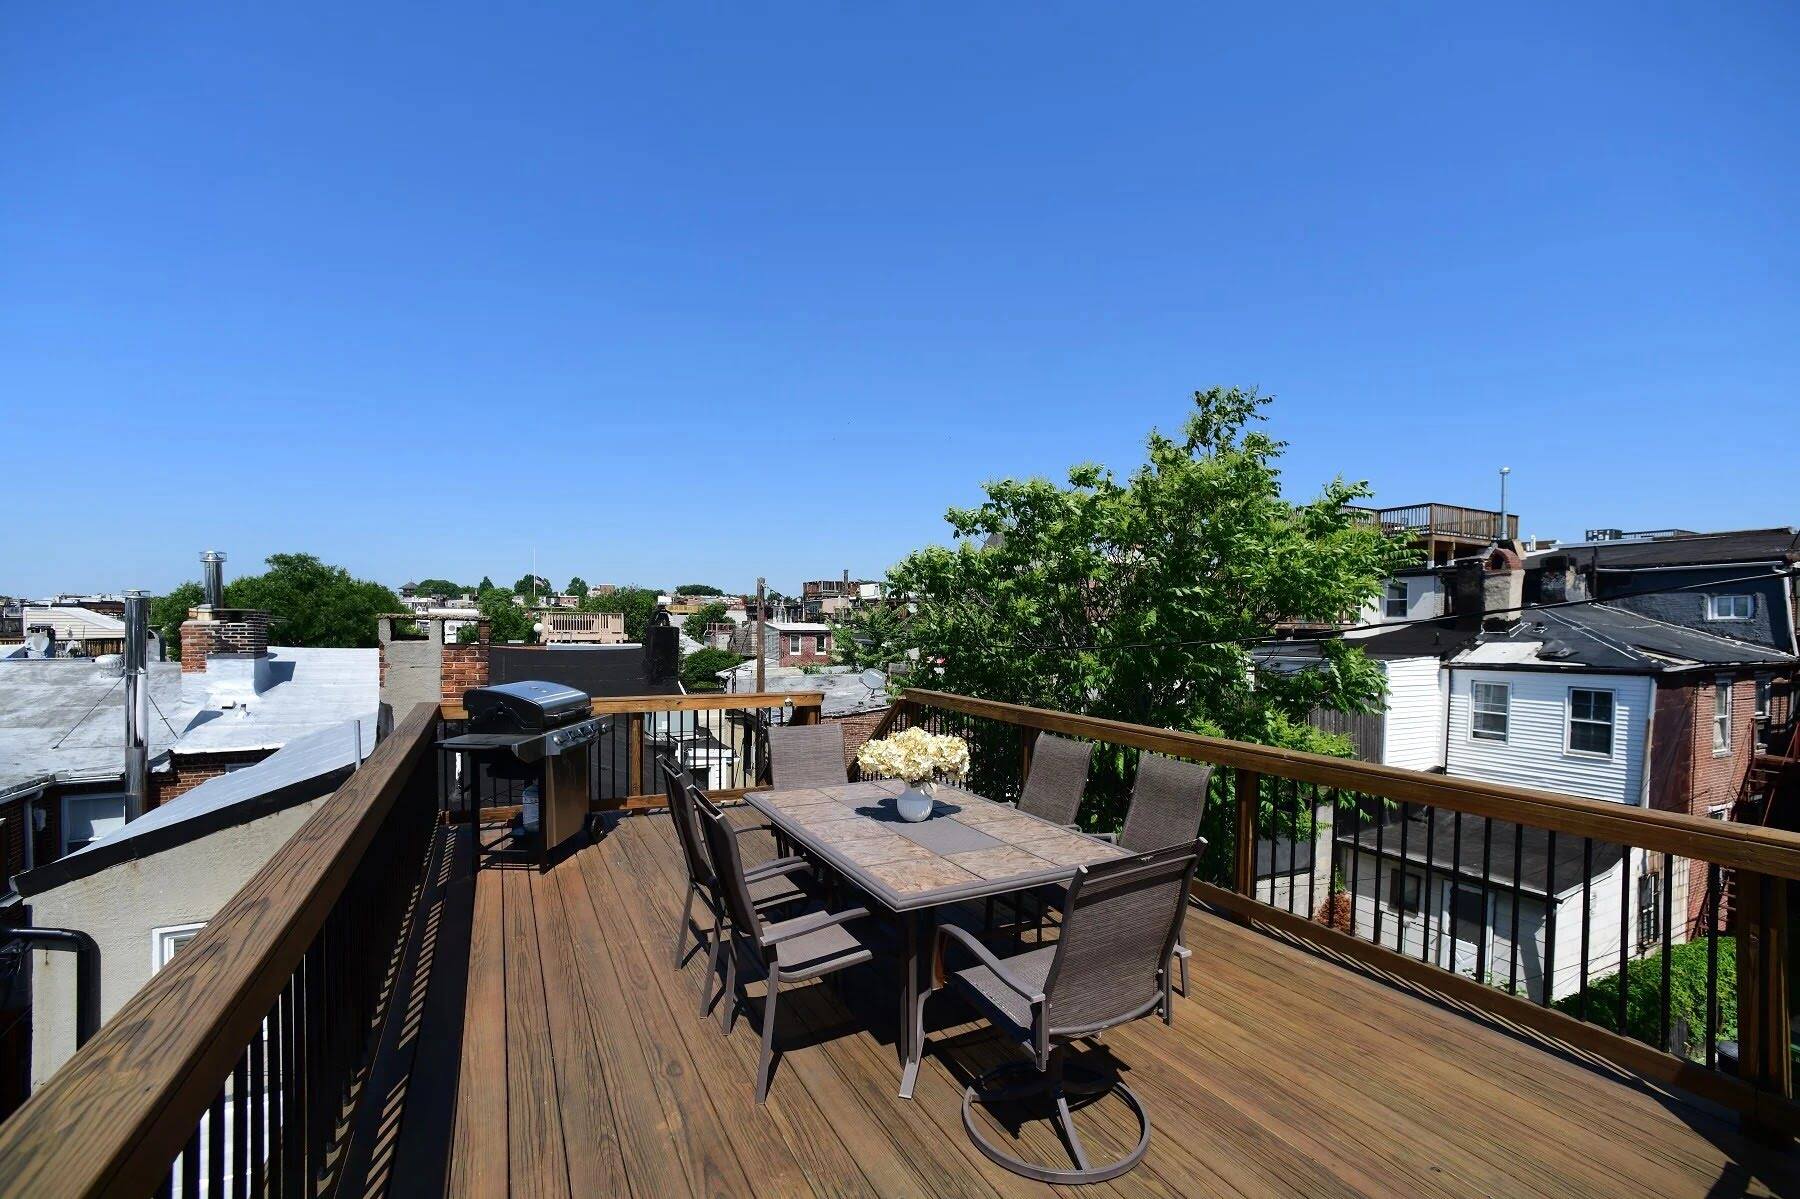
Furnish Your Deck
- Add outdoor furniture.
- Place plants or decorations.
- Enjoy your new rooftop space!
Helpful Tips and Tricks
Plan your layout carefully. Measure twice, cut once. Check local building codes to ensure compliance. Use pressure-treated wood for durability. Install a waterproof membrane to prevent leaks. Consider adding a slight slope for drainage. Secure railings firmly for safety. Use stainless steel screws to prevent rust. Add outdoor furniture for comfort.
Common mistakes to avoid: Not checking building codes can lead to fines. Skipping the waterproof membrane can cause leaks. Using untreated wood can result in rot. Not securing railings properly can be dangerous.
Alternatives: Composite decking instead of wood for low maintenance. Rubber tiles instead of a waterproof membrane. Aluminum railings instead of wood for durability.
Budgeting for Your Rooftop Deck
Lumber: Expect to spend around $1,500 to $2,500 for pressure-treated wood. Composite decking costs more, about $3,000 to $4,500.
Fasteners and brackets: Budget $100 to $200 for screws, nails, and brackets.
Waterproofing membrane: This will cost $500 to $1,000 to protect your roof.
Railing: Metal or wood railings range from $500 to $1,500.
Stairs: Pre-fabricated stairs cost about $500 to $1,000.
Tools: Basic tools like a drill, saw, and level will cost around $200 to $400 if you don't already have them.
Permits: Check with your local government; permits can cost $100 to $500.
Budget-friendly alternatives: Use reclaimed wood for decking, which can save $500 to $1,000. Instead of metal railings, consider using rope or cable, which can cut costs by $200 to $500.
Personalizing Your Deck
Materials: Instead of traditional wood, consider composite decking. It’s durable and low-maintenance. For a more natural look, use bamboo. It’s eco-friendly and strong. If you prefer a modern style, try metal decking. It’s sleek and long-lasting.
Colors: Paint or stain the deck in bold colors like navy blue or forest green for a striking appearance. For a more subtle look, use neutral tones like beige or gray. You can also mix and match colors for a patterned effect.
Styles: Add a pergola for shade and style. Install built-in seating for convenience and a clean look. Use glass railings for an unobstructed view. Incorporate planters to bring greenery to your rooftop. For a cozy feel, add a fire pit or outdoor fireplace.
Lighting: String fairy lights for a magical atmosphere. Install solar-powered lights to save energy. Use LED strips along the edges for a modern touch. Place lanterns or candles for a warm, inviting glow.
Furniture: Choose weather-resistant furniture like teak or aluminum. Add outdoor cushions in vibrant patterns. Use a hammock or swing chair for relaxation. Place a dining set for outdoor meals.
Flooring: Consider interlocking deck tiles for easy installation. Use outdoor rugs to define spaces and add comfort. Try artificial grass for a soft, green surface. Install stone pavers for a rustic look.
Extras: Add a barbecue grill for cooking. Install a hot tub for luxury. Use a water feature like a fountain for tranquility. Place storage benches to keep items organized. Add a shade sail for sun protection.
Eco-Friendly Building Tips
Reclaimed wood is a great choice for decking. It gives a rustic look and reduces waste. Bamboo is another eco-friendly option. It grows quickly and is very strong. For the frame, consider using recycled steel. It’s durable and can be reused if you ever take the deck down.
Use solar-powered lights to save energy. They charge during the day and light up at night. Rainwater collection systems can be installed to water plants or clean the deck. This reduces water waste.
Green roofs are another idea. They involve planting vegetation on part of the deck. This helps with insulation and reduces stormwater runoff.
When sealing the deck, choose low-VOC (volatile organic compounds) sealants. These are less harmful to the environment and your health. For furniture, look for pieces made from recycled materials or buy second-hand items.
Lastly, use eco-friendly paint for any color you want to add. These paints have fewer chemicals and are better for the environment.
Enjoy Your New Space
Building a rooftop deck transforms your home. You've learned how to plan, gather materials, and construct. Now, it's time to enjoy the fruits of your labor. Invite friends over, have a barbecue, or just relax under the stars. Your new deck isn't just an addition to your home; it's a new lifestyle. Remember, regular maintenance keeps it looking fresh. Sweep, clean, and inspect for any repairs. With a bit of care, your deck will last for years. You've done an amazing job, and now it's your turn to sit back and enjoy. Cheers to your new outdoor oasis!
What materials do I need to build a rooftop deck?
You’ll need pressure-treated wood, decking boards, screws, brackets, and sealant. Don’t forget tools like a drill, saw, and measuring tape.
Do I need a permit to build a rooftop deck?
Most places require a permit. Check with your local building department to see what’s needed. Better safe than sorry!
How do I ensure my rooftop deck is safe?
Make sure the roof structure can support the weight. Use sturdy materials and follow building codes. Adding a railing is also a must for safety.
Can I build a rooftop deck myself, or should I hire a professional?
If you’re handy and have some DIY experience, you can do it yourself. For more complex projects, hiring a professional might be a good idea.
How do I maintain my rooftop deck?
Regularly clean the deck, seal the wood to protect it from the elements, and inspect for any damage. Fix issues as soon as they pop up.
What’s the best way to waterproof a rooftop deck?
Use a high-quality sealant on the wood. You can also install a waterproof membrane under the decking boards for extra protection.
How long does it take to build a rooftop deck?
Depending on the size and complexity, it can take anywhere from a weekend to a few weeks. Planning and preparation can speed things up.