
Home>Home & Furniture>Roof>DIY Van Roof Rack Guide
Roof
DIY Van Roof Rack Guide
Published: August 20, 2024
Discover how to build your own van roof rack with our comprehensive DIY guide. Step-by-step instructions, essential tools, and expert tips for a secure and functional rack.
(Many of the links in this article redirect to a specific reviewed product. Your purchase of these products through affiliate links helps to generate commission for Twigandthistle.com, at no extra cost. Learn more)
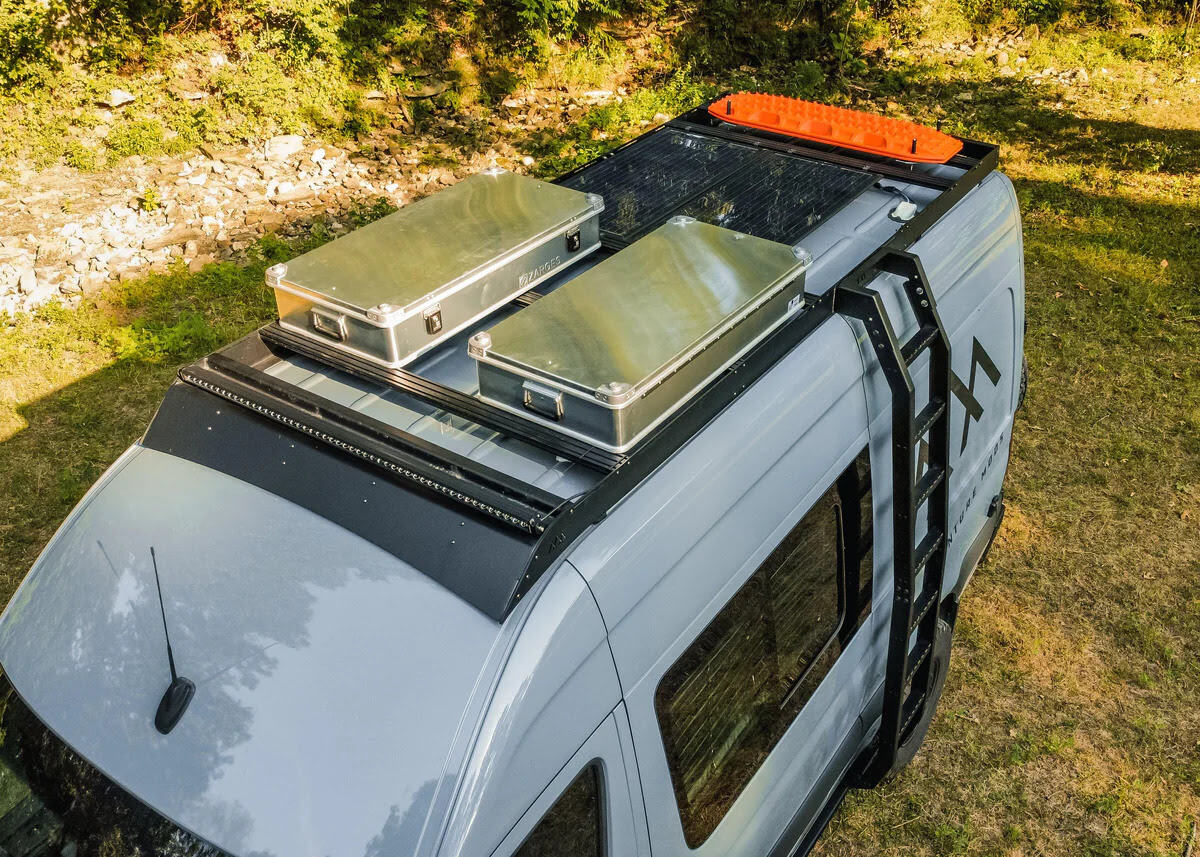
Building your own van roof rack can be a rewarding project. Whether for road trips or hauling gear, a sturdy rack adds versatility to your vehicle. Store-bought options can be pricey, but a DIY solution offers customization and cost savings. You don’t need to be a master carpenter to tackle this task, either. With some basic tools, materials, and a bit of patience, you can create a reliable roof rack tailored to your needs. This guide will walk you through each step, ensuring you have all the information needed to complete your project successfully.
Getting Ready for Your Project
Measure Your Roof: Use a tape measure to get the exact dimensions of your van's roof. This helps in choosing the right size rack.
Gather Tools: Collect all necessary tools like a drill, screwdriver, wrench, measuring tape, and safety gear.
Check Weight Limits: Look up your van's roof weight capacity. Overloading can damage the roof or affect driving safety.
Clean the Roof: Ensure the roof is clean and free of debris. This helps the rack sit properly and prevents scratches.
Mark Drill Points: Use a marker to indicate where you will drill holes for the rack. Double-check measurements to avoid mistakes.
Wear Safety Gear: Put on safety glasses, gloves, and a dust mask to protect yourself while drilling and handling tools.
Set Up Workspace: Clear an area around your van to lay out tools and parts. Make sure you have enough light and space to move around.
Read Instructions: Go through the roof rack's manual thoroughly. Each rack may have specific installation steps.
Check for Leaks: After installation, inspect for any potential leaks around the drill holes. Use sealant if necessary to prevent water damage.
Test Stability: Once installed, give the rack a good shake to ensure it’s securely attached. Make adjustments if needed.
Gathering Materials and Tools
- Metal Tubing: Strong and durable, used for the main structure of the roof rack.
- Metal Brackets: Connects the tubing together and provides stability.
- Bolts and Nuts: Secure the brackets and tubing in place.
- Drill: Creates holes for bolts and screws.
- Measuring Tape: Ensures accurate measurements for cutting and fitting.
- Saw: Cuts the metal tubing to the required lengths.
- Wrench Set: Tightens bolts and nuts.
- Marker: Marks where to cut and drill.
- Protective Gear: Safety glasses and gloves to protect from metal shards and sharp edges.
- Rust-Proof Paint: Coats the metal to prevent rusting.
- File: Smooths out any rough edges after cutting.
- Clamps: Holds the metal pieces in place while working on them.
- Level: Ensures the rack is even and straight.
- Rubber Pads: Placed between the rack and the van roof to prevent scratching.
- Screwdriver: Tightens screws that may be part of the assembly.
Each tool and material plays a crucial role in building a sturdy, reliable roof rack for your van.
Required Skills and Time Commitment
Skill Level: Intermediate
Estimated Time Required: 4-6 hours
- Gather Materials: 30 minutes
- Measure and Mark: 1 hour
- Drill Holes: 1 hour
- Install Brackets: 1 hour
- Attach Rack: 1 hour
- Final Adjustments: 30 minutes
Instructions for Building Your Rack
Gather Materials and Tools
- Metal pipes or bars
- Pipe fittings
- Measuring tape
- Drill
- Screws and bolts
- Wrench
- Ladder
- Safety gear (gloves, goggles)
Measure the Roof
- Use the measuring tape to determine the length and width of the van roof.
- Mark the spots where the rack will be attached.
Cut the Pipes
- Cut metal pipes or bars to match the roof measurements.
- Ensure all pieces are cut to the correct length.
Assemble the Frame
- Connect the pipes using pipe fittings.
- Tighten the fittings with a wrench to secure the frame.
Drill Mounting Holes
- Place the frame on the roof.
- Mark where the mounting holes will go.
- Drill holes at the marked spots.
Attach the Rack
- Position the frame over the drilled holes.
- Insert screws or bolts through the holes.
- Tighten with a wrench to secure the rack to the roof.
Check Stability
- Ensure all screws and bolts are tight.
- Test the rack by applying pressure to confirm it is secure.
Add Finishing Touches
- Attach any additional accessories like crossbars or tie-down points.
- Double-check all connections and fittings.
Helpful Tips and Tricks
Measure twice, cut once. Always double-check measurements to avoid costly mistakes. Use a level to ensure everything is straight.
Use stainless steel hardware to prevent rust. It lasts longer and looks better.
Pre-drill holes before screwing to avoid splitting the wood or metal.
Seal all joints with silicone to keep water out. This prevents rust and wood rot.
Common mistakes to avoid:
Overloading the rack. Check the weight limit of your van's roof and the rack itself.
Ignoring aerodynamics. A poorly designed rack can reduce fuel efficiency.
Not securing the rack properly. Loose racks can cause accidents.
Alternatives for materials or methods:
Instead of wood, consider aluminum for a lighter, rust-resistant option.
Use U-bolts instead of regular bolts for a stronger hold.
For a temporary solution, try ratchet straps instead of permanent mounts.
Estimating the Cost
Materials:
- Steel Tubing: $50-$100
- Mounting Brackets: $20-$40
- Bolts and Nuts: $10-$20
- Primer and Paint: $15-$30
- Rubber Gaskets: $5-$10
Tools:
- Drill: $30-$60
- Metal Saw: $20-$50
- Wrench Set: $15-$30
- Measuring Tape: $5-$10
- Safety Gear (Gloves, Goggles): $10-$20
Total Cost: $180-$370
Budget-Friendly Alternatives:
- PVC Tubing instead of steel: $20-$40
- Used Tools from thrift stores or online marketplaces: $50-$100 for all tools
- Spray Paint instead of primer and paint: $10-$15
Different Ways to Customize
Materials: Instead of using steel, consider aluminum for a lighter option. Wood can give a rustic look but may need more maintenance. PVC pipes offer a budget-friendly alternative.
Colors: Paint the rack to match your van’s color. Use spray paint for a smooth finish. For a unique touch, try plasti dip which allows for easy color changes.
Styles: Opt for a minimalist design with fewer bars for a sleek look. Add crossbars for extra support. Consider a basket-style rack for carrying loose items.
Mounting Options: Use U-bolts for a secure fit. Quick-release clamps make it easy to remove the rack when not in use. Magnetic mounts offer a temporary solution for light loads.
Accessories: Attach LED lights for better visibility. Add tie-down points for securing cargo. Install a wind deflector to reduce noise and improve fuel efficiency.
Finishes: Apply a powder coat for durability. Use rubberized coating to prevent scratches. Clear sealant can protect against rust and weather damage.
Eco-Friendly Building Tips
Reclaimed wood can be a great choice for the base of your roof rack. It’s strong, durable, and gives a rustic look. Check local salvage yards or old furniture for materials.
Bamboo is another eco-friendly option. It’s lightweight, strong, and grows quickly, making it a sustainable resource. Use bamboo poles for the frame.
Recycled metal is perfect for brackets and supports. Old bed frames or scrap metal can be repurposed. This reduces waste and saves money.
Natural oils like linseed oil can protect wood from the elements. Avoid chemical-based sealants. They’re harmful to the environment.
Solar-powered lights can be added for visibility. They charge during the day and provide light at night without using electricity.
Recycled rubber from old tires can be used for padding. It protects your gear and reduces landfill waste.
Upcycled fabric from old tarps or tents can be used for covers. They keep your items dry and secure.
Hand tools are more eco-friendly than power tools. They use no electricity and give you a good workout.
Local materials reduce the carbon footprint. Buying locally sourced items supports your community and cuts down on transportation emissions.
Minimalist design uses fewer materials. It’s lighter, easier to build, and better for the environment.
Your Van's New Best Friend
Building your own van roof rack isn't just about saving money. It's about creating something that fits your needs perfectly. With some basic tools and a bit of patience, you can craft a sturdy, reliable rack. Remember to measure twice, cut once. Use quality materials to ensure safety and durability. Don't rush the process; take your time to get it right. Once installed, you'll have extra space for all your gear, making your adventures more enjoyable. Plus, there's a certain pride in knowing you built it yourself. So, grab your tools, follow the steps, and soon enough, you'll have a custom roof rack ready for the road. Happy building!
How do I choose the right materials for my van roof rack?
Pick strong, weather-resistant materials like aluminum or steel. Aluminum is lightweight and rust-resistant, while steel is sturdier but heavier. Consider your budget and the weight you'll carry.
What tools will I need to build a van roof rack?
You'll need a drill, screws, measuring tape, saw, wrenches, and brackets. Having a friend to help can make the job easier.
How do I measure my van for a roof rack?
Measure the width and length of your van's roof. Make sure to account for any curves or obstructions. This ensures your rack fits securely and evenly.
Can I install a roof rack by myself?
Yes, but it's easier with a helper. Some parts can be heavy or awkward to handle alone. Having an extra set of hands can make the process smoother.
How do I ensure my roof rack is secure?
Double-check all bolts and screws are tight. Use lock washers or thread-locking adhesive to prevent loosening. Test the rack by gently shaking it to ensure it's stable.
What kind of maintenance does a roof rack need?
Regularly check for rust or loose parts. Clean it with mild soap and water to remove dirt and debris. Inspect the rack after carrying heavy loads to ensure it remains secure.
Can I customize my roof rack?
Absolutely! You can add crossbars, baskets, or tie-down points. Customize it to fit your specific needs and make your travels more convenient.