
Home>Home & Furniture>Roof>DIY Gazebo Roof Ideas Guide
Roof
DIY Gazebo Roof Ideas Guide
Published: August 22, 2024
Discover creative and practical DIY gazebo roof ideas in our comprehensive guide. Transform your outdoor space with unique roofing solutions that are both stylish and functional.
(Many of the links in this article redirect to a specific reviewed product. Your purchase of these products through affiliate links helps to generate commission for Twigandthistle.com, at no extra cost. Learn more)
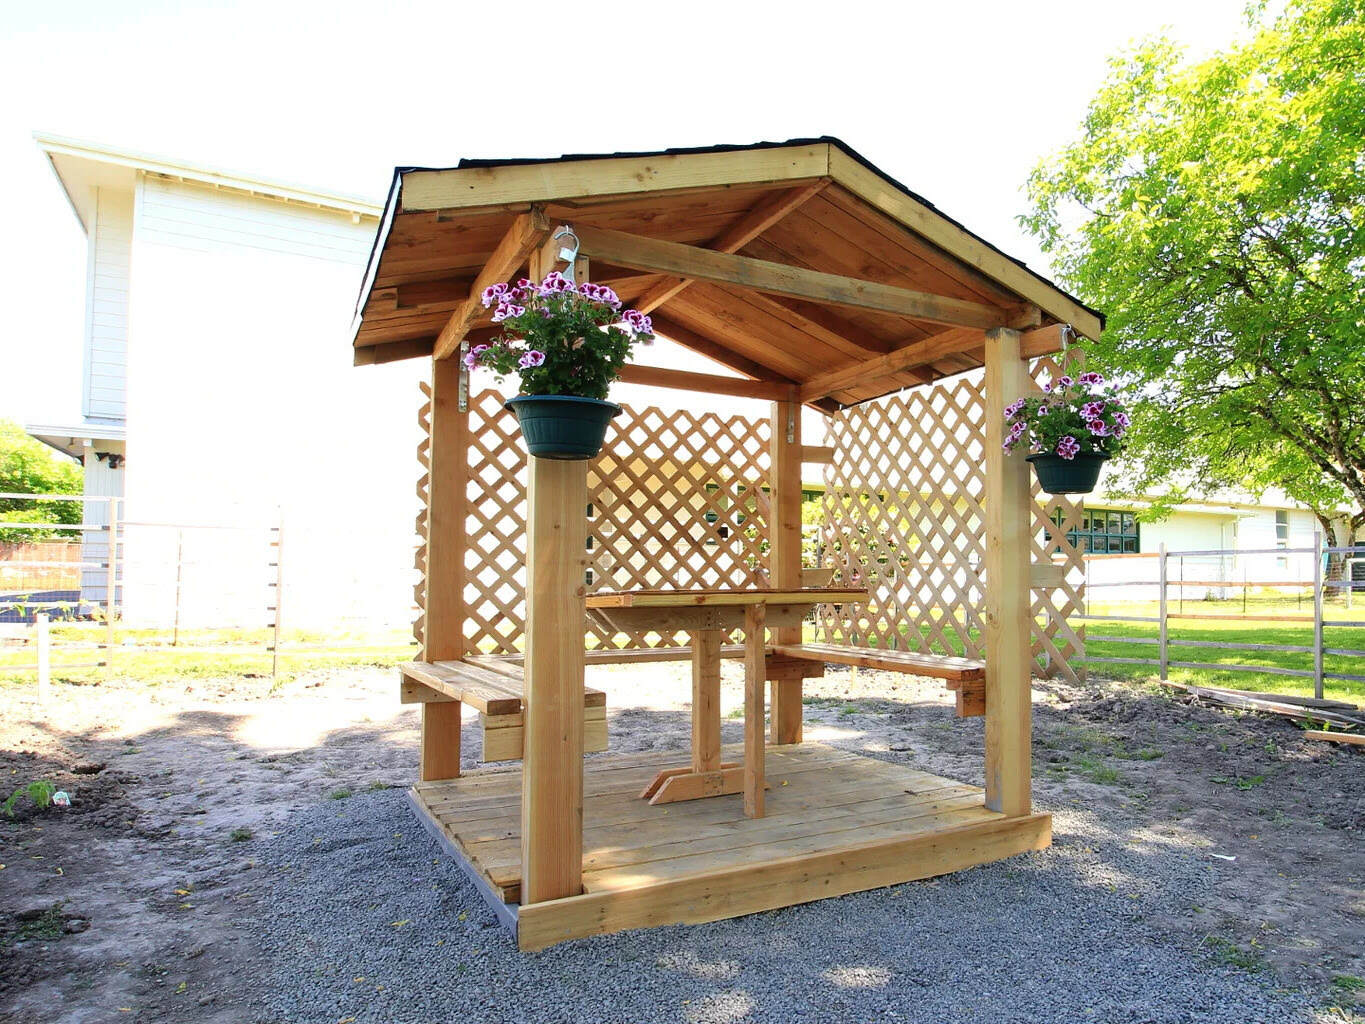
Thinking about adding a charming touch to your backyard? A gazebo might be the perfect solution. Building your own gazebo roof can be a fun, rewarding project that also saves money. From simple designs to more elaborate ones, there are tons of ideas to consider. Whether you have a small garden or a large yard, creating a cozy, shaded spot can enhance outdoor living. This guide will help you explore different DIY gazebo roof ideas, offering tips and inspiration along the way. Grab your tools, roll up your sleeves, and get ready to transform your space!
Preparation Steps
Gather Materials: Collect all necessary tools and materials like wood, nails, screws, roofing material, and a ladder. Make sure everything is within reach.
Safety Gear: Wear safety goggles, gloves, and a hard hat. Ensure your ladder is stable and on even ground.
Workspace Setup: Clear the area around the gazebo. Remove any obstacles to avoid tripping or falling.
Measure and Cut: Measure the dimensions of your gazebo roof. Cut the wood to the required lengths using a saw. Double-check measurements to ensure accuracy.
Weather Check: Ensure the weather forecast is clear. Avoid working on the roof during rain or strong winds.
Buddy System: Have a friend or family member assist you. They can hold the ladder, pass tools, and provide an extra set of hands.
Pre-Drill Holes: Pre-drill holes in the wood to make it easier to screw or nail pieces together. This prevents wood from splitting.
Dry Fit: Before securing anything, place all pieces on the gazebo to ensure they fit correctly. Make adjustments if needed.
Secure Roofing Material: Once the frame is in place, attach the roofing material. Follow the manufacturer's instructions for the best results.
Clean Up: After completing the roof, clean up the workspace. Dispose of any debris and store tools safely.
Gathering Your Materials and Tools
- Lumber: Essential for framing the roof. Choose treated wood to resist weather damage.
- Plywood Sheets: Used for the roof deck. Provides a solid base for shingles or other roofing materials.
- Shingles: Protects the roof from rain and sun. Asphalt shingles are common and easy to install.
- Roofing Nails: Secure shingles and plywood. Ensure they are galvanized to prevent rust.
- Roofing Felt: Acts as a moisture barrier between plywood and shingles.
- Hammer: Needed for driving nails. A claw hammer works best for removing mistakes.
- Circular Saw: Cuts lumber and plywood to size. Ensure you have a sharp blade for clean cuts.
- Measuring Tape: Ensures accurate measurements. Essential for cutting materials to the correct size.
- Chalk Line: Helps mark straight lines on plywood and lumber.
- Ladder: Provides access to the roof. Ensure it’s stable and tall enough for safety.
- Safety Gear: Includes gloves, safety glasses, and a hard hat. Protects you from injuries.
- Level: Ensures your roof is even. A bubble level works well for this task.
- Drill: Useful for making pilot holes and driving screws.
- Screws: Used for securing parts of the frame. Choose weather-resistant screws.
These materials and tools will help you build a sturdy and weather-resistant gazebo roof.
Required Skill Level and Time Commitment
Skill Level: Intermediate
Time Required: 2-3 days
- Planning and Measuring: 2-3 hours
- Gathering Materials: 1-2 hours
- Cutting and Preparing Wood: 4-6 hours
- Assembling the Frame: 5-6 hours
- Installing Roofing Material: 4-5 hours
- Finishing Touches: 1-2 hours
Detailed Step-by-Step Instructions
Gather Materials
- Plywood sheets
- Wooden beams
- Roofing nails
- Shingles or metal sheets
- Hammer
- Measuring tape
- Saw
- Ladder
Measure and Cut
- Measure the gazebo's dimensions.
- Cut wooden beams to fit the frame.
- Cut plywood sheets to match the roof size.
Build the Frame
- Attach wooden beams to the gazebo's top edges.
- Ensure beams form a sturdy frame.
Install Plywood Sheets
- Place plywood sheets on the frame.
- Secure sheets with roofing nails.
Add Roofing Material
- Lay shingles or metal sheets over plywood.
- Start from the bottom, working upwards.
- Overlap each layer to prevent leaks.
Secure Roofing
- Nail shingles or metal sheets into place.
- Ensure all edges are tightly secured.
Check for Stability
- Inspect the roof for any loose parts.
- Reinforce any weak spots with additional nails or screws.
Finish Edges
- Trim any excess material.
- Smooth out rough edges for a clean look.
Clean Up
- Remove any debris or leftover materials.
- Ensure the area around the gazebo is tidy.
Helpful Tips and Tricks
Measure Twice, Cut Once: Always double-check measurements before cutting materials. This prevents waste and ensures pieces fit correctly.
Use Quality Materials: Opt for weather-resistant wood like cedar or redwood. These types resist rot and insects better than others.
Pre-drill Holes: Pre-drilling holes for screws helps prevent wood from splitting. This is especially important for hardwoods.
Angle the Roof: Ensure the roof has a slight angle to allow water runoff. This prevents water pooling and extends the roof's life.
Secure Properly: Use galvanized screws or nails to prevent rust. Rust can weaken the structure over time.
Common Mistakes to Avoid:
- Ignoring Local Codes: Check local building codes before starting. Some areas have specific requirements for structures like gazebos.
- Skipping the Foundation: A solid foundation is crucial. Without it, the gazebo may shift or become unstable.
- Wrong Roof Pitch: A roof pitch that's too flat can cause water pooling. Ensure the pitch is steep enough for proper drainage.
Alternatives for Materials or Methods:
- Metal Roofing: Consider using corrugated metal sheets instead of shingles. Metal roofing is durable and requires less maintenance.
- Polycarbonate Panels: These panels are lightweight, durable, and allow natural light to filter through.
- Recycled Materials: Use reclaimed wood or recycled metal for an eco-friendly option. This can also add a unique, rustic look to your gazebo.
Estimating the Cost
Lumber: $200 - $400 depending on size and type. Plywood: $100 - $200 for roof sheathing. Shingles: $50 - $150 for asphalt shingles. Nails/Screws: $20 - $40. Roofing Felt: $30 - $50. Sealant/Caulk: $10 - $20. Paint/Stain: $30 - $60. Tools: Hammer: $10 - $20, Saw: $30 - $100, Drill: $40 - $100, Measuring Tape: $5 - $15, Ladder: $50 - $100.
Total Cost: $575 - $1,255.
Budget-Friendly Alternatives: Use reclaimed wood for lumber and plywood, saving $100 - $200. Opt for metal roofing sheets instead of shingles, costing $30 - $100. Borrow or rent tools from friends or a local tool library, reducing tool costs by $100 - $200.
Creative Variations and Customizations
Materials: Use wooden shingles for a rustic look, or metal sheets for a modern, durable option. Polycarbonate panels offer a lightweight, weather-resistant choice. Thatch provides a tropical vibe, while fabric canopies add a soft, airy feel.
Colors: Paint the roof in earthy tones like brown or green to blend with nature. Bright colors like red or blue can make the gazebo stand out. Neutral shades like white or gray offer a clean, classic appearance.
Styles: Opt for a hip roof for a traditional look, or a gable roof for a more open feel. A curved roof adds a touch of elegance, while a flat roof offers a minimalist design. Tiered roofs can create a pagoda-like structure, adding an exotic flair.
Decorative Elements: Add trim or molding for extra detail. Install skylights to let in natural light. Use decorative brackets or corbels for added charm. Hang string lights or lanterns for a cozy ambiance.
Functional Additions: Incorporate gutters to manage rainwater. Install solar panels for eco-friendly energy. Add curtains or screens for privacy and shade. Use built-in seating or planters to maximize space and greenery.
Eco-Friendly Sustainability Tips
Bamboo is a great choice. It's strong, lightweight, and grows quickly, making it a renewable resource. Reclaimed wood can add a rustic charm while reducing waste. Look for old barn wood or pallets. Metal roofing made from recycled materials is durable and can be recycled again. Living roofs with plants can provide insulation and absorb rainwater. Solar panels can be integrated to generate electricity. Recycled plastic shingles are another option; they mimic traditional materials but last longer. Natural thatch made from reeds or grasses offers a traditional look and is biodegradable. Clay tiles are durable, recyclable, and provide good insulation. Corrugated cardboard treated for weather resistance can be an innovative, eco-friendly option.
Your Gazebo Roof Awaits
Building your own gazebo roof can be a rewarding project. With some basic tools, a bit of patience, and a clear plan, you can create a beautiful, functional space. Remember to choose the right materials for your climate and design preferences. Whether you go for a classic wood look or a more modern metal finish, the key is to ensure it's sturdy and weather-resistant. Don’t forget to measure twice, cut once. Safety should always be a priority, so wear your protective gear and follow guidelines. Once completed, you’ll have a cozy spot to enjoy with family and friends. So, roll up your sleeves, gather your supplies, and get started. Your perfect gazebo roof is just a few steps away. Happy building!
How do I choose the right material for my gazebo roof?
Consider your climate first. If you live in a rainy area, go for metal or shingles. For sunny spots, wood or thatched roofs work well. Think about budget and aesthetic too.
Can I install a gazebo roof by myself?
Absolutely! With the right tools and instructions, a DIY gazebo roof is doable. Just make sure you have a ladder, safety gear, and a helper for those tricky parts.
What are some budget-friendly options?
Corrugated metal and polycarbonate sheets are cost-effective. Reclaimed wood can also be a cheap, eco-friendly choice. Always compare prices and check for sales.
How do I ensure my gazebo roof is weatherproof?
Use waterproof sealants and weather-resistant materials. Make sure to overlap shingles or sheets properly. Regular maintenance helps keep it in top shape.
What tools will I need for this project?
Basic tools include a hammer, screwdriver, measuring tape, and saw. For metal roofs, you'll need tin snips. A drill and level are also handy.
How long does it take to build a gazebo roof?
Depending on the size and complexity, it can take a weekend or up to a week. Plan for extra time if you're new to DIY projects.
Can I add lighting to my gazebo roof?
Yes, you can! Solar lights are easy to install and energy-efficient. For wired options, ensure you follow electrical safety guidelines.