
Home>Home & Furniture>Living Room>How to Make Built-In Cabinets
Living Room
How to Make Built-In Cabinets
Published: August 5, 2024
Learn how to make built-in cabinets with our step-by-step guide. Discover tips, tools, and techniques for creating custom storage solutions that enhance your living space.
(Many of the links in this article redirect to a specific reviewed product. Your purchase of these products through affiliate links helps to generate commission for Twigandthistle.com, at no extra cost. Learn more)
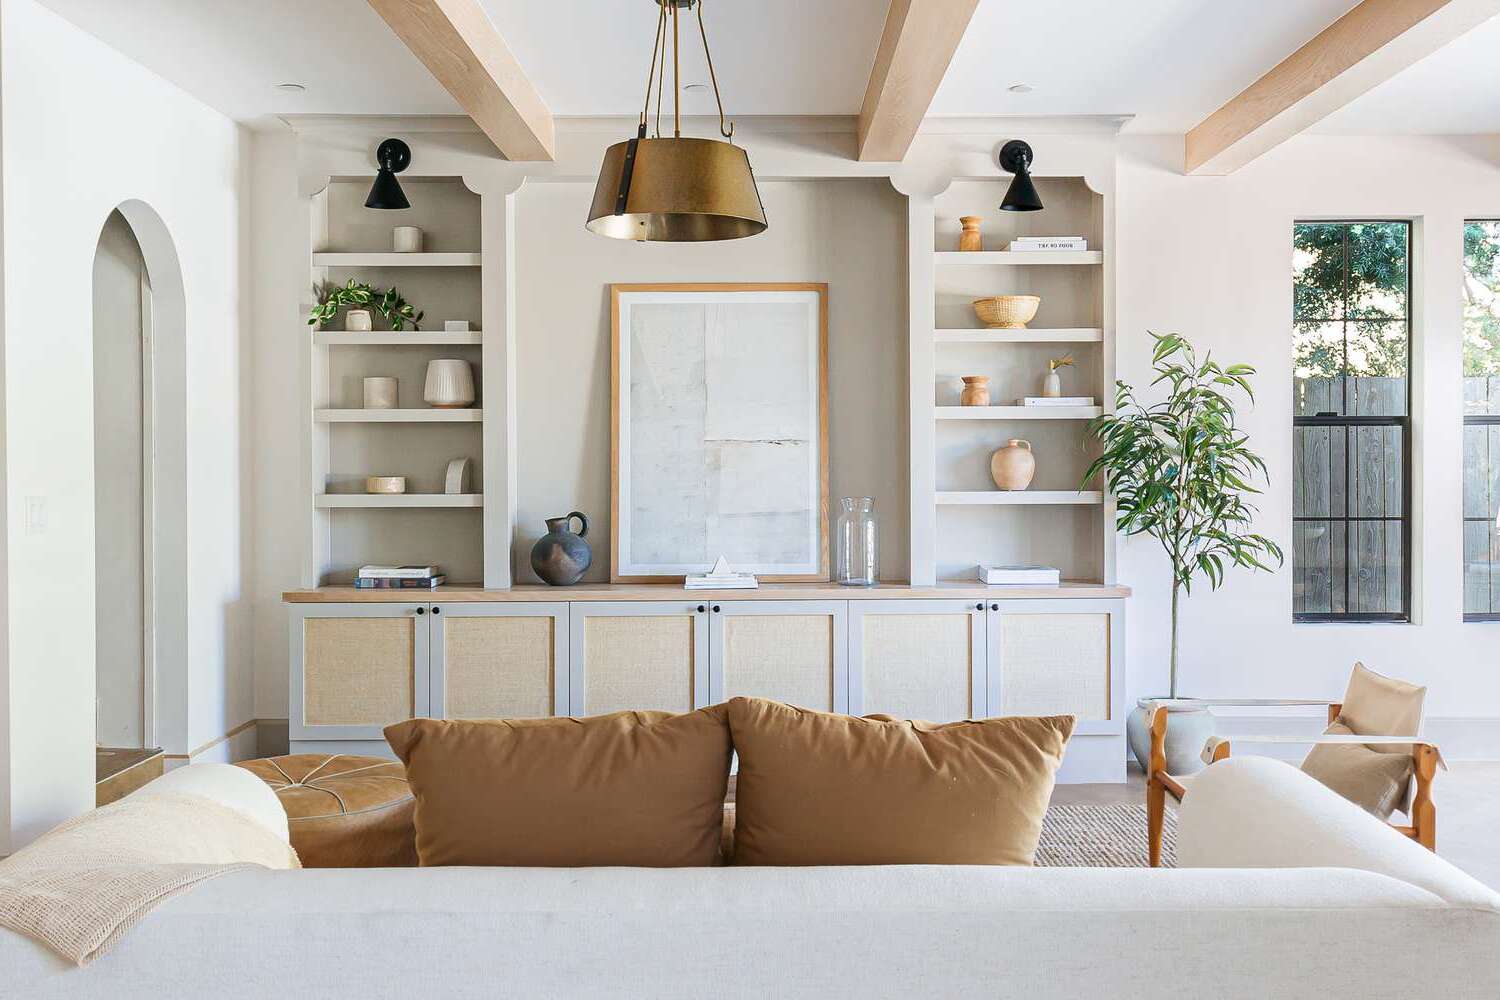
Building your own built-in cabinets can be a rewarding project. Whether you need extra storage or want to enhance your space's look, crafting custom cabinets offers a personal touch. Unlike store-bought options, built-ins fit perfectly in your chosen spot. This guide will walk you through the main steps and tips to create functional, stylish cabinets. You'll learn how to plan, measure, cut materials, assemble, and finish your project. Don't worry if you’re new to this; with patience and basic tools, you can achieve great results. Ready to transform your space with custom built-ins? Let's get started.
Getting Ready for the Project
Measure the Space: Use a tape measure to get the exact dimensions of the area where the cabinets will go. Write down the height, width, and depth.
Gather Materials: Collect all necessary materials like plywood, screws, wood glue, and paint. Make sure you have the right tools, such as a saw, drill, and level.
Create a Plan: Sketch a detailed plan of your cabinets. Include measurements and where each piece will go. This helps avoid mistakes later.
Prepare the Workspace: Clear the area where you'll build the cabinets. Lay down a drop cloth to protect the floor. Make sure you have good lighting.
Safety Gear: Wear safety goggles, gloves, and a dust mask. These protect your eyes, hands, and lungs from sawdust and debris.
Cut the Wood: Use a saw to cut the plywood according to your measurements. Double-check each piece to ensure accuracy.
Sand the Edges: Smooth out the edges of the cut wood with sandpaper. This helps the pieces fit together better and looks nicer.
Dry Fit: Assemble the pieces without glue or screws to make sure everything fits. Adjust as needed before final assembly.
Mark Studs: Use a stud finder to locate wall studs where the cabinets will be attached. Mark these spots with a pencil.
Pre-Drill Holes: Drill pilot holes in the wood pieces. This makes it easier to screw them together and prevents splitting.
Check for Level: Use a level to ensure your base pieces are even. An uneven base will make the whole cabinet crooked.
Organize Tools: Keep all your tools within reach. This saves time and keeps the project moving smoothly.
Gather Your Materials and Tools
Materials Needed:
- Plywood: Used for the cabinet boxes and shelves. Choose a sturdy type like birch or oak.
- Wood Screws: Essential for assembling the cabinet pieces.
- Wood Glue: Provides extra strength to the joints.
- Cabinet Hardware: Includes hinges, handles, and drawer slides.
- Paint or Stain: For finishing the cabinets to match your decor.
- Sandpaper: Smooths out rough edges and surfaces.
- Wood Filler: Fills any gaps or holes in the wood.
- Primer: Prepares the wood for painting or staining.
Tools Needed:
- Tape Measure: Ensures accurate measurements for cutting wood.
- Circular Saw: Cuts large pieces of plywood.
- Jigsaw: Cuts out smaller or more detailed shapes.
- Drill: Makes holes for screws and hardware.
- Screwdriver: Tightens screws and attaches hardware.
- Clamps: Holds pieces together while the glue dries.
- Level: Ensures the cabinets are installed straight.
- Paintbrush or Roller: Applies paint or stain evenly.
- Sander: Speeds up the sanding process for a smooth finish.
- Stud Finder: Locates wall studs for secure installation.
Required Skills and Time Commitment
Skill Level: Advanced
Time Required: 2-3 weekends
- Planning and Measuring: 4-6 hours
- Cutting Materials: 6-8 hours
- Assembling Cabinets: 8-10 hours
- Installing Cabinets: 6-8 hours
- Finishing Touches (painting, hardware): 4-6 hours
Instructions for Building Cabinets
Measure the Space
- Use a tape measure to get the height, width, and depth of the area where the cabinets will go.
- Write down these measurements.
Design the Cabinets
- Sketch a design of the cabinets, including shelves and doors.
- Decide on the materials you will use, like plywood or MDF.
Cut the Wood
- Use a circular saw or table saw to cut the wood pieces according to your design.
- Sand the edges to make them smooth.
Assemble the Frame
- Lay out the pieces for the frame on a flat surface.
- Use wood glue and screws to join the pieces together.
- Make sure the frame is square by measuring diagonally from corner to corner.
Attach the Back Panel
- Cut a piece of plywood for the back panel.
- Attach it to the frame using wood glue and nails.
Install Shelves
- Measure and mark where the shelves will go inside the frame.
- Use shelf brackets or cleats to support the shelves.
- Attach the shelves using screws.
Build and Attach Doors
- Cut wood pieces for the doors according to your design.
- Assemble the doors using wood glue and screws.
- Attach hinges to the doors and then to the cabinet frame.
Finish the Cabinets
- Fill any holes or gaps with wood filler.
- Sand the entire cabinet to prepare for painting or staining.
- Apply primer, then paint or stain as desired.
Install the Cabinets
- Position the cabinets in the designated space.
- Use a level to ensure they are straight.
- Secure the cabinets to the wall studs using screws.
Add Hardware
- Attach handles or knobs to the doors.
- Install any additional hardware like magnetic catches or soft-close mechanisms.
Helpful Tips and Tricks
Measure twice, cut once. Always double-check measurements before cutting any wood. Use a level to ensure everything is straight. Pre-drill holes to avoid splitting the wood. Sand all surfaces before painting or staining for a smooth finish.
Common mistakes include not accounting for wall irregularities. Walls are rarely perfectly straight, so adjust accordingly. Another mistake is using the wrong type of wood. Plywood is often best for cabinets due to its strength and stability.
For alternatives, consider using MDF (medium-density fiberboard) instead of plywood. It's cheaper and easier to work with but not as strong. Instead of traditional screws, use pocket hole screws for a cleaner look. If painting, use a paint sprayer for a more even coat instead of a brush.
Estimating the Cost
Plywood: $50 per sheet (you'll need about 4 sheets, so $200 total)
2x4 Lumber: $3 per piece (around 10 pieces, so $30 total)
Wood Screws: $10 for a box
Wood Glue: $5 per bottle
Paint or Stain: $20 per can
Sandpaper: $5 for a pack
Cabinet Hardware: $30 for handles and hinges
Tools:
- Circular Saw: $60 (or borrow one)
- Drill: $50 (or borrow one)
- Clamps: $20 for a set
- Measuring Tape: $10
- Level: $15
Total Cost: Around $455
Budget-Friendly Alternatives:
- Use MDF instead of plywood: $30 per sheet (saves $80)
- Borrow tools from friends or family
- Buy second-hand hardware: $15 (saves $15)
- Use leftover paint or stain from previous projects
New Total Cost: Around $360
Different Styles and Customizations
Materials: Instead of traditional wood, consider using plywood for a budget-friendly option. For a more modern look, try medium-density fiberboard (MDF). If you prefer a rustic style, reclaimed wood adds character.
Colors: Paint the cabinets in neutral tones like white, gray, or beige for a classic look. For a bold statement, use bright colors like teal, navy, or even a deep red. Staining the wood can also bring out its natural beauty.
Styles: Add shaker-style doors for a timeless appearance. For a sleek, contemporary look, go with flat-panel doors. Incorporate glass-front doors to display items inside or open shelving for easy access.
Hardware: Swap out standard handles for decorative knobs or pulls in materials like brass, chrome, or matte black. Soft-close hinges can make the doors quieter and more durable.
Lighting: Install LED strip lights under the shelves or inside the cabinets to highlight items and add ambiance. Puck lights can also be a good option for focused lighting.
Shelving: Customize the interior with adjustable shelves to accommodate different-sized items. Add pull-out shelves or drawers for easier access to items stored in the back.
Trim and Molding: Enhance the look with crown molding at the top or baseboard trim at the bottom. Decorative trim around the doors can also add a touch of elegance.
Backsplash: For a unique touch, add a tile backsplash behind the cabinets. Choose from materials like ceramic, glass, or even metal tiles to match your style.
Functionality: Incorporate built-in organizers like spice racks, wine holders, or even a small desk area. Hidden compartments can add a fun and practical element for storing valuables.
Eco-Friendly Building Tips
Reclaimed Wood: Use wood from old barns, fences, or pallets. This reduces waste and gives cabinets a rustic look.
Bamboo: Bamboo grows quickly, making it a renewable resource. It's strong and looks great in modern designs.
Low-VOC Paints: Choose paints with low volatile organic compounds. These are better for indoor air quality and the environment.
Recycled Hardware: Find handles, knobs, and hinges at thrift stores or salvage yards. This adds character and reduces the need for new materials.
Eco-Friendly Plywood: Look for plywood made with formaldehyde-free glue. This is safer for your home and the planet.
Natural Finishes: Use oils and waxes made from natural ingredients. These protect the wood without harmful chemicals.
Energy-Efficient Tools: Use power tools that consume less energy. This helps reduce your carbon footprint.
Plan for Longevity: Build cabinets to last. Durable designs mean fewer replacements, saving resources over time.
Your DIY Masterpiece Awaits
Building built-in cabinets isn't just about adding storage; it's about creating a space that reflects your style. With some basic tools, a bit of patience, and a clear plan, you can transform any room. Remember, measure twice, cut once. Don't rush the sanding and painting stages; they make a huge difference in the final look. If you hit a snag, take a step back and rethink your approach. Mistakes happen, but they’re part of the learning process. Celebrate each small victory, whether it’s a perfectly cut piece of wood or a smoothly installed hinge. By the end, you’ll have more than just cabinets; you’ll have a testament to your hard work and creativity. So grab your tools, roll up your sleeves, and get started on your next DIY adventure. Your dream cabinets are just a few steps away!
How do I measure the space for built-in cabinets?
Use a tape measure to get the height, width, and depth of the area. Write down the measurements and double-check to avoid mistakes.
What materials do I need?
You'll need plywood, screws, wood glue, paint or stain, and cabinet hardware. Don't forget tools like a saw, drill, and sander.
How do I cut the wood?
Measure and mark the wood first. Use a circular saw or table saw to make precise cuts. Always wear safety goggles and gloves.
How do I assemble the cabinets?
Start by building the frame. Use wood glue and screws to secure the pieces. Attach the back panel, then add shelves and doors.
How do I install the cabinets?
Position the cabinet in the desired spot. Use a level to ensure it's straight. Secure it to the wall with screws and anchors.
Can I paint or stain the cabinets?
Yes, you can. Sand the surface first, then apply primer. Once dry, add paint or stain. Finish with a sealant for durability.
How long will this project take?
Depending on your skill level, it could take a weekend or a few days. Plan for extra time if you're new to DIY projects.