
Home>Home & Furniture>Kitchen>Step-by-step Guide to Installing Kitchen Cabinets
Kitchen
Step-by-step Guide to Installing Kitchen Cabinets
Published: July 28, 2024
Learn how to install kitchen cabinets with our step-by-step guide. From planning to final touches, get expert tips for a seamless and professional-looking installation.
(Many of the links in this article redirect to a specific reviewed product. Your purchase of these products through affiliate links helps to generate commission for Twigandthistle.com, at no extra cost. Learn more)
Installing kitchen cabinets might seem like a big job, but with some planning and the right tools, you can do it yourself. This guide will take you through each step clearly, making sure you understand what's needed. From prepping your kitchen space to the final adjustments, every part of the process will be covered. Whether you're remodeling your entire kitchen or just updating the cabinets, this guide will help you get professional-looking results without hiring a contractor. Ready to transform your kitchen? Let's get started!
Getting Ready for the Project
Measure the Space: Use a tape measure to get accurate dimensions of your kitchen. Write down the width, height, and depth of the area where cabinets will go.
Gather Tools and Materials: Collect a drill, screws, level, stud finder, measuring tape, pencil, and safety gear like gloves and goggles.
Clear the Area: Remove any old cabinets, appliances, or debris. Clean the walls and floor to ensure a smooth installation.
Locate Studs: Use a stud finder to mark the location of wall studs. This is where you will anchor the cabinets for stability.
Plan Layout: Sketch a layout of where each cabinet will go. This helps visualize the final look and ensures everything fits.
Set Up Workspace: Arrange a sturdy table or workbench nearby. Keep tools and materials organized for easy access.
Safety First: Wear gloves to protect your hands and goggles to shield your eyes from dust and debris.
Check for Level Floors and Walls: Use a level to make sure floors and walls are even. Uneven surfaces can cause problems during installation.
Pre-drill Holes: Mark and pre-drill holes on the wall where cabinets will be mounted. This makes the installation process smoother.
Prepare Cabinets: Assemble any cabinet parts if needed. Check for any defects or missing pieces before starting installation.
What You Need to Get Started
- Measuring Tape: Essential for accurate measurements of cabinet spaces.
- Level: Ensures cabinets are installed straight and even.
- Drill: Used for making holes and driving screws.
- Screwdriver: Tightens screws; both flathead and Phillips types are useful.
- Stud Finder: Locates wall studs to securely anchor cabinets.
- Clamps: Holds cabinets in place during installation.
- Cabinet Screws: Specially designed screws for attaching cabinets to walls.
- Shims: Small wedges to level cabinets on uneven floors or walls.
- Pencil: Marks measurements and placement points.
- Safety Glasses: Protects eyes from debris during drilling and cutting.
- Work Gloves: Protects hands from splinters and sharp edges.
- Utility Knife: Cuts through packaging, shims, and other materials.
- Caulk and Caulk Gun: Seals gaps between cabinets and walls.
- Painter’s Tape: Marks lines and protects surfaces during installation.
- Hammer: Useful for tapping shims and other adjustments.
- Jigsaw: Cuts out spaces for plumbing or electrical outlets in the cabinets.
- Cabinet Jack: Lifts and holds upper cabinets in place during installation.
- Pry Bar: Helps remove old cabinets or adjust new ones.
- Chalk Line: Marks straight lines on walls for cabinet alignment.
- Socket Wrench Set: Tightens bolts and nuts during assembly.
How Much Time and Skill Are Needed?
Skill Level: Intermediate
Estimated Time Required: 1-2 days
- Preparation and Planning: 2-3 hours
- Removing Old Cabinets: 2-4 hours
- Marking and Measuring: 1-2 hours
- Installing Upper Cabinets: 3-5 hours
- Installing Lower Cabinets: 3-5 hours
- Finishing Touches: 1-2 hours
Detailed Instructions for Installing Cabinets
Measure the Space
- Use a tape measure to get the dimensions of the kitchen area.
- Mark the locations for the cabinets on the wall with a pencil.
Prepare the Walls
- Remove any old cabinets or fixtures.
- Patch holes and sand the walls smooth.
Locate Studs
- Use a stud finder to locate wall studs.
- Mark the stud locations with a pencil.
Install the Ledger Board
- Attach a temporary ledger board to the wall where the bottom of the upper cabinets will sit.
- Ensure it is level.
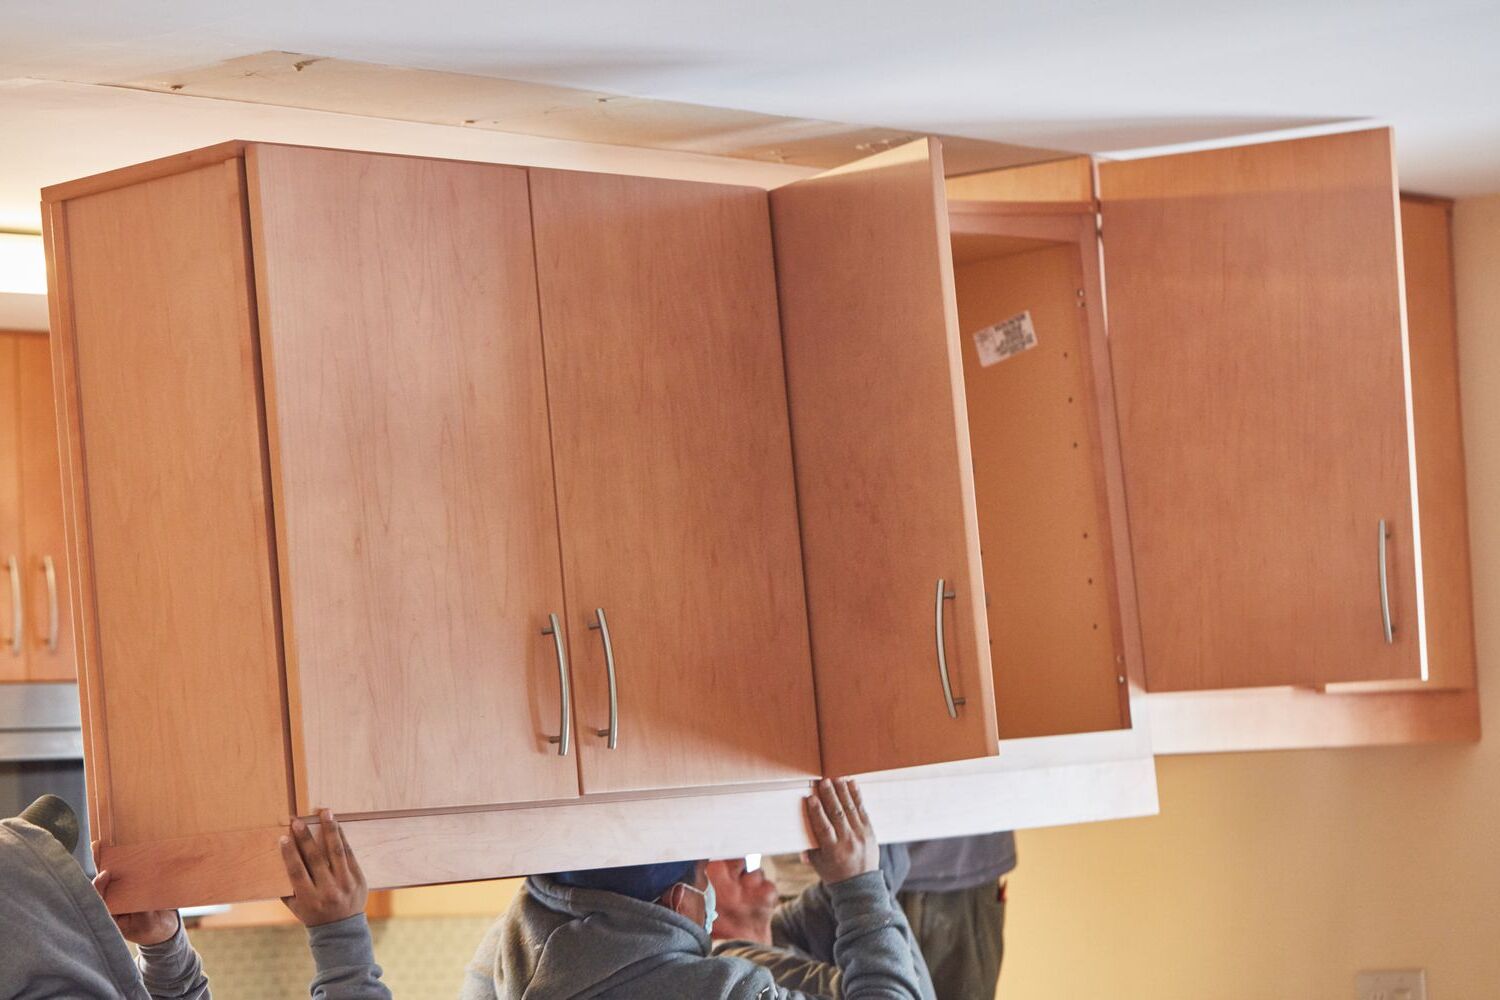
Hang Upper Cabinets
- Start with the corner cabinet.
- Lift the cabinet onto the ledger board and screw it into the wall studs.
- Continue with the adjacent cabinets, ensuring they are level and plumb.
Install Base Cabinets
- Position the corner base cabinet first.
- Use shims to level the cabinet.
- Screw the cabinet into the wall studs.
- Continue with the remaining base cabinets, ensuring they are level and plumb.
Attach Cabinet Doors and Drawers
- Install the doors on the cabinets using the provided hinges.
- Insert drawers into the base cabinets.
Install Countertop
- Measure and cut the countertop to fit.
- Secure the countertop to the base cabinets with screws.
Finish Up
- Add any trim or molding to the cabinets.
- Install hardware like handles and knobs.
- Clean up any debris and touch up paint if needed.
Helpful Tips and Tricks
Measure Twice, Cut Once: Always double-check measurements before cutting or drilling. This saves time and materials.
Use a Level: Ensure cabinets are level. Uneven cabinets can cause doors to hang improperly.
Start with Upper Cabinets: Install upper cabinets first. This avoids working over lower cabinets and prevents damage.
Find Studs: Use a stud finder to locate wall studs. Secure cabinets to studs for stability.
Pre-Drill Holes: Pre-drill screw holes to prevent wood from splitting.
Use Clamps: Clamps hold cabinets in place while securing them. This ensures alignment.
Shims for Adjustments: Use shims to adjust cabinets for a perfect fit. This helps with uneven walls or floors.
Label Parts: Label cabinet parts and hardware. This keeps everything organized and speeds up installation.
Common Mistakes to Avoid:
Skipping Studs: Avoid attaching cabinets to drywall alone. Always secure to studs.
Ignoring Leveling: Not leveling cabinets can cause alignment issues. Always check with a level.
Rushing Measurements: Incorrect measurements lead to poor fit. Take your time measuring.
Alternatives for Materials or Methods:
Plywood vs. Particleboard: Plywood is stronger and more durable than particleboard. Consider using plywood for longer-lasting cabinets.
Screws vs. Nails: Screws provide better hold than nails. Use screws for securing cabinets.
Ready-to-Assemble (RTA) Cabinets: RTA cabinets can save money and time. They come with pre-drilled holes and easy-to-follow instructions.
Cabinet Jacks: Use cabinet jacks to hold cabinets in place during installation. This can be easier than using clamps.
How Much Will It Cost?
Cabinets: $1,500 - $5,000 depending on quality and size.
Screws and Nails: $20 - $50.
Level: $10 - $30.
Drill: $50 - $150.
Screwdriver Set: $10 - $30.
Stud Finder: $15 - $40.
Measuring Tape: $5 - $15.
Shims: $5 - $10.
Caulk and Caulk Gun: $10 - $20.
Safety Gear (Gloves, Goggles): $10 - $20.
Budget-friendly alternatives:
- Cabinets: Consider used or discounted ones from stores like Habitat for Humanity ReStores.
- Drill: Borrow from a friend or rent from a hardware store.
- Safety Gear: Use items you already have at home.
Total estimated cost: $1,635 - $5,365.
Different Ways to Customize Your Cabinets
Materials: Instead of traditional wood cabinets, consider bamboo for a more eco-friendly option. Metal cabinets can give a modern, industrial look. Reclaimed wood adds a rustic charm.
Colors: Paint cabinets in bold colors like navy blue or forest green for a dramatic effect. For a more subtle look, use pastel shades like mint green or soft pink. Two-tone cabinets—one color for upper cabinets, another for lower—can add visual interest.
Styles: Shaker-style cabinets offer a classic, clean look. Flat-panel cabinets provide a sleek, modern appearance. Glass-front cabinets can make a kitchen feel more open and airy. For a vintage vibe, try beadboard cabinets.
Hardware: Swap out standard handles for brass knobs or leather pulls. Matte black hardware can add a contemporary touch. Ceramic knobs with intricate designs can give a unique, personalized feel.
Lighting: Install under-cabinet lighting to illuminate countertops. LED strip lights can add a modern touch. Vintage-style pendant lights over an island can create a focal point.
Shelving: Replace some cabinets with open shelving to display dishes and glassware. Floating shelves can add a minimalist look. Corner shelves make use of otherwise wasted space.
Backsplash: Use subway tiles for a classic look. Mosaic tiles can add color and pattern. Stainless steel backsplashes offer a sleek, easy-to-clean option.
Countertops: Pair cabinets with granite or quartz countertops for durability. Butcher block countertops add warmth. Concrete countertops can give an industrial feel.
Finishes: Opt for a high-gloss finish for a modern look. Matte finishes can offer a more understated appearance. Distressed finishes can add a vintage or rustic touch.
Organization: Add pull-out shelves or lazy Susans for better access to items. Built-in spice racks or cutlery organizers can keep things tidy. Drawer dividers help organize utensils and gadgets.
Eco-Friendly Tips for Your Project
Plan and Measure: Before starting, measure your kitchen space accurately. Reuse existing cabinets if possible. This reduces waste and saves money.
Choose Eco-friendly Materials: Opt for cabinets made from reclaimed wood or bamboo. These materials are sustainable and durable. Look for cabinets with low-VOC finishes to reduce harmful emissions.
Use Recycled Hardware: Reuse old handles, knobs, and hinges. If buying new, choose hardware made from recycled metal.
Prepare the Space: Remove old cabinets carefully to avoid damaging walls. Donate usable cabinets to local charities or recycling centers.
Install Cabinets: Use non-toxic adhesives and low-VOC paints. These options are better for indoor air quality.
Seal and Finish: Apply a water-based sealant to protect the wood. This type of sealant is less harmful to the environment.
Clean Up: Dispose of any waste responsibly. Recycle materials like cardboard and plastic packaging. Save leftover wood for future projects.
Energy-efficient Lighting: Install LED lights under cabinets. They use less energy and last longer than traditional bulbs.
Your Kitchen Awaits
You've got the skills and knowledge to install those kitchen cabinets. With the right tools and a bit of patience, you can transform your kitchen into a functional, stylish space. Remember, measure twice, cut once. Don't rush the process; taking your time ensures everything fits perfectly. If you hit a snag, don't hesitate to ask for help or look up additional resources. Your hard work will pay off when you see those cabinets securely in place, ready to store all your kitchen essentials. Now, grab your drill, some screws, and get to work. Your dream kitchen is just a few steps away. Enjoy the satisfaction of a job well done and the compliments that are sure to follow. Happy building!
How do I measure my kitchen for new cabinets?
Use a tape measure to get the width, height, and depth of your kitchen space. Note where appliances, windows, and doors are. Sketch a rough layout to help visualize.
What tools do I need to install kitchen cabinets?
You'll need a drill, level, tape measure, stud finder, screws, and a screwdriver. A helper can make the job easier.
Should I install upper or lower cabinets first?
Start with the upper cabinets. This way, you won't have to lean over the lower ones, making it easier to work.
How do I find the studs in my wall?
Use a stud finder to locate the studs. Mark them with a pencil so you know where to anchor the cabinets securely.
How do I ensure my cabinets are level?
Use a level to check both horizontally and vertically. Shim under the cabinets if needed to get them perfectly level.
What if my walls aren't perfectly straight?
Use shims to fill any gaps between the wall and the cabinets. This will help keep everything aligned and sturdy.
How do I secure the cabinets to the wall?
Drill pilot holes through the cabinet backs into the wall studs. Use screws to anchor the cabinets securely.