
Home>Home & Furniture>Kitchen>DIY Pantry Cabinet Ideas: How to Build Your Own
Kitchen
DIY Pantry Cabinet Ideas: How to Build Your Own
Published: July 31, 2024
Discover creative DIY pantry cabinet ideas and learn how to build your own with our step-by-step guide. Maximize your kitchen storage with these practical solutions!
(Many of the links in this article redirect to a specific reviewed product. Your purchase of these products through affiliate links helps to generate commission for Twigandthistle.com, at no extra cost. Learn more)
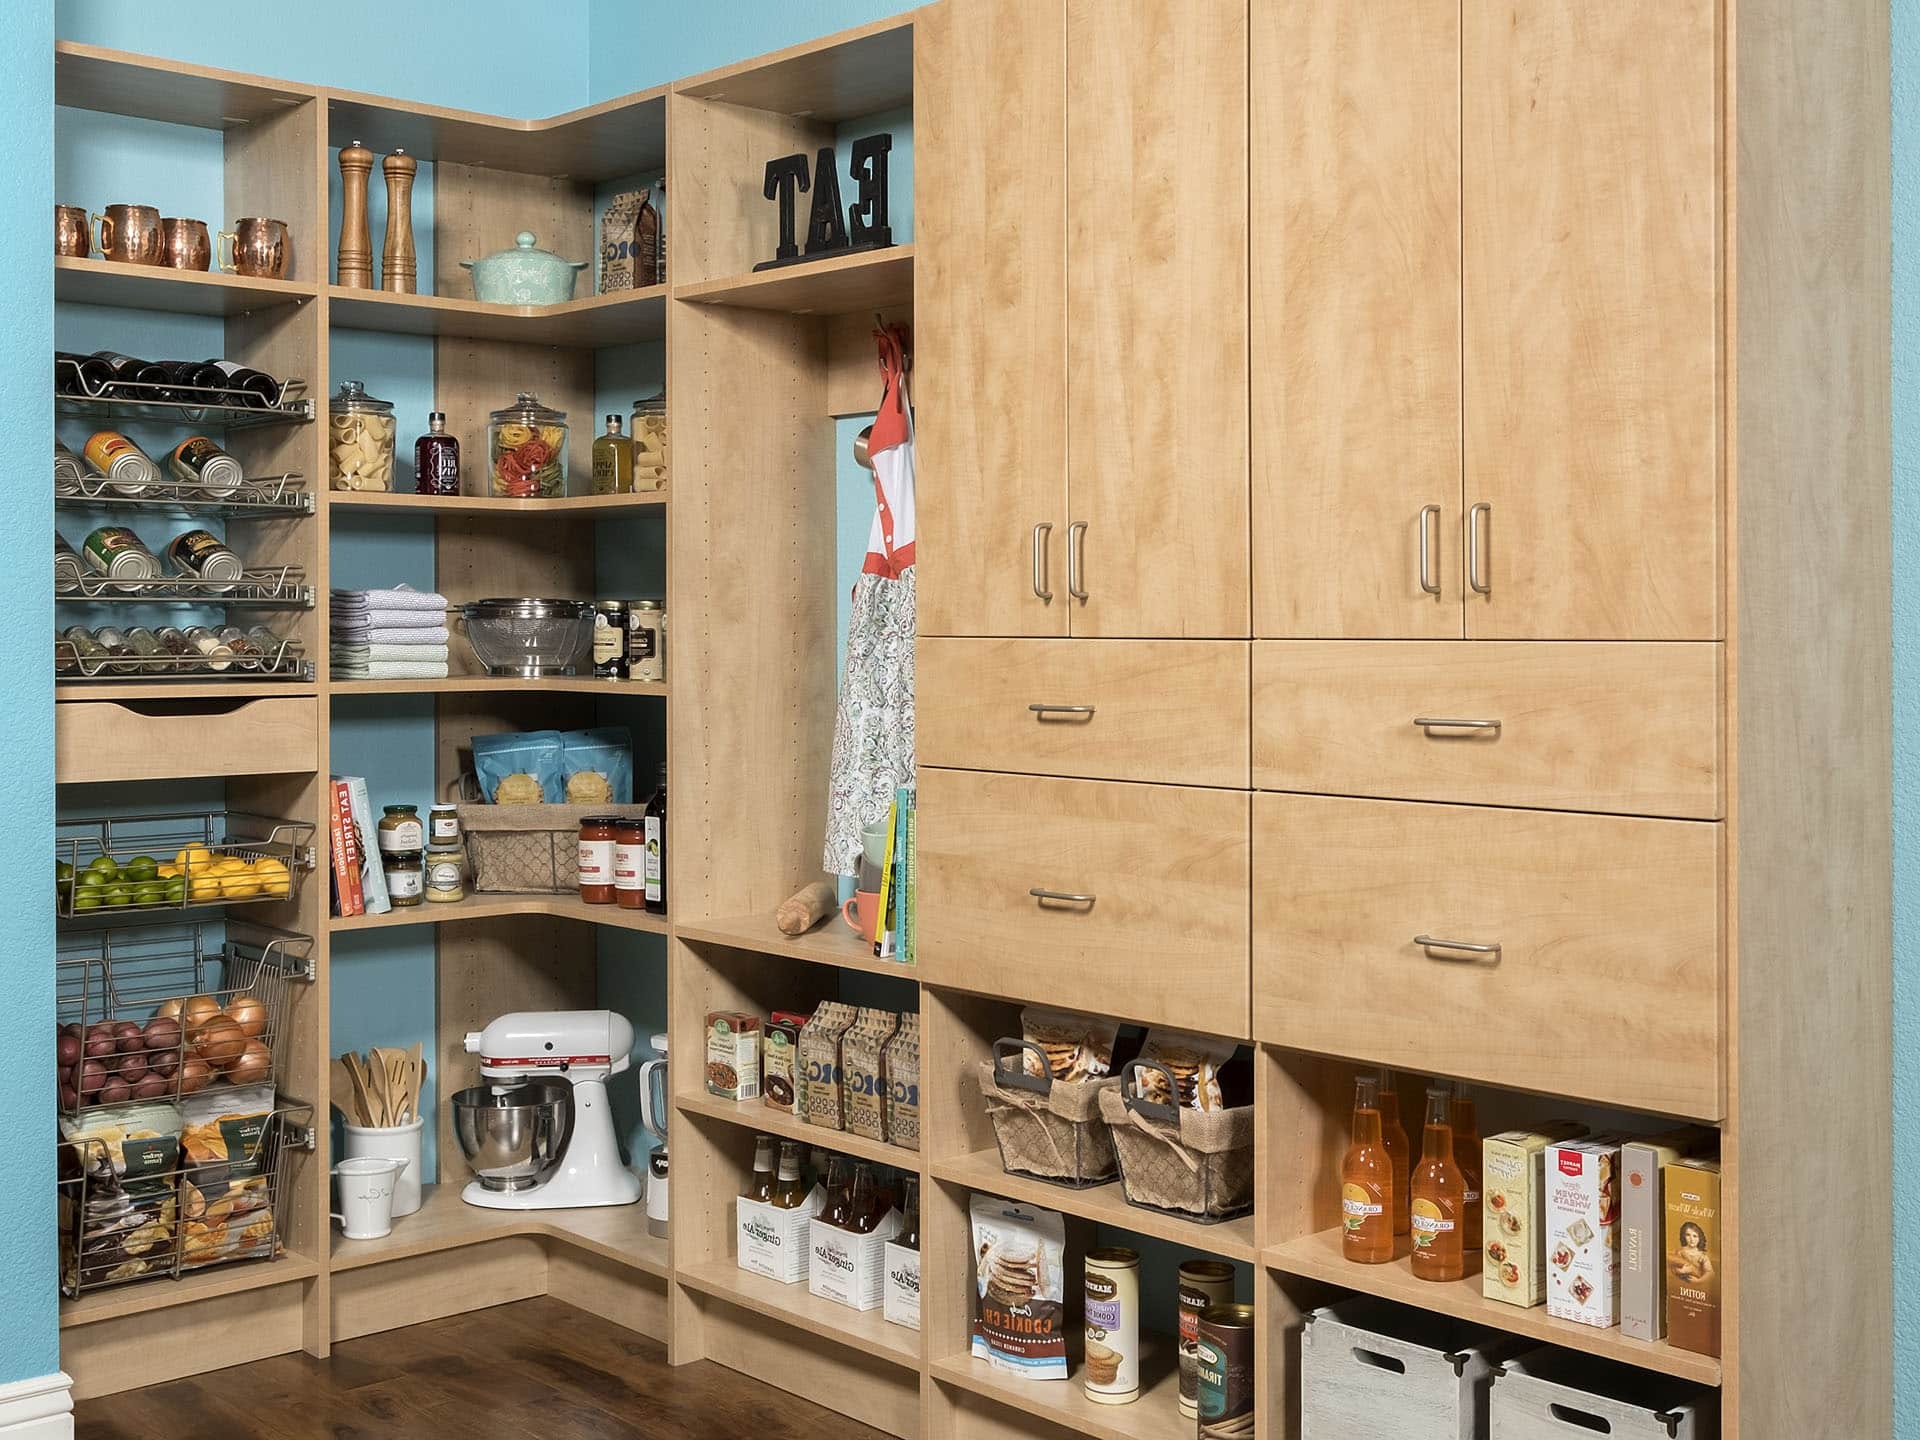
Building your own pantry cabinet might seem tricky, but it's easier than you think. A DIY pantry not only saves money but also lets you customize it to fit your needs perfectly. Whether you have a small kitchen or a large one, creating a pantry cabinet can help you organize food, spices, and other essentials. We’ll guide you through some simple yet effective ideas to build a pantry cabinet, making the most of the space you have. Ready to roll up your sleeves and get started? Let's dive into these hands-on tips!
Getting Ready for Your Project
Measure Your Space: Use a tape measure to get accurate dimensions of the area where the pantry cabinet will go. Write down the height, width, and depth.
Gather Materials: Make a list of needed materials like plywood, screws, hinges, and paint. Visit a hardware store to purchase everything.
Safety Gear: Wear safety goggles, gloves, and a dust mask to protect yourself from sawdust and sharp tools.
Clear the Workspace: Ensure your workspace is clean and has enough room to move around. Lay down a drop cloth to catch any debris.
Cut the Wood: Use a circular saw or table saw to cut the plywood according to your measurements. Double-check each cut for accuracy.
Sand the Edges: Smooth out the edges of the cut wood with sandpaper to prevent splinters.
Pre-Drill Holes: Mark where you will place screws and use a drill to make pilot holes. This helps prevent the wood from splitting.
Assemble the Frame: Start putting the pieces together using screws and a screwdriver. Make sure everything is level and square.
Install Shelves: Measure and mark where the shelves will go. Secure them with brackets or additional screws.
Paint or Stain: Apply a coat of paint or stain to match your kitchen decor. Let it dry completely before moving on.
Attach Doors: Use hinges to attach the doors to the frame. Ensure they open and close smoothly.
Final Check: Inspect the entire cabinet for any loose screws or rough edges. Make any necessary adjustments.
Gathering Materials and Tools
Materials:
- Plywood: Used for the main structure of the cabinet.
- Wood Screws: Secure the pieces together.
- Wood Glue: Provides extra strength to joints.
- Hinges: Attach doors to the cabinet.
- Handles/Knobs: Open and close the doors.
- Paint or Stain: Finish the cabinet to match your kitchen.
- Sandpaper: Smooth out rough edges.
- Shelf Brackets: Support the shelves inside the cabinet.
- Drawer Slides: Allow drawers to open and close smoothly.
- Back Panel: Provides stability to the cabinet.
Tools:
- Tape Measure: Ensure accurate measurements.
- Circular Saw: Cut plywood to size.
- Drill: Make holes for screws and hinges.
- Screwdriver: Tighten screws.
- Clamps: Hold pieces together while glue dries.
- Paintbrush or Roller: Apply paint or stain.
- Level: Ensure shelves and cabinet are even.
- Hammer: Tap in nails or adjust parts.
- Square: Check right angles.
- Safety Gear: Protect eyes and hands (goggles, gloves).
These materials and tools will help you build a sturdy, functional pantry cabinet.
Skill Level and Time Commitment
Skill Level: Intermediate
Time Required:
- Planning and Measuring: 1-2 hours
- Cutting Wood: 2-3 hours
- Assembling the Frame: 3-4 hours
- Installing Shelves: 2-3 hours
- Painting or Staining: 2-4 hours
- Final Touches: 1-2 hours
Total Time: 11-18 hours
Building Instructions
Gather Materials
- Plywood sheets
- Wood screws
- Wood glue
- Sandpaper
- Paint or stain
- Hinges
- Handles or knobs
- Shelf brackets
Measure and Cut
- Measure the space where the pantry will go.
- Cut plywood into pieces for the sides, back, top, bottom, and shelves.
Assemble the Frame
- Attach the sides to the bottom piece using wood screws and glue.
- Secure the back piece to the sides and bottom.
- Attach the top piece.
Install Shelves
- Decide on shelf spacing.
- Attach shelf brackets inside the frame.
- Place shelves on brackets and secure with screws.
Sand and Paint
- Sand all surfaces to smooth rough edges.
- Apply paint or stain to the entire cabinet.
- Let it dry completely.
Attach Doors
- Measure and cut doors from plywood.
- Attach hinges to doors and then to the cabinet frame.
- Install handles or knobs on doors.
Final Touches
- Check for any loose screws and tighten.
- Ensure doors open and close smoothly.
- Place the pantry cabinet in its designated spot.
Helpful Tips and Tricks
Measure twice, cut once. Always double-check measurements before cutting any material. This saves time and reduces waste.
Use quality materials. Opt for sturdy wood like plywood or MDF. These materials provide durability and a clean finish.
Pre-drill holes. This prevents wood from splitting and ensures screws go in smoothly.
Label everything. Mark each piece of wood with its corresponding part of the cabinet. This helps during assembly.
Sand edges. Smooth out rough edges to avoid splinters and give a professional look.
Use a level. Ensure shelves and doors are straight. This prevents items from sliding or falling.
Add adjustable shelves. This allows flexibility for different-sized items.
Install good lighting. LED strip lights work well inside cabinets, making it easier to find items.
Common mistakes to avoid:
Skipping the planning phase. Not having a clear plan can lead to mistakes and wasted materials.
Ignoring weight limits. Overloading shelves can cause them to sag or break.
Using the wrong screws. Make sure screws are appropriate for the material to avoid weak joints.
Alternatives for materials or methods:
Use metal brackets instead of wooden supports for added strength.
Consider wire shelving. It’s easier to install and allows for better air circulation.
Repurpose old furniture. An old bookshelf or dresser can be converted into a pantry cabinet with some modifications.
Estimating Costs
Materials:
- Plywood: $50-$100 (depends on quality and thickness)
- Wood screws: $5-$10
- Wood glue: $5-$10
- Hinges: $10-$20
- Handles/knobs: $10-$30
- Paint or stain: $20-$40
- Sandpaper: $5-$10
- Shelf brackets: $10-$20
Tools:
- Circular saw: $50-$100 (or borrow)
- Drill: $30-$60 (or borrow)
- Tape measure: $5-$15
- Level: $10-$20
- Paintbrushes/rollers: $5-$15
- Clamps: $10-$30
Total Cost: $225-$480
Budget-Friendly Alternatives:
- Reclaimed wood: Free or low cost
- Second-hand tools: Check thrift stores or online marketplaces
- Basic handles/knobs: $5-$10
- Leftover paint: Use what you have
Total with Alternatives: $150-$300
Different Styles and Customizations
Materials: Instead of traditional wood, try using reclaimed wood for a rustic look or plywood for a budget-friendly option. Metal shelves can give an industrial feel, while glass doors add a touch of elegance.
Colors: Paint the cabinet in bright colors like yellow or turquoise for a cheerful vibe. For a more classic look, use neutral tones such as white, gray, or beige. Chalk paint can give a vintage, distressed appearance.
Styles: Add open shelving for easy access and a modern look. Use sliding barn doors for a farmhouse style. Incorporate pull-out drawers for better organization. Floating shelves can create a minimalist design.
Hardware: Swap out standard handles for decorative knobs or pulls in materials like brass, copper, or ceramic. Magnetic latches can keep doors securely closed.
Lighting: Install LED strip lights inside the cabinet for better visibility. Under-cabinet lighting can also add a stylish touch.
Additional Features: Include a chalkboard or whiteboard on the door for notes and grocery lists. Add hooks or racks on the sides for hanging utensils or bags. Use lazy Susans or tiered shelves to maximize space.
Eco-Friendly Tips
Reclaimed wood is a fantastic option for building pantry cabinets. It adds character and reduces waste. Look for old pallets, barn wood, or even discarded furniture. Sand and treat the wood to ensure it's safe and durable.
Bamboo plywood is another eco-friendly choice. Bamboo grows quickly, making it a sustainable resource. It's also strong and looks great in any kitchen.
Use low-VOC (volatile organic compounds) paints and finishes. These products are better for the environment and your health. They release fewer harmful chemicals into the air.
Recycled hardware can add a unique touch to your cabinets. Search for old knobs, handles, and hinges at thrift stores or salvage yards. They often have interesting designs and can be much cheaper than new ones.
Consider using natural adhesives like casein or plant-based glues. These are less harmful to the environment compared to synthetic adhesives.
For shelving, recycled glass or metal can be stylish and sustainable. Glass shelves can be cut from old windows or doors, while metal shelves can be made from repurposed industrial materials.
Insulation inside the cabinet can be done using recycled denim or wool. These materials are effective and environmentally friendly.
Finally, think about modular designs. Building cabinets in sections allows you to replace or upgrade parts without discarding the entire unit. This approach saves resources and extends the life of your pantry cabinets.
Your DIY Pantry Awaits
Building your own pantry cabinet can be a rewarding project. You get to customize it to fit your space and needs. Plus, you save money compared to buying a pre-made one. Start by gathering materials like wood, screws, and paint. Measure your space carefully, then cut and assemble the pieces. Sand everything smooth before painting or staining. Install shelves at heights that work for your items. Add doors if you want a cleaner look. Don't forget to secure the cabinet to the wall for safety. With some effort and creativity, you'll have a pantry that suits your style and storage needs. Happy building!
How much does it cost to build a pantry cabinet?
The cost depends on the materials you choose. Basic plywood might cost around $50-$100, while higher-end wood could push it to $200 or more. Don’t forget hardware like hinges and handles, which can add another $20-$50.
What tools do I need?
You’ll need a saw, drill, measuring tape, level, screws, and a screwdriver. A sander and wood glue can also be handy. If you don’t have these, you might borrow or rent them.
How long will it take to build?
It usually takes a weekend. Cutting and assembling the pieces might take a day, and painting or staining could take another day, considering drying time.
Can I customize the size?
Absolutely! Measure your space and adjust the dimensions of your cabinet accordingly. Just make sure to keep your shelves level and sturdy.
What kind of wood should I use?
Plywood is a popular choice for its affordability and strength. If you want a more polished look, consider hardwoods like oak or maple. Pine is a good middle-ground option.
Do I need to paint or stain the cabinet?
It’s up to you! Painting or staining can protect the wood and match your kitchen decor. If you like the natural look, just apply a clear sealant to protect it from moisture.
How do I make sure the shelves are strong enough?
Use sturdy brackets and screws to support the shelves. Thicker wood for the shelves can also help. If you’re storing heavy items, consider adding a center support.