
Home>Home & Furniture>Kitchen>DIY Kitchen Cabinet Door Ideas
Kitchen
DIY Kitchen Cabinet Door Ideas
Published: July 29, 2024
Discover creative DIY kitchen cabinet door ideas to transform your space. From painting to adding glass inserts, find inspiration to refresh your kitchen on a budget.
(Many of the links in this article redirect to a specific reviewed product. Your purchase of these products through affiliate links helps to generate commission for Twigandthistle.com, at no extra cost. Learn more)
Looking to spruce up your kitchen without spending a fortune? Updating cabinet doors offers a cost-effective way to give your space a fresh look. You don’t need to be a professional to pull off some impressive DIY projects. Simple tools, a bit of creativity, and a weekend can make a huge difference. With various styles, materials, and techniques available, you can customize your kitchen to reflect your personality. Whether you're into rustic charm, modern sleekness, or classic elegance, there's an idea that fits your taste. Dive into these DIY kitchen cabinet door ideas and transform your cooking space effortlessly.
Getting Ready for Your Project
Gather Materials: Collect all necessary tools and materials like sandpaper, paint, brushes, screws, and a screwdriver.
Safety Gear: Wear safety goggles, gloves, and a dust mask to protect yourself from dust and fumes.
Clear Workspace: Ensure your workspace is clean and well-ventilated. Lay down a drop cloth to catch any spills or debris.
Remove Doors: Take off the cabinet doors using a screwdriver. Label each door and its corresponding hardware to avoid confusion later.
Clean Surfaces: Wipe down the doors and cabinets with a degreaser to remove any grease or grime.
Sand Surfaces: Lightly sand the doors and frames to create a smooth surface for painting. Use fine-grit sandpaper for best results.
Fill Holes: Use wood filler to fill any dents or holes. Let it dry completely before sanding it smooth.
Prime: Apply a coat of primer to the doors and frames. This helps the paint adhere better and last longer.
Paint: Once the primer is dry, paint the doors and frames with your chosen color. Apply multiple thin coats for an even finish.
Reattach Doors: After the paint has dried completely, reattach the doors using the labeled hardware.
Final Touches: Install new handles or knobs if desired to complete the look.
Gathering Materials and Tools
Materials Needed:
- Wood Panels: These form the main structure of the cabinet doors. Choose a type that matches your kitchen's style.
- Sandpaper: Smooths out rough edges and surfaces on the wood panels.
- Primer: Prepares the wood for painting, ensuring better adhesion.
- Paint: Adds color and protection to the cabinet doors. Pick a durable, kitchen-friendly type.
- Paintbrushes/Rollers: Used to apply primer and paint evenly.
- Wood Glue: Bonds pieces of wood together securely.
- Cabinet Hinges: Allows the doors to open and close smoothly.
- Screws: Fastens hinges and other hardware to the doors.
- Handles/Knobs: Provides a way to open the cabinet doors.
- Sealant: Protects the paint and wood from moisture and wear.
Tools Needed:
- Measuring Tape: Ensures accurate measurements for cutting wood panels.
- Saw: Cuts wood panels to the desired size.
- Drill: Makes holes for screws and hinges.
- Screwdriver: Tightens screws to secure hinges and handles.
- Clamps: Holds wood pieces together while the glue dries.
- Level: Ensures the doors are hung straight.
- Sanding Block: Helps with smoothing out surfaces and edges.
- Paint Tray: Holds paint for easy access while painting.
- Drop Cloth: Protects floors and countertops from paint spills.
- Safety Gear: Includes gloves, goggles, and a mask to protect yourself while working.
Required Skills and Time Commitment
Skill Level: Intermediate
Time Required: 4-6 hours
- Removing Old Doors: 30 minutes
- Measuring and Cutting New Doors: 1-2 hours
- Sanding and Priming: 1 hour
- Painting or Staining: 1-2 hours
- Attaching New Hardware: 30 minutes
- Reinstalling Doors: 30 minutes
Detailed Steps to Follow
Remove Old Doors
- Unscrew hinges from the cabinet frame.
- Take off the doors carefully.
Measure and Cut New Doors
- Measure the old doors for size.
- Cut new doors from plywood or MDF using a saw.
Sand the Edges
- Sand all edges of the new doors to smooth them out.
Prime and Paint
- Apply a coat of primer to the doors.
- Once dry, paint the doors with your chosen color.
Attach New Hardware
- Install new handles or knobs.
- Screw them in securely.
Install Hinges
- Attach hinges to the new doors.
- Ensure they are aligned properly.
Mount New Doors
- Screw the hinges back onto the cabinet frame.
- Check that doors open and close smoothly.
Add Finishing Touches
- Touch up any paint if needed.
- Clean the doors to remove dust or fingerprints.
Helpful Tips and Tricks
Measure twice, cut once. Always double-check measurements before cutting materials. This avoids wasting wood or other materials.
Use a level. Ensure doors hang straight. Crooked doors look unprofessional and can cause issues with closing.
Sand edges. Smooth edges prevent splinters and give a polished look. Use fine-grit sandpaper for best results.
Prime before painting. Primer helps paint adhere better and last longer. It also covers any imperfections.
Use quality hinges. Cheap hinges wear out quickly. Invest in sturdy ones for longevity.
Label pieces. Mark each piece before assembling. This keeps everything organized and reduces mistakes.
Common mistakes to avoid:
- Skipping primer. Paint may peel or chip without it.
- Incorrect measurements. Leads to ill-fitting doors.
- Using cheap materials. Low-quality wood or paint can ruin the project.
- Rushing. Take your time for a professional finish.
Alternatives for materials or methods:
- MDF instead of plywood. Medium-density fiberboard is smoother and easier to paint.
- Peel-and-stick veneer. For a quick update, use adhesive veneer instead of paint.
- Magnetic closures. If hinges are tricky, try magnetic closures for easy installation.
Estimating the Costs
Materials:
- Plywood: $40-$60 per sheet (4x8 feet)
- Paint or Stain: $20-$40 per gallon
- Sandpaper: $5-$10 per pack
- Hinges: $2-$5 each
- Handles/Knobs: $2-$10 each
- Wood Glue: $5-$10 per bottle
- Primer: $15-$25 per gallon
Tools:
- Circular Saw: $50-$100 (or rent for $20/day)
- Drill: $30-$60
- Paintbrushes/Rollers: $10-$20
- Screwdriver Set: $10-$20
- Clamps: $15-$30
- Measuring Tape: $5-$10
Budget-Friendly Alternatives:
- MDF (Medium-Density Fiberboard) instead of plywood: $30-$40 per sheet
- Recycled or second-hand handles/knobs: $1-$3 each
- Borrowing tools from friends or family to save on costs
Total estimated cost: $200-$400 depending on material choices and tool availability.
Different Ways to Customize
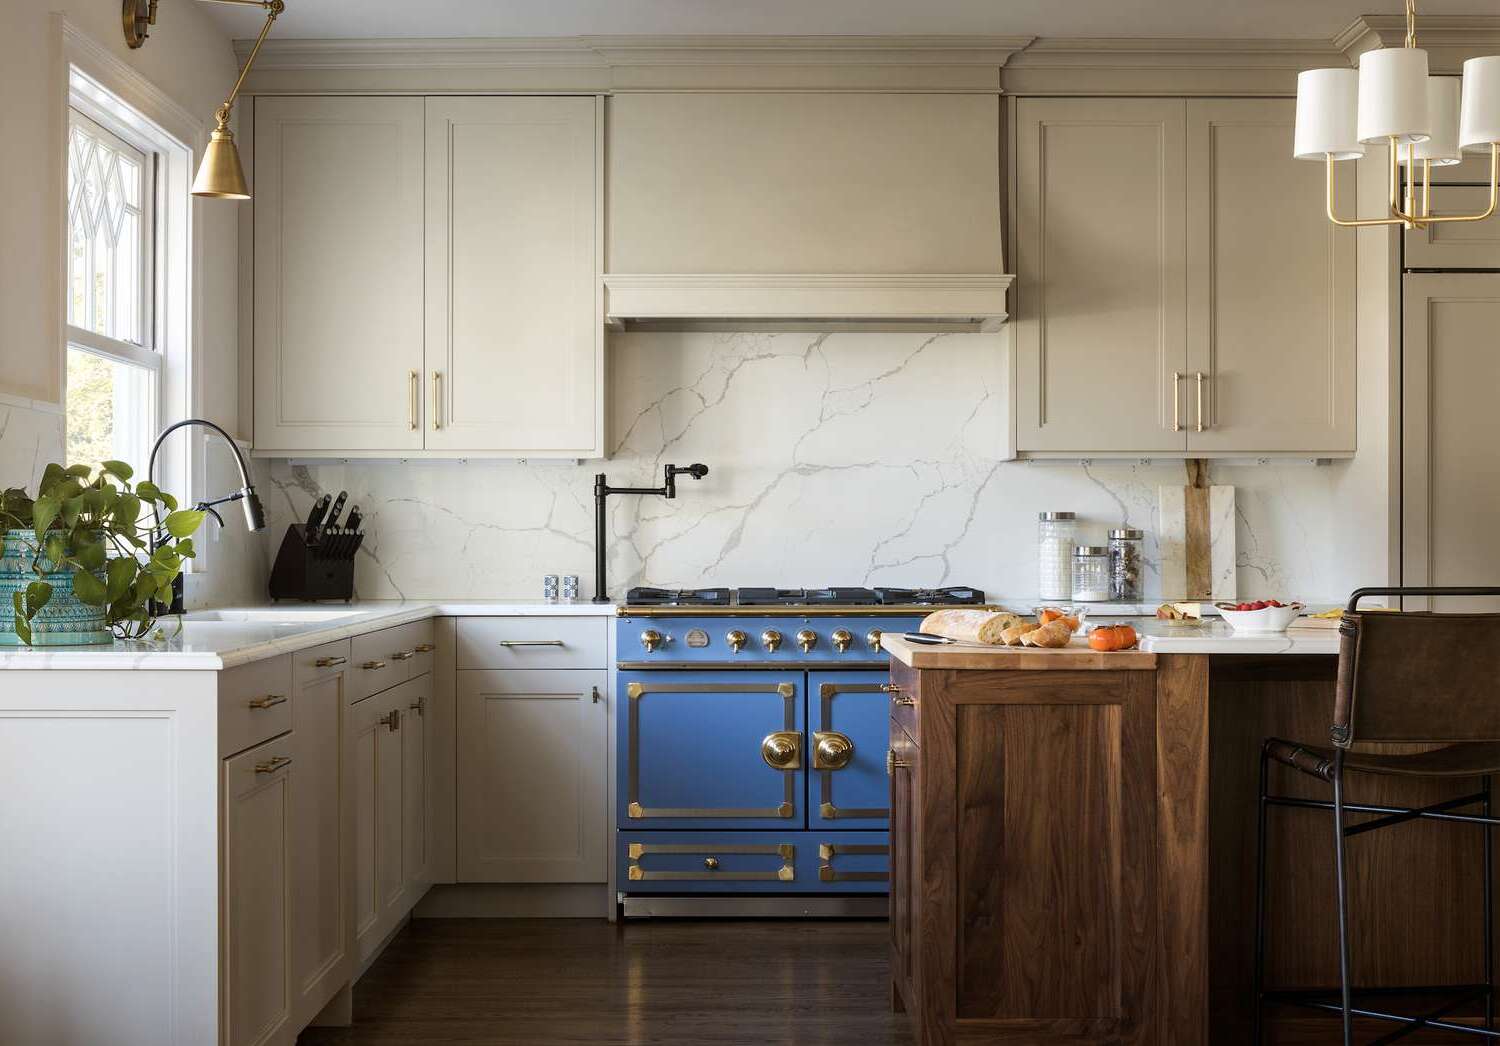
Paint your cabinet doors with bold colors like navy blue, forest green, or even a bright yellow for a fresh look. Use chalkboard paint to create a writable surface for notes or recipes.
Replace plain doors with glass inserts to showcase your dishes. Frosted or stained glass can add an elegant touch.
Add molding or trim to create a raised panel effect. This can make even the simplest doors look more sophisticated.
Swap out standard handles and knobs for unique hardware like vintage pulls, leather straps, or even colorful ceramic knobs.
Cover doors with wallpaper or contact paper in fun patterns. This is an easy way to add texture and design without a permanent change.
Use reclaimed wood or pallet wood for a rustic, farmhouse style. Sand and stain the wood for a polished finish.
Install open shelving in place of some cabinet doors. This can make your kitchen feel more open and give you easy access to frequently used items.
Add a beadboard or shiplap to the front of your doors for a cottage or coastal vibe. Paint it white or a soft pastel for a light, airy feel.
Use metal sheets like tin or copper for an industrial look. These can be attached to the front of your doors for a unique texture.
Create a two-tone effect by painting the upper cabinets one color and the lower cabinets another. This adds visual interest and can help define different areas of your kitchen.
Eco-Friendly Suggestions
Reclaimed Wood: Use old barn wood or pallets. Sand and paint them for a rustic look.
Bamboo: Strong and grows quickly. Great for eco-friendly projects.
Recycled Glass: Use glass tiles or panels. Adds a modern touch.
Salvaged Doors: Find old cabinet doors at thrift stores. Repaint or refinish them.
Milk Paint: Non-toxic and made from natural ingredients. Safe for the environment.
Cork: Renewable and biodegradable. Use cork sheets for a unique texture.
Recycled Metal: Use old metal sheets or panels. Adds an industrial feel.
Eco-friendly Adhesives: Choose low-VOC glues. Better for indoor air quality.
Natural Oils: Finish wood with linseed or tung oil. Avoids harmful chemicals.
Fabric Panels: Use leftover fabric to cover doors. Adds color and pattern.
Your Kitchen, Your Masterpiece
You've got all the tools and ideas to transform those kitchen cabinet doors into something special. Whether you choose to paint, stain, or add some unique hardware, the possibilities are endless. Don't be afraid to mix and match styles or colors. Experimenting can lead to some fantastic results. Remember, it's your kitchen, so let your personality shine through. If you make a mistake, it's just another opportunity to learn and improve. Plus, there's always a way to fix it. So, grab your tools, roll up your sleeves, and get started. Your dream kitchen is just a few DIY projects away. Happy crafting!
How can I update my kitchen cabinet doors without replacing them?
You can paint or stain them for a fresh look. Adding new hardware like knobs or handles can also make a big difference.
What's the easiest way to paint kitchen cabinet doors?
Remove the doors, clean them thoroughly, sand lightly, then apply a primer. After that, use a high-quality paint and let them dry completely before reattaching.
Can I use wallpaper on my cabinet doors?
Absolutely! Peel-and-stick wallpaper is a great option. Just make sure the surface is clean and smooth before applying.
How do I add glass inserts to my cabinet doors?
Remove the center panel of the door, then measure and cut a piece of glass to fit. Secure it with glass clips or molding.
Are there any budget-friendly ways to update cabinet doors?
Yes, consider using contact paper, decals, or even fabric to give your doors a new look without spending much.
Can I replace just the cabinet doors and not the entire cabinet?
Definitely! Measure your existing doors and order replacement doors that match the size. This can give your kitchen a whole new look without a full remodel.
How do I ensure my painted cabinet doors last?
Use a durable topcoat or sealer to protect the paint. Avoid harsh cleaners and always wipe up spills quickly to maintain the finish.