
Home>Home & Furniture>Kitchen>DIY Guide to Commercial Kitchen Flooring
Kitchen
DIY Guide to Commercial Kitchen Flooring
Published: July 27, 2024
Discover the ultimate DIY guide to commercial kitchen flooring. Learn about materials, installation tips, and maintenance to ensure a safe and durable kitchen environment.
(Many of the links in this article redirect to a specific reviewed product. Your purchase of these products through affiliate links helps to generate commission for Twigandthistle.com, at no extra cost. Learn more)
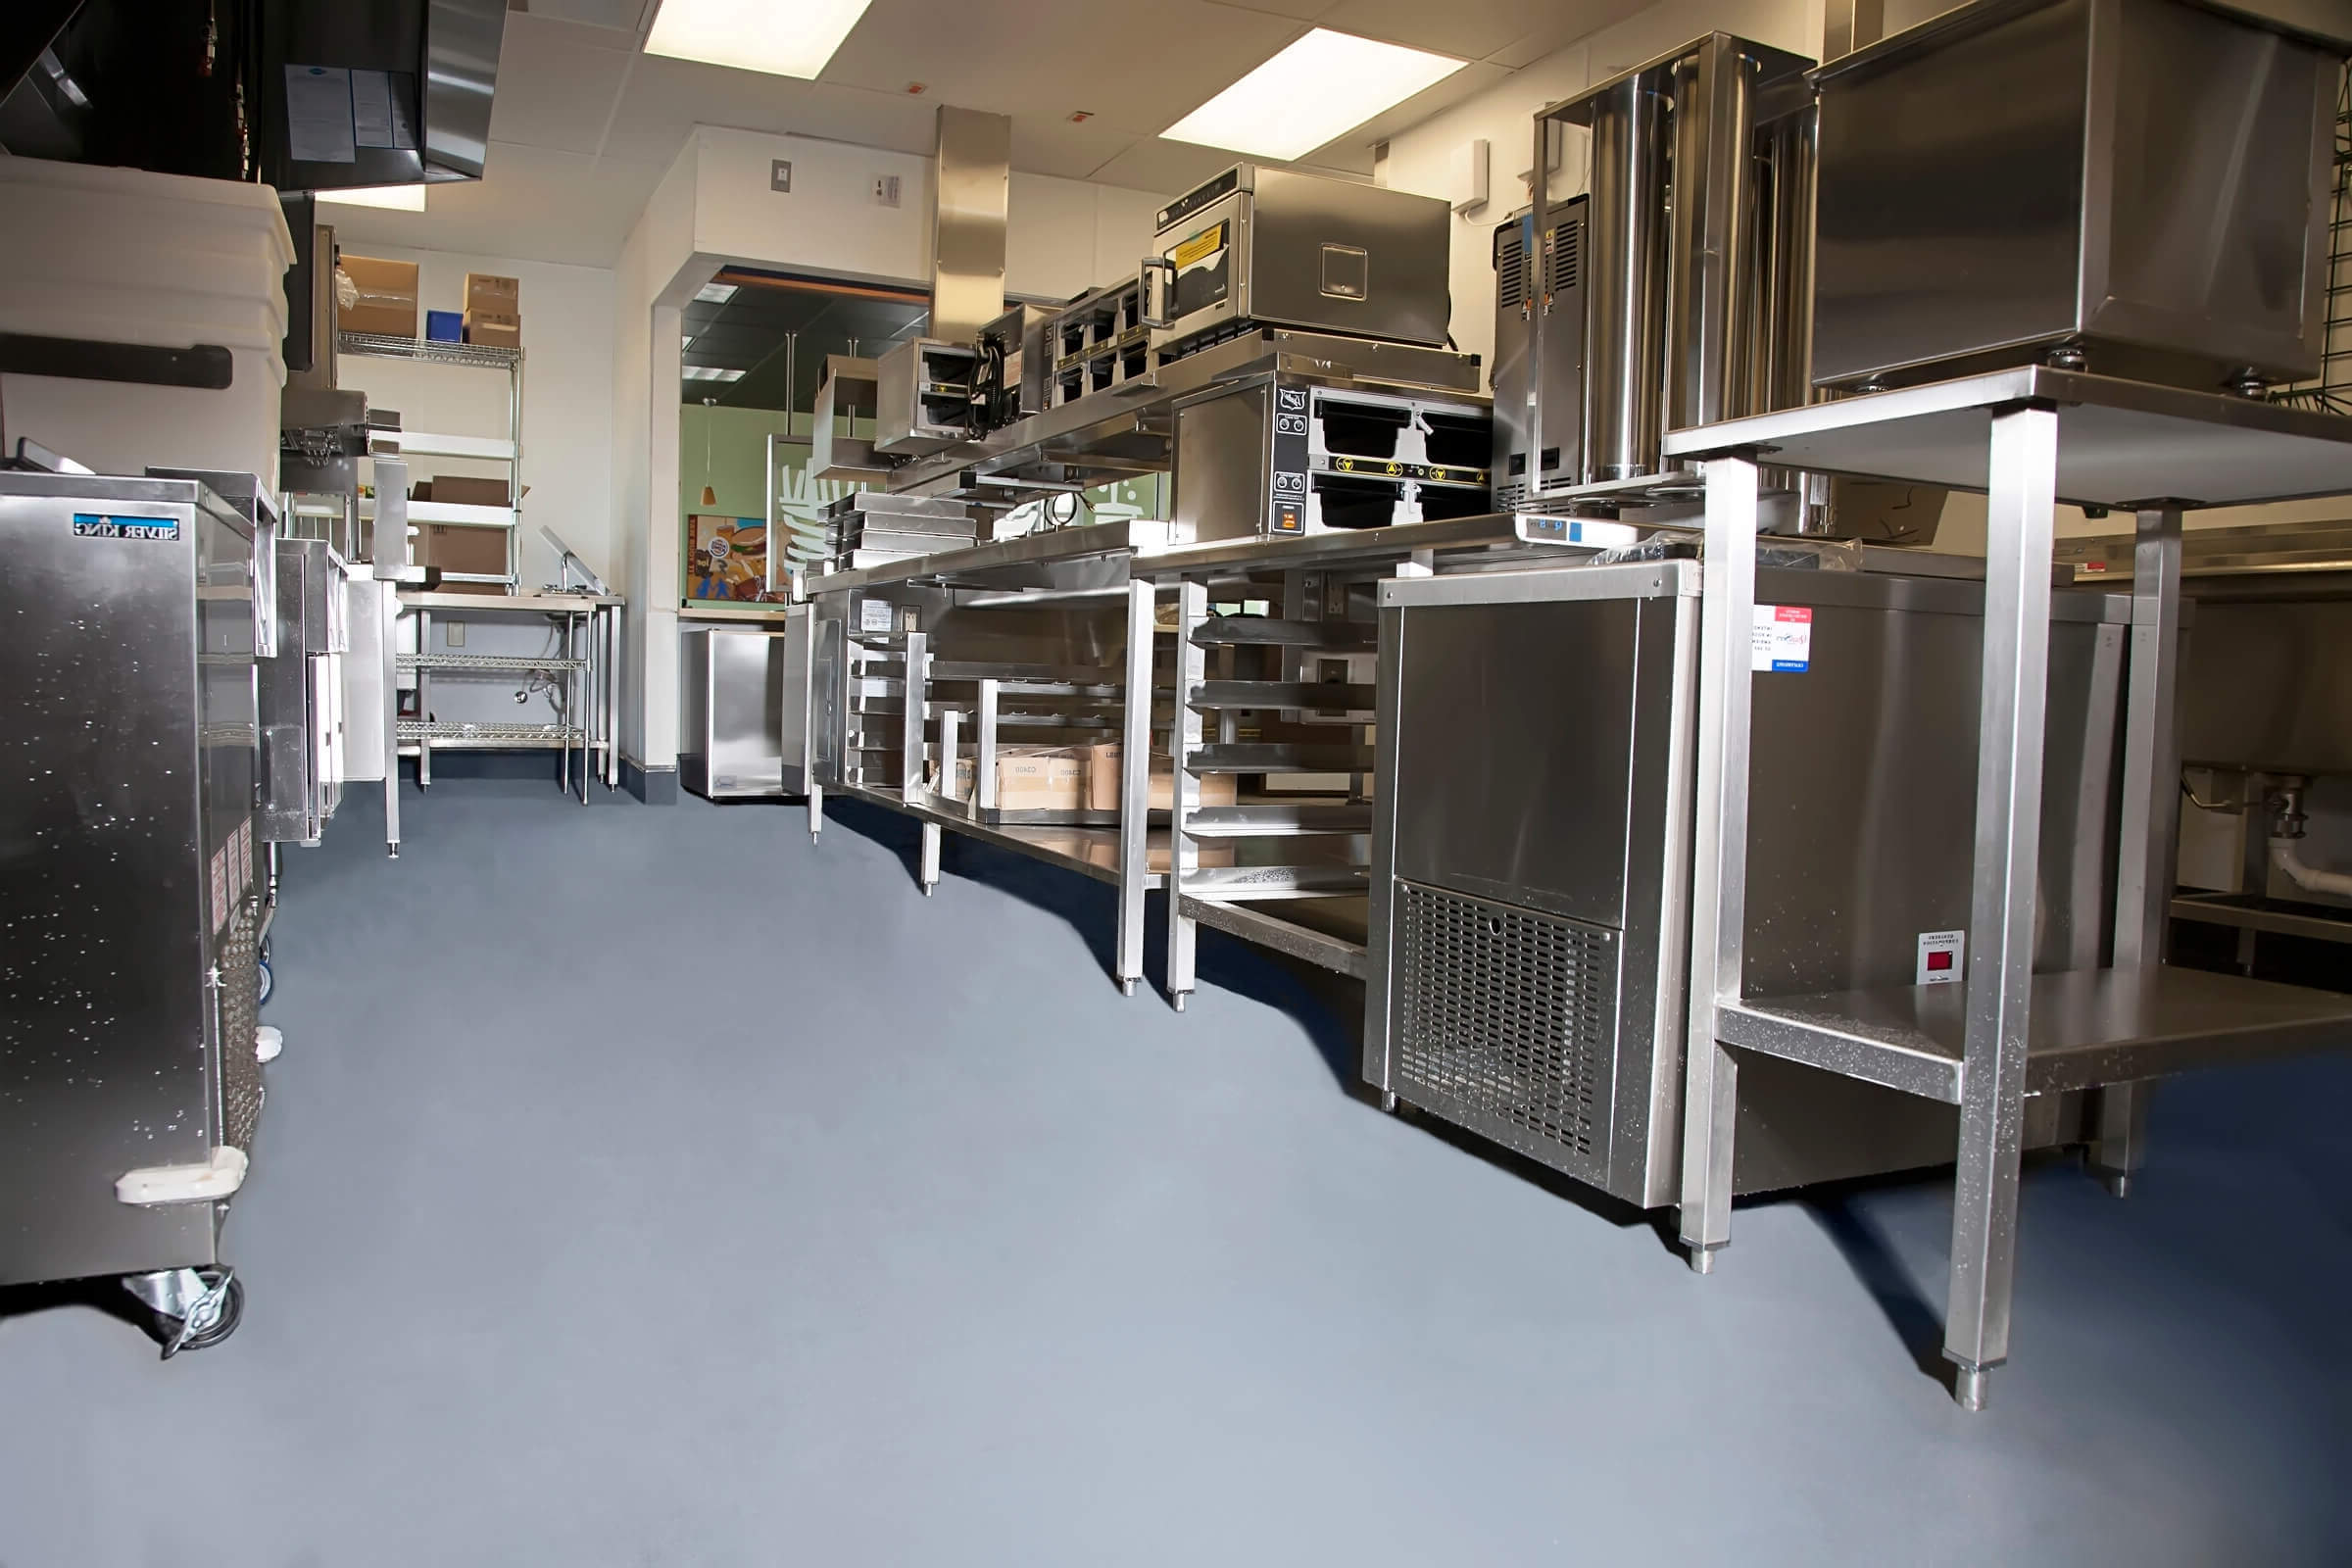
Updating kitchen floors can be a rewarding project for anyone looking to improve a commercial space. Good flooring makes a big difference, especially in a busy kitchen. You'll find that choosing the right material helps with safety, durability, and ease of cleaning. Whether you're new to DIY or have some experience, this guide will help you through each step. Different flooring options have their benefits and challenges, so it's important to know what's best for your needs. With a bit of planning and effort, you can create a kitchen floor that looks great and stands up to daily use.
Getting Ready for Your Project
Plan the Layout: Measure the kitchen area to determine how much flooring material is needed. Sketch a layout to visualize the project.
Choose the Right Flooring: Select a durable, non-slip material suitable for commercial kitchens. Options include vinyl, rubber, or epoxy.
Gather Tools and Materials: Collect necessary tools like a utility knife, adhesive, trowel, measuring tape, and safety gear.
Clear the Area: Remove all appliances, furniture, and debris from the kitchen. Ensure the workspace is clean and free of obstructions.
Check Subfloor Condition: Inspect the subfloor for any damage. Repair cracks or holes to ensure a smooth surface for the new flooring.
Safety First: Wear protective gear such as gloves, safety goggles, and knee pads. Ensure proper ventilation if using adhesives or chemicals.
Prepare the Subfloor: Clean the subfloor thoroughly. If needed, apply a primer or underlayment to create an even base.
Cut Flooring to Size: Measure and cut the flooring material to fit the kitchen layout. Leave a small gap around the edges for expansion.
Apply Adhesive: Spread adhesive evenly on the subfloor using a trowel. Follow the manufacturer's instructions for drying time.
Install Flooring: Lay the flooring material carefully, pressing it firmly into the adhesive. Use a roller to remove air bubbles and ensure a secure bond.
Seal Edges and Seams: Use a sealant to secure edges and seams, preventing moisture from seeping underneath.
Allow to Set: Let the flooring set for the recommended time before moving appliances and furniture back into the kitchen.
What You Need to Get Started
Flooring Material: Choose durable options like vinyl, epoxy, or ceramic tiles. These materials resist stains, water, and heavy foot traffic.
Adhesive: Use a strong flooring adhesive suitable for the chosen material. This ensures the flooring stays in place.
Primer: Apply a floor primer to prepare the surface. It helps the adhesive bond better.
Trowel: A notched trowel spreads adhesive evenly. The notches ensure the right amount is applied.
Utility Knife: A sharp utility knife cuts flooring material to fit around edges and corners.
Measuring Tape: Use a measuring tape to get accurate dimensions of the kitchen area.
Chalk Line: A chalk line helps mark straight lines for precise cuts and alignment.
Level: A spirit level ensures the floor is even. This prevents uneven surfaces and potential tripping hazards.
Rubber Mallet: A rubber mallet helps press tiles or vinyl into place without damaging them.
Floor Roller: A floor roller smooths out air bubbles and ensures the adhesive bonds well.
Safety Gear: Wear gloves, knee pads, and safety glasses to protect yourself during installation.
Cleaning Supplies: Have buckets, sponges, and cleaning solutions ready to clean the surface before and after installation.
How Much Skill and Time You Need
Skill Level: Advanced
Time Required: 3-5 days
Preparation: 1 day
- Clear the area
- Remove old flooring
- Clean and level the subfloor
Materials and Tools Gathering: 1 day
- Purchase flooring materials
- Gather necessary tools
Installation: 1-2 days
- Measure and cut flooring pieces
- Apply adhesive
- Lay down flooring
Finishing Touches: 1 day
- Seal edges
- Install baseboards
- Clean up workspace
Follow These Steps
Gather Materials and Tools
- Flooring material (vinyl, tile, etc.)
- Adhesive
- Trowel
- Utility knife
- Measuring tape
- Chalk line
- Roller
- Safety gear (gloves, knee pads)
Prepare the Subfloor
- Clean the subfloor thoroughly.
- Remove any old flooring or debris.
- Ensure the subfloor is level. Use a leveling compound if necessary.
Measure and Plan Layout
- Measure the kitchen area.
- Use a chalk line to mark the center of the room.
- Plan the layout, ensuring minimal cuts and waste.
Cut Flooring Material
- Measure and cut the flooring material to fit the space.
- Use a utility knife for precise cuts.
Apply Adhesive
- Spread adhesive on the subfloor using a trowel.
- Work in small sections to prevent the adhesive from drying out.
Lay Flooring
- Start from the center and work towards the edges.
- Press the flooring material firmly into the adhesive.
- Use a roller to ensure proper adhesion and remove air bubbles.
Trim Edges
- Trim excess material around the edges using a utility knife.
- Ensure a snug fit against walls and fixtures.
Seal Seams (if applicable)
- Apply seam sealer to any joints or seams.
- Follow the manufacturer's instructions for drying time.
Allow to Set
- Let the flooring set for the recommended time before using the kitchen.
- Avoid heavy traffic during this period.
Clean Up
- Remove any adhesive residue.
- Clean the new floor with a suitable cleaner.
Helpful Tips and Tricks
Choose durable materials like epoxy or vinyl. These resist stains and are easy to clean. Measure twice, cut once to avoid wasting materials. Use a level to ensure the floor is even. Apply a primer before laying down the flooring to help it stick better.
Common mistakes to avoid: Skipping the primer can lead to peeling. Not leveling the floor can cause uneven surfaces. Using the wrong adhesive can result in loose tiles.
Alternatives: Instead of epoxy, consider rubber flooring for better slip resistance. For a budget-friendly option, peel-and-stick vinyl tiles work well.
How Much Will It Cost?
Tiles: Expect to spend around $2 to $5 per square foot for ceramic tiles. For a 200-square-foot kitchen, this totals $400 to $1,000.
Adhesive: Tile adhesive costs about $20 per gallon. You might need 3 gallons, totaling $60.
Grout: Grout costs roughly $15 per bag. You may need 2 bags, totaling $30.
Underlayment: A roll of underlayment costs around $50. One roll should cover your kitchen.
Sealer: Tile sealer costs about $25 per quart. You might need 2 quarts, totaling $50.
Tools:
- Tile cutter: $50
- Trowel: $10
- Grout float: $10
- Spacers: $5
- Bucket: $5
- Sponge: $3
Total Tool Cost: $83
Total Material Cost: $590 to $1,190
Budget-Friendly Alternatives:
- Vinyl flooring: Costs $1 to $3 per square foot. For 200 square feet, this totals $200 to $600.
- Peel-and-stick tiles: Costs $1 to $2 per square foot. For 200 square feet, this totals $200 to $400.
Using vinyl or peel-and-stick tiles can save money and time.
Different Ways to Customize
Alternative Materials:
- Epoxy Coating: Durable and easy to clean. Offers a seamless finish.
- Vinyl Tiles: Affordable and available in many designs. Easy to replace if damaged.
- Rubber Flooring: Provides excellent slip resistance and comfort underfoot.
- Concrete: Can be polished or stained for a sleek, modern look. Very durable.
Colors:
- Neutral Tones: Gray, beige, or white for a clean, professional appearance.
- Bold Colors: Red, blue, or green to add a pop of color and make the kitchen more vibrant.
- Earthy Shades: Browns and tans for a warm, inviting atmosphere.
Styles:
- Checkerboard Pattern: Classic black and white tiles for a retro feel.
- Wood-Look Vinyl: Gives the appearance of hardwood with the durability of vinyl.
- Geometric Designs: Hexagons or other shapes for a modern, trendy look.
- Textured Surfaces: Adds grip and visual interest, ideal for high-traffic areas.
Additional Customizations:
- Anti-Fatigue Mats: Place in areas where staff stand for long periods.
- Drainage Systems: Incorporate floor drains for easy cleaning and water management.
- Cove Base: Install a curved base where the floor meets the wall to prevent dirt buildup.
- Custom Logos or Designs: Embed your restaurant’s logo or unique designs into the flooring for a personalized touch.
Eco-Friendly Ideas
Bamboo is a great eco-friendly option. It grows quickly and is very durable. Cork is another sustainable choice. It comes from the bark of cork oak trees, which can be harvested without harming the tree. Recycled rubber flooring is also a good idea. It’s made from old tires, reducing waste and providing a non-slip surface.
Linoleum is a natural material made from linseed oil, wood flour, and cork dust. It’s biodegradable and has a long lifespan. Concrete can be eco-friendly if you use a mix with recycled materials. It’s durable and easy to clean, perfect for a commercial kitchen.
When installing, use low-VOC adhesives to reduce harmful emissions. Consider reclaimed wood for a rustic look. It’s recycled from old buildings, giving it a second life. Recycled glass tiles can add a splash of color while being eco-friendly.
Proper insulation under the flooring can help with energy efficiency. It keeps the kitchen temperature stable, reducing the need for heating or cooling. Water-based sealants are better for the environment than solvent-based ones. They protect the floor without releasing harmful chemicals.
Regular maintenance extends the life of your flooring, reducing the need for replacements. Sweep and mop regularly with eco-friendly cleaners. This keeps the floor in good shape and minimizes environmental impact.
Your Kitchen, Your Rules
Choosing the right commercial kitchen flooring can make a huge difference. Durability, safety, and ease of maintenance are key factors. Epoxy and quarry tile are top choices due to their resilience and non-slip properties. Vinyl offers a budget-friendly option with decent durability. Concrete provides a sleek, modern look but needs regular sealing. Rubber flooring is great for comfort but can be pricey.
When installing, make sure to follow all manufacturer guidelines. Proper preparation and installation ensure your flooring lasts longer. Regular cleaning and maintenance keep it looking new and safe for everyone.
Your kitchen's flooring isn't just about looks; it's about creating a safe, efficient workspace. Choose wisely, install correctly, and maintain regularly. Your kitchen will thank you.
What are the best materials for commercial kitchen flooring?
Epoxy, quarry tile, and vinyl are top choices. They’re durable, easy to clean, and slip-resistant.
How do I maintain commercial kitchen flooring?
Regular sweeping, mopping, and using a degreaser help keep floors clean. Avoid harsh chemicals that can damage the surface.
Can I install commercial kitchen flooring myself?
Yes, but it’s tricky. Epoxy and tile need precise application. If you’re not confident, hiring a professional might save time and headaches.
How long does commercial kitchen flooring last?
With proper care, epoxy can last 10-20 years, quarry tile up to 50 years, and vinyl around 10-15 years.
What’s the cost of installing commercial kitchen flooring?
Costs vary. Epoxy ranges from $3-$12 per square foot, quarry tile $10-$20, and vinyl $2-$5. Installation fees add to the total.
Is commercial kitchen flooring slip-resistant?
Yes, most options like epoxy, quarry tile, and vinyl are designed to be slip-resistant, which is crucial for safety.
Can I use residential flooring in a commercial kitchen?
Not recommended. Residential flooring lacks the durability and safety features needed for high-traffic, high-moisture environments like commercial kitchens.