
Home>Home & Furniture>Kitchen>DIY Fake Window Above Kitchen Sink
Kitchen
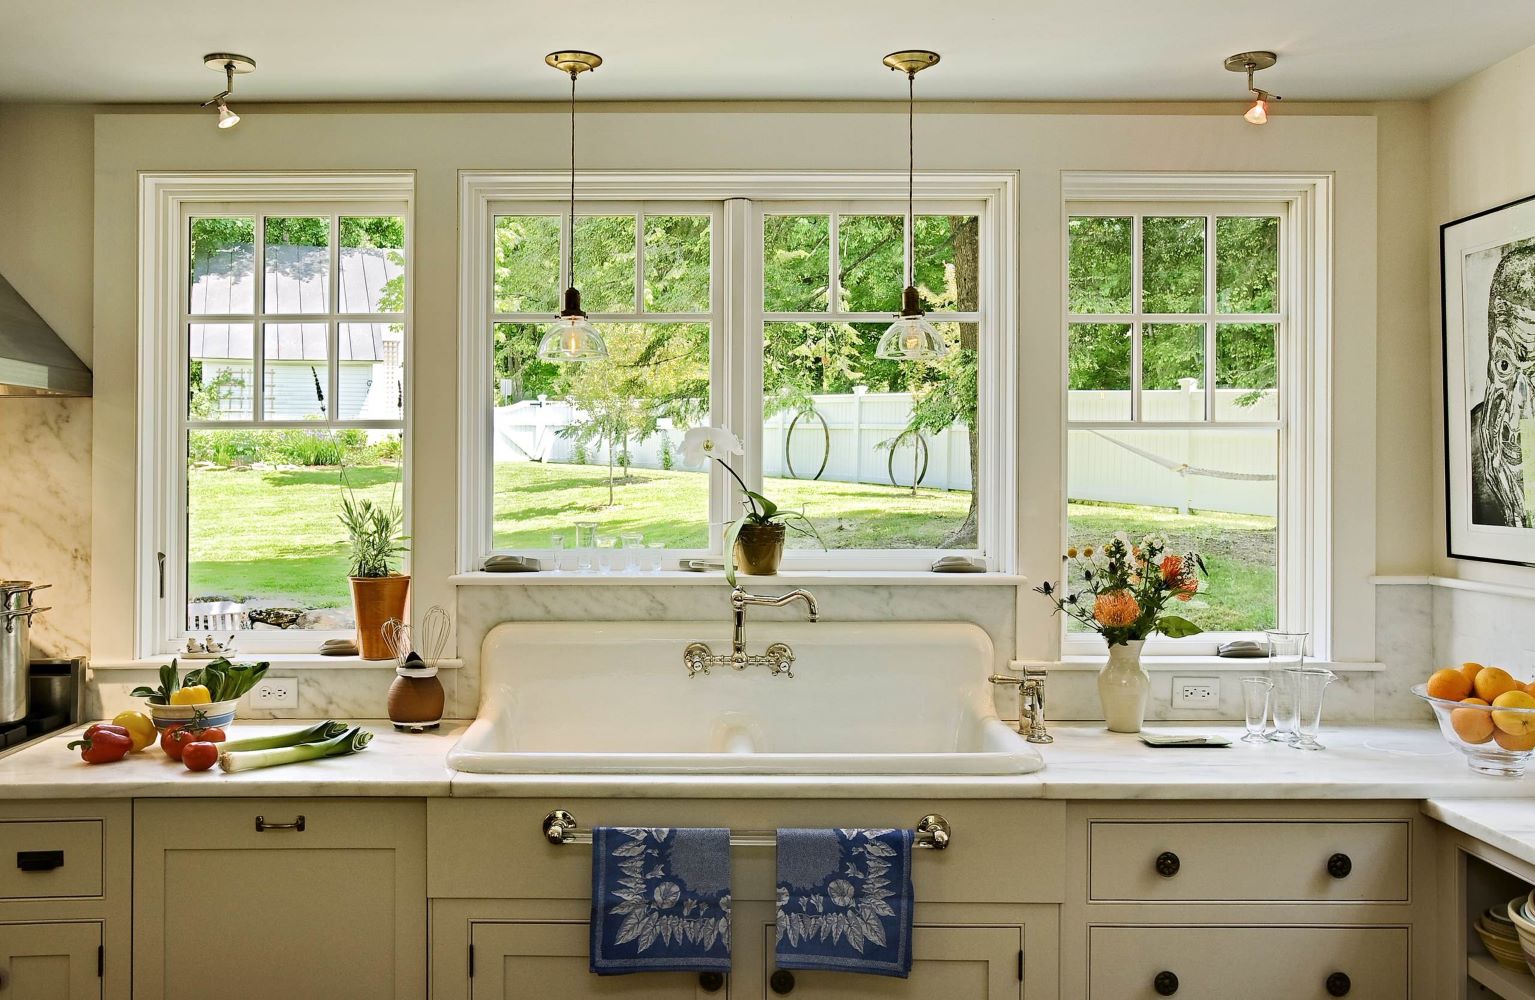
DIY Fake Window Above Kitchen Sink
Published: July 28, 2024
Transform your kitchen with a DIY fake window above the sink. Learn step-by-step instructions, materials needed, and creative ideas to brighten up your space effortlessly.
(Many of the links in this article redirect to a specific reviewed product. Your purchase of these products through affiliate links helps to generate commission for Twigandthistle.com, at no extra cost. Learn more)
Ever feel your kitchen could use more light but don't want to start a big renovation project? A DIY fake window above the kitchen sink might be just what you need. It’s a simple, fun project that can make your kitchen feel brighter and more open without breaking the bank. With a few materials and a bit of time, you can create the illusion of a sunny window where there isn't one. Whether you use mirrors, lights, or decorative window frames, this project can add charm and brightness to your kitchen space. Ready to get started? Let's dive in!
Getting Ready for Your Project
Measure the Space: Use a tape measure to determine the dimensions of the area above the sink. Write down the height and width.
Gather Materials: Collect all necessary items like a frame, mirror or glass, paint, screws, and a drill. Make sure everything is within reach.
Safety Gear: Wear safety goggles and gloves to protect your eyes and hands. Keep a first aid kit nearby just in case.
Clear the Area: Remove any items from the countertop and sink area. This gives you a clean workspace and prevents accidents.
Set Up Workspace: Lay down a drop cloth to catch any debris or paint spills. Place all tools and materials on a nearby table for easy access.
Check for Studs: Use a stud finder to locate studs in the wall. Mark these spots with a pencil to ensure secure mounting.
Pre-drill Holes: Mark where you want to place the screws on the frame. Pre-drill holes to make the installation easier and prevent wood from splitting.
Paint or Stain: If you plan to paint or stain the frame, do this before mounting. Allow it to dry completely.
Install the Frame: Use a level to ensure the frame is straight. Secure it to the wall using screws and a drill.
Final Touches: Clean the glass or mirror, and add any decorative elements like curtains or plants.
Gathering Materials and Tools
- Wooden Frame: Acts as the border for the fake window. Choose a size that fits the space above your sink.
- Plywood: Serves as the backing for the window. Cut to fit inside the wooden frame.
- Paint: Used to color the frame and plywood. Pick colors that match your kitchen decor.
- Mirror or Reflective Film: Creates the illusion of a real window. Mirrors give a more realistic effect, while reflective film is lighter and easier to handle.
- Decorative Trim: Adds detail to the frame, making it look more like a real window.
- Screws and Nails: Secure the frame and plywood to the wall.
- Drill: Makes holes for screws. Ensures a secure fit.
- Hammer: Drives nails into the wall and frame.
- Measuring Tape: Ensures accurate measurements for cutting plywood and placing the frame.
- Saw: Cuts the plywood and wooden frame to the desired size.
- Level: Ensures the frame is straight when mounted on the wall.
- Sandpaper: Smooths the edges of the wood and plywood.
- Painter’s Tape: Protects areas you don’t want to paint.
- Paintbrushes or Rollers: Applies paint evenly on the frame and plywood.
- Glue: Secures decorative trim to the frame.
Skill Level and Time Needed
Skill Level: Intermediate
Time Required: 4-6 hours
- Measure and Plan: 30 minutes
- Gather Materials: 1 hour
- Cut and Assemble Frame: 1 hour
- Install Frame: 1 hour
- Add Decorative Elements: 1-2 hours
How to Create a Fake Window Above Your Sink
Gather Materials:
- Large picture frame or old window frame
- Mirror cut to fit the frame
- Mounting hardware (screws, anchors)
- Measuring tape
- Level
- Drill
- Screwdriver
- Painter’s tape
- Paint (optional)
Measure the Space:
- Use the measuring tape to determine the dimensions above the sink.
- Ensure the frame fits comfortably in the space.
Prepare the Frame:
- If using an old window frame, clean it thoroughly.
- Paint the frame if desired. Allow it to dry completely.
Attach the Mirror:
- Place the mirror inside the frame.
- Secure it with adhesive or mirror clips.
Mark the Wall:
- Hold the frame against the wall above the sink.
- Use painter’s tape to mark the top corners.
Install Mounting Hardware:
- Drill holes where the mounting hardware will go.
- Insert anchors if needed.
- Screw in the mounting hardware.
Hang the Frame:
- Lift the frame and align it with the mounting hardware.
- Ensure it is level before securing it completely.
Final Touches:
- Double-check the stability.
- Clean the mirror and frame.
Enjoy your new fake window!
Helpful Tips and Tricks
Measure the space above your sink accurately. Choose a frame that fits well. Use lightweight materials like foam board or thin plywood for the window backing. Paint the frame and backing to match your kitchen decor. Attach a mirror or reflective surface to create the illusion of depth. Install LED strip lights around the frame for a glowing effect. Secure the frame with strong adhesive or screws.
Common mistakes to avoid include using heavy materials that can fall, not measuring properly, and choosing colors that clash with your kitchen.
Alternatives for materials include using plexiglass instead of a mirror or wallpaper with a window scene instead of painting. For methods, consider using peel-and-stick tiles for a textured look or removable hooks for easy installation.
Estimating the Cost
Materials:
- Wood for Frame: $20-$30
- Plexiglass or Acrylic Sheet: $15-$25
- Paint or Stain: $10-$15
- LED Strip Lights: $15-$20
- Mounting Hardware: $5-$10
- Decorative Film or Frosted Film: $10-$15
Tools:
- Saw: $20-$50 (or borrow)
- Drill: $30-$60 (or borrow)
- Paintbrushes: $5-$10
- Measuring Tape: $5-$10
- Screws and Nails: $5-$10
Total Cost: $140-$255
Budget-Friendly Alternatives:
- Use Reclaimed Wood: Free or low cost
- Borrow Tools: Save $50-$110
- Use Battery-Powered LED Puck Lights: $10-$15 instead of strip lights
- Skip Decorative Film: Save $10-$15
Different Ways to Customize
Frame Material: Use wood for a rustic look, metal for an industrial vibe, or plastic for a lightweight option.
Glass Alternatives: Instead of real glass, try acrylic sheets or plexiglass. For a more creative touch, use frosted contact paper or stained glass film.
Curtains: Choose sheer curtains for a light, airy feel or bold patterns for a pop of color. Roman shades offer a classic look.
Lighting: Add LED strip lights behind the frame for a soft glow. Fairy lights can create a whimsical effect.
Background: Paint a scenic mural or use wallpaper with a nature theme. Printed fabric can also serve as a backdrop.
Frame Color: Paint the frame white for a clean look, black for contrast, or bright colors to match your kitchen decor.
Decorative Elements: Attach small planters to the frame for a touch of greenery. Picture frames can be added for a gallery effect.
Size and Shape: Create a large window for a dramatic effect or multiple small windows for a unique design. Arched frames add elegance.
Placement: Install the fake window centered above the sink or off to one side for an asymmetrical look.
Eco-Friendly Tips
Reclaimed wood can be used to create a frame for the fake window. This not only gives a rustic look but also reuses materials that might otherwise go to waste.
Old picture frames can be repurposed as the window frame. They come in various sizes and styles, making it easy to find one that fits your kitchen decor.
Recycled glass can be used for the window panes. If you have old glass from picture frames or other projects, cut them to size and fit them into your frame.
Eco-friendly paint or stains can be used to finish the frame. Look for paints that are low in VOCs (volatile organic compounds) to reduce harmful emissions.
Fabric scraps can be used to create curtains or a valance for the fake window. This adds a cozy touch and makes use of leftover fabric from other projects.
LED strip lights can be placed behind the fake window to mimic natural light. LEDs are energy-efficient and have a long lifespan, making them a sustainable choice.
Old mirrors can be used instead of glass to create the illusion of a window. Mirrors reflect light and can make the space feel larger and brighter.
Salvaged hardware like old hinges, handles, or latches can add character to your fake window while keeping materials out of the landfill.
Recycled cardboard or foam board can be used as a backing for the window frame. These materials are lightweight and easy to work with.
Natural adhesives like plant-based glues can be used to assemble the window. These are less harmful to the environment compared to synthetic adhesives.
Bringing It All Together
Creating a DIY fake window above your kitchen sink can transform your space without breaking the bank. With some basic tools, a bit of creativity, and a few hours, you can add a touch of natural light and openness to your kitchen. Remember to measure your space accurately, choose a frame that complements your decor, and pick a scenic image that brings joy. Whether you opt for a printed landscape or a mirror, this project is a fun way to refresh your kitchen. Plus, it’s a great conversation starter! So, gather your supplies, roll up your sleeves, and get to work. You’ll be amazed at how much a simple fake window can brighten up your kitchen and your day. Happy DIY-ing!
How do I create a fake window above my kitchen sink?
Start by measuring the space where you want the window. Then, get a frame that fits those dimensions. You can use an old picture frame or buy one from a store. Next, attach a mirror or a piece of plexiglass inside the frame. Hang the frame on the wall, and add curtains or blinds for a more realistic look.
What materials will I need?
You'll need a frame, mirror or plexiglass, curtains or blinds, screws, and wall anchors. A drill and screwdriver will also come in handy.
Can I use a digital screen instead of a mirror?
Absolutely! A digital screen can display scenic views or nature videos. Just make sure the screen fits the frame and has a power source nearby.
How do I make it look more realistic?
Add curtains, blinds, or even a window sill with small plants or decorations. Use a frame that matches your kitchen's style. Lighting around the frame can also enhance the effect.
Is it expensive to make a fake window?
Not really. You can find frames and mirrors at thrift stores or online for cheap. Curtains and blinds can also be found at discount stores. Overall, it’s a budget-friendly project.
How long will it take to install?
This project can be done in a few hours. Measuring and gathering materials might take the most time. Once you have everything, the actual installation is pretty quick.
Can I change the view in the fake window?
If you use a digital screen, you can easily change the view by switching videos or images. With a mirror, you can change the look by updating the curtains or adding new decorations around it.