
Home>Home & Furniture>Kitchen>DIY Corner Cabinet: Step-by-step Guide
Kitchen
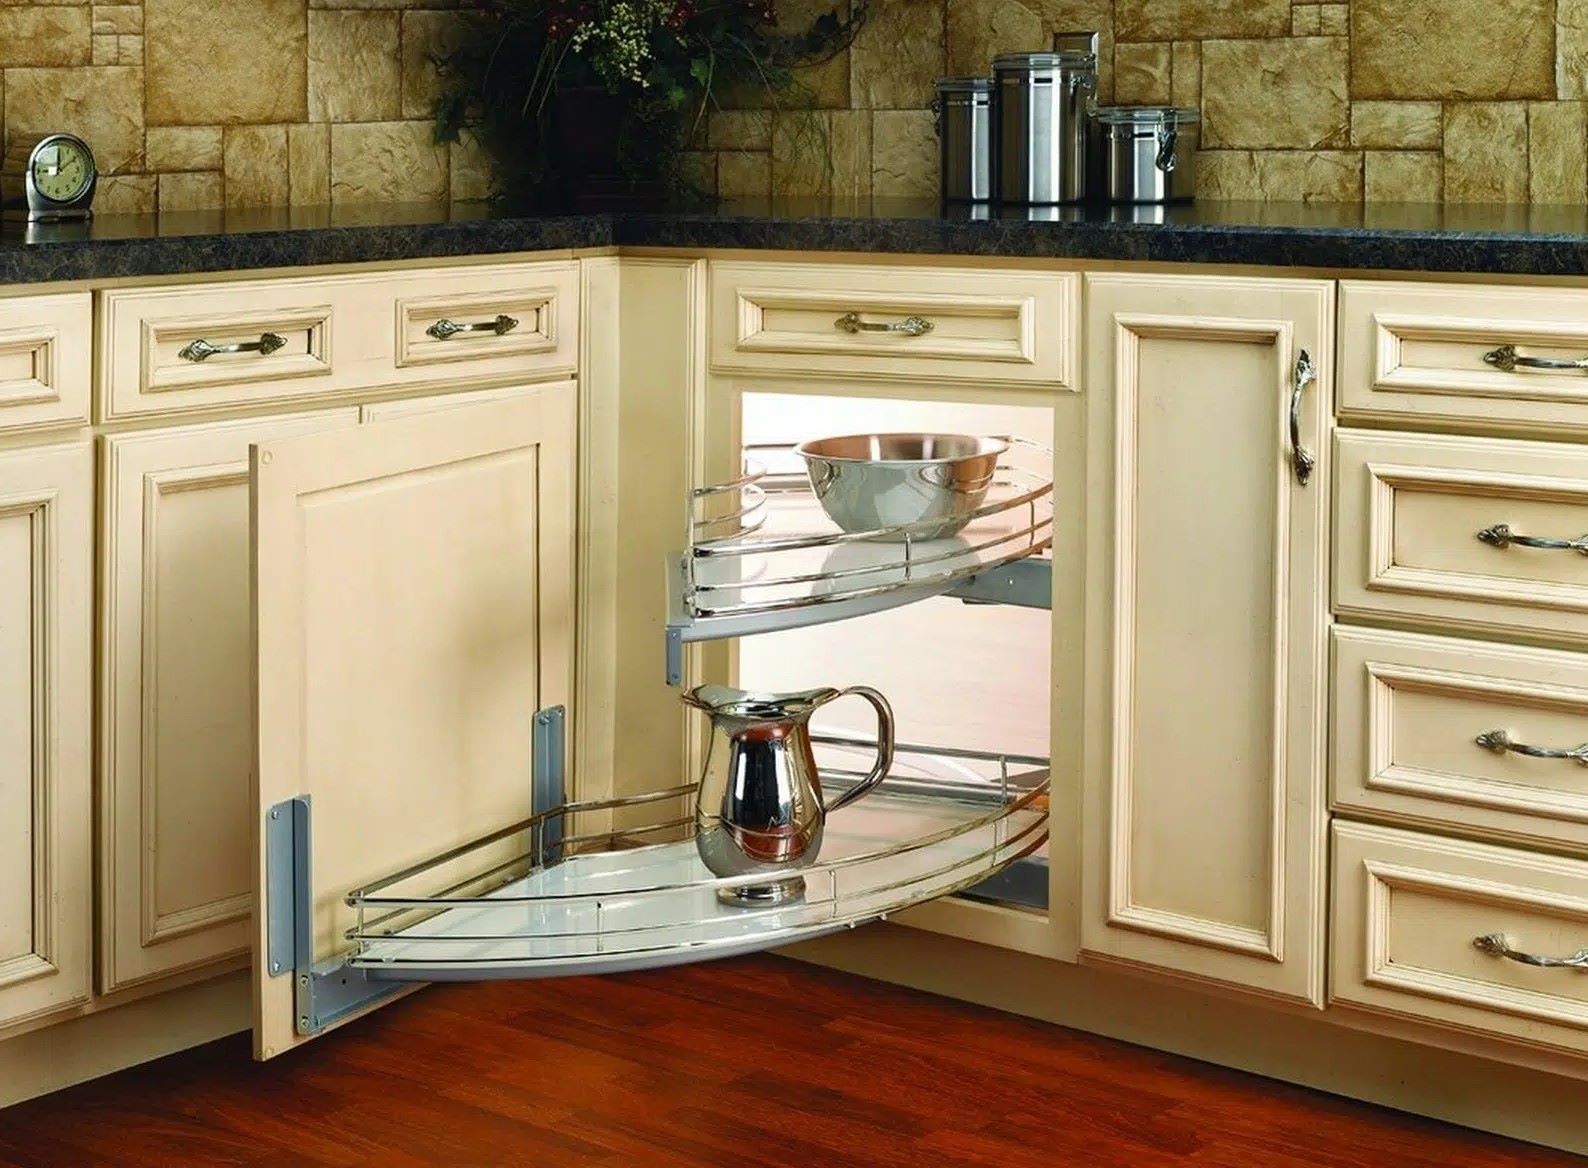
DIY Corner Cabinet: Step-by-step Guide
Published: July 26, 2024
Learn how to build a DIY corner cabinet with our step-by-step guide. Perfect for maximizing kitchen space, this project is ideal for both beginners and seasoned DIY enthusiasts.
(Many of the links in this article redirect to a specific reviewed product. Your purchase of these products through affiliate links helps to generate commission for Twigandthistle.com, at no extra cost. Learn more)
Building your own corner cabinet can be a rewarding project, adding both storage space and a personal touch to your home. You don't need to be a seasoned carpenter to create a beautiful, functional piece of furniture. With basic tools, simple materials, and some patience, you can craft a corner cabinet that fits perfectly in your space. This guide will walk you through the entire process, from gathering supplies to final touches. Whether you're looking to save money or just enjoy a hands-on project, this guide will help you create a corner cabinet you're proud of.
Getting Ready for Your Project
Gather Materials: Collect all necessary tools and materials like wood, screws, nails, a saw, a drill, and a measuring tape.
Safety Gear: Wear safety goggles, gloves, and a dust mask to protect yourself from wood dust and sharp tools.
Workspace Setup: Clear a large, flat area to work on. Ensure good lighting and ventilation.
Measure and Mark: Measure the space where the cabinet will go. Mark your wood pieces according to the dimensions needed.
Cut Wood: Use a saw to cut the wood pieces to the marked dimensions. Double-check measurements before cutting.
Pre-drill Holes: Pre-drill holes in the wood pieces to prevent splitting when you screw them together.
Check for Level: Use a level to ensure all pieces are straight and even before assembly.
Organize Hardware: Lay out all screws, nails, and hinges in an organized manner to make assembly easier.
Read Instructions: If following a specific plan, read through all instructions thoroughly before starting.
Test Fit: Dry fit all pieces together to ensure they align correctly before final assembly.
Gather Your Materials and Tools
Materials:
- Plywood: Used for the main structure of the cabinet. Choose a sturdy type like birch or oak.
- Wood Screws: Essential for holding the pieces together. Make sure they are the right length for your plywood.
- Wood Glue: Provides extra strength to the joints.
- Hinges: Needed for the cabinet doors. Choose ones that match your cabinet style.
- Handles or Knobs: For opening and closing the doors.
- Sandpaper: Smooths out rough edges and surfaces.
- Paint or Stain: Adds color and protects the wood.
- Primer: Prepares the wood for painting or staining.
- Wood Filler: Fills any gaps or holes in the wood.
Tools:
- Tape Measure: Measures the dimensions of your wood pieces.
- Circular Saw: Cuts the plywood to the required sizes.
- Drill: Makes holes for screws and hinges.
- Screwdriver: Tightens screws. A power screwdriver can save time.
- Clamps: Holds pieces together while the glue dries.
- Paintbrushes or Rollers: Applies paint or stain evenly.
- Level: Ensures your cabinet is straight and balanced.
- Safety Gear: Includes goggles and gloves to protect yourself while working.
Required Skills and Time Commitment
Skill Level: Intermediate
Time Required: 6-8 hours
- Gather Materials: 1 hour
- Measure and Cut Wood: 2 hours
- Assemble Frame: 1.5 hours
- Install Shelves: 1 hour
- Paint or Stain: 1.5 hours
Detailed Instructions for Building
Gather Materials and Tools
- Plywood sheets
- Screws
- Wood glue
- Measuring tape
- Circular saw
- Drill
- Sandpaper
- Paint or stain
Measure and Cut Plywood
- Measure the corner space.
- Cut plywood into four pieces: two sides, one top, one bottom.
- Ensure all pieces fit together snugly.
Assemble the Frame
- Apply wood glue to edges of the side pieces.
- Attach the top and bottom pieces using screws.
- Make sure the frame is square.
Add Shelves
- Decide on the number of shelves.
- Cut shelf pieces from plywood.
- Attach shelves inside the frame using screws and wood glue.
Sand the Cabinet
- Sand all surfaces to remove rough edges.
- Ensure a smooth finish for painting or staining.
Paint or Stain
- Apply paint or stain to the cabinet.
- Allow it to dry completely.
Install the Cabinet
- Place the cabinet in the corner.
- Secure it to the wall using screws for stability.
Add Doors (Optional)
- Measure and cut doors from plywood.
- Attach hinges to the doors and frame.
- Ensure doors open and close smoothly.
Helpful Tips and Tricks
Measure twice, cut once. Always double-check measurements before cutting any wood. This saves time and materials.
Use a stud finder. Ensure the cabinet is securely attached to the wall by finding studs to anchor screws.
Pre-drill holes. Prevent wood from splitting by pre-drilling holes for screws.
Sand edges. Smooth out rough edges of cut wood to avoid splinters and ensure a clean look.
Label parts. Mark each piece of wood with a pencil to keep track of where everything goes.
Use clamps. Hold pieces together tightly while screws or glue set.
Check for level. Use a level to make sure shelves and the cabinet itself are straight.
Common mistakes to avoid:
- Skipping the sanding. Rough edges can cause splinters and make the cabinet look unfinished.
- Not using a level. Uneven shelves can cause items to slide off.
- Over-tightening screws. This can strip the wood and weaken the joint.
- Ignoring wall studs. Anchoring to drywall alone can cause the cabinet to fall.
Alternatives for materials or methods:
- Plywood vs. MDF. Plywood is stronger and more durable, while MDF is smoother and easier to paint.
- Pocket hole screws vs. wood glue. Pocket hole screws provide a stronger joint, but wood glue can be easier for beginners.
- Prefabricated shelves. If cutting shelves seems daunting, consider buying pre-cut shelves from a hardware store.
Estimating the Cost
Plywood: $50-$70 for a 4x8 sheet. You might need 2 sheets.
Wood Screws: $5-$10 for a box.
Wood Glue: $5-$10 per bottle.
Sandpaper: $5-$10 for a pack.
Paint or Stain: $15-$30 depending on the brand and type.
Hinges: $10-$20 for a set.
Handles or Knobs: $5-$15 for a pair.
Tools: If you don't have them, consider these:
- Circular Saw: $50-$100.
- Drill: $30-$60.
- Clamps: $10-$30 for a set.
- Measuring Tape: $5-$10.
- Paintbrushes: $5-$15 for a set.
Budget-friendly alternatives:
- Use reclaimed wood or pallet wood instead of buying new plywood.
- Borrow tools from friends or family.
- Check local thrift stores or online marketplaces for cheaper tools and materials.
Total estimated cost: $195-$390 depending on materials and tools already owned.
Different Ways to Customize
Materials: Instead of using plywood, consider solid wood like oak or maple for a more durable and elegant look. Reclaimed wood can add a rustic charm. MDF is another option for a smooth finish if you plan to paint.
Colors: Paint the cabinet in bold colors like navy blue or forest green for a modern touch. Pastel shades can create a soft, cozy feel. Stain the wood to highlight its natural grain and give it a classic appearance.
Styles: For a farmhouse style, add shiplap panels to the sides. Mid-century modern can be achieved with clean lines and tapered legs. Industrial style can be created using metal accents and pipe fittings.
Hardware: Swap out standard knobs and handles for vintage or decorative ones. Brass or matte black hardware can change the entire look.
Shelving: Add adjustable shelves inside for more flexibility. Glass shelves can make the cabinet look more open and airy.
Doors: Use glass doors to display items inside or solid doors for a more streamlined look. Barn doors on a sliding track can add a unique touch.
Lighting: Install LED strip lights inside the cabinet to highlight items and add a warm glow. Battery-operated puck lights are an easy option.
Back Panel: Use wallpaper or fabric on the back panel for a pop of color and pattern. Mirrored back panels can make the space look larger.
Feet/Base: Add decorative feet or a plinth base to elevate the cabinet. Casters can make it mobile for easy repositioning.
Additional Features: Incorporate a wine rack or pull-out trays for added functionality. Hooks on the sides can hold kitchen utensils or keys.
Eco-Friendly Tips
Materials Needed:
- Reclaimed wood: Old pallets, barn wood, or leftover lumber.
- Eco-friendly paint: Low-VOC or natural paint.
- Recycled hardware: Handles, hinges from old furniture.
- Non-toxic glue: Plant-based or water-based adhesives.
Step-by-Step Guide:
Measure and Plan: Measure the corner space. Sketch a simple design for your cabinet.
Prepare Reclaimed Wood: Clean and sand reclaimed wood. Remove any nails or screws.
Cut Wood Pieces: Cut wood to match your design. Use a hand saw or electric saw.
Assemble Frame: Use non-toxic glue and screws to assemble the frame. Ensure corners are square.
Attach Shelves: Cut and attach shelves inside the frame. Secure with screws and glue.
Add Doors: Use recycled hinges to attach doors. Ensure they open and close smoothly.
Paint and Finish: Apply eco-friendly paint. Let it dry completely.
Install Hardware: Attach recycled handles or knobs to the doors.
Secure Cabinet: Mount the cabinet in the corner using screws. Ensure it’s level and stable.
Final Touches: Check for any rough edges. Sand if necessary. Enjoy your new eco-friendly corner cabinet!
Your DIY Corner Cabinet Awaits
Building a DIY corner cabinet isn't just about saving money. It's about creating something unique that fits your space perfectly. With some basic tools, a bit of patience, and a clear plan, you can craft a piece that stands out. Remember, the key steps are measuring accurately, cutting precisely, and assembling carefully. Don't rush the process; take your time to ensure everything fits together snugly. If you hit a snag, don't get discouraged. Every mistake is a learning opportunity. Sanding and finishing are crucial for that professional look, so don't skimp on those steps. Finally, step back and admire your work. You've not only built a cabinet but also honed your skills. Now, enjoy the satisfaction of a job well done and the compliments that are sure to follow. Happy building!
How do I measure for a corner cabinet?
Measure the height, width, and depth of the corner space. Use a tape measure to get accurate dimensions. Don't forget to account for any baseboards or molding.
What materials will I need?
You'll need plywood, screws, wood glue, a saw, a drill, and sandpaper. Paint or stain if you want to finish the cabinet.
How do I cut the wood pieces?
Use a circular saw or table saw to cut the plywood to your measured dimensions. Make sure to cut straight lines for a snug fit.
How do I assemble the cabinet?
Start by attaching the sides to the bottom piece using wood glue and screws. Then, attach the back and top pieces. Finally, add shelves if desired.
How do I secure the cabinet to the wall?
Use wall anchors and screws to attach the cabinet to the studs in the wall. This ensures it stays in place and can hold weight.
Can I add doors to my corner cabinet?
Yes, you can add doors using hinges. Measure the opening, cut the doors to size, and attach them with hinges and screws.
How do I finish the cabinet?
Sand the entire cabinet to smooth out any rough edges. Then, apply paint or stain to match your decor. Let it dry completely before using.