
Home>Home & Furniture>Garage & Basement>How to Install Garage Weather Stripping
Garage & Basement
How to Install Garage Weather Stripping
Published: September 30, 2024
Learn how to install garage weather stripping with our step-by-step guide. Improve energy efficiency, protect against pests, and enhance your garage's comfort and durability.
(Many of the links in this article redirect to a specific reviewed product. Your purchase of these products through affiliate links helps to generate commission for Twigandthistle.com, at no extra cost. Learn more)
Keeping your garage warm in winter and cool in summer helps save energy and protect belongings. One way is by installing weather stripping. This simple task can block drafts, preventing heat loss or gain. Even if you're new to DIY, this project is straightforward. You'll need some basic tools and a bit of patience. Weather stripping comes in different types, so choose the one that fits your garage door best. Once you have everything ready, follow a few easy steps to improve your garage's insulation. Let's get started on making your garage more comfortable year-round.
Getting Ready for the Project
Gather Materials: Get weather stripping, a utility knife, measuring tape, adhesive, and a clean cloth.
Safety Gear: Wear gloves and safety goggles to protect hands and eyes.
Clean the Area: Use a clean cloth to remove dirt and debris from the garage door edges.
Measure: Measure the length of the garage door edges where the weather stripping will go.
Cut to Size: Use a utility knife to cut the weather stripping to the measured lengths.
Workspace Setup: Ensure the workspace is well-lit and free of obstacles to move around easily.
Dry Fit: Place the cut pieces along the edges to ensure they fit properly before applying adhesive.
Apply Adhesive: Follow the adhesive instructions, applying it to the weather stripping or door edges.
Attach Stripping: Firmly press the weather stripping onto the adhesive, ensuring it sticks well.
Check Alignment: Make sure the weather stripping is aligned correctly and covers gaps.
Allow to Set: Let the adhesive dry completely before using the garage door.
What You Will Need
- Weather Stripping: Rubber or vinyl strips that seal gaps around the garage door to keep out drafts, dust, and pests.
- Measuring Tape: Used to measure the length of the door and the gaps that need sealing.
- Utility Knife: Cuts the weather stripping to the correct length.
- Hammer: Drives nails or staples into the weather stripping to secure it.
- Nails or Staples: Fasteners that hold the weather stripping in place.
- Adhesive: Helps stick the weather stripping to the door frame.
- Screwdriver: Tightens or loosens screws if needed.
- Screws: Sometimes used instead of nails or staples for a more secure hold.
- Caulking Gun: Applies caulk to seal any remaining small gaps.
- Caulk: Fills in tiny spaces that weather stripping can't cover.
- Pencil: Marks measurements and placement points.
- Ladder: Reaches higher parts of the garage door frame.
These tools and materials ensure a snug fit for the weather stripping, keeping your garage well-insulated.
How Much Skill and Time Do You Need?
Skill Level: Beginner
Time Required: 1-2 hours
Follow These Steps
Gather Materials:
- Weather stripping kit
- Measuring tape
- Utility knife or scissors
- Screwdriver or drill
- Screws or nails
- Pencil
Measure the Door:
- Use the measuring tape to measure the width and height of the garage door.
- Write down the measurements.
Cut the Weather Stripping:
- Lay out the weather stripping.
- Cut it to match the door measurements using a utility knife or scissors.
Prepare the Door:
- Clean the edges of the garage door where the weather stripping will be installed.
- Ensure the surface is dry.
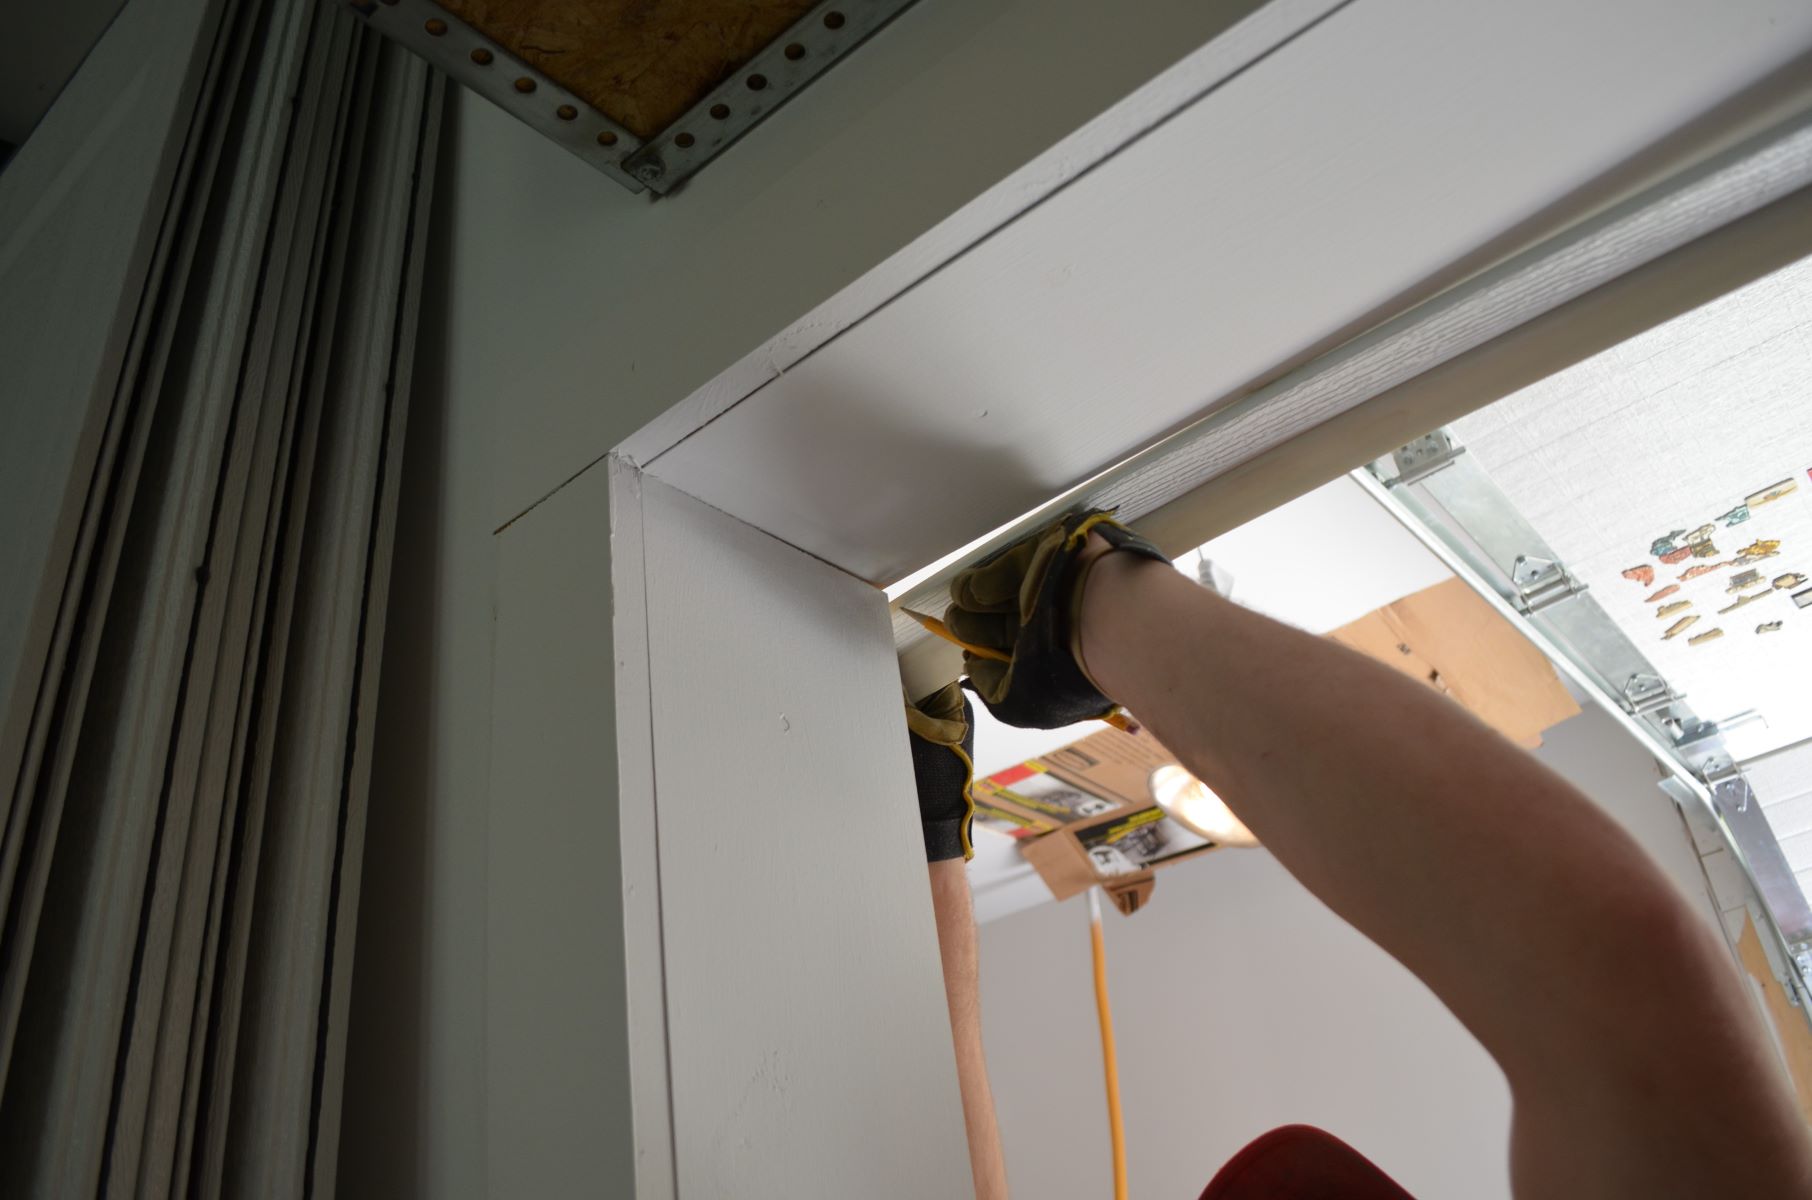
Attach the Top Strip:
- Position the top piece of weather stripping along the top edge of the door.
- Use a pencil to mark where screws or nails will go.
- Attach the strip using a screwdriver or drill.
Install Side Strips:
- Position the side pieces of weather stripping along the sides of the door.
- Mark where screws or nails will go.
- Attach the strips using a screwdriver or drill.
Check the Fit:
- Close the garage door to ensure the weather stripping seals properly.
- Adjust if necessary.
Secure All Strips:
- Double-check that all strips are securely attached.
- Tighten any loose screws or nails.
Test the Seal:
- Open and close the garage door a few times.
- Ensure the weather stripping stays in place and seals gaps effectively.
Helpful Tips and Tricks
Measure twice, cut once. Make sure to measure the door's width and height accurately before cutting the weather stripping.
Clean the surface where the weather stripping will be applied. Dirt and debris can prevent proper adhesion.
Use a rubber mallet to gently tap the weather stripping into place. This ensures a snug fit without damaging the material.
Start at the top of the door and work your way down. This helps to align the stripping correctly and avoid gaps.
Check for gaps by closing the garage door and inspecting the edges. If light or air comes through, adjust the stripping.
Common mistakes include not measuring correctly, which can lead to wasted material. Another mistake is not cleaning the surface, causing the stripping to peel off.
Alternatives for materials include using foam tape instead of rubber stripping. Foam tape is easier to apply but may not last as long. For methods, consider using adhesive-backed weather stripping if you prefer not to use nails or screws.
How Much Will It Cost?
Garage weather stripping helps keep out drafts, dust, and pests. Here's a rough estimate of the total cost:
- Weather Stripping Kit: $15-$30
- Adhesive (if not included): $5-$10
- Utility Knife: $5-$10
- Measuring Tape: $5-$10
- Screwdriver: $5-$15
- Hammer: $5-$15
- Nails/Screws: $2-$5
Total: $42-$95
Budget-friendly alternatives:
- Weather Stripping Kit: Use old rubber or foam pieces if available.
- Adhesive: Use double-sided tape or glue you already have.
- Utility Knife: Scissors or any sharp knife.
- Measuring Tape: Use a ruler or yardstick.
- Screwdriver: Borrow from a neighbor or use a multi-tool.
- Hammer: Use a heavy object like a wrench.
- Nails/Screws: Reuse old ones from previous projects.
Total with alternatives: $0-$30
Different Ways to Customize
Materials: Instead of standard rubber weather stripping, try vinyl or foam options. Vinyl is durable and resistant to extreme temperatures. Foam provides excellent insulation and is easy to install.
Colors: Choose weather stripping in different colors to match your garage door. Black, white, or brown are common, but some brands offer custom colors. This can help blend the weather stripping with the door for a seamless look.
Styles: Consider different profiles like bulb, V-strip, or door sweep styles. Bulb weather stripping works well for uneven surfaces. V-strip is great for tight seals, and door sweeps are perfect for the bottom of the door.
Installation Methods: Use adhesive-backed weather stripping for a quick and easy installation. For a more secure fit, opt for nail-on or screw-on types. Magnetic weather stripping can also be a good choice for metal doors.
Additional Features: Look for weather stripping with UV protection to prevent cracking and fading. Some options come with built-in pest barriers to keep insects out. Others have soundproofing qualities to reduce noise.
Eco-Friendly Options: Choose weather stripping made from recycled materials or those that are biodegradable. These options are better for the environment and can offer similar performance to traditional materials.
Thickness: Select different thicknesses based on your climate. Thicker weather stripping provides better insulation for colder areas, while thinner options might be sufficient for milder climates.
Combination: Mix and match different types of weather stripping for a custom solution. For example, use a door sweep at the bottom and V-strip along the sides for maximum protection.
Decorative Elements: Some weather stripping comes with decorative trims or patterns. These can add a touch of style to your garage door while still providing the necessary seal.
Maintenance: Choose weather stripping that is easy to clean and maintain. Some materials can be wiped down with a damp cloth, while others might require occasional replacement to maintain effectiveness.
Eco-Friendly Suggestions
Choose eco-friendly materials like recycled rubber or natural cork for the weather stripping. These materials are durable and have a lower environmental impact.
Measure your garage door carefully to avoid waste. Cut the weather stripping to the exact length needed.
Reuse old materials if they are still in good condition. For example, if the existing weather stripping is only partially damaged, replace only the damaged sections.
Use non-toxic adhesives or mechanical fasteners like nails or screws instead of chemical-based glues. This reduces harmful emissions and makes future recycling easier.
Seal gaps properly to improve energy efficiency. This helps reduce heating and cooling costs, which is good for the environment.
Recycle any leftover materials or old weather stripping. Many recycling centers accept rubber and other materials used in weather stripping.
Consider using a door sweep made from recycled materials for the bottom of the garage door. This adds an extra layer of insulation and helps keep out drafts.
Regularly maintain the weather stripping to extend its life. Clean it periodically and check for any wear or damage. This reduces the need for frequent replacements.
Keep Your Garage Cozy
Installing garage weather stripping isn't rocket science. With a few tools and some patience, you can seal those pesky gaps. This DIY project helps keep your garage warm in winter, cool in summer, and free from dust and critters.
First, measure the door frame. Cut the weather stripping to fit. Attach it using nails or adhesive, making sure it's snug against the door. Check for any gaps and adjust as needed.
Regularly inspect the weather stripping for wear and tear. Replace it when it starts looking worn out. This small effort can save you money on energy bills and keep your garage more comfortable year-round.
So, grab your tools and get to work. Your garage will thank you, and you'll enjoy the benefits of a well-sealed space. Happy DIY-ing!
What tools do I need to install garage weather stripping?
You'll need a tape measure, utility knife, screwdriver, hammer, and nails or screws. A caulking gun and adhesive might also come in handy.
How do I measure for weather stripping?
Measure the width and height of your garage door. Add a few extra inches to ensure you have enough material.
What types of weather stripping are available?
There are rubber, vinyl, and foam options. Rubber is durable, vinyl is flexible, and foam is easy to install.
Can I install weather stripping myself?
Absolutely! It's a simple DIY project. Just follow the instructions, and you'll be good to go.
How often should I replace garage weather stripping?
Check it annually. Replace it if you notice cracks, gaps, or wear and tear.
Will weather stripping help with energy efficiency?
Yes, it helps seal gaps, keeping your garage warmer in winter and cooler in summer. This can lower energy bills.
Do I need to remove old weather stripping before installing new?
Yes, remove any old, damaged weather stripping. Clean the surface before applying the new material.