
Home>Home & Furniture>Garage & Basement>DIY Garage Shelves with Workbench Guide
Garage & Basement
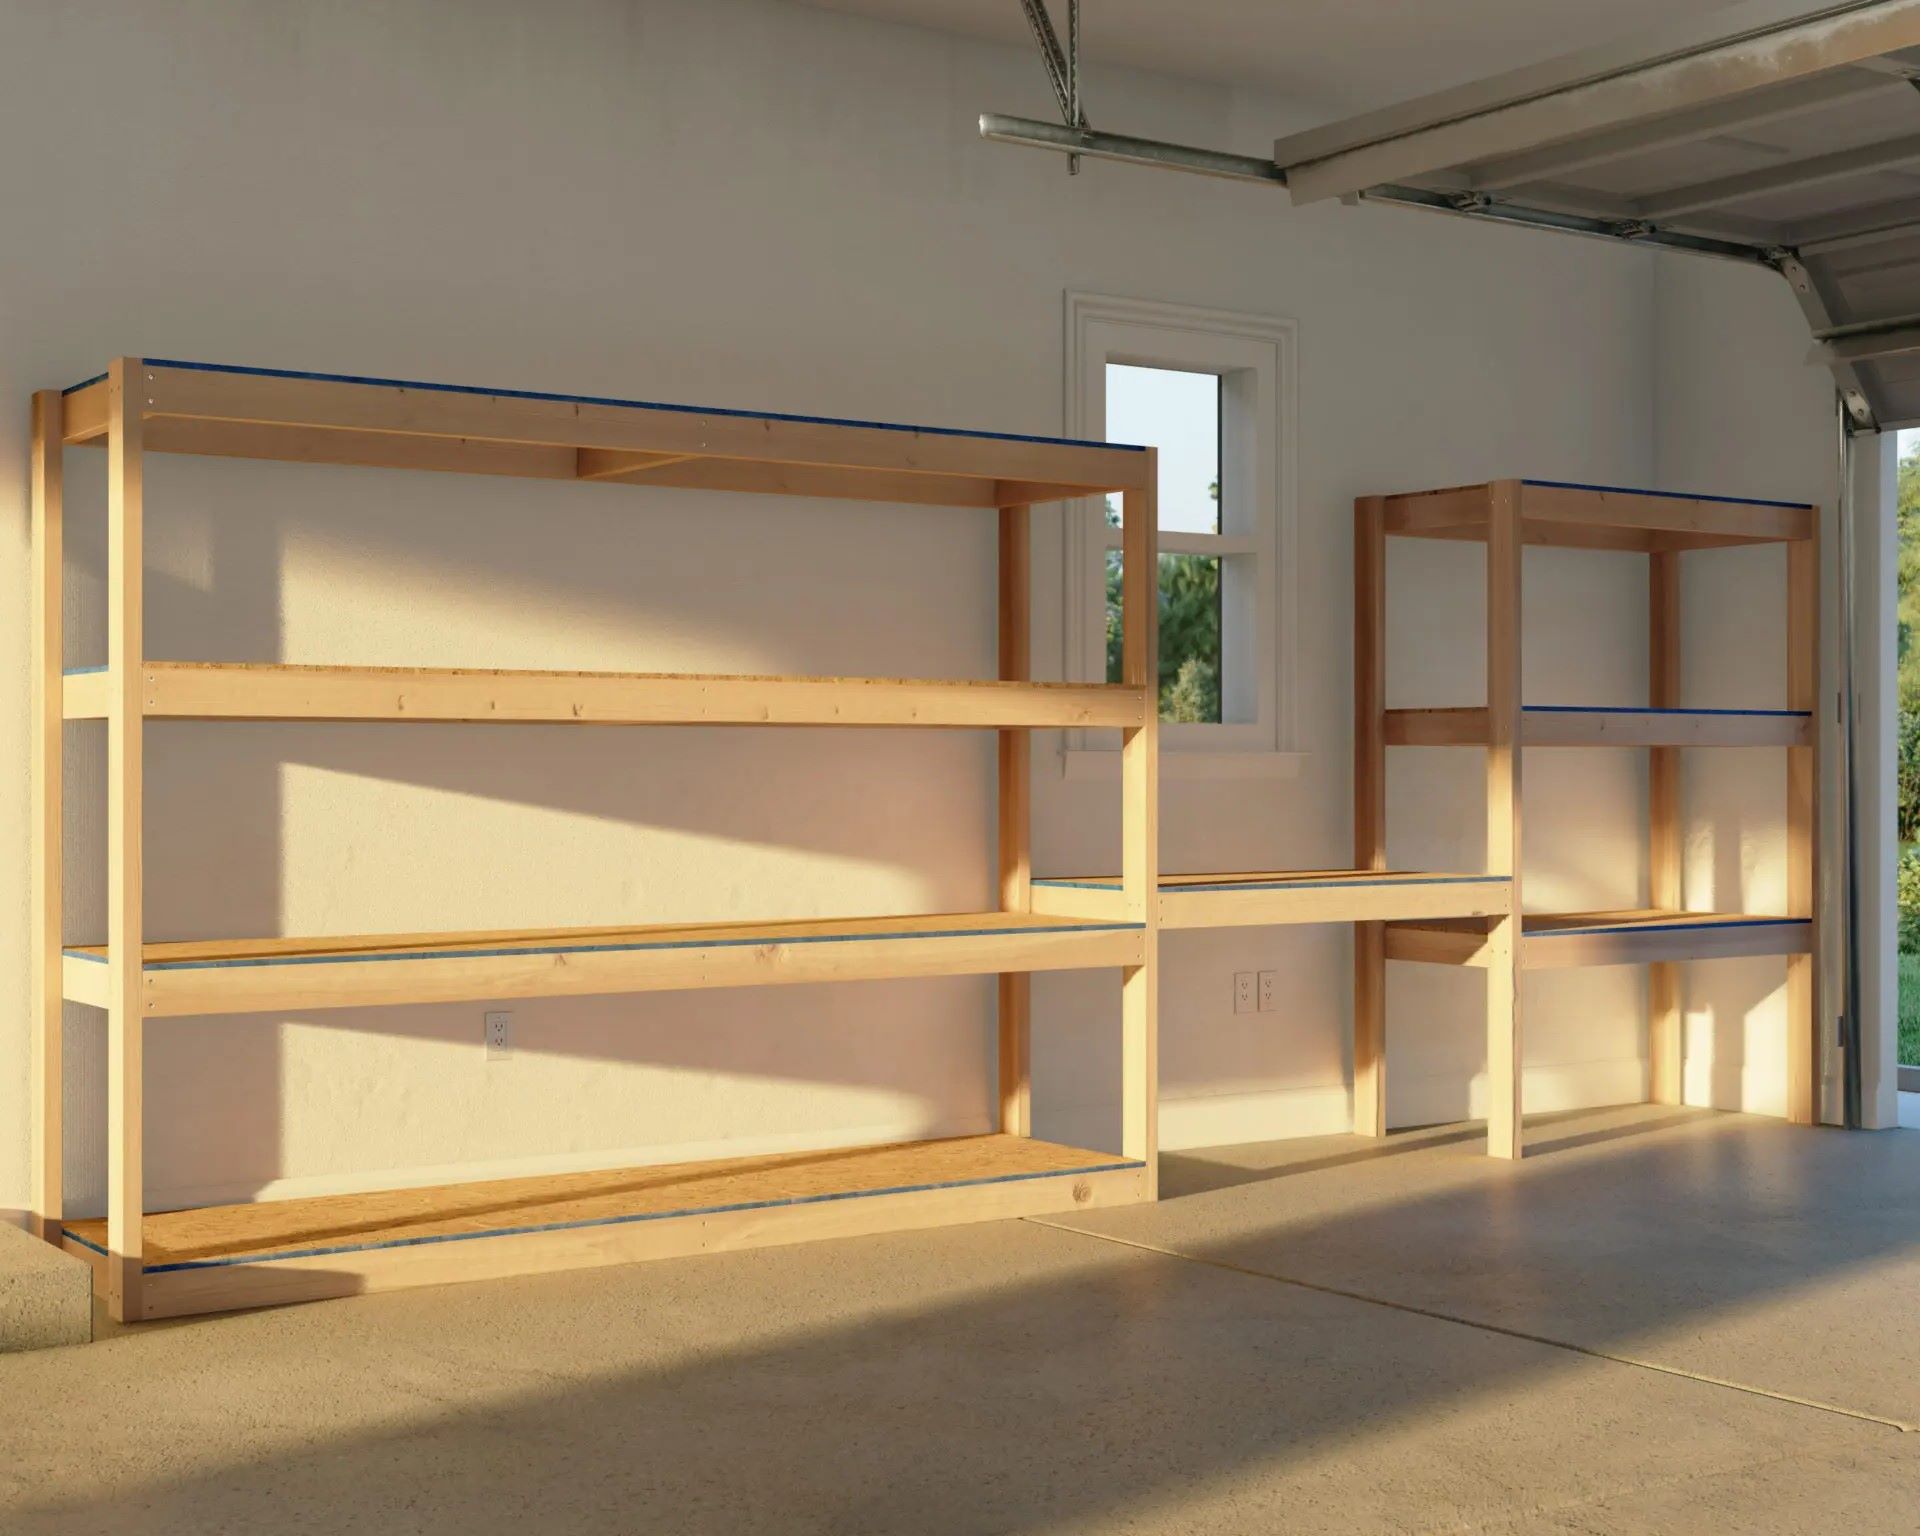
DIY Garage Shelves with Workbench Guide
Published: September 27, 2024
Learn how to build DIY garage shelves with a workbench in this step-by-step guide. Maximize your garage space and create a functional workspace with ease!
(Many of the links in this article redirect to a specific reviewed product. Your purchase of these products through affiliate links helps to generate commission for Twigandthistle.com, at no extra cost. Learn more)
Getting your garage organized can seem like a big project. However, building your own shelves with a workbench can make a huge difference. A well-organized garage saves time and reduces stress. Making your own shelves adds a personal touch and ensures they fit perfectly in your space. This guide will walk through the materials and steps needed. Even if you're new to DIY projects, don't worry. With some basic tools and a little patience, you can do this. Ready to transform your garage into a functional and tidy space? Let’s get started!
Getting Ready for the Project
Measure Your Space: Use a tape measure to get the dimensions of your garage. Note the height, width, and depth where you plan to install the shelves and workbench.
Gather Materials: Collect all necessary materials like plywood, screws, brackets, and wood for the frame. Make sure to have a saw, drill, level, and measuring tape.
Safety Gear: Wear safety goggles, gloves, and a dust mask to protect yourself from wood dust and debris.
Clear the Area: Remove any items from the garage that might get in the way. Sweep the floor to ensure a clean workspace.
Mark Studs: Use a stud finder to locate and mark the wall studs. This will help you securely attach the shelves and workbench.
Cut Wood: Measure and cut the wood pieces according to your design. Double-check measurements to avoid mistakes.
Pre-Drill Holes: Pre-drill holes in the wood to make it easier to screw pieces together. This helps prevent the wood from splitting.
Assemble Frame: Start by assembling the frame for the shelves and workbench. Use a level to ensure everything is straight.
Attach to Wall: Secure the frame to the wall studs using heavy-duty screws. Make sure it’s firmly attached to handle the weight of tools and materials.
Install Shelves: Place the shelves onto the frame and secure them with screws. Ensure they are level and sturdy.
Set Up Workbench: Attach the workbench surface to the frame. Make sure it’s at a comfortable height for working.
Organize Tools: Once everything is installed, organize your tools and materials on the shelves and workbench. This will keep your garage tidy and efficient.
Gather Your Materials and Tools
Materials:
- Plywood Sheets: Used for the shelves and workbench surface. Choose a sturdy type like 3/4-inch thick.
- 2x4 Lumber: Forms the frame and supports for the shelves and workbench.
- Wood Screws: Holds the frame and shelves together. Use 3-inch screws for the frame and 1.5-inch screws for attaching plywood.
- Metal Brackets: Adds extra support to the corners and joints.
- Wood Glue: Provides additional bonding strength between wood pieces.
- Sandpaper: Smooths out rough edges and surfaces.
- Paint or Stain: Protects the wood and gives it a finished look.
Tools:
- Tape Measure: Ensures accurate measurements for cutting wood.
- Circular Saw: Cuts plywood and lumber to size.
- Drill: Makes holes for screws and drives them in.
- Level: Ensures shelves and workbench are even.
- Clamps: Holds wood pieces together while glue dries.
- Screwdriver: Tightens screws that the drill might miss.
- Safety Gear: Includes gloves, goggles, and ear protection for safe working conditions.
Required Skills and Time Commitment
Skill Level: Intermediate
Time Required: 6-8 hours
- Gather Materials: 1 hour
- Measure and Cut Wood: 1-2 hours
- Assemble Shelves: 2-3 hours
- Install Workbench: 1-2 hours
Detailed Steps to Build
Gather Materials
- Plywood sheets
- 2x4 lumber
- Screws
- Wood glue
- Brackets
- Level
- Drill
- Saw
- Measuring tape
- Sandpaper
Measure and Plan
- Measure garage wall space.
- Decide shelf height and length.
- Sketch a simple plan.
Cut Lumber
- Cut 2x4s for shelf supports.
- Cut plywood for shelves and workbench top.
Assemble Shelf Supports
- Attach 2x4s to wall studs using screws.
- Ensure supports are level.
Install Shelves
- Place plywood on supports.
- Secure with screws.
Build Workbench Frame
- Construct a rectangular frame with 2x4s.
- Add cross supports for stability.
Attach Workbench Top
- Place plywood on frame.
- Secure with screws and wood glue.
Sand and Finish
- Sand rough edges.
- Apply a finish or paint if desired.
Add Brackets for Extra Support
- Install brackets under shelves and workbench for added stability.
Organize Tools and Supplies
- Arrange tools on shelves.
- Use workbench for projects.
Helpful Tips and Tricks
Measure twice, cut once. Always double-check measurements before cutting materials. This saves time and prevents waste.
Use a level. Ensure shelves and workbench surfaces are even. This prevents items from sliding off and keeps your workspace tidy.
Pre-drill holes. This makes screwing easier and prevents wood from splitting.
Use sturdy brackets. Heavy-duty brackets support more weight and increase stability.
Label parts. Mark pieces before assembly. This helps avoid confusion and speeds up the process.
Sand edges. Smooth edges prevent splinters and give a polished look.
Paint or seal wood. Protects against moisture and extends the life of your shelves and workbench.
Common mistakes to avoid:
Skipping the level. Uneven shelves are a hassle and unsafe.
Using weak brackets. Shelves may collapse under weight.
Not pre-drilling. Wood can split, making it weaker.
Ignoring weight limits. Overloading shelves can cause them to fail.
Rushing measurements. Incorrect cuts waste materials and time.
Alternatives for materials or methods:
Metal shelves. Use metal for a modern look and extra strength.
Adjustable shelves. Install adjustable brackets for flexibility.
Plywood instead of solid wood. Plywood is often cheaper and just as strong.
Pegboard for tools. Instead of a solid back, use pegboard for hanging tools.
Modular systems. Consider modular shelving units for easy reconfiguration.
Estimating the Cost
Materials:
- 2x4 lumber: $3 each, need 10 pieces = $30
- Plywood sheets: $25 each, need 2 sheets = $50
- Wood screws: $10 per box
- Brackets: $5 each, need 8 = $40
- Wood glue: $5
Tools:
- Circular saw: $50 (or borrow)
- Drill: $40 (or borrow)
- Tape measure: $5
- Level: $10
- Safety gear: $15 (gloves, goggles)
Total Cost: $255
Budget-friendly alternatives:
- Reclaimed wood: Free or cheaper than new lumber
- Borrow tools: Ask friends or neighbors
- Use nails: Instead of screws, if you already have a hammer
Different Ways to Customize
Materials: Instead of using wood, consider metal for a more industrial look. Plywood can be swapped with MDF (Medium Density Fiberboard) for a smoother finish. Reclaimed wood adds a rustic touch.
Colors: Paint the shelves and workbench in bright colors like red, blue, or yellow to make the space lively. For a more modern feel, use black, white, or gray. Stain the wood for a natural look.
Styles: Add casters to the workbench for mobility. Install pegboards on the sides for extra tool storage. Use floating shelves instead of traditional ones for a sleek appearance.
Finishes: Apply a clear coat for protection and shine. Use chalk paint for a matte finish. Distress the wood for a vintage look.
Lighting: Attach LED strips under the shelves for better visibility. Install a task light on the workbench for detailed projects.
Accessories: Add hooks for hanging tools. Install magnetic strips for easy access to metal tools. Use baskets or bins for organizing small items.
Size: Customize the height and width of the shelves to fit your space. Make the workbench longer or shorter depending on your needs.
Shelving Options: Use adjustable shelves for flexibility. Incorporate sliding shelves for easy access. Add corner shelves to maximize space.
Workbench Surface: Use a butcher block for a sturdy surface. Consider a stainless steel top for durability. Install a rubber mat for a non-slip surface.
Storage Solutions: Add drawers under the workbench for hidden storage. Use cubbies for open storage. Install shelves above the workbench for additional space.
Eco-Friendly Building Tips
Reclaimed wood can be a great choice for building garage shelves and a workbench. Look for old pallets, barn wood, or leftover lumber from other projects. Sand and treat the wood to ensure it’s safe and sturdy.
Metal brackets and supports can often be found at salvage yards or second-hand stores. These can provide strong support for your shelves and workbench without the need for new materials.
Eco-friendly paint or sealant can protect your wood while being kind to the environment. Look for products with low VOCs (volatile organic compounds).
Recycled plastic or composite materials can be used for shelf surfaces. These materials are durable and often made from recycled content.
Natural fiber ropes or cords can be used to create hanging shelves. Hemp or jute ropes are strong and biodegradable.
Repurpose old furniture by using parts from old desks, tables, or cabinets. This can save money and reduce waste.
Solar-powered lights can be installed above your workbench. These lights are energy-efficient and reduce electricity usage.
Use hand tools instead of power tools when possible. Hand tools consume no electricity and can be just as effective for many tasks.
Plan your cuts carefully to minimize waste. Measure twice, cut once to ensure you use materials efficiently.
Compost sawdust and wood shavings. These can be added to your compost pile instead of being thrown away.
Your New Garage Setup Awaits
Building DIY garage shelves with a workbench isn't just about saving money. It's about creating a space that fits your needs perfectly. You've got the tools, the materials, and the know-how. Now, it's time to put it all together. Measure twice, cut once, and don't rush. Each step brings you closer to a more organized, functional garage. Imagine having a spot for every tool, every piece of equipment. No more searching for that missing screwdriver. Plus, the satisfaction of knowing you built it yourself? Priceless. So, grab your drill, your saw, and get to work. Your garage will thank you. And remember, every project teaches you something new. Happy building!
How much will it cost to build garage shelves with a workbench?
The cost depends on the materials you choose. Basic wood and brackets might cost around $100-$200. If you go for higher-end materials, it could be more.
What tools do I need for this project?
You'll need a saw, drill, screws, measuring tape, level, and safety gear like gloves and goggles.
How long will it take to complete?
For a basic setup, it might take a weekend. More complex designs could take longer, especially if you’re painting or staining the wood.
Can I customize the shelves and workbench?
Absolutely! You can adjust the height, width, and depth to fit your space. Add hooks, drawers, or even pegboards for extra storage.
What type of wood should I use?
Plywood or pine are good choices for a budget-friendly option. If you want something sturdier, consider oak or maple.
How do I ensure the shelves are sturdy?
Make sure to use strong brackets and screws. Anchoring the shelves to wall studs will provide extra support.
Is it possible to add lighting to the workbench?
Yes, you can add LED strip lights or a clip-on lamp to brighten up your workspace. Just make sure any electrical work is done safely.