
Home>Home & Furniture>Doors & Windows>Miniature DIY Door for Your Dining Room
Doors & Windows
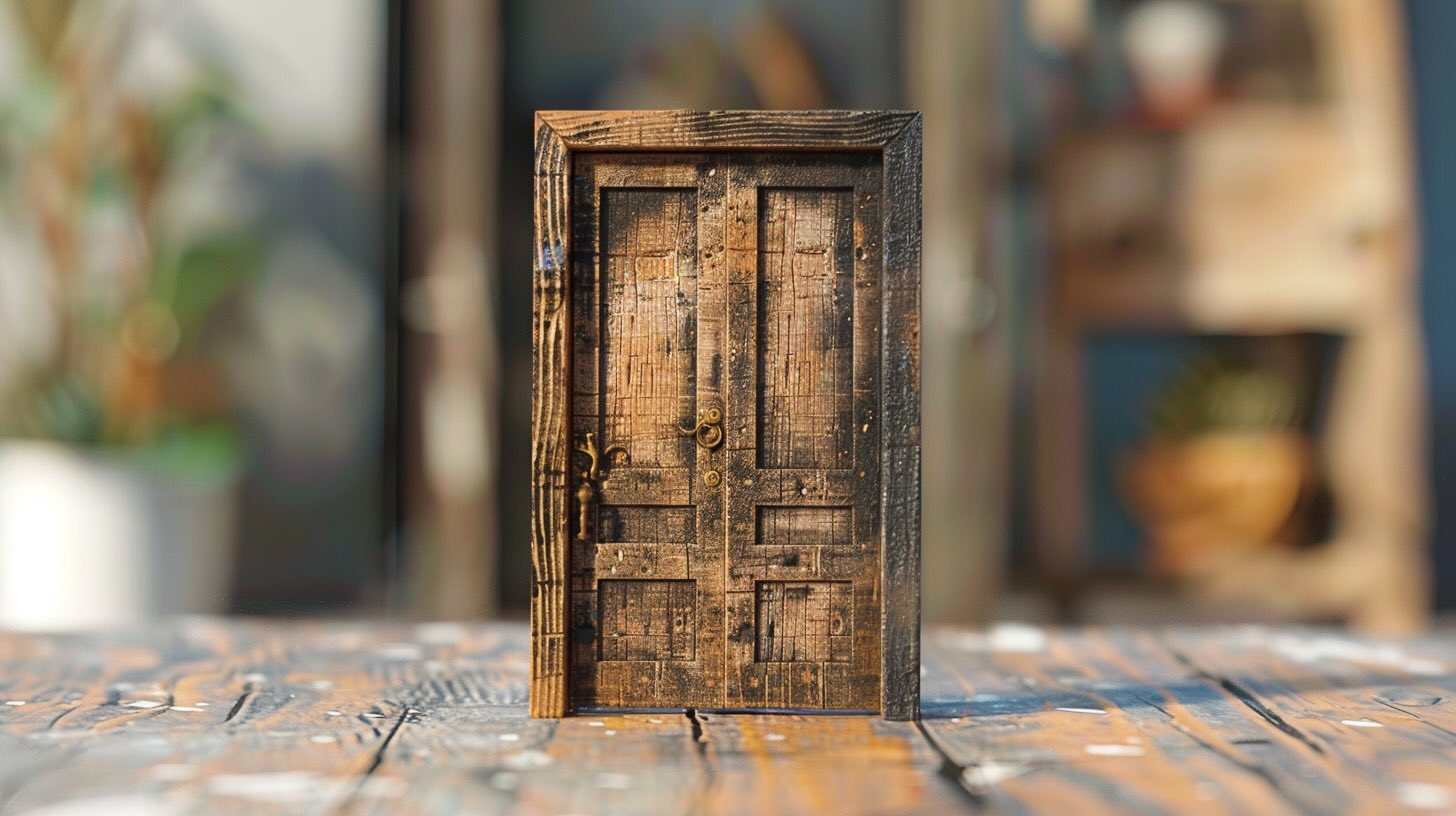
Miniature DIY Door for Your Dining Room
Published: September 17, 2024
Create a charming miniature DIY door for your dining room with our step-by-step guide. Perfect for adding a whimsical touch to your home decor. Easy, fun, and creative!
(Many of the links in this article redirect to a specific reviewed product. Your purchase of these products through affiliate links helps to generate commission for Twigandthistle.com, at no extra cost. Learn more)
Ever thought about adding a touch of charm to your dining room? Creating a miniature DIY door can make that space feel extra special. These tiny doors can serve as fun conversation starters, adding character to an otherwise ordinary area. You don't need to be a skilled carpenter to take on this project. With just a few materials and some simple steps, you can build a unique feature that will impress your guests and bring a bit of whimsy into your home. Ready to transform your dining area? Let's get started!
Getting Ready for Your Project
Gather Materials: Collect wood, hinges, screws, paint, sandpaper, a small saw, and a screwdriver.
Measure and Cut: Measure the space where the miniature door will go. Cut the wood to fit these measurements.
Sand the Edges: Use sandpaper to smooth out any rough edges on the wood pieces.
Assemble the Door: Attach the hinges to the door and frame. Ensure they move smoothly.
Paint and Decorate: Paint the door and add any decorations. Let it dry completely.
Safety Tips: Wear safety goggles when cutting wood. Keep your workspace clean to avoid tripping hazards.
Workspace Setup: Choose a well-lit area with a sturdy table. Keep tools organized and within reach.
Preliminary Tasks: Double-check measurements and ensure all materials are ready before starting.
Gather Your Materials and Tools
Wooden Craft Sticks: These will form the main structure of the miniature door. They are easy to cut and glue together.
Craft Knife: Essential for cutting the wooden sticks to the desired size. Be careful while using it.
Ruler: Helps measure the wooden sticks accurately to ensure all pieces are even.
Sandpaper: Smooths out any rough edges on the wooden sticks after cutting.
Wood Glue: Bonds the wooden sticks together securely. Make sure it dries clear.
Acrylic Paint: Adds color to the door. Choose any color that matches your dining room decor.
Paintbrushes: Used to apply the acrylic paint. Different sizes help with detailed painting.
Miniature Hinges: Allows the door to open and close. These can be found at craft stores.
Small Screws: Needed to attach the hinges to the door and frame. Ensure they are small enough for the miniature size.
Screwdriver: Used to screw the hinges into place. A small one works best for this project.
Decorative Elements: Items like tiny doorknobs, stickers, or decals to add personal touches to your door.
Cutting Mat: Protects your work surface while cutting the wooden sticks.
Pencil: Marks measurements on the wooden sticks before cutting.
Clamps: Holds pieces together while the glue dries, ensuring a strong bond.
Varnish: Provides a protective finish to the painted door, making it more durable.
Required Skills and Time Commitment
Skill Level: Beginner
Time Required: 2-3 hours
- Gather Materials: 15 minutes
- Measure and Cut Wood: 30 minutes
- Assemble Door Frame: 30 minutes
- Paint or Stain: 30 minutes
- Attach Hinges and Knob: 15 minutes
- Install Door: 30 minutes
Instructions for Building a Miniature Door
Gather Materials:
- Small piece of wood or cardboard
- Craft knife or scissors
- Ruler
- Pencil
- Paint and brushes
- Glue
- Decorative items (miniature doorknob, hinges, etc.)
Measure and Cut:
- Use the ruler to measure the desired size of the door.
- Mark the dimensions on the wood or cardboard with the pencil.
- Carefully cut out the door shape using the craft knife or scissors.
Shape the Door:
- If you want a rounded top, draw the curve and cut it out.
- Sand the edges if using wood to smooth them.
Paint the Door:
- Choose your favorite color and paint the door.
- Let the paint dry completely before moving to the next step.
Add Details:
- Paint or draw details like panels or windows on the door.
- Attach the miniature doorknob and hinges using glue.
Decorate:
- Add any additional decorations like a tiny wreath or house number.
- Let everything dry thoroughly.
Install the Door:
- Choose a spot in your dining room where the door will go.
- Use glue to attach the door to the wall or baseboard.
Final Touches:
- Ensure the door is securely attached.
- Clean up any excess glue or paint.
Helpful Tips and Tricks
Measure Twice, Cut Once: Always double-check measurements before cutting materials. This saves time and prevents waste.
Use Quality Materials: Opt for sturdy wood like pine or oak. Avoid flimsy materials that might break easily.
Pre-drill Holes: Pre-drilling holes for screws prevents wood from splitting. It also makes assembly smoother.
Sand Edges: Sanding the edges of your door ensures a smooth finish. This prevents splinters and gives a polished look.
Paint or Stain Before Assembly: Painting or staining pieces before assembly avoids messy edges and ensures even coverage.
Use a Template: Create a cardboard template of your door. This helps visualize the final product and ensures all pieces fit correctly.
Common Mistakes to Avoid:
- Skipping Primer: Always use a primer before painting. It helps the paint adhere better and last longer.
- Incorrect Hinges: Using the wrong size or type of hinges can cause alignment issues. Make sure they match your door’s weight and size.
- Ignoring Drying Times: Rushing through paint or glue drying times can ruin your project. Patience is key.
Alternatives for Materials or Methods:
- Recycled Wood: Use reclaimed wood for a rustic look. It’s eco-friendly and adds character.
- Magnetic Closures: Instead of traditional latches, use magnetic closures for a sleek, modern touch.
- Decorative Film: If painting isn’t your thing, use decorative adhesive film for a quick and easy finish.
Estimating the Cost
Materials:
- Wood (Plywood or Balsa): $10-$15
- Paint (Small cans or sample sizes): $5-$10
- Hinges (Miniature): $3-$5
- Knob (Miniature): $2-$4
- Glue (Wood glue or strong adhesive): $3-$5
- Sandpaper: $2-$3
Tools:
- Saw (Hand saw or small electric saw): $15-$30
- Paintbrushes: $3-$5
- Screwdriver (For hinges and knob): $5-$10
- Measuring Tape: $3-$5
Total Estimated Cost: $51-$92
Budget-Friendly Alternatives:
- Wood: Use cardboard instead of wood, reducing cost to $0-$5.
- Paint: Use leftover paint from other projects, reducing cost to $0.
- Hinges: Use paper fasteners as makeshift hinges, reducing cost to $1-$2.
- Knob: Use a bead or button instead of a store-bought knob, reducing cost to $0.
- Glue: Use white glue or hot glue if already available, reducing cost to $0.
- Saw: Borrow a saw from a friend or neighbor, reducing cost to $0.
- Paintbrushes: Use old brushes or sponges, reducing cost to $0.
- Screwdriver: Borrow a screwdriver, reducing cost to $0.
- Measuring Tape: Use a ruler or any straight edge, reducing cost to $0.
Total Estimated Cost with Alternatives: $1-$12
Different Ways to Customize
Materials: Instead of using wood, try cardboard or foam board for a lighter option. Popsicle sticks can also work well for a rustic look.
Colors: Paint the door in bright colors like red or yellow for a playful touch. Use pastel shades for a softer, more elegant appearance. Metallic paints can give a modern, sleek finish.
Styles: Create a barn door style by adding cross beams and a weathered paint effect. For a Victorian look, add intricate designs and use dark, rich colors. A modern style can be achieved with clean lines and neutral colors.
Hardware: Use miniature hinges and door knobs to add realism. Try decorative knobs for a unique touch. Magnetic closures can be a practical alternative.
Windows: Add a small window with clear plastic or frosted glass for a different look. Use stained glass paint for a colorful, artistic effect.
Decorations: Attach tiny wreaths or seasonal decorations to the door. Use stickers or decals for added flair. Adding a miniature welcome mat can make it even more inviting.
Lighting: Install a small LED light above the door for a cozy glow. Use fairy lights around the frame for a magical touch. Battery-operated lights can be a convenient option.
Texture: Create a textured surface using spackle or modeling paste. Use sandpaper to give a distressed look. Embossed wallpaper can add intricate patterns.
Themes: Design the door to match a holiday theme like Christmas or Halloween. Create a fairy tale door with whimsical elements. A nautical theme can be achieved with blue tones and anchor decorations.
Eco-Friendly Tips
Reclaimed wood makes a great choice for a miniature door. Old pallets or leftover planks from other projects can be sanded and cut to size. Recycled glass can be used for tiny windows, adding a charming touch. Eco-friendly paint or natural stains can give the door a polished look without harmful chemicals. Upcycled hardware like old hinges or knobs can add character while reducing waste. Natural adhesives like wood glue made from plant-based materials ensure a strong, non-toxic bond. Fabric scraps can be used to create tiny curtains or decorations, adding a cozy feel.
Your DIY Door Awaits
Building a miniature DIY door for your dining room can be a fun, rewarding project. With some basic tools and a bit of creativity, you can add a unique touch to your space. Remember to measure your space accurately, choose the right materials, and follow the steps carefully. Don’t rush the process; take your time to ensure everything fits perfectly. Once installed, your new door will not only serve a practical purpose but also become a charming focal point in your home. So, gather your supplies, roll up your sleeves, and get started. You’ll be amazed at what you can create with a little effort and imagination. Happy crafting!
How do I start making a miniature door for my dining room?
Gather materials like popsicle sticks, glue, paint, and small hinges. Measure the space where you want the door, then cut the sticks to fit. Glue them together to form the door shape.
What tools will I need?
You’ll need a ruler, scissors, craft knife, paintbrushes, and a hot glue gun. These will help you cut, assemble, and decorate your miniature door.
How do I attach the door to the wall?
Use small hinges and tiny screws or glue to attach the door. Make sure the door can swing open and close smoothly.
Can I customize the door?
Absolutely! Paint it any color you like, add tiny doorknobs, or even decorate it with stickers or miniature wreaths.
How long will this project take?
Depending on your experience and design, it might take a few hours to a day. Allow time for glue and paint to dry.
Is this project suitable for kids?
Yes, but with adult supervision. Using scissors and a hot glue gun can be tricky, so make sure an adult is there to help.
Where can I find materials?
Most materials can be found at craft stores or online. Popsicle sticks, paint, and glue are pretty common and easy to find.